Make This Stunning Skirt Set - No Pattern Needed!

Want to make a fabulous skirt set as a banging outfit? I’m going to show you how to sew a skirt set without a pattern. All you need is a dress that fits and you’re good to go! This skirt and top set is really comfy and looks like it’s store-bought from a high-end fashion house. Keep on reading and let’s make a skirt set together- you'll be surprised how easy it is. Let’s go!
Tools and materials:
- Stretch fabric of your choice
- Measuring tape
- Pins
- Thread
- Sewing machine
- Elastic
- Dress that fits well

Measure yourself
Measure your waist, hip, and length measurement with a measuring tape. Take note of these measurements for the next step.
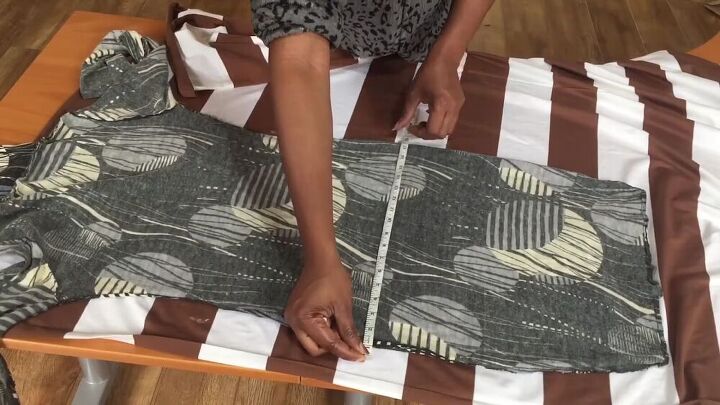
Make the skirt set pattern
Fold your fabric and lay your dress on top. Mark your measurements from the previous step and add 1 ¼ inch to each of these measurements.

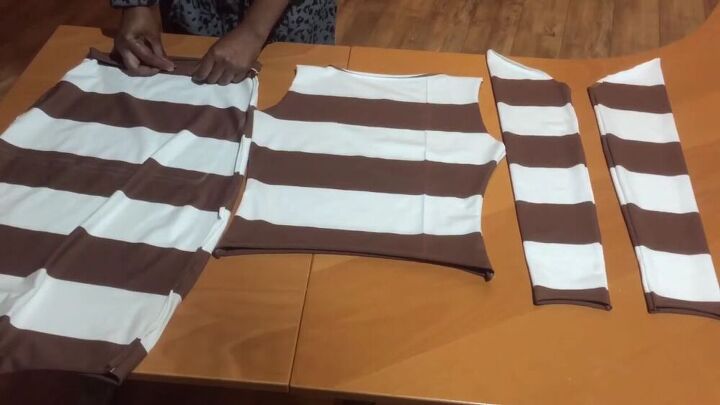
Now, trace around your dress for the skirt part and cut out the pattern.
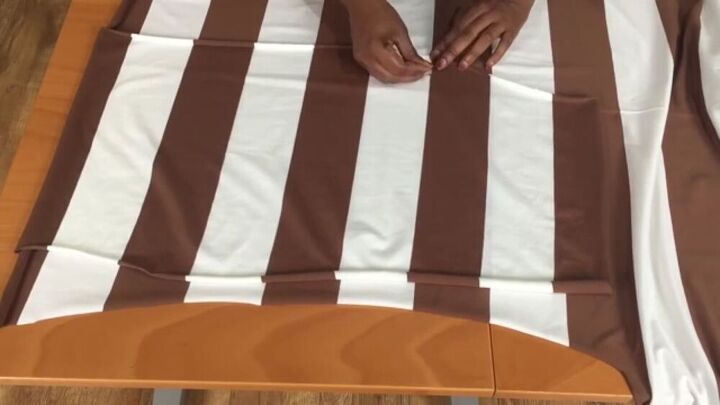
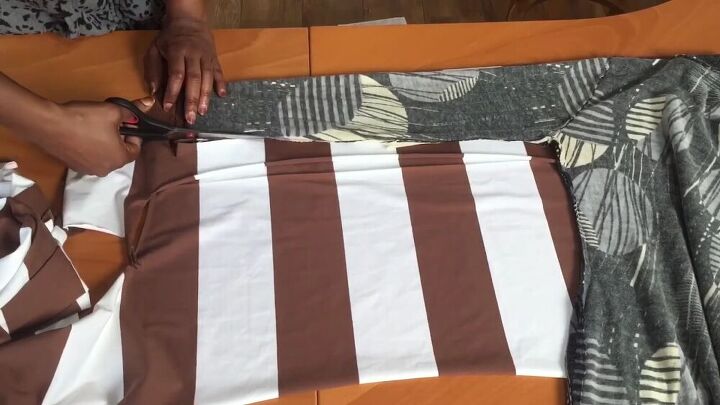
For the other piece, place the first piece on top, right sides touching. If you’re using a stripe print fabric like me, make sure to match each stripe before you pin.

When everything is aligned, cut the second skirt piece and pin both pieces together at the side seam.
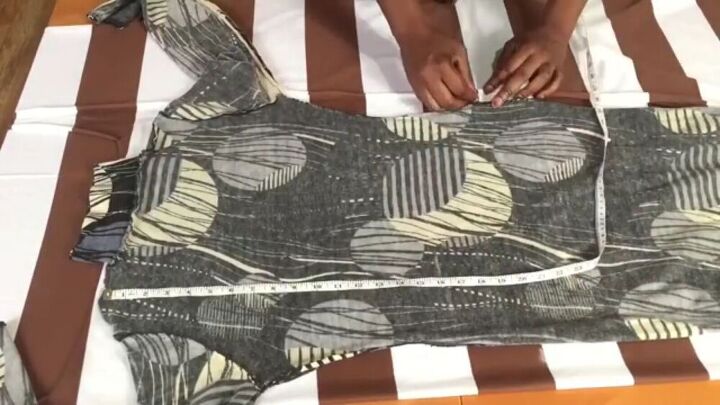
Make the top pattern
Measure the desired length of your top. Then place the top part of your dress on the folded fabric. Measure out the length and add a 1 ¼ inch seam allowance.
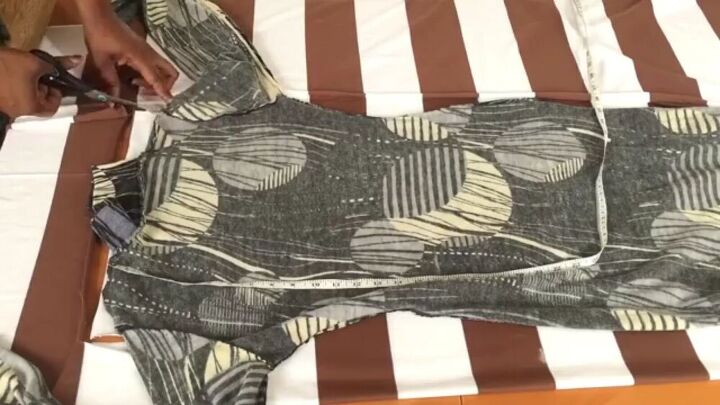
Then, cut around the top part, as shown. When you get to the shoulder part, cut a straight line, from shoulder to shoulder.

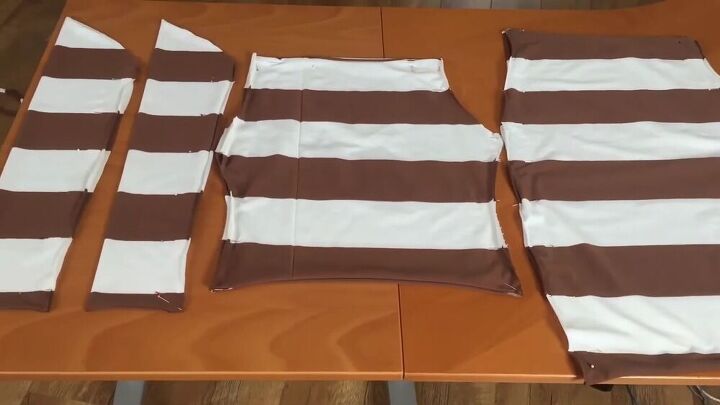
You should have two pieces. Pin the layers accordingly. Match the stripes if this is relevant for you.
Make the sleeves
Cut out the sleeve on the fold of the fabric, match the stripes, cut, and pin.
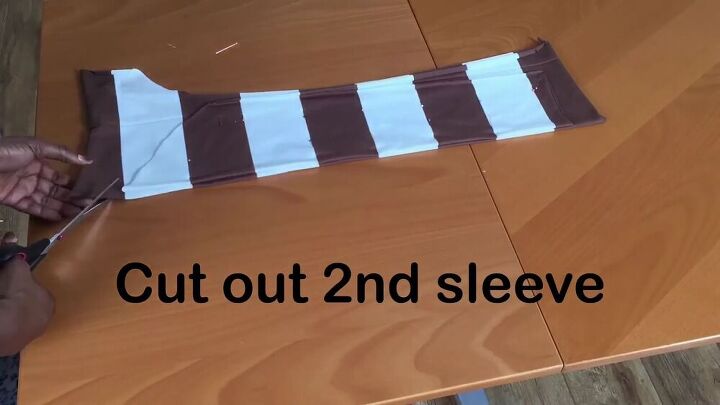
From the first cut-out sleeve, cut the second sleeve. Pin the sides of the sleeves afterward.
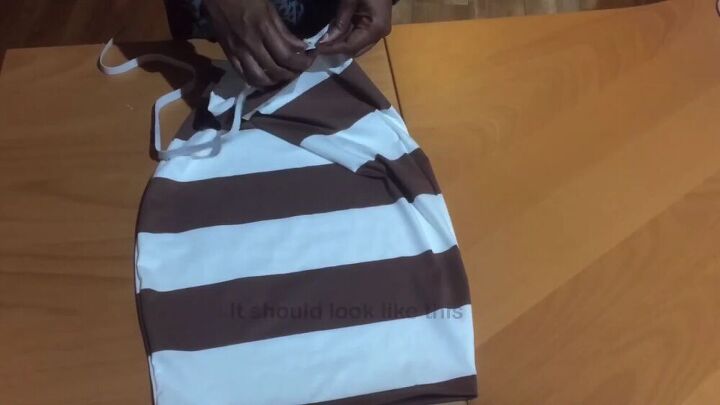
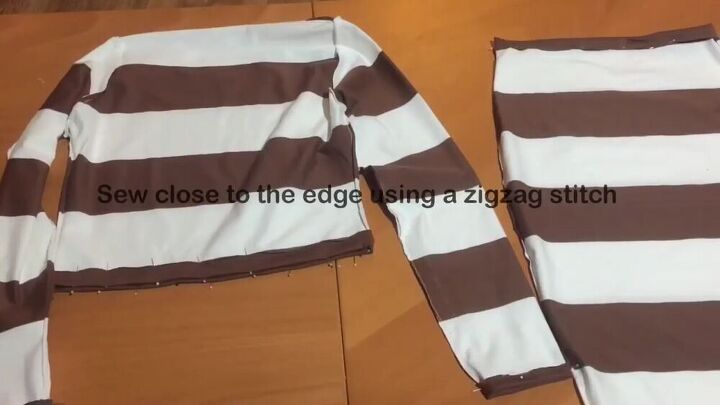
Sew all the pieces
It’s time to sew! Take all your cut-out pieces to your sewing machine. Sew the pinned areas using a zig-zag stitch.
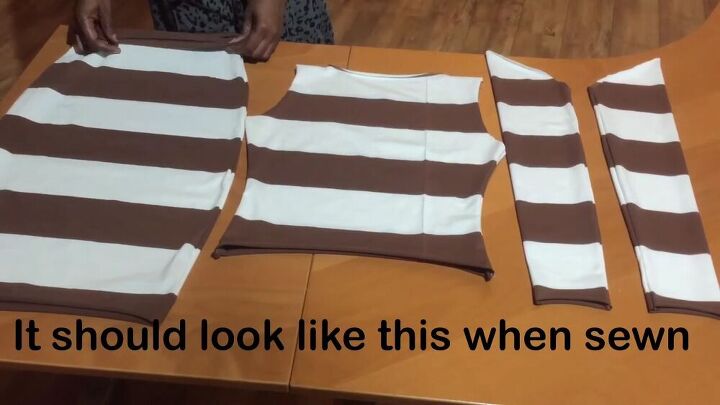
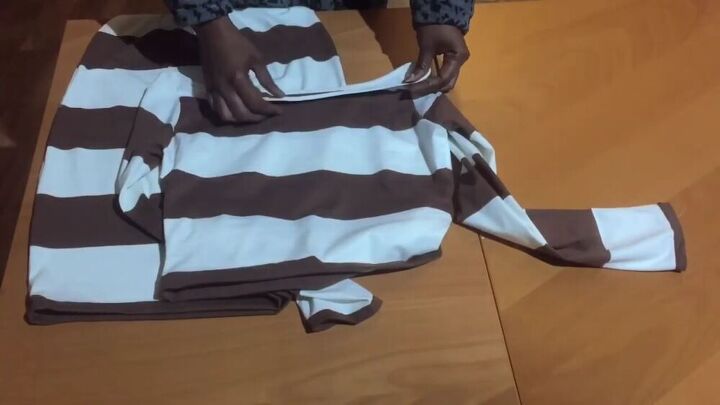
This is what your two-piece skirt set should look when sewn.
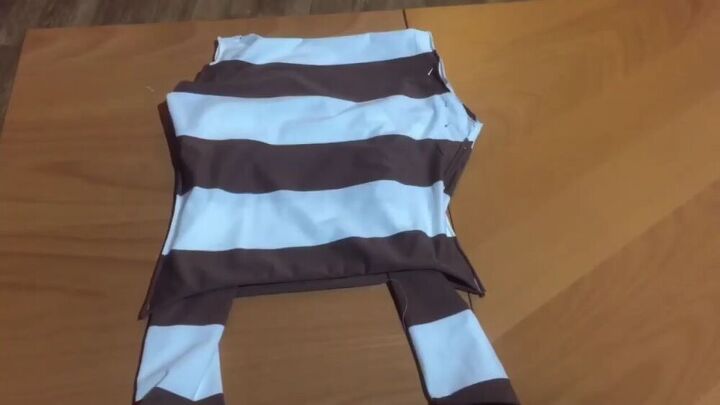
Add the waistband
Fold over the waistband, pin the circumference and leave a gap for the elastic. Also, while you’re at it, go ahead and hem the skirt for a cleaner, finished look. Stitch the tunnel with a zigzag stitch.
Now, insert the elastic through the tunnel, stitch the elastic’s short ends, and close the gap. Remember to cut the elastic so that it fits your waistline.
Attach the sleeves
Turn the sleeves inside out and match the upper part of the sleeve to the armhole of the bodice. Match the seams and pin all around.
Sew the sleeves using a zigzag stitch.
Hem the bodice
Now, fold the hem of the top once and pin. Do the same for the sleeves. Make sure the top are right sides facing when doing this step. Also, hem the bottom of the skirt.
TIP-
Sew as close to the edge as possible.
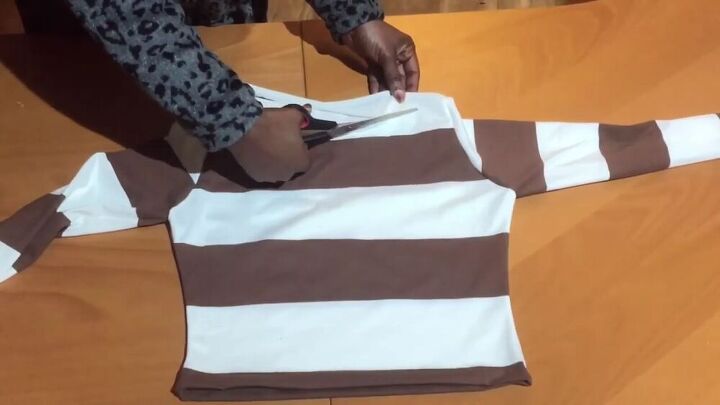
Modify the neckline
With a pair of scissors, cut ½ an inch from the shoulder seam and curve the neckline, as shown.
Fold the entire neckline twice and sew to secure.
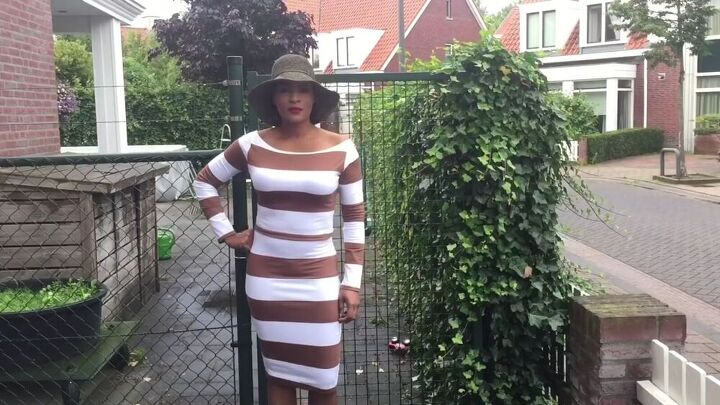
Would you look at that? That’s a stunning skirt set, I must say! I love how the stripes are symmetrical and match up nicely. The whole ensemble is just beautiful and can be worn for a fun day out or even during office hours. I hope you like this skirt and top set and that you have some inspiration for your next sewing DIY project.
The author may collect a small share of sales from the links on this page.


Comments
Join the conversation