Super Easy Sleek Bun Hairstyle Tutorial

There’s no hairstyle quite as classic as a sleek bun. If you want to achieve this perfect sleek bun hairstyle, follow this tutorial.
I will show you two different ways to style the front of your hair when creating a sleek bun.
This 5-minute sleek bun technique is perfect when you’re on day two or more of your hair, and don’t have time for a wash.
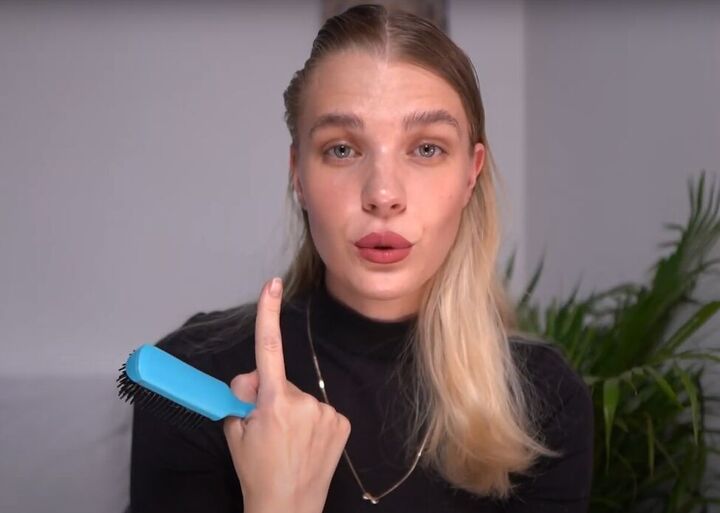
Tools and materials:
- Detangling hairbrush
- Large, regular hairbrush
- Tiny brush and comb
- Hair parting tool
- Ponytail holder
- Hair mousse
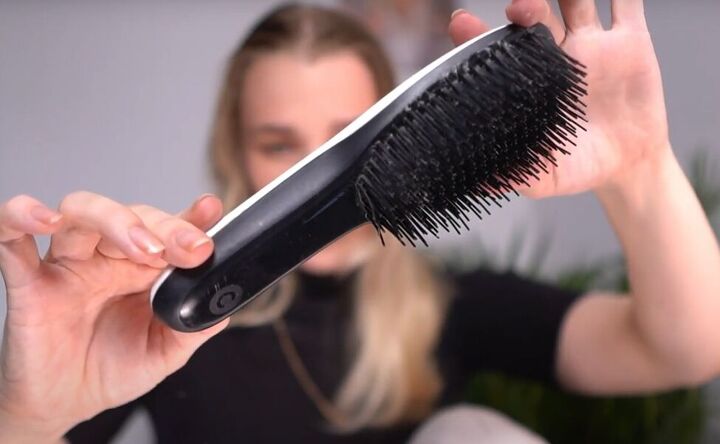
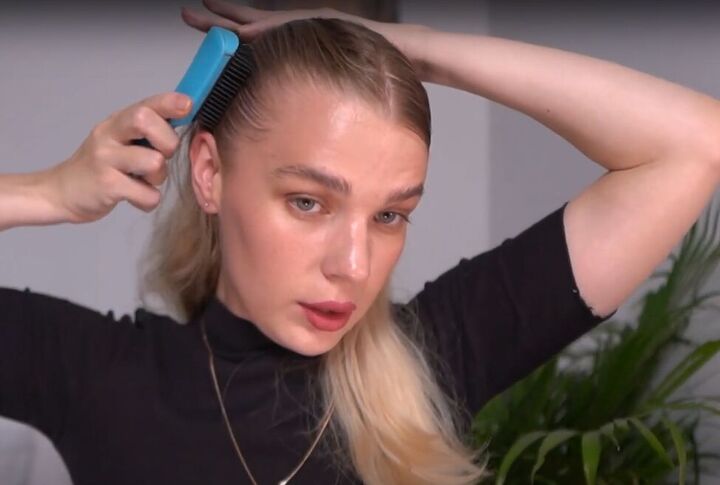
1. Detangle your hair
Use a detangling brush like the one in the image above. You’ll be amazed at how quickly and easily it detangles your hair.
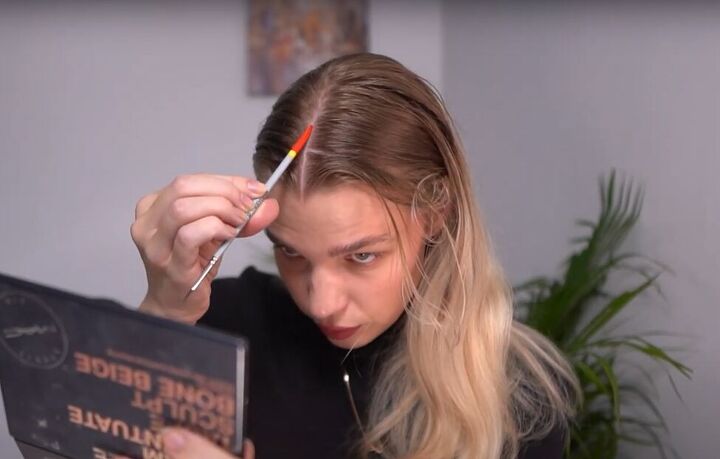
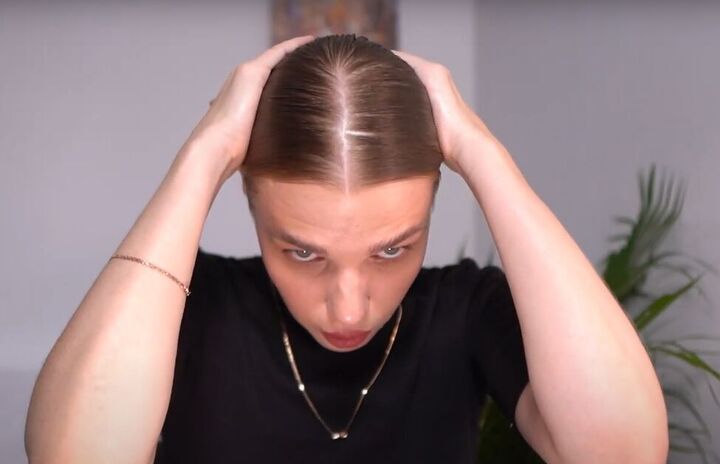
2. Part your hair
How you part your hair really will impact how your bun will look.
Use a pointed tool to make the straightest, cleanest center part you can. I used the end of a small makeup brush.
Make your part just to the crown of your head, and then ensure all the hair from that point is falling down the back of your head.
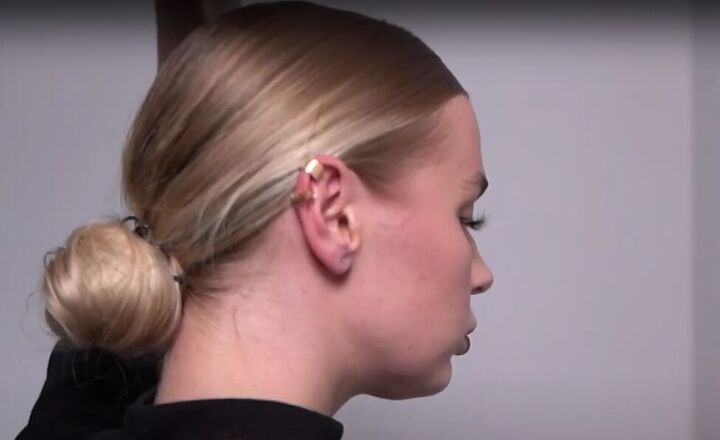
Next, use a small brush to brush your hair behind your ears on both sides of your head.
Tip: If you are doing this on day 1 of a hair wash, then you might need to use some gel or hair conditioner for this step. Older hair will have enough natural oil in it to help it lay smoothly behind your ears.
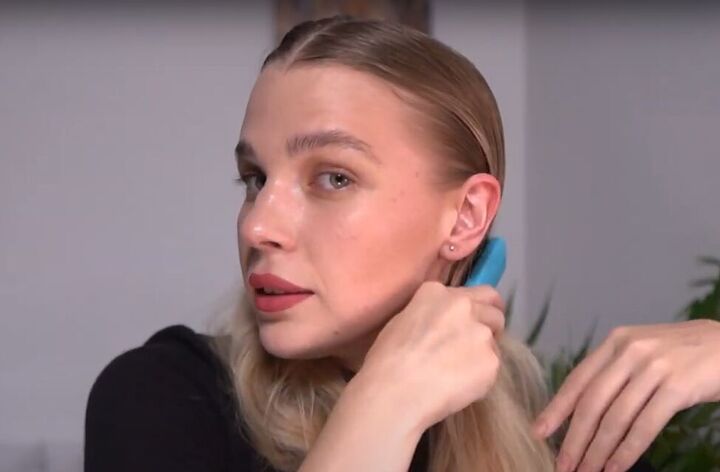
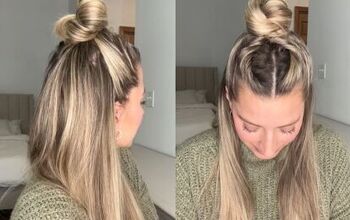
3. Style a bun to create a small forehead
If you have a large forehead and want to minimize it, then use a very small brush to bring the front of your hair down and then tuck it behind your ear.
4. Style a bun to show a larger forehead
If you have a naturally small forehead and you want to make it look larger, then use a larger brush to pull your hair back before tucking it behind your ears.
You can see the difference the two techniques make in the appearance of my forehead.
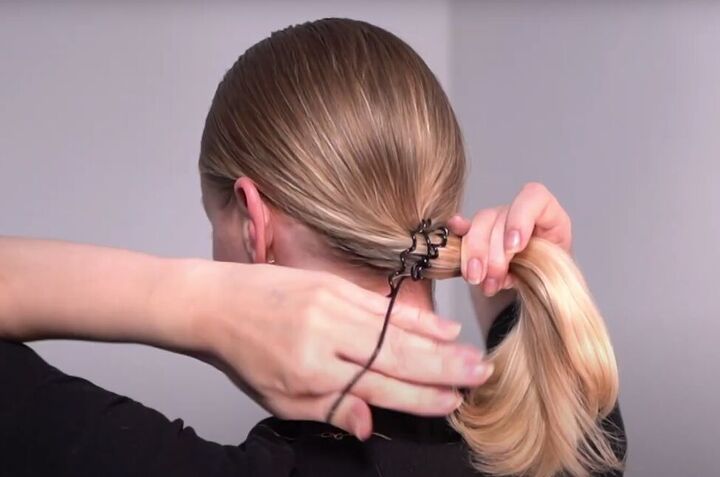
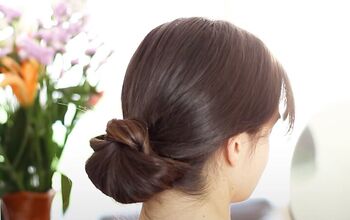
5. Make your bun
Put your hair into a ponytail at the nape of your neck.
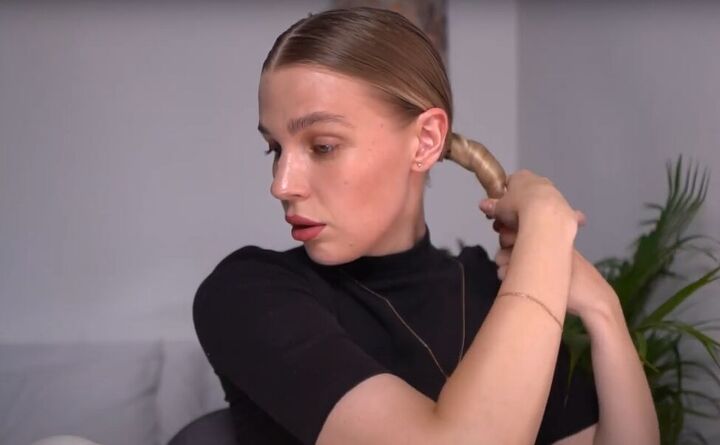
Twist your ponytail into a tight coil.
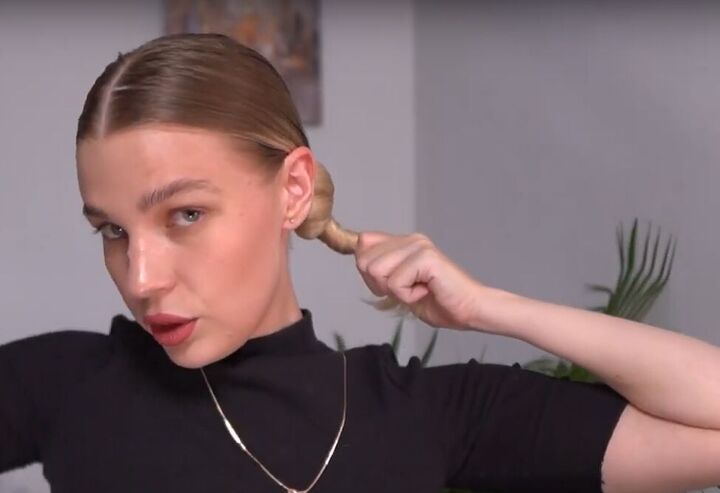
Keep twisting and the coiled ponytail will begin to form itself into a tight bun all by itself!
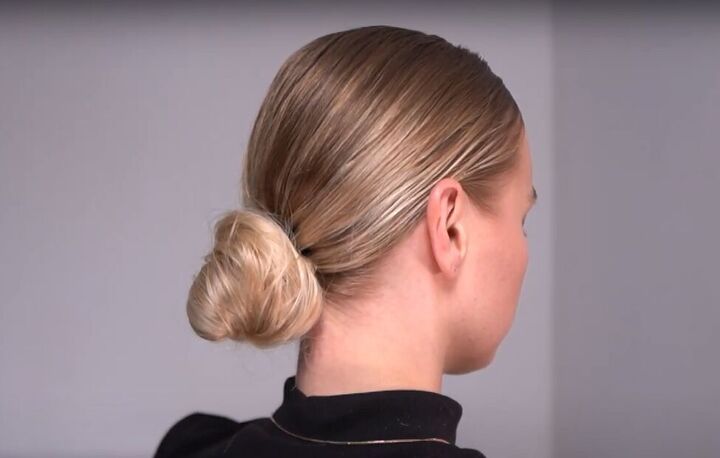
Pin the bun in place, and if you want a bit more volume, loosen it just a bit.
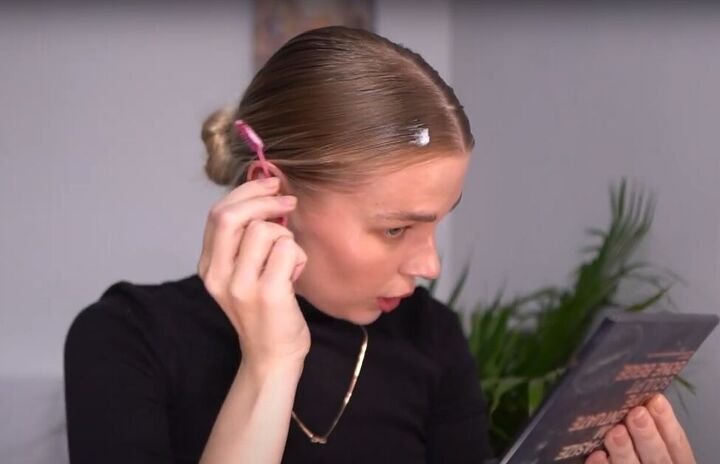
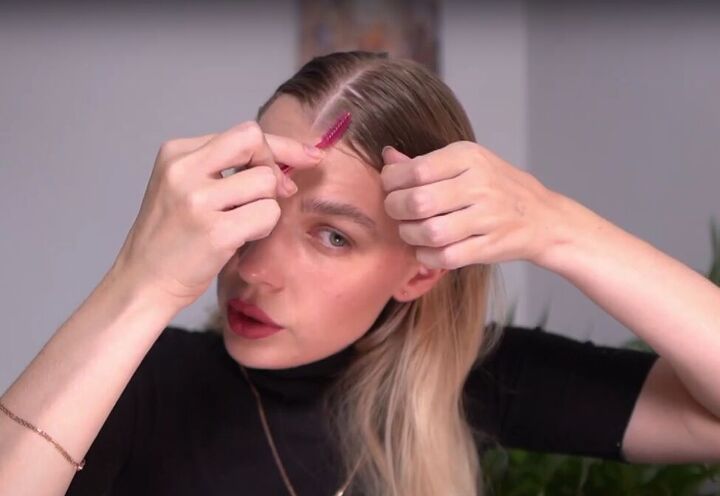
6. Take care of the baby hair
Use a very small comb to apply some hair mousse to the front and sides of your hair. Smooth out any gaps and smooth down the baby hair.
Smooth out the rest of your hair with the palms of your hands.
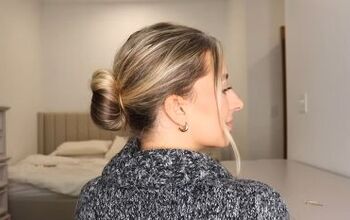
Here’s how sleek and shiny my hair and bun look from the side.
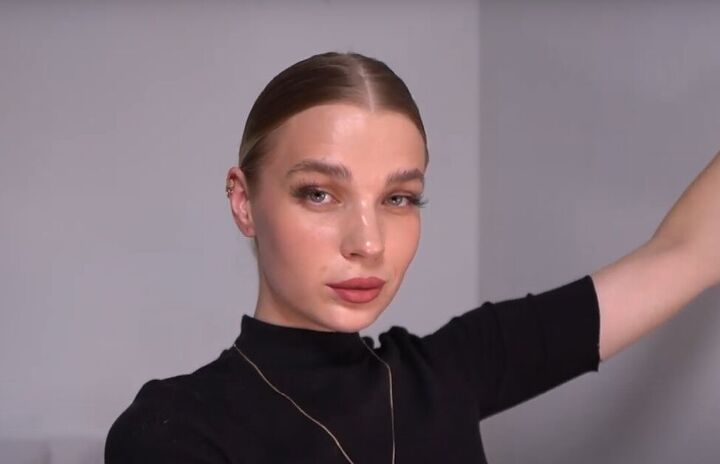
And from the front, it’s so elegant, smooth and feminine!
Sleek bun hairstyle
Just follow these simple steps and you’ll have the very same sleek low bun that makes you look like you’ve just stepped out of the salon.
The best things in life are simple, so if you liked this simple sleek bun tutorial, leave a comment to let me know!
The author may collect a small share of sales from the links on this page.


Comments
Join the conversation
Love it, but you didn’t show how to attach the hair after rolling!