Snazzy DIY Pockets With Piping [Tutorial]
Let’s
talk about this super easy DIY pocket project. Every-time I use piping in a DIY
pocket project I always get a lot of compliments. You can use piping to add a
subtle detail to your project or you can take the project up a notch by adding
piping in an opposite color for the “wow” factor.
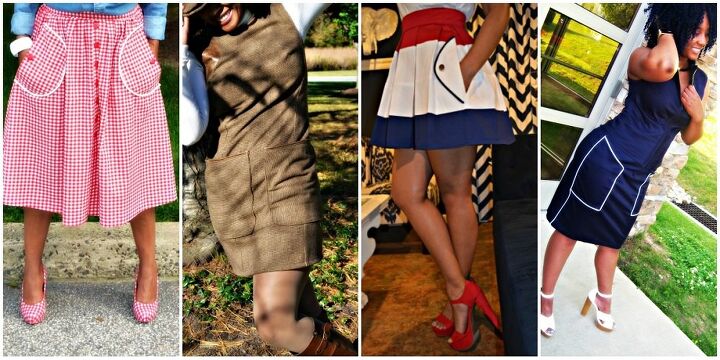
You can add this detail to the pockets on a pattern of your
choice or you can add your own pockets to a project that did not have pockets. For
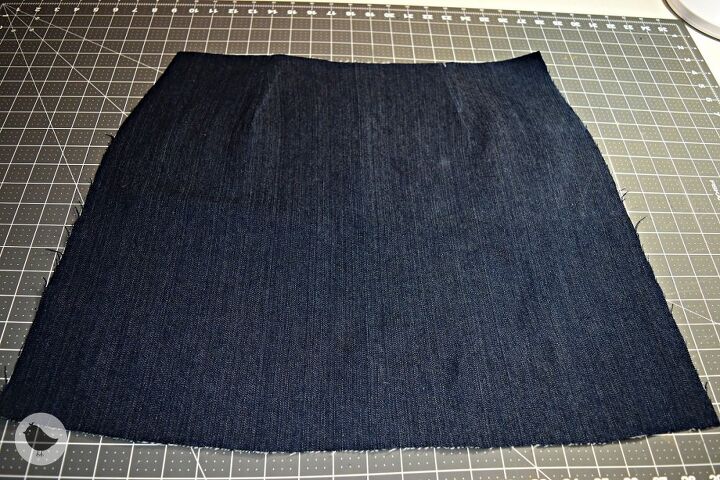
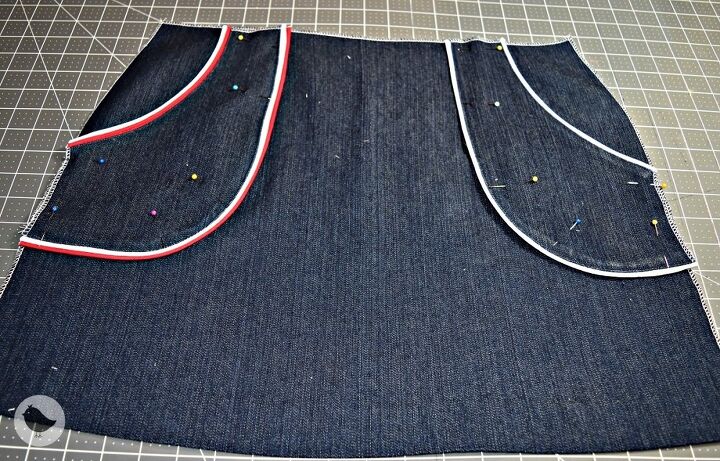
this tutorial I made my own pockets for a skirt front panel, which I finished
the waistband and hemmed. I will reuse this skirt panel as a teaching tool. If
you are a sewing instructor this would be a really cool way to show a project
to your class.
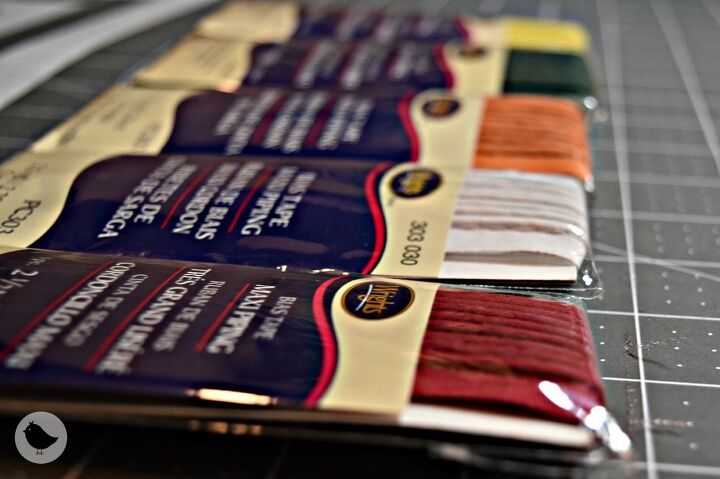
Materials to add
Piping to Pockets
- 1 Package of Pre-made piping (or you can create your own piping
- trim)
- Sewing machine
- Zipper foot
- Iron and pressing surface (I used my new toy, an Oliso Pro)
- Coordinating sewing thread
- Optional serger to finish pocket edges
Let’s get started! If you are following the instructions to a
pattern you will just add the piping to the edges of your pockets and
continue with your instructions.
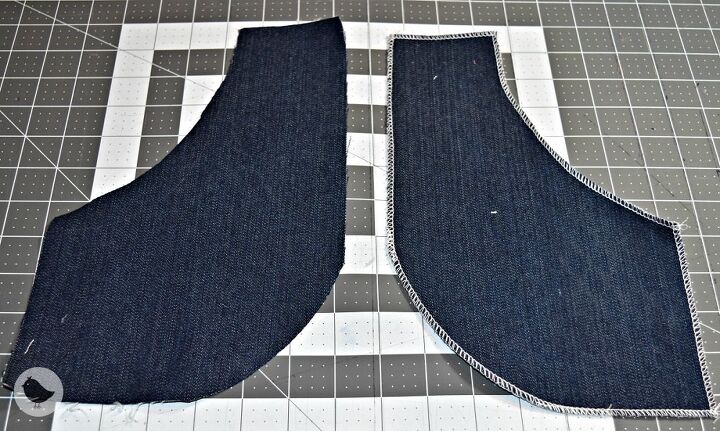
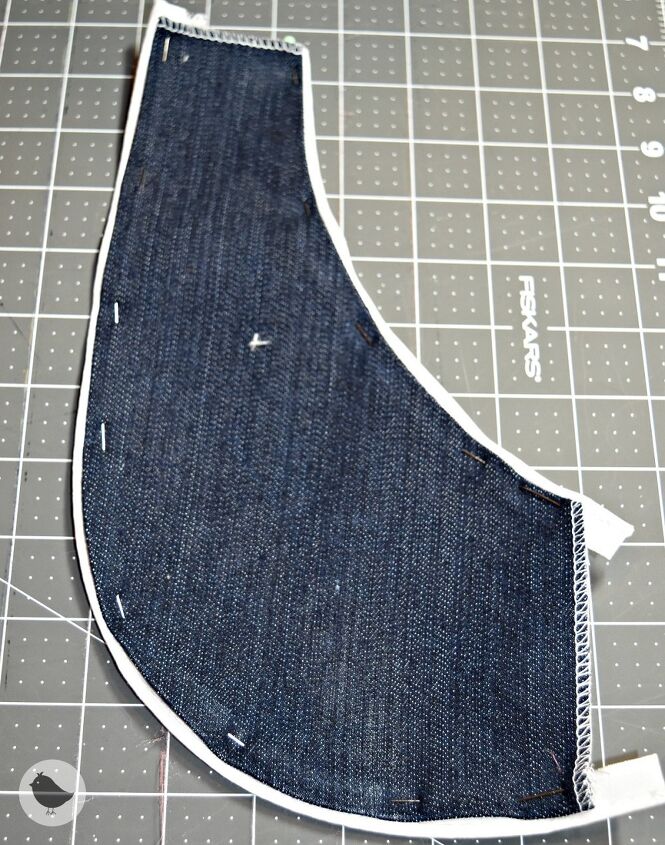
Step 1: Cut out your pockets and finish your edges with pinking
shears, zig-zag stitching or you can use a serger as I did.
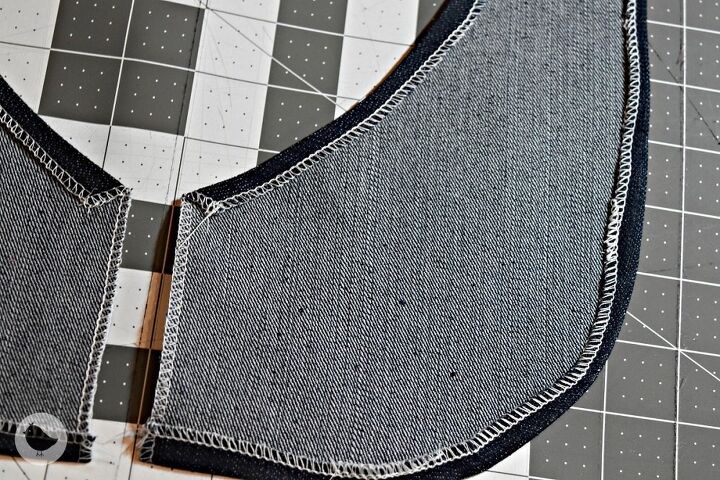
Step 2: Turn under
the edges that will not be sewn into a seam about a 1/4 inch.

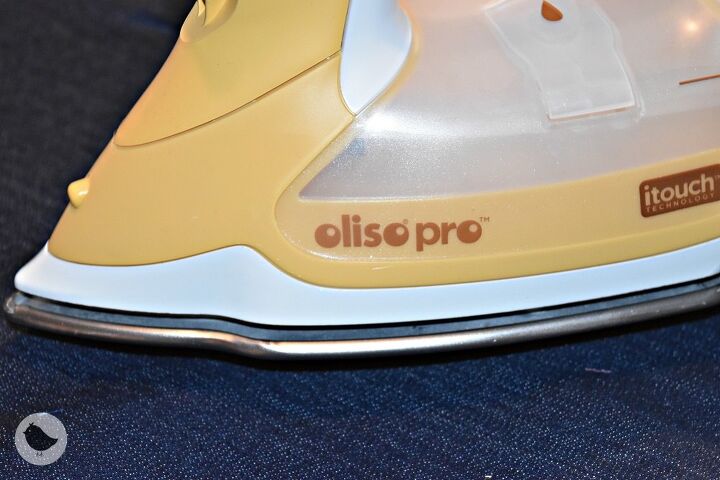
While we are at this
point can I talk to you about this Oliso Pro itouch technology iron from Brewer Sewing? To know me is to know that I am
serious about ironing as I am about sewing. Not only is it necessary to iron
your seams as you go but you can get immediate satisfaction in your work with a
simple pressing. I used to dream about this iron and now I own this
beauty. When you put your hand on the handle because of the itouch
technology it goes down to touch your fabric, once you remove your hand from
the handle the hydraulics lifts the iron off of your fabric. No need to move
the iron away from the fabric and sit it up-right on your ironing surface, this
is the part that is going to take a little time to get used to doing. So far I
love this iron.
Step 3: Prepare the
garment area where you will be adding your pockets.
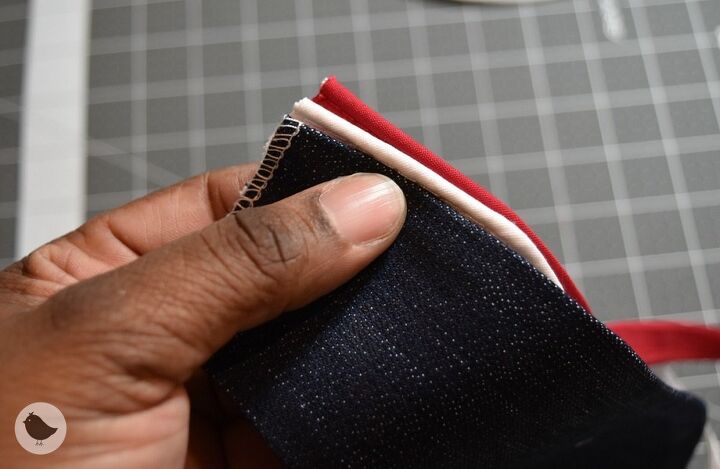
Step 4: Cut your
piping to fit your pockets.

Step 5: Pin your
piping to your turned under edges (this step is optional, you can sew on your
piping without pinning).
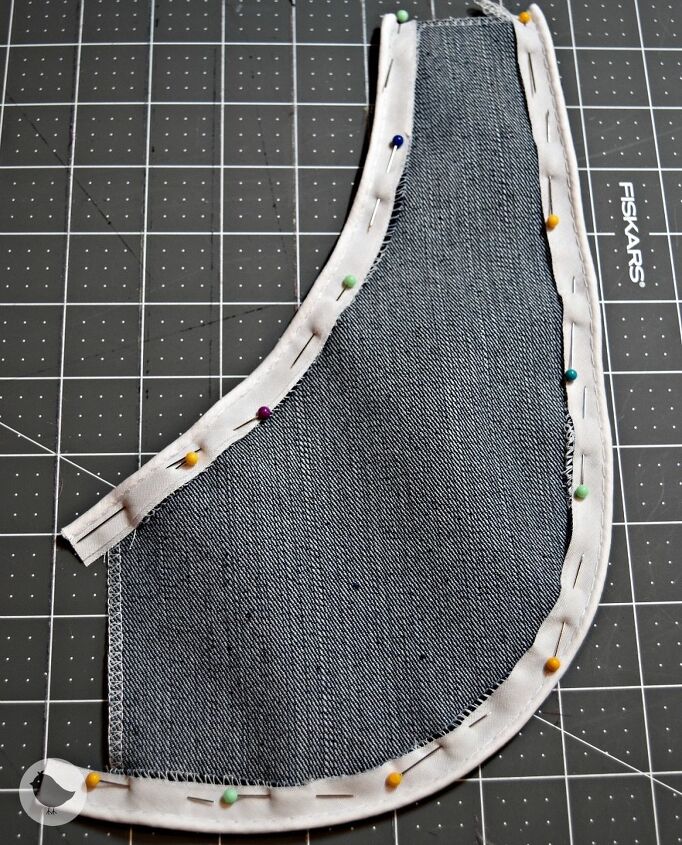
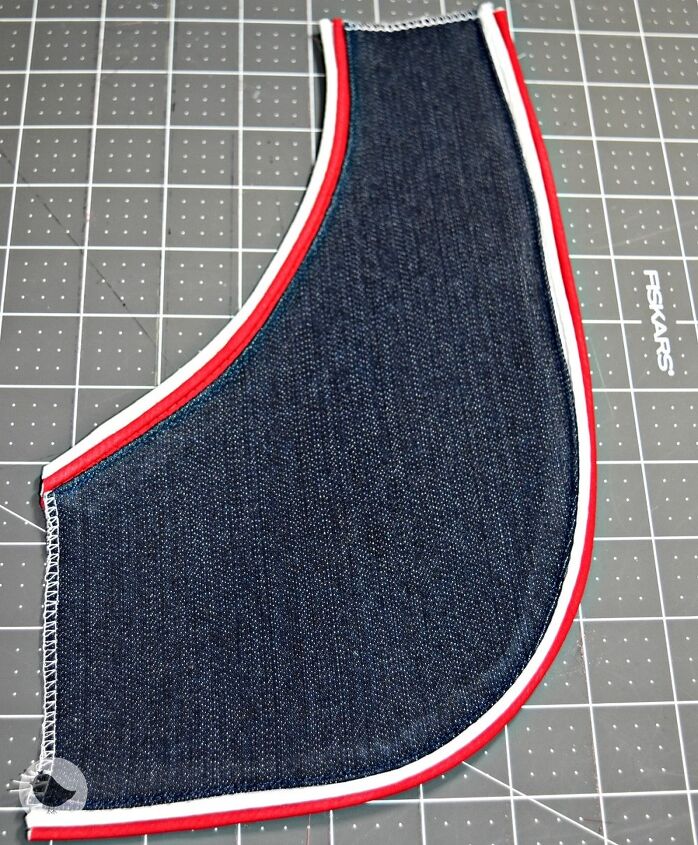
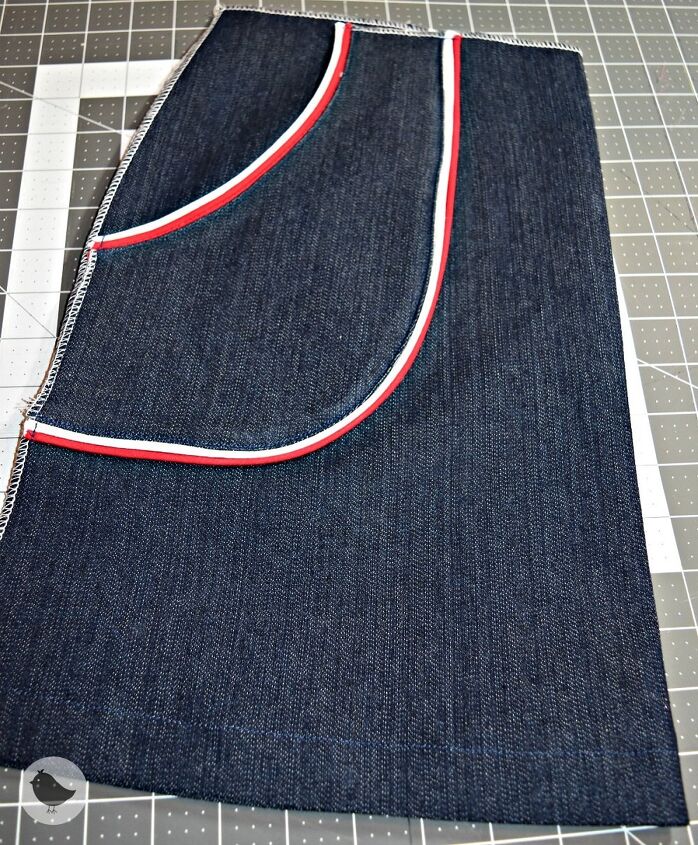
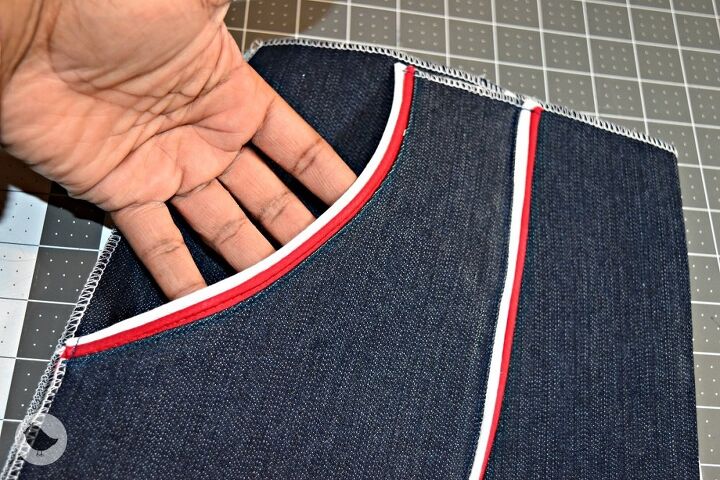
For one pocket, I
added two rows of piping adding another dimension to my pocket.
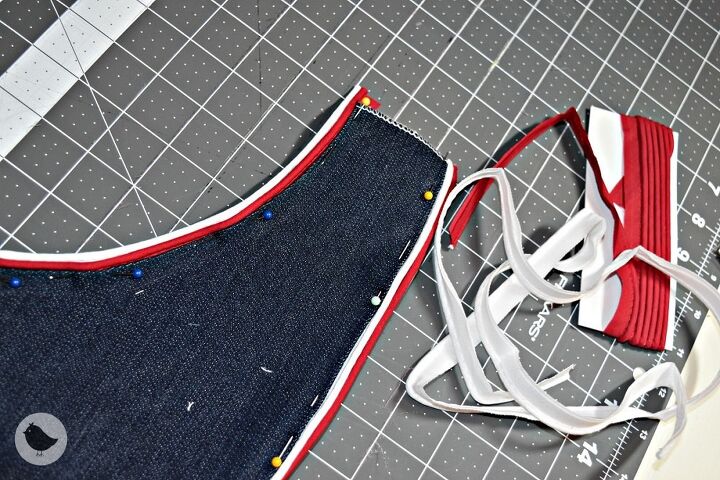
Step 6: Using your
zipper foot secure the piping to the turned under edges by stitching as close
the edge towards the piping as possible.
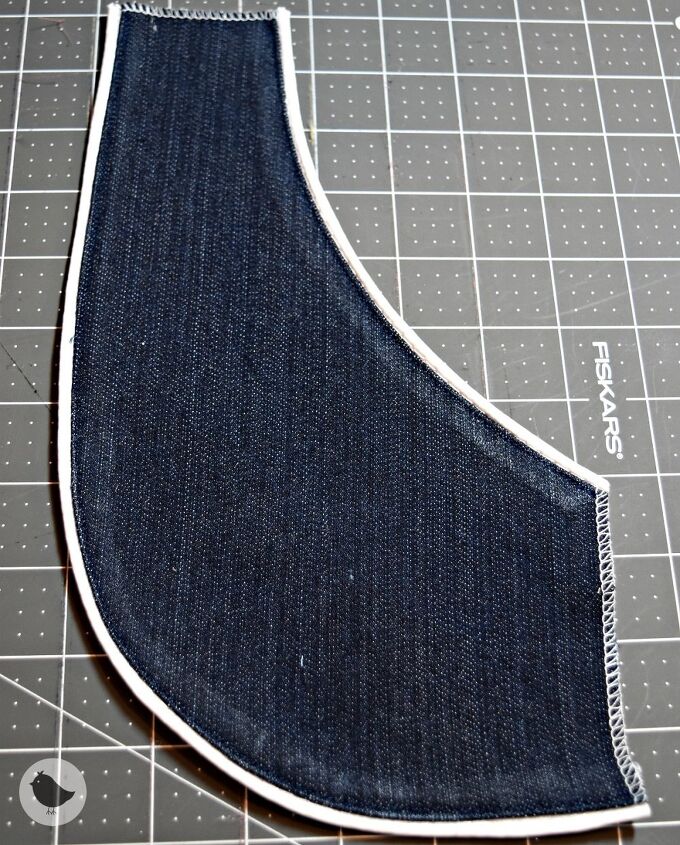
Step 7: Add the
pockets to your garment by pinning them in place.
Step 8: Stitch the
pockets to the garment and finish constructing your garment.

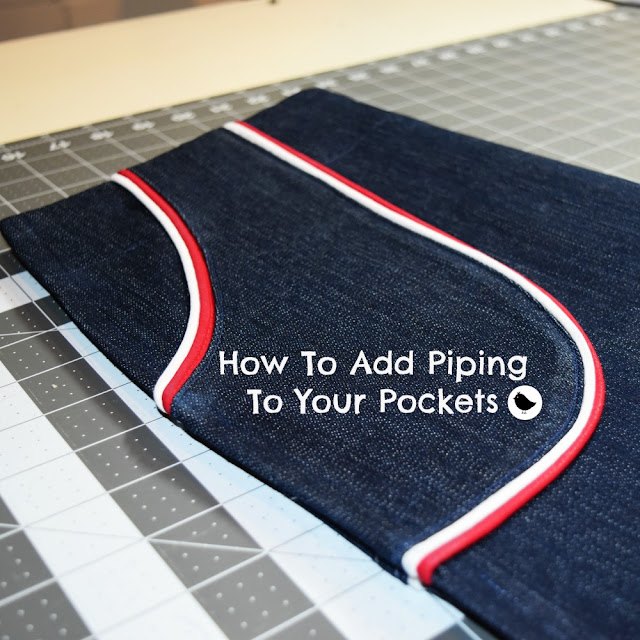
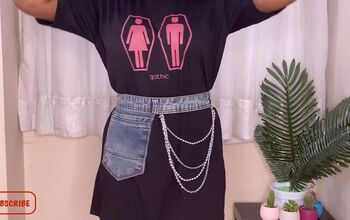
This is my finished skirt panel showing both pockets.
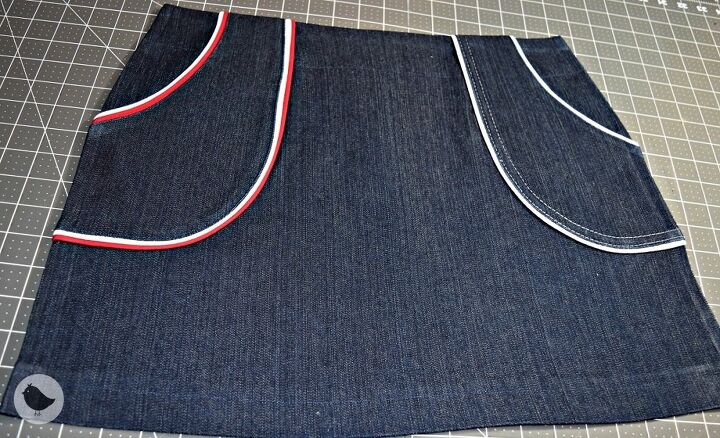
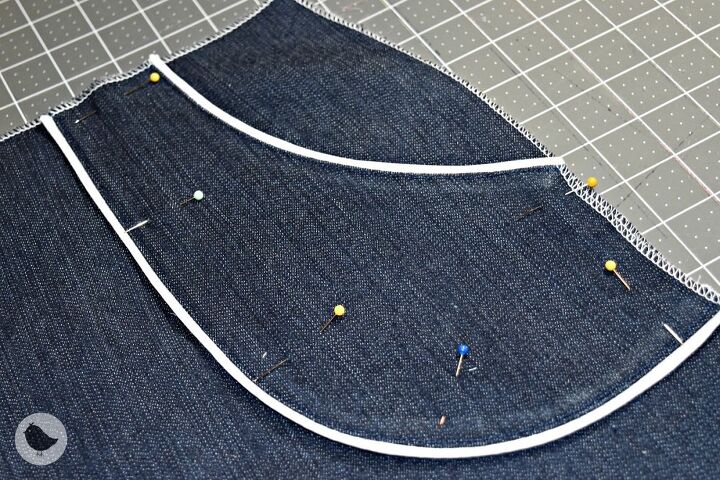
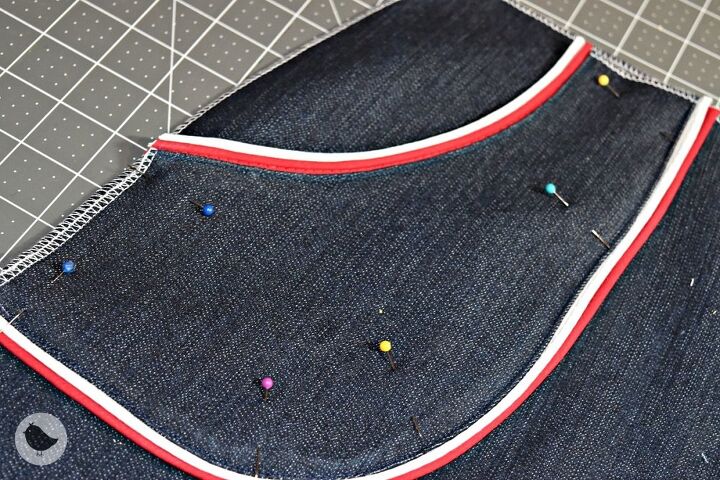
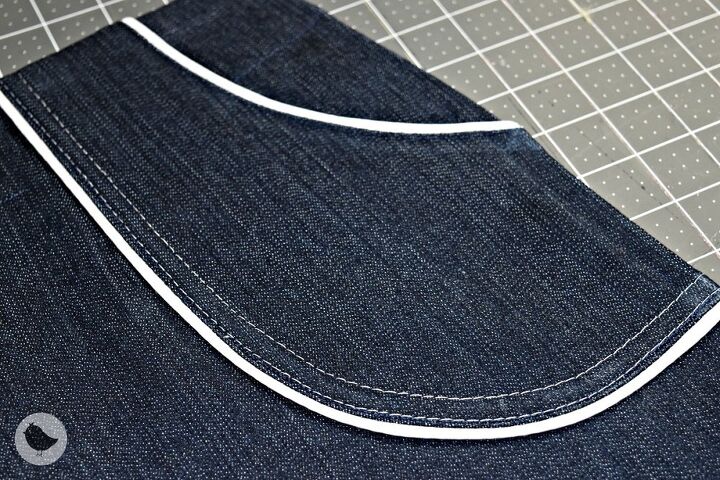
In the above image, I used two rows of piping and a thread that matched my fabric to stitch the pocket to the skirt front. In the image below I used only one row of piping and a different color thread along with two rows of visible top-stitching. I have two totally different looks that I can add to any project.

I hope you have
enjoyed this tutorial. If you want to find more tutorials and updates on my new
sewing magazine that I have in the works, stop by anytime! This post is sponsored and I will give you the 411 on this iron in about a month! In the meantime stop by Brewer Sewing for those hard to find things like fabric belt kits! Tell them Michelle sent ya!
The author may collect a small share of sales from the links on this page.


Comments
Join the conversation