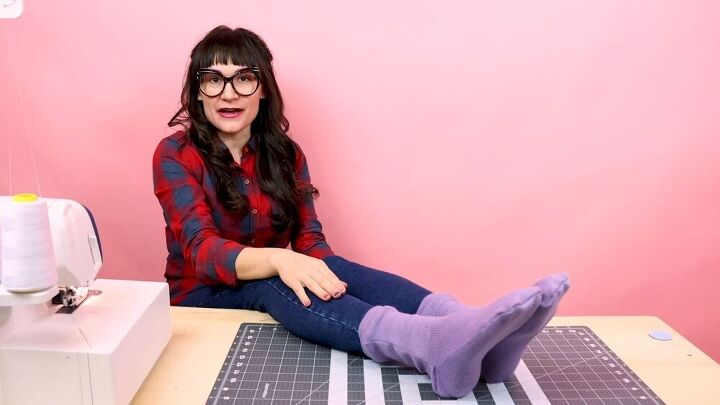
A Super Easy Tutorial on How to Sew Socks

In this super easy tutorial, I'm going to show you how to sew socks. This fun DIY makes sewing socks simpler than ever. So, without further ado, get your materials together and let's make a pair of cozy socks!
Tools and materials:
- Thread
- Rotary Cutter
- Snips
- 4 piece pattern that you can get here
- Fabric
1. Let’s talk about the fabric
I am going to be using a purple sweater knit fabric, but you can use any fabric that has a bit of stretch to it.
You need to be aware of how the grain lines and the stretch works so that you get the perfect dimension. I will list more tips later on.
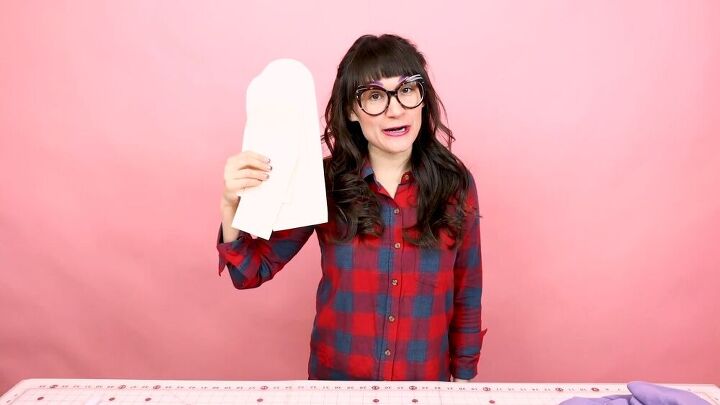
2. Make the pattern
Download your pattern and cut it out. As you can see, mine is on cardboard and your pattern will probably be on printer paper- that’s totally fine. As long as you have a pattern to work with!
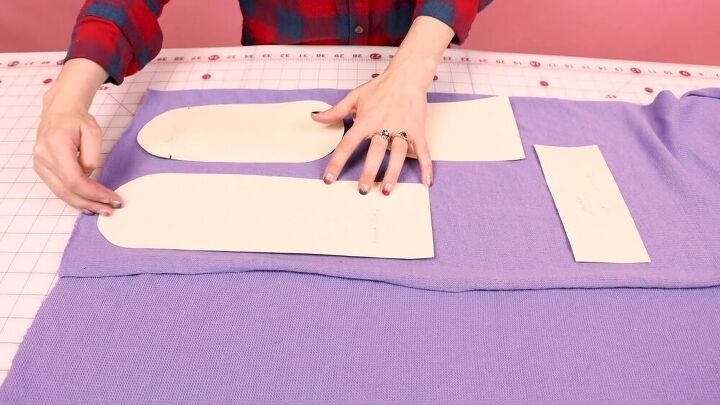
3. Cut out the fabric
Lay the pattern out on your fabric, and let's double-check our grain lines. Make sure the stretch is going across the pattern on the skinny side. The band should be laid out lengthways, as shown.
The fabric is stretching across the pattern, and the grain lines run through the fabric, lengthways.
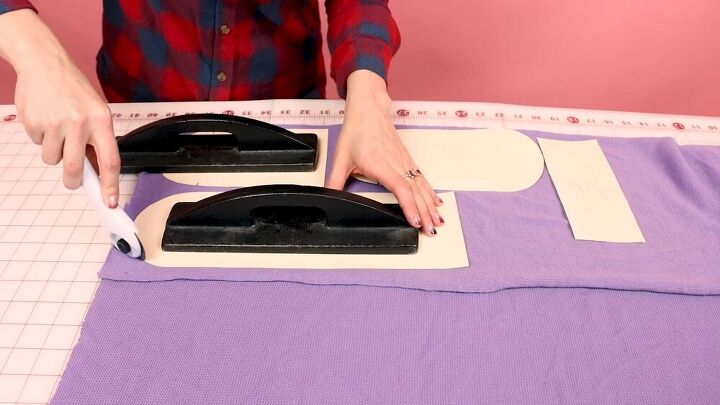
Grab your rotary cutter or scissors and cut it out.
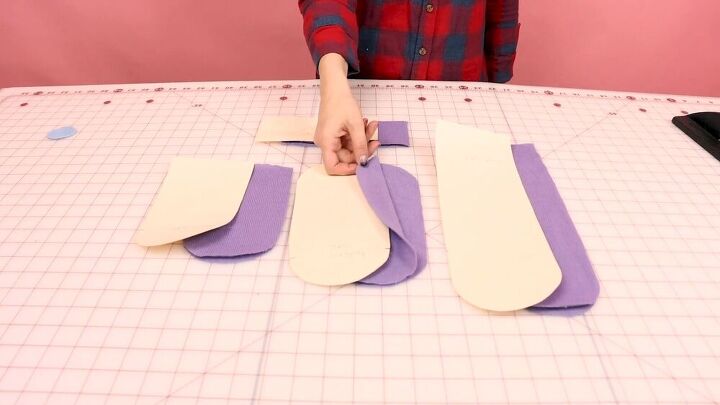
You should have two of everything.
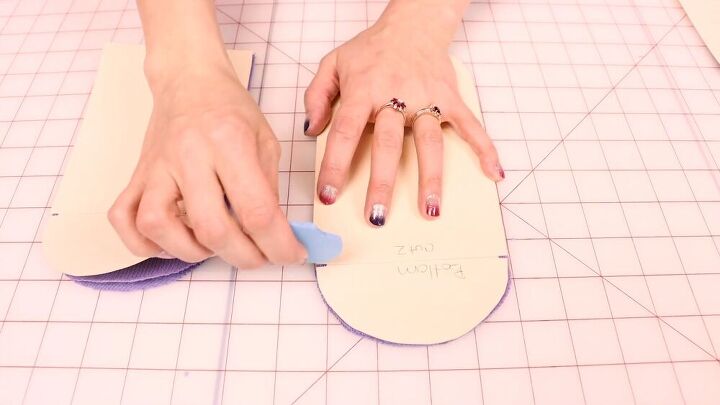
4. Mark the notches
Grab your chalk and mark the notches. Go ahead and mark on both pieces. This is indicating where we need to sew the heel. Remember to flip it over and mark the other side.
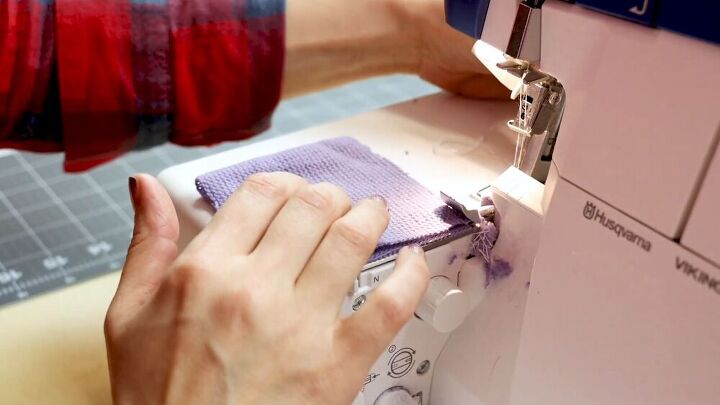
5. Use the serger
Now that everything is ready go ahead and use the serger. If you don't have a serger, don't worry! You can use the zigzag stitch too.
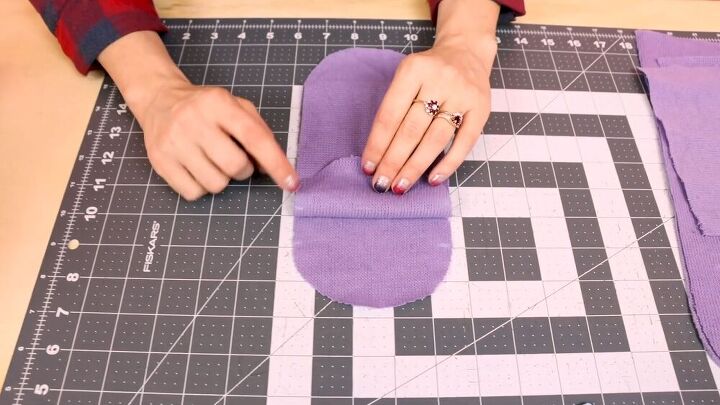
The first thing you are going to sew is the bottom and the back top together. Place your fabric right sides facing, and make sure to line up the little notches. Then, sew the pieces together- notch to notch.
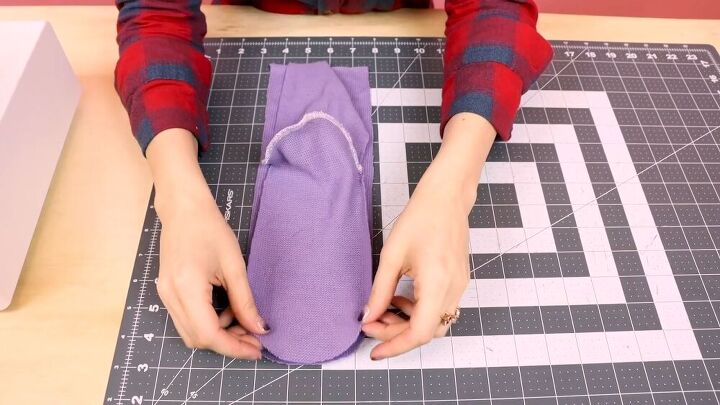
Next, grab your front sock and place the toe curve on the top of the curve, as shown. Next, start from the top and serge all the way around the entire sock.
Tip: When you get to the heel part you just serged in the previous step, fold it to the side so that it doesn't get caught.
6. Sew the top band
Now that the sock is somewhat complete, there's just another step to do, and that's sewing the top band. Take your top band, fold it in half, right sides together and sew the edge.
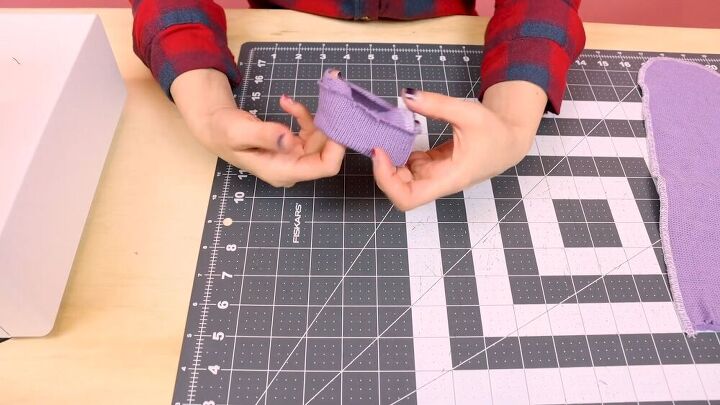
Next, take the tube, fold it wrong sides together, and that way, you have the right sides facing out.
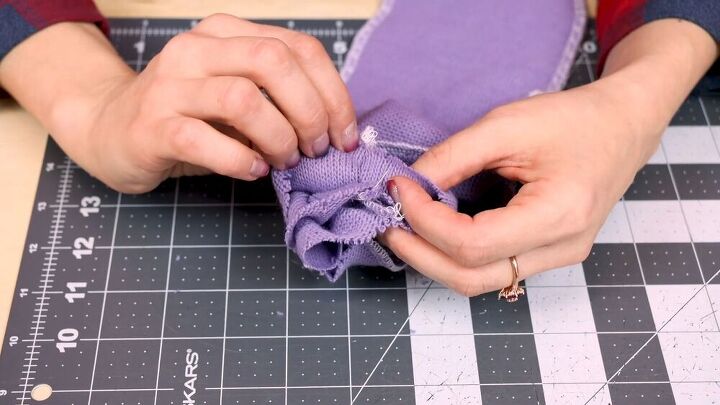
Now, attach the band to the sock by layering up all three layers and lining up the side seams accordingly.
Next, sew the layers together, and keep lining up all your layers as you stitch around the circumference.
7. Repeat the process
Don't forget to sew the other sock, because there's no use in just one sock, right?
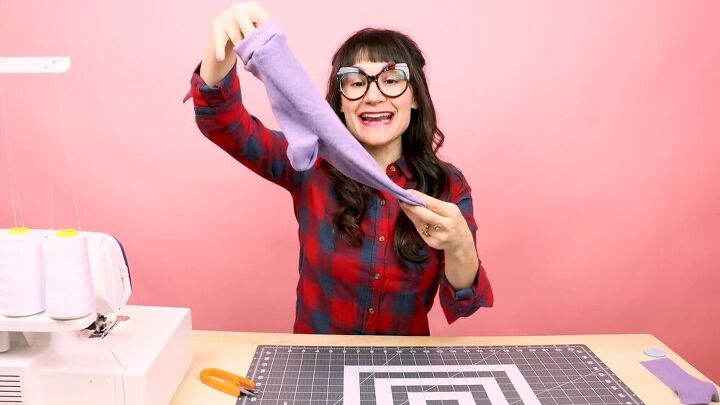
How to sew socks
And here they are, a lovely pair of socks that you made yourself! Thanks to this tutorial, sewing socks has never been easier.
If you enjoyed this tutorial, leave a comment down below.
How to fold socks
The author may collect a small share of sales from the links on this page.


Comments
Join the conversation
I have a perfect sweater to make these! Thanks!