How To Button Hole Mend a Sweater
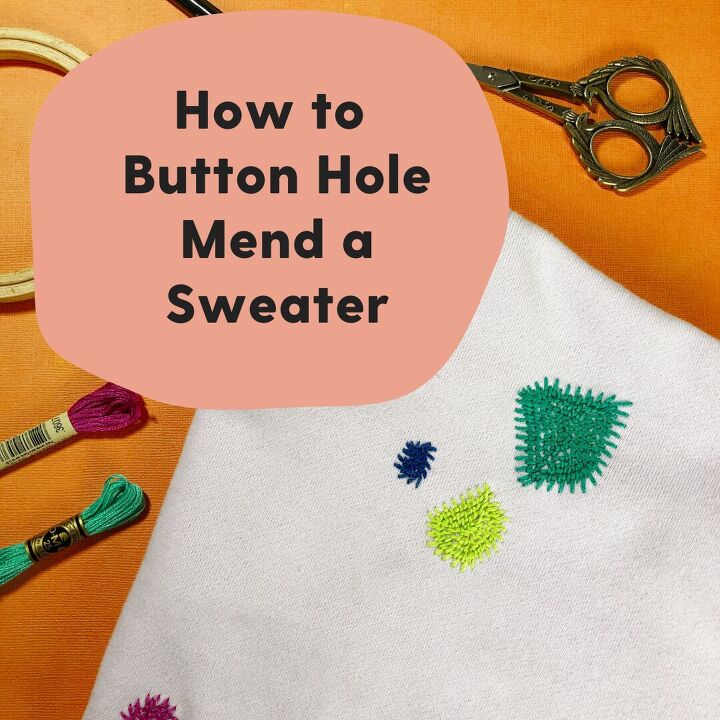
Picture this, you're wearing your favorite cozy sweater while cooking spaghetti with red sauce for dinner. You're cooking away when all of the sudden you look down to find sauce splattered all over the front of your sweater. What do you do? Immediately take of said sweater, put on stain remove, then throw that bad boy in the wash. But what if those stains don't come out? Is your sweater ruined?
That's exactly what I wondered while cooking and wearing one of my sweaters. Instead of getting upset and adding the sweater to the donation pile, I decided to use the button hole mend to cover up the stains and add some playful new stitched color additions to a garment I already love.
Want to learn how? Here's the DIY tutorial.
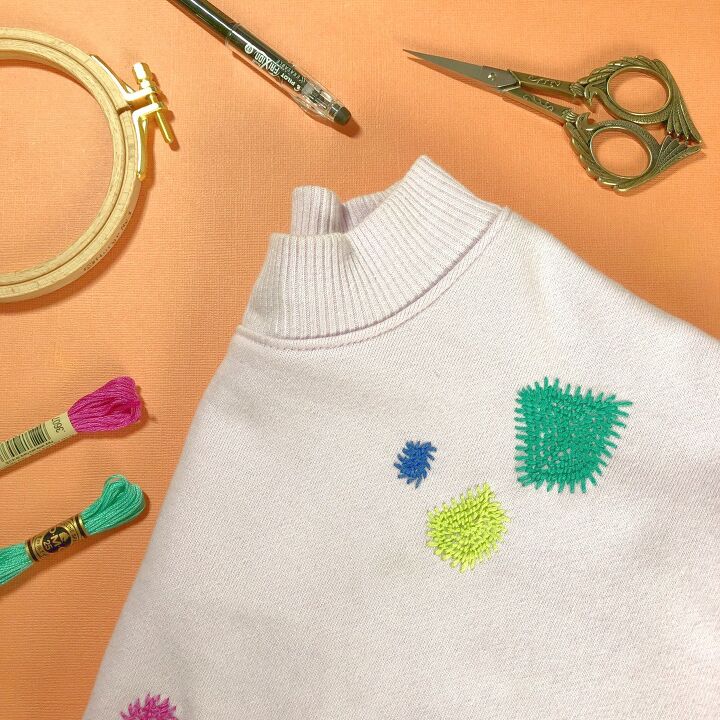
What You'll Need:
Let's Get Stitching:
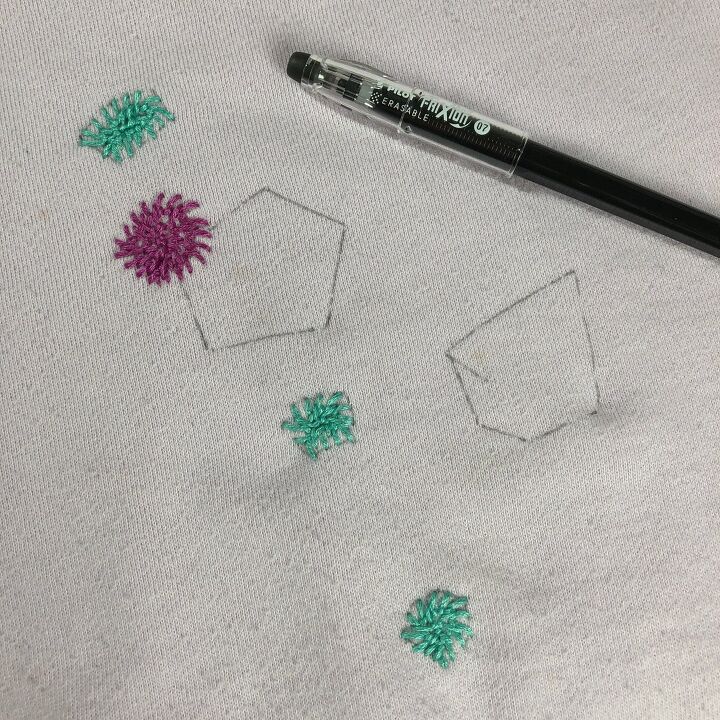
1. Lay your sweater flat and use your transfer pen to outline a shape around the stain you want to cover up. I made my outlines much larger than my pasta sauce spots to add more color to sweater.
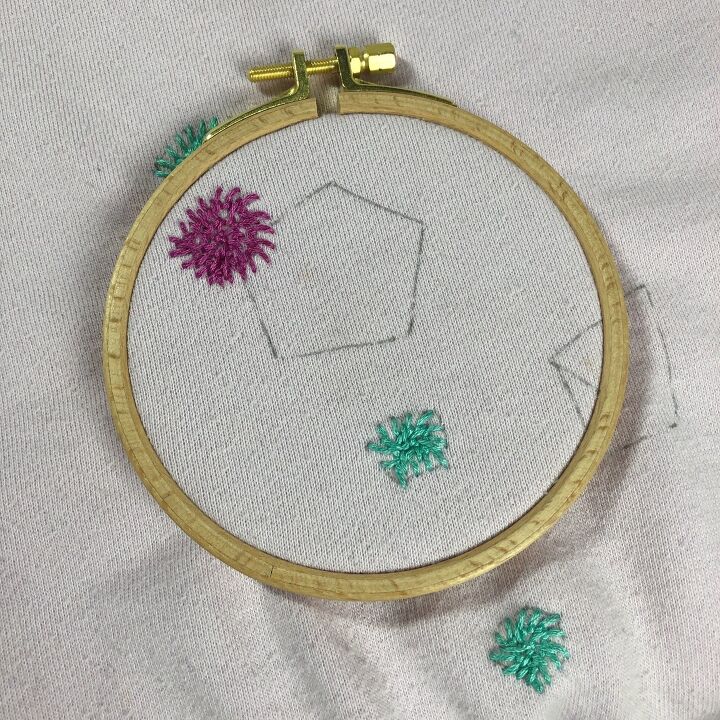
2. With the stains outlines, gently place your sweater in an embroidery hoop. Be sure not to pull your garment fabric too tight, otherwise it'll distort it.
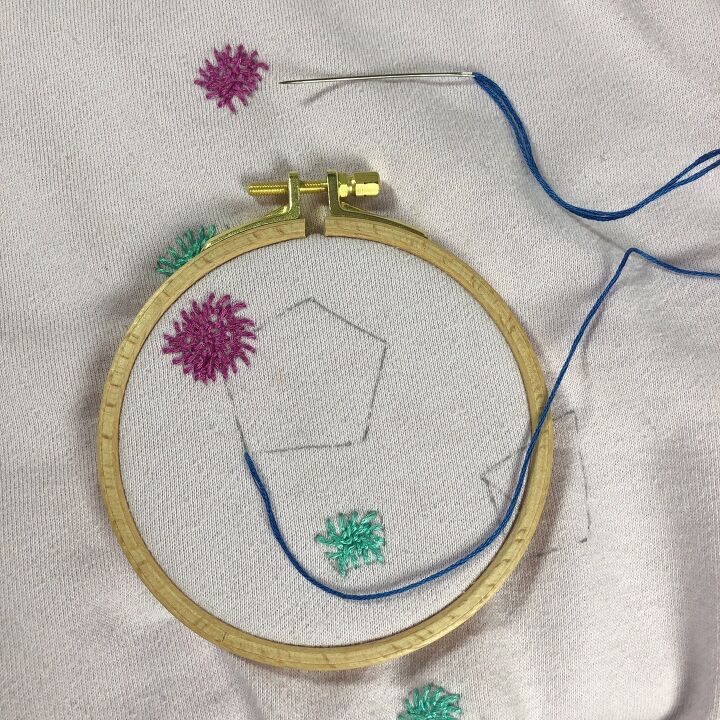
3. Thread the tapestry needle with 6 strands of your desired embroidery thread. Knot the end and start the button hole stitch. I use the shape outline as a guide for where to start my first row of button hole stitches.
4. To create the button hole stitch, start by bringing your needle up from the back of the fabric to the front. Next, bring your needle back down through the fabric along the guide line and then up through the fabric about 1/4 inch away. With the needle still in the fabric, slide the thread behind the needle. Then gently tug so that it looks like a U with thread coming your the the bend. Now add your next connected stitch by sliding the needle in and out of the fabric, placing the thread behind the needle then gently tugging the needle so that the thread is flush with the fabric.
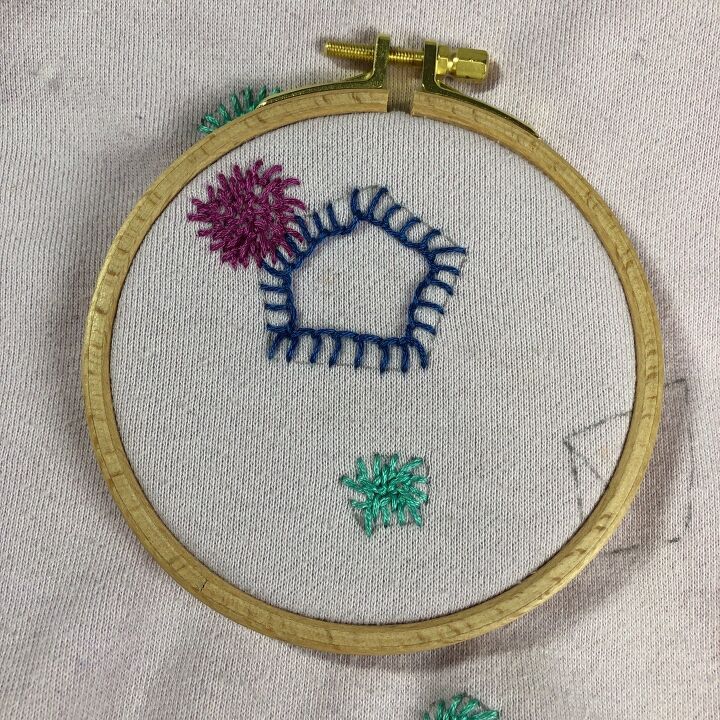
5. Continue adding button hole stitches until you've gone all the way around the shape. To close the shape, make a short horizontal stitch connecting the first and last button hole stitches at the U bend.
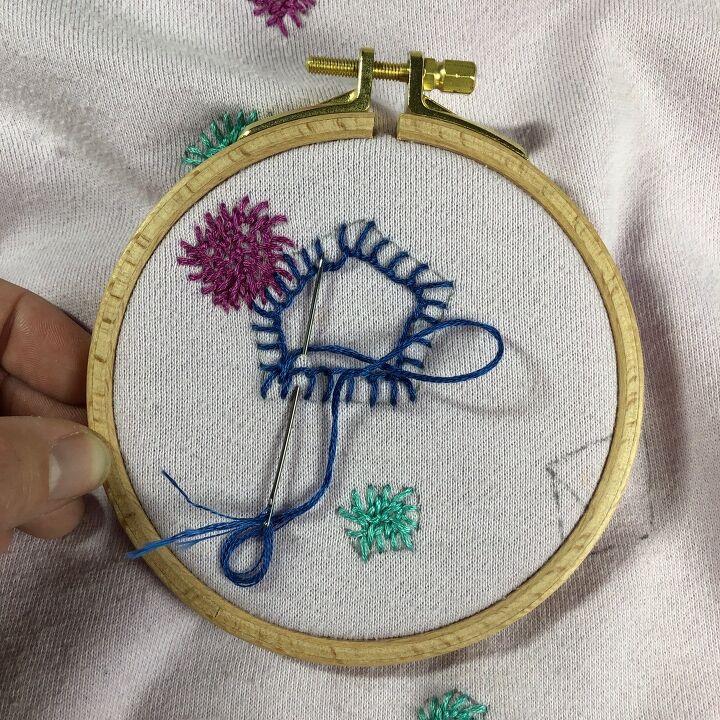
6. After you've finished the first row, stitch a second. Start your stitches in the middle of the a button hole stitch and work your way around the shape. Stitch until the shape is filled.
7. To end a thread, simply tie a slip knot then run your needle underneath some stitches to hide the tail before cutting the thread short. Knot off each shape's thread before continuing on to the next.
8. When you're finished, remove your design from the embroidery hoop and iron or blow dry away any pen marks. Then enjoy you're "new" sweater.
***Thank you for checking out some of my recommendations. This post contains affiliate links. If you make a purchase of one of these items, I may receive a small portion of the sale.***
0 views
The author may collect a small share of sales from the links on this page.


Comments
Join the conversation