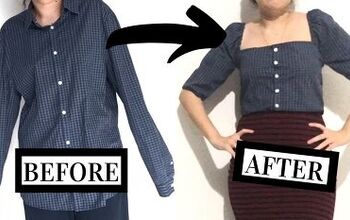
How to Make a Cool DIY Kimono Cardigan Out of a Men's Shirt

In this tutorial, I’m going to show you how to make a DIY kimono cardigan out of an oversized men’s shirt. This loose-fitting and trendy coverup is perfect as a stylish light jacket. Plus, it's really quick and simple to make.
Tools and materials:
- Oversized shirt
- Fringe
- Lingerie elastic
- Ruler
- Marking tool
- Scissors
- Pins
- Sewing machine
- Needle (optional)
- Thread
- Seam ripper

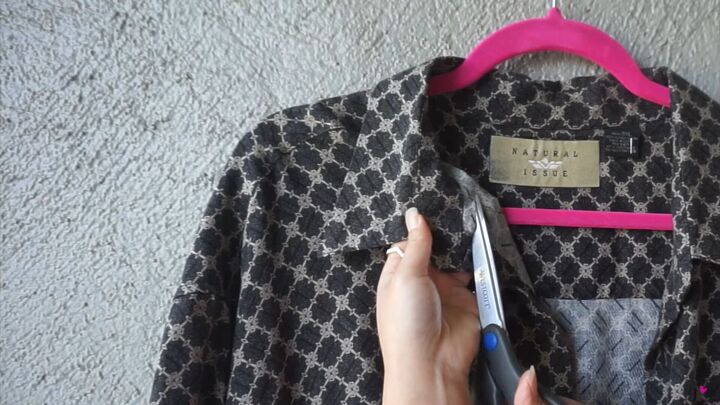
1. Remove the collar
First thing’s first, get rid of the collar before diving into the other steps. So, with a handy pair of scissors, cut around the collar area, as shown.
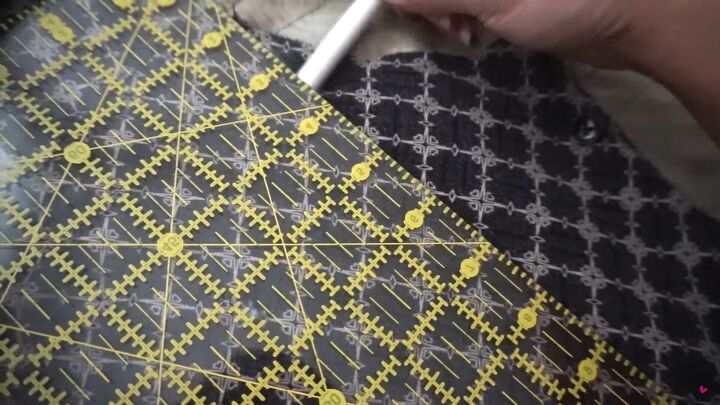
2. Adjust the front opening
Fold the shirt in half, and with chalk and a ruler, draw a subtle diagonal line along the sides of the front panels and pin both layers along the marked line. The reason why it’s best to fold your shirt is to ensure that the new line is even on both sides.
Next, cut out the excess fabric. Make sure you are cutting through two layers.
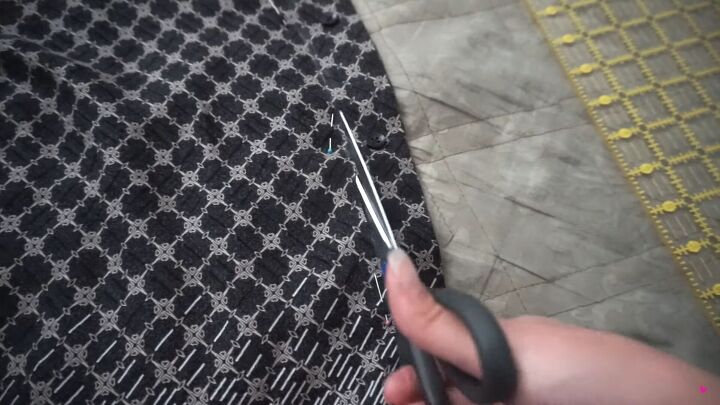
3. Remove excess fabric
With a seam ripper, remove any remaining fabric from the original fold. Mine was situated at the bottom.
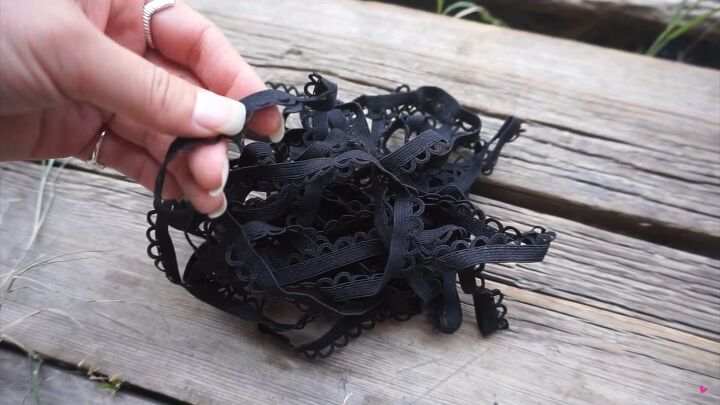
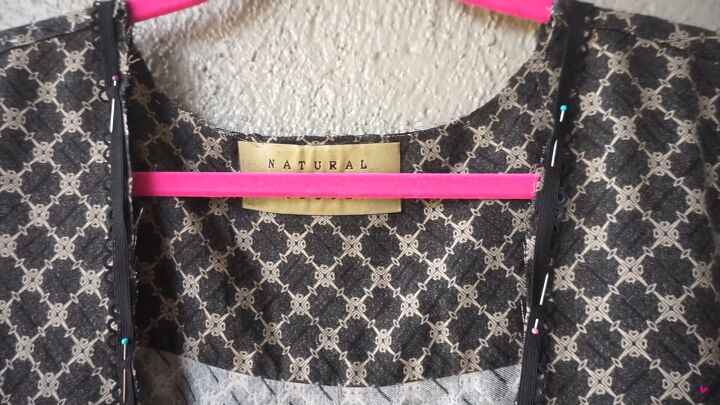
4. Attach the lingerie elastic
Attach your pretty lingerie elastic to the raw edges of the front openings. If you have frills or scallops, make sure to pin them away from the raw edge. Also, go around the neckline for an overall uniform and clean finish!
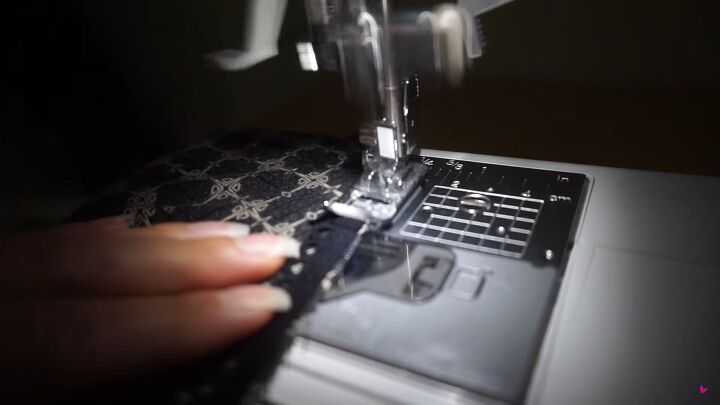
Now, sew the lingerie elastic on your DIY kimono cardigan. Then, remove any excess elastic at the ends.
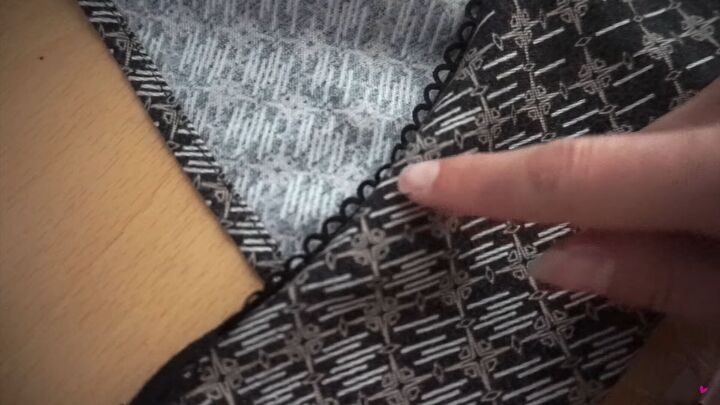
Now, fold the elastic over to the wrong side (once) and sew with a straight stitch on the right side of the fabric to secure.
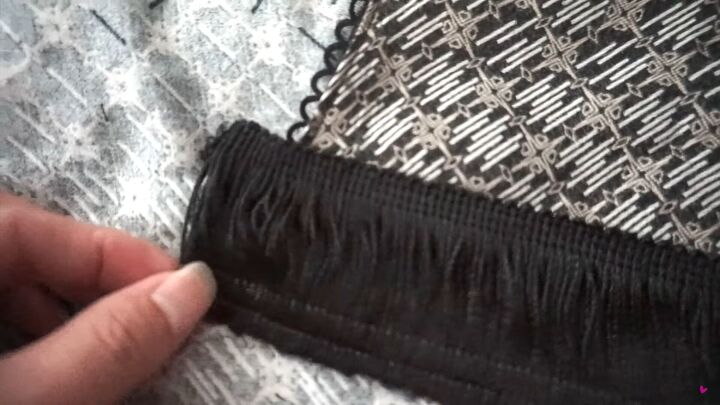
5. Attach the fringe
Pin the fringe to the bottom of your kimono, leaving about ½ an inch at the beginning.
Before you begin sewing, fold in the ½ inch tail of the fringe first. Also, fold the end of the other side before you complete sewing the fringe.
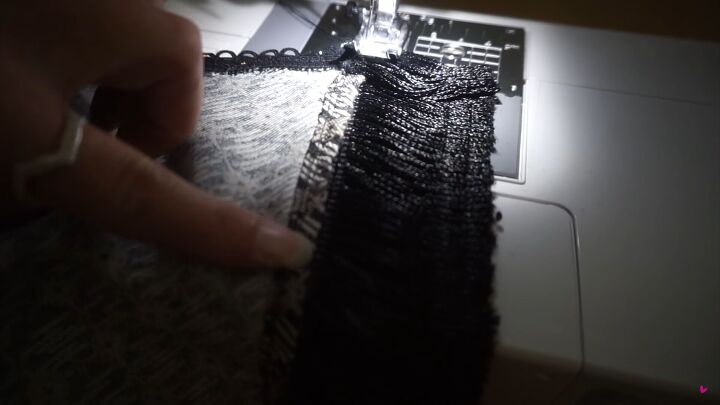
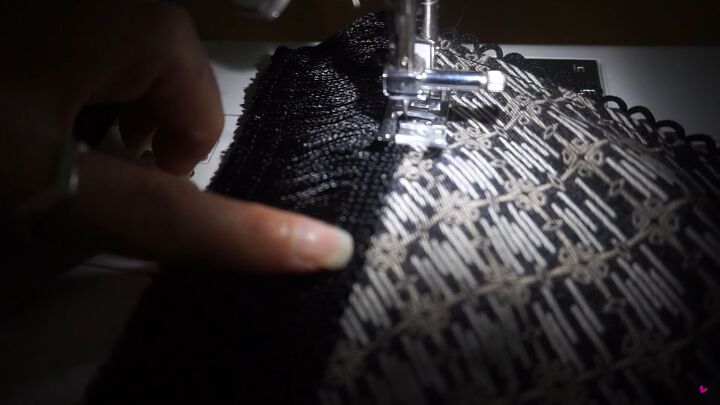
Now, sew a straight stitch below the first stitch, so that the fringe is secured.
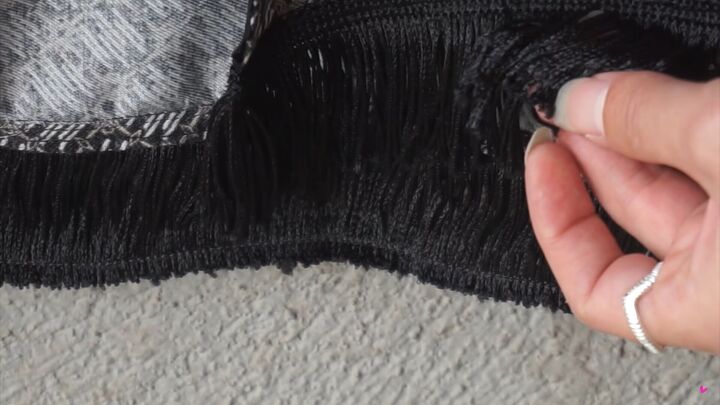
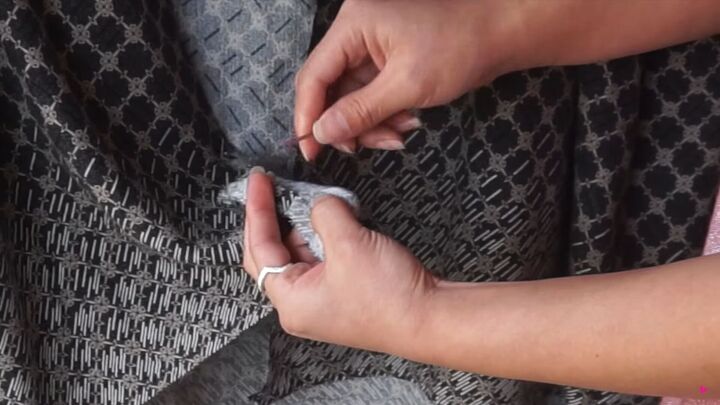
Here’s the fun part! Remove the main wire from the bottom of the fringe.


DIY kimono cardigan tutorial
Now it’s time to show off your dazzling new DIY kimono cover-up! How beautiful does it look? It looks as good as new and no one would ever guess that this DIY kimono cardigan was once upon a time, a boring old men’s shirt.
Let me know what you think of this transformation in the comments below.
The author may collect a small share of sales from the links on this page.


Comments
Join the conversation
I love it, but do not understand the reason for the elastic around the edge.
Beautiful