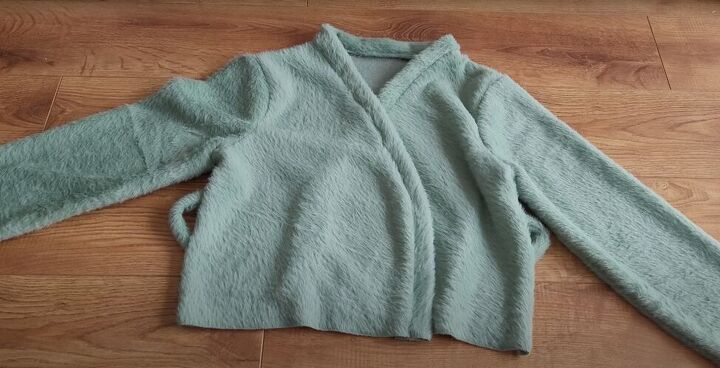
How to Make a Cozy DIY Wrap Cardigan Out of Soft Eyelash Fabric

In this tutorial, I'll show you how to make a DIY wrap cardigan. This cozy oversized wrap cardigan will be the comfiest thing you will ever wear, and it's simple enough to make if you have basic sewing skills.
The free PDF pattern should fit anyone sized from extra-small to large. If you are outside of that range, you can just adjust the size of the width as needed.
Let's get started with this wrap cardigan sewing tutorial!
Tools and materials:
- Wrap cardigan sewing pattern
- 1 x 1½ meters heavy eyelash fabric
- Scissors
- Sewing pins
- Sewing machine with zigzag foot
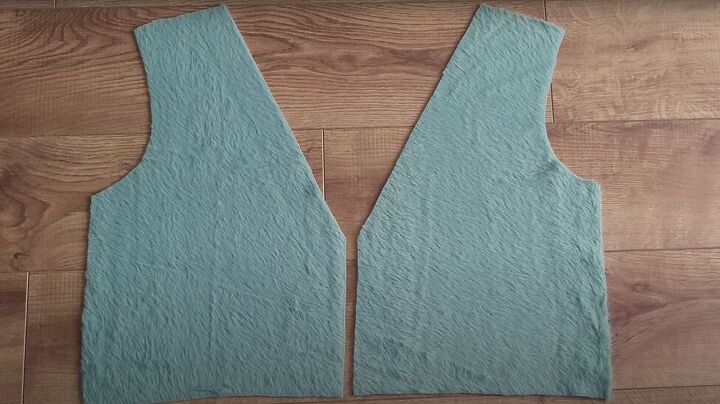
1. Cut the pieces
Cut the following pattern pieces from the PDF pattern:
- 2 front pieces
- 1 back piece – you can cut this piece on the fold of the fabric
- 2 sleeves
- 2 belt loops
- 2 cuffs
- 2 belt strips
- 1 binding
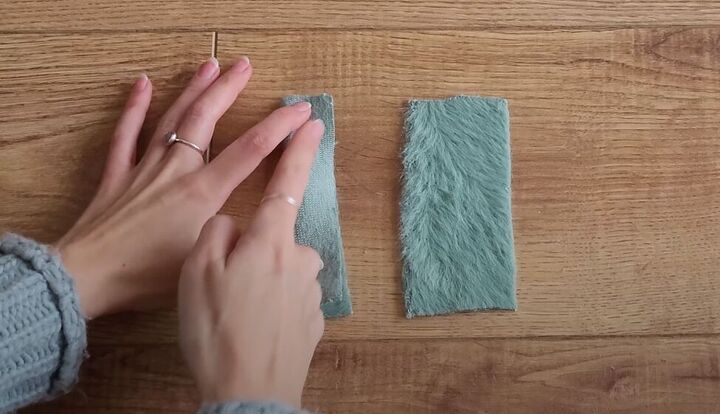
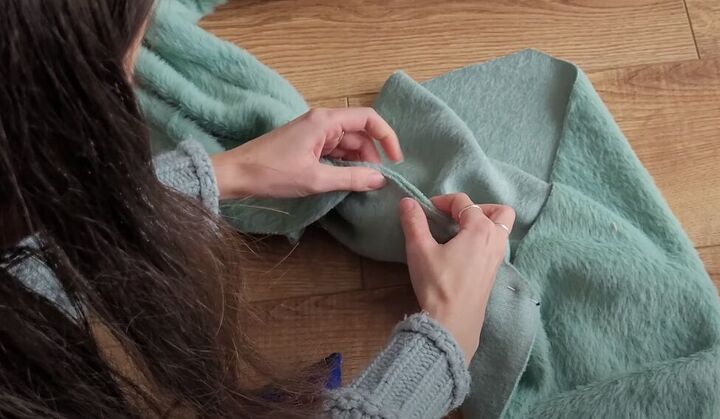
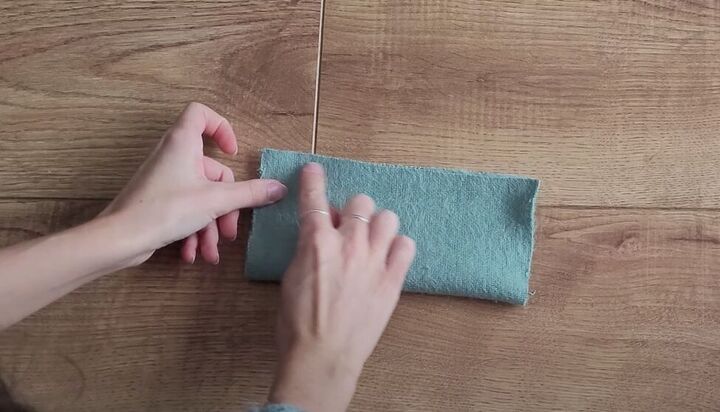
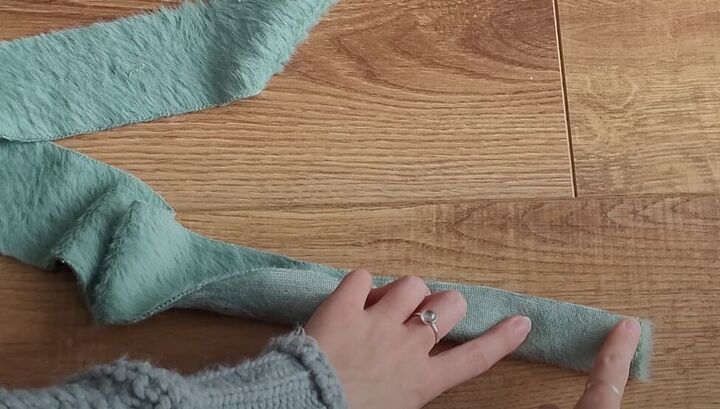
2. Start with the belt loops
Fold each belt loop lengthwise with the right side facing in. Sew the long edge and one short edge of each belt loop with a straight stitch and then turn the belt loops right-side out.
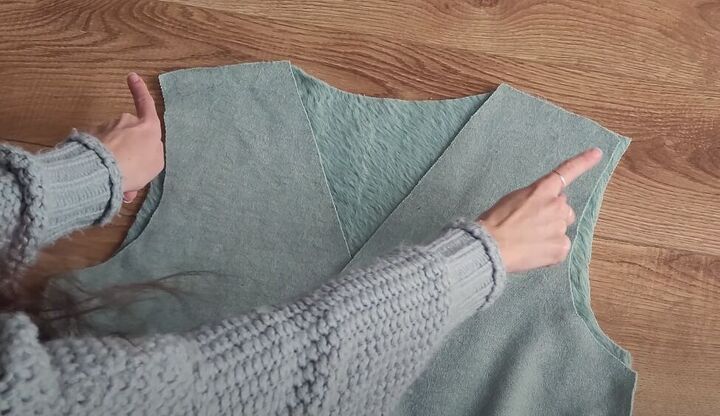
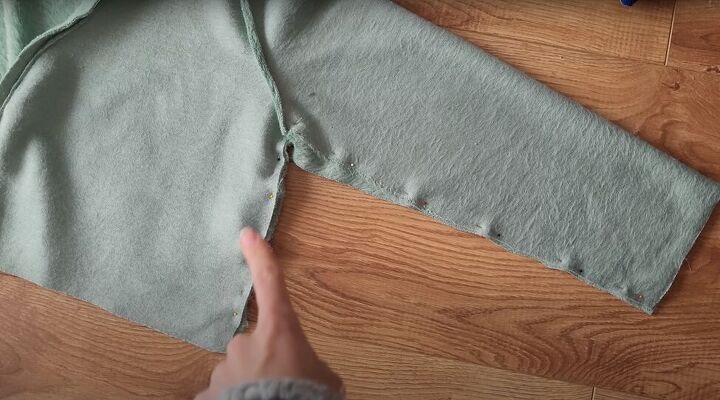
3. Sew the front and back together
With right sides facing in, pin the two front pieces to the back piece at the shoulder, matching up the armholes. Sew just the shoulder seams using a straight stitch.

4. Sew in the binding
Now open the cardigan and lay it flat, right side facing up. With the right sides together, pin the binding piece all along the front neckline.
Sew the binding in place using a ½ centimeter (0.2-inch) seam allowance.
If you have an extra bit of binding after sewing it in, just trim it off.
Now, fold the binding to the inside of the cardigan and pin it in place, putting the pins on the outside of the cardigan.
Topstitch the binding to the cardigan, making your stitches in the ditch of the seam you created when you attached the binding.
5. Attach the sleeves
With the right sides together, insert the sleeves into the armholes. Make sure you are inserting the sleeves correctly – the deeper part of the curved end should be towards the front of the cardigan.
Sew in the sleeves with the right sides together.
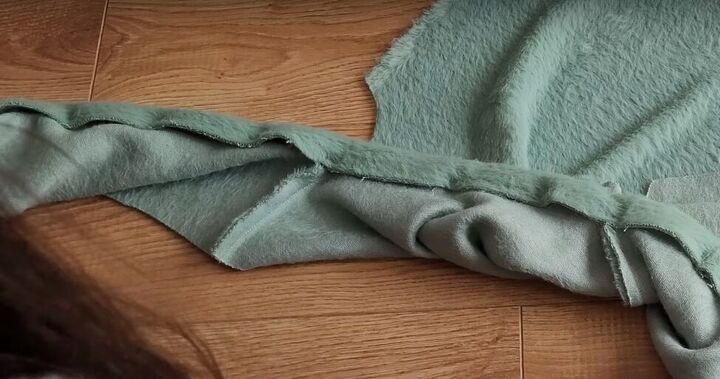
6. Add the belt loops and sew the side seams and sleeves
Before you sew the side seams, pin the belt loops into place between the front and back pieces at the side seam. Then, when you sew the side seams you’ll be sewing in the belt loops at the same time.
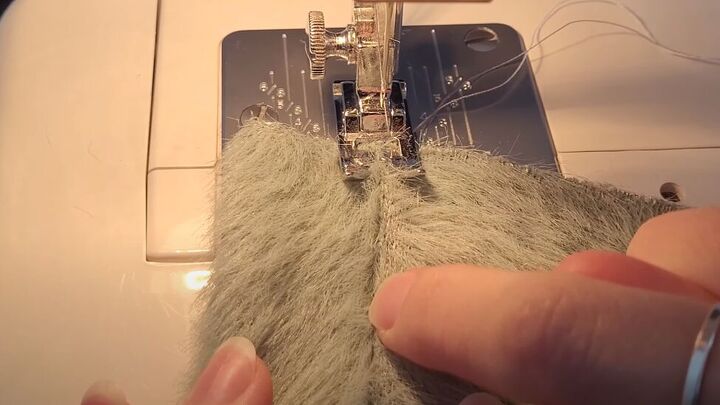
Now, use an overlock zigzag stitch or a straight stitch to close the side seams and the sleeve seams.
7. Add cuffs
First, check the circumference of your wrist and adjust the width of the cuff sleeves as necessary to fit your wrists.
With the right side facing in, fold each cuff lengthwise and sew along the long edge.
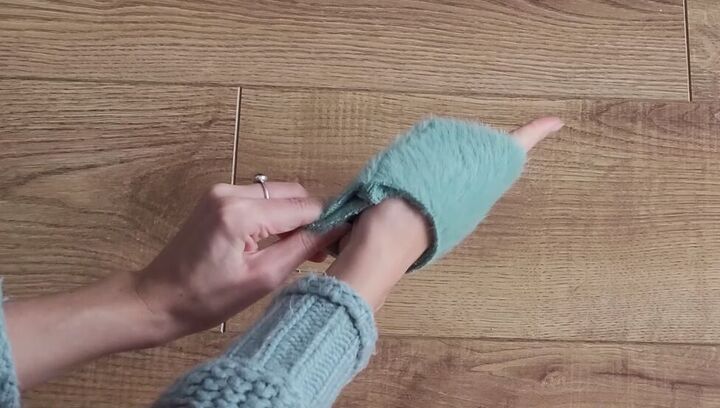
Turn the cuffs right side out, and fold them in half with the wrong sides together.
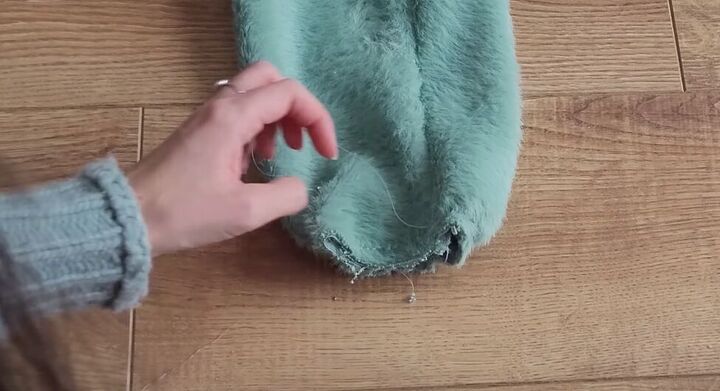
To attach the cuffs to the sleeves, sew a basting row of stitches along the bottom of each sleeve. Then, pull on the basting thread to gather the bottom of the sleeve until it is the same circumference as the cuff.
Turn the sleeve inside out and place the cuff inside the sleeve, with right sides together.
Sew a zigzag seam around the entire circumference. Using a zigzag stitch here will keep the cuffs stretchy.
Turn the sleeves right side out and check that there are no raw edges. Remove the basting stitches.
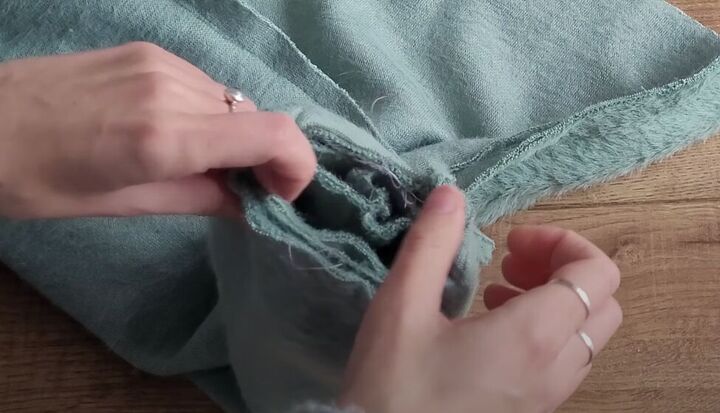
8. Make the belt
First, sew the two belt strips together along a short edge to make one long belt piece.
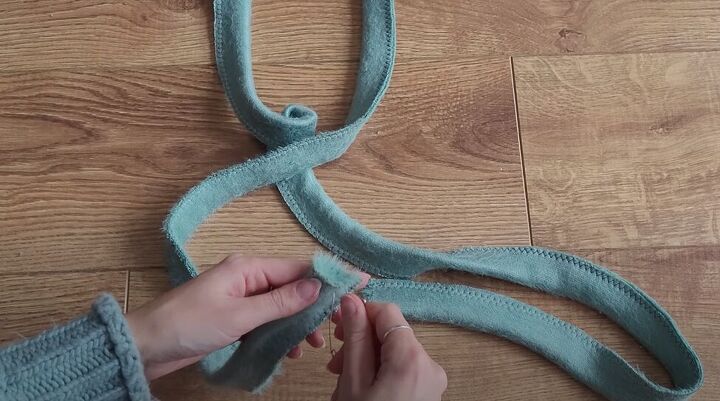
Fold the belt in half lengthwise, with right sides facing in, and sew it together along the one short edge and the open long edge.
Turn the belt right side out and stitch the open end closed.
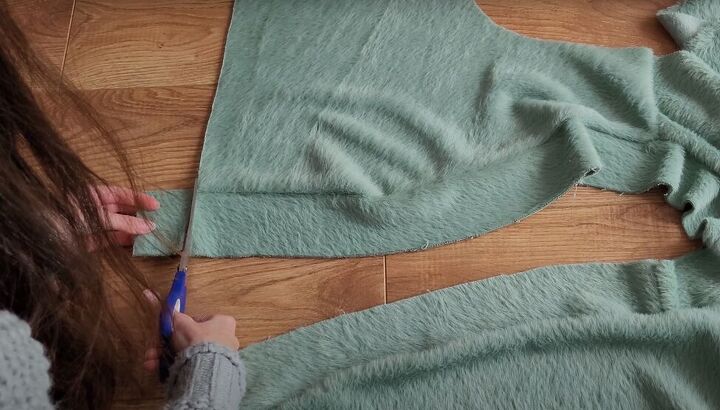
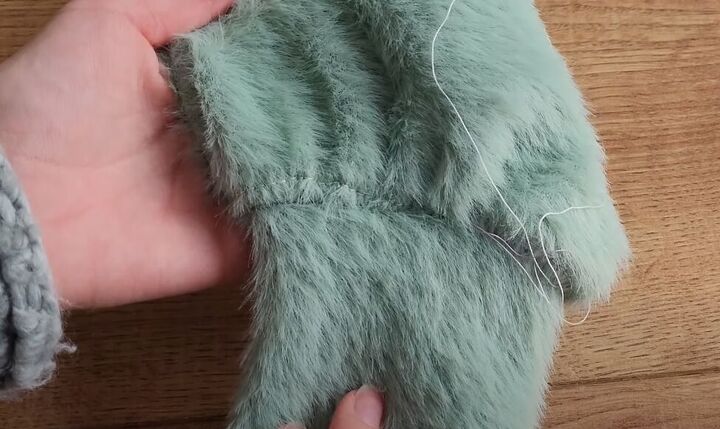
9. Hem the cardigan
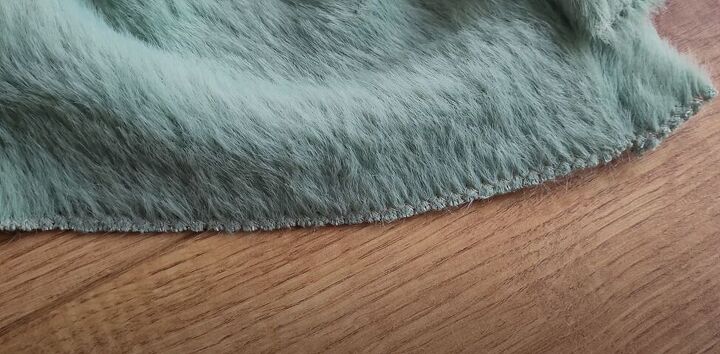
Hem the cardigan by simply sewing an overlock zigzag stitch along the bottom. That will keep the cardigan soft and flowy.
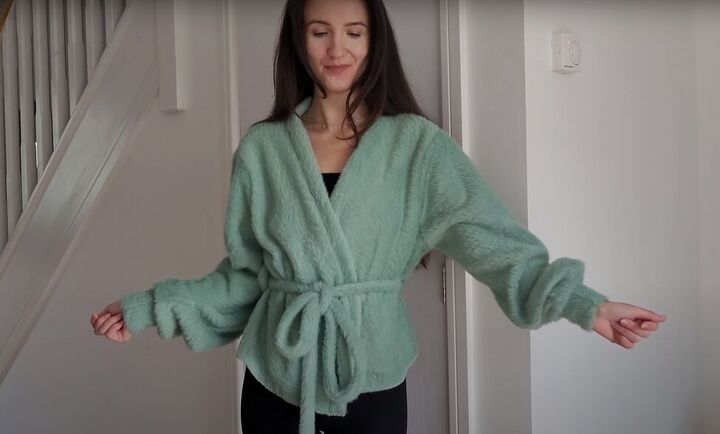
DIY wrap cardigan tutorial
Winter just got a little easier! You are going to want to wear this versatile and timeless cozy cardigan all the time.
If you try out this DIY wrap cardigan tutorial, please let me know in the comments how you liked it.
The author may collect a small share of sales from the links on this page.


Comments
Join the conversation
The cardigan would probably fit better if you found the center of the sleeve and pinned it to the shoulder seam. (Or determined where the correct placement would be, if you planned a deeper armhole opening for the front of the sweater, as it seems you've done.) Because the sleeve seam is cut on the bias, and also attached to portions of the front and back on the bias, you will be trying to evenly match two stretchy pieces together. Biases always stretch, even with non-stretchy material. Finding the correct placement for the shoulder seam and denoting it with a small notch or tab would help each woman to see where the fabrics need to be eased for an even joining, allowing the sweater lie flat around the arm. Otherwise someone may end up trying to sew 3 in. of sleeve into 3 ½ in. of front and then just lop off the excess, resulting in an ill-fitting, uncomfortable cardigan. Btw, I like the idea of having a deeper armhole for the front of the cardigan, as my arms usually end up forward of center. Good idea, there!
Beautiful 😍