How to DIY a Super Cute Baseball Shirt

Have you ever thought to yourself that you could make way better merch than your favorite baseball, basketball, or football team? That's what we're going to do today. We're going to make our own merch.
We will make custom graphics and placement and create sports sweatshirts of your favorite team. It's super fun.
We are doing the no-sew version just using fabric glue. Keep in mind that you're not going to want to machine wash it that much.
You can machine wash it, but it will shorten the lifespan of the glue. So either spot clean, hand wash, or wash sparingly.
If you can sew, then I’d recommend doing that because then you can wash it over and over again.
Tools and materials:
- Fabric glue
- Sports team sweaters and T-shirts
- Scissors
- Tacky spray
- Sewing machine
- Rhinestones
- E600 glue
- Paracord

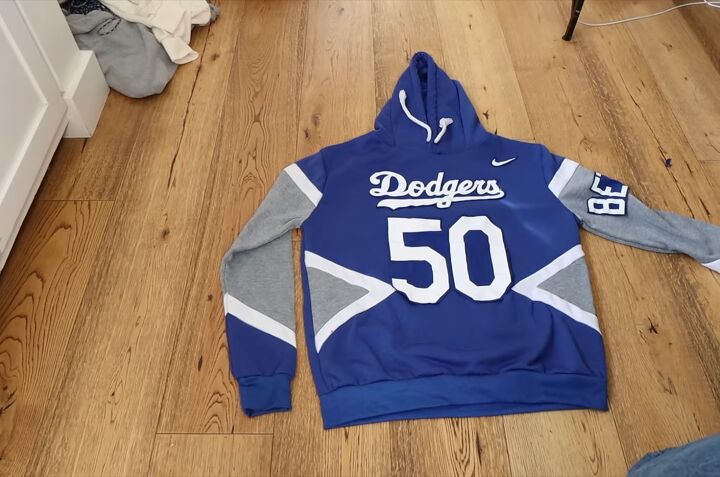
1. Cut off graphics
Cut off all of the different graphic elements from your existing sports shirts so that you can place them anywhere you want. How you cut them out is up to you.
For example, I cut this logo really tight so it had a delicate border going all the way around, but you could also cut a square around the logo - this would make it easier to sew or stick on.
2. Place on sweater
Now this is the fun part. This is when you get to lay all of your different elements in different places and start playing with the design.
Here, I thought of taking the graphic that was on the back and centering it in the front with another part on the arm like an armband.
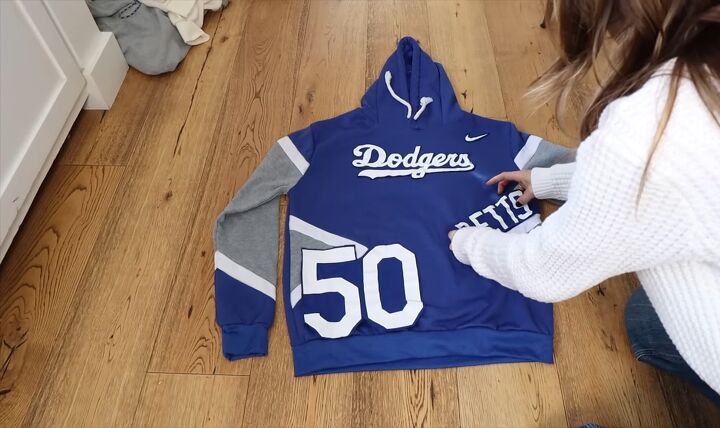
Then I thought, what if I put them all in the front and work with the triangular elements of the hoodie?
This is the version that I liked the best.
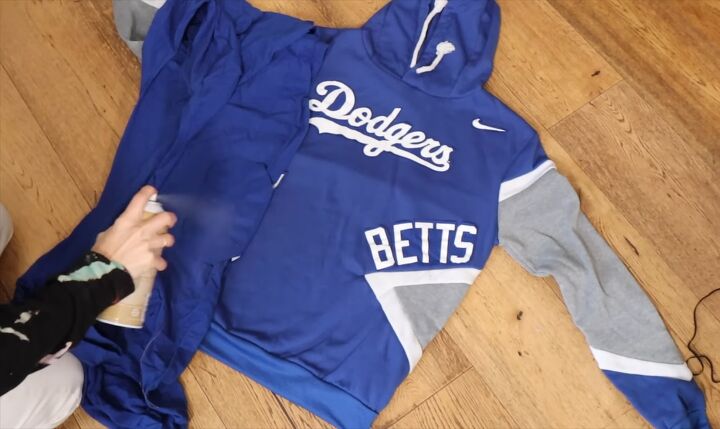
3. Spray pieces down
I recommend, especially if you're sewing, using tacky spray in lieu of pins. It's going to give you a really flat, seamless flush connection allowing you to sew without anything rippling or moving on you.
To apply, leave your graphics on your shirt, fold half the graphic back, spray it, lay it down on the hoodie, and do the other half.
If you pick the pieces off the hoodie and spray them, you probably won’t be able to lay it back down exactly where you want it.
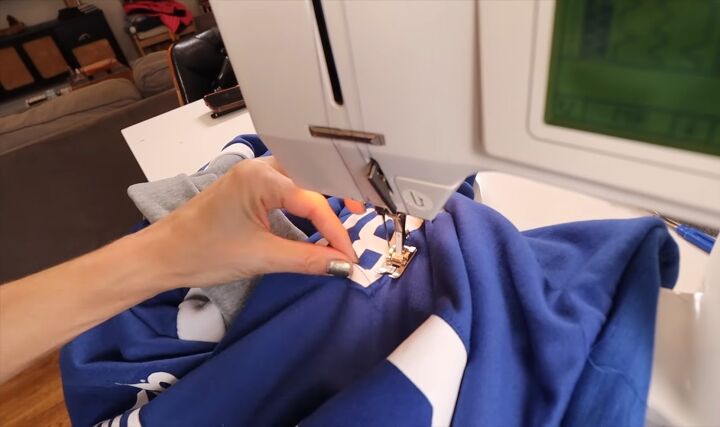
4. Sew pieces on
Do a zigzag stitch. Go all the way around the graphics that are fully adhered to the sweatshirt with the tacky spray.
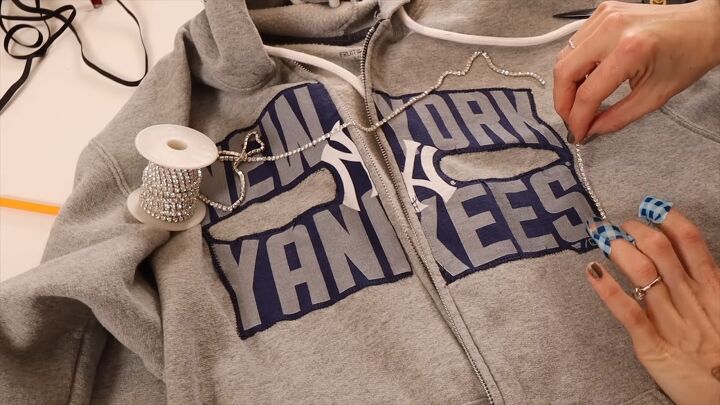
5. Add rhinestones
If you make a mistake around the edge of a graphic, or it just doesn’t look so neat, you can glue rhinestones around the edge of it with E6000 to cover up any untidiness.
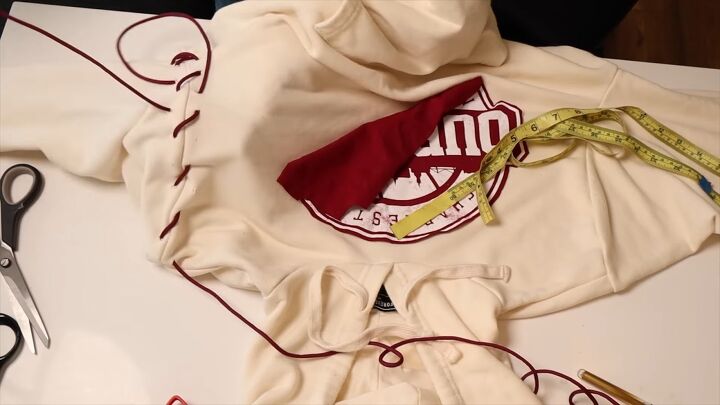
6. Add cording
For this design, I added cording.
To do this, mark along the shoulders so you know where to cut, and then make tiny snips to create little holes. Then push the cording through the holes.
I recommend burning the edges of your paracord so you can easily get them through and then go all one way first.
First, go down, creating angles all the way around, and then come back up the way you came going over those lines, and it automatically creates x's. It gives it a really cool athletic vibe.
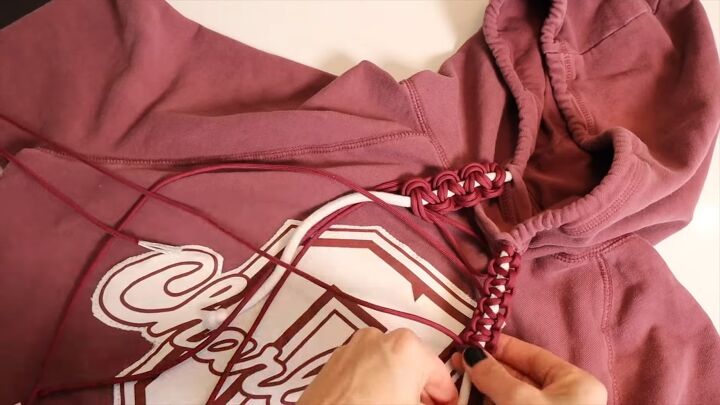
7. Macrame
For this one, I thought I would play with doing a little bit of macrame with the paracord on the existing drawcord.
To do this, wrap all the way around and do a simple square knot. Then seal it with a hot knife to fuse the cord together.
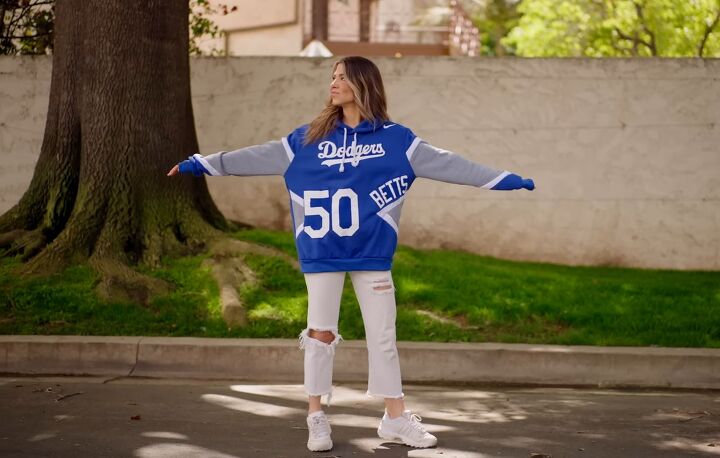
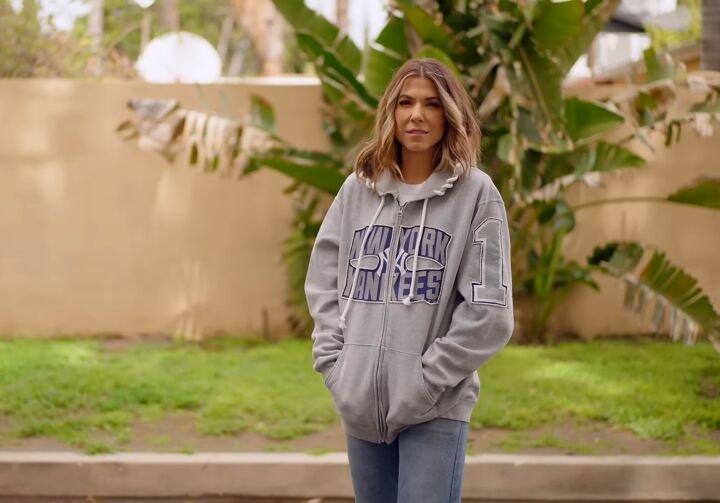
Here I cut off graphics from Dodgers sweaters and created my own custom sweater by positioning them on.
I think this is a really fun design, and it also looks legit as a team hoodie, like it could be actual merchandise they sell.
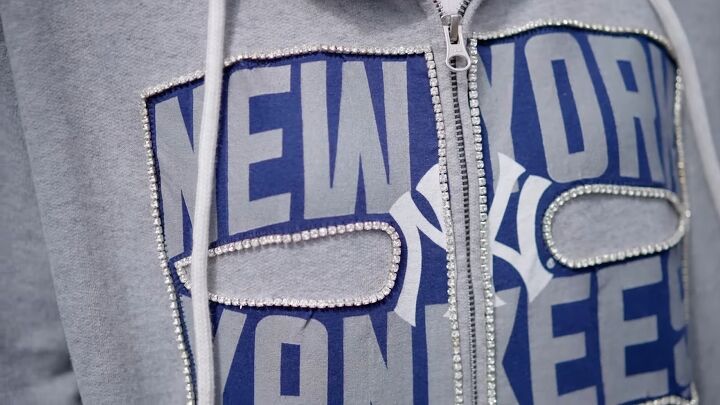
Here you can see how I’ve surrounded the sides of the logo to add some bling to the design and also cover up the messy edges.
DIY baseball shirt
There is so much scope for what you can do with this custom team gear DIY.
If you have a sports team that you love and you love getting crafty, why not create your own team hoodie that you can wear to all of their games?
Check out my post on How to DIY a Cute Embroidered Hoodie for Spring.
The author may collect a small share of sales from the links on this page.


Comments
Join the conversation
instead of spraying glueing them, If you use fusable webbing material , such as stitch witchery on the back of your appliqué, you can then iron it from the back of the shirt to get it to fuse. It will stay flexible and washable. Its what I do when I make Appliqués.
Very cute!! I really love this idea. I've been seeing a lot of old t-shirts on flannel, but there's something about sports that's so great!