How to DIY a Super Cozy Hoodie

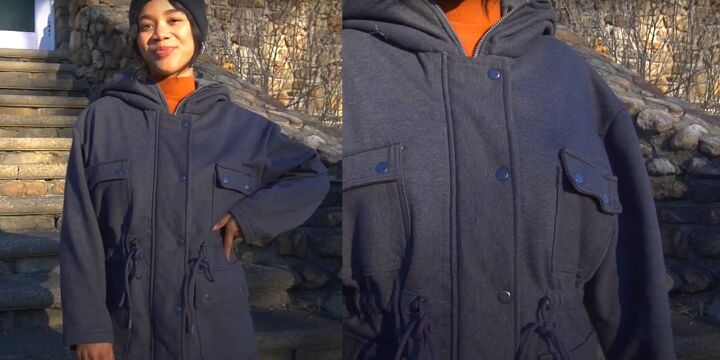
I think I made the perfect DIY hoodie jacket from French terry fabric!
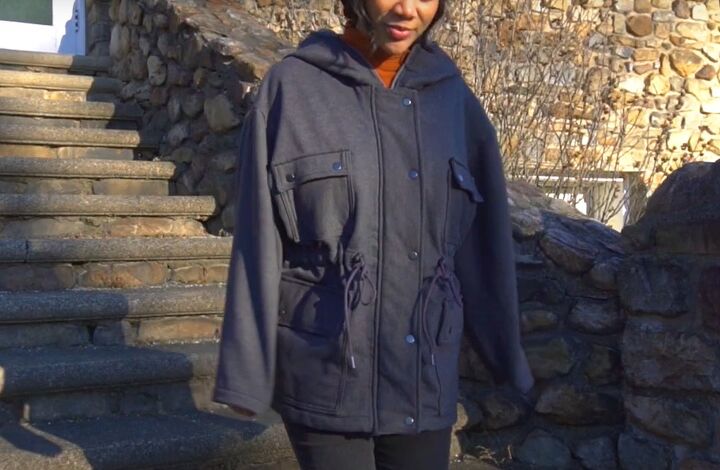
I used this hoodie sewing pattern, which has the look of an anorak jacket, and added some extra seam details.
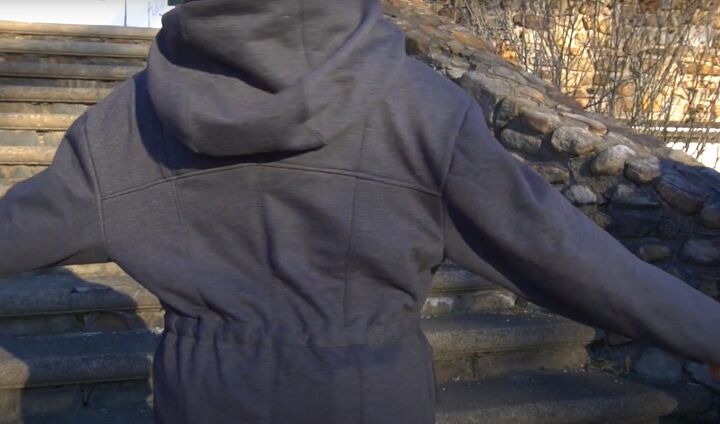
I originally made it up in the large size and had to take in the center back seam by quite a lot.
Tools and materials:
- Simplicity Pattern S8843
- Tracing paper
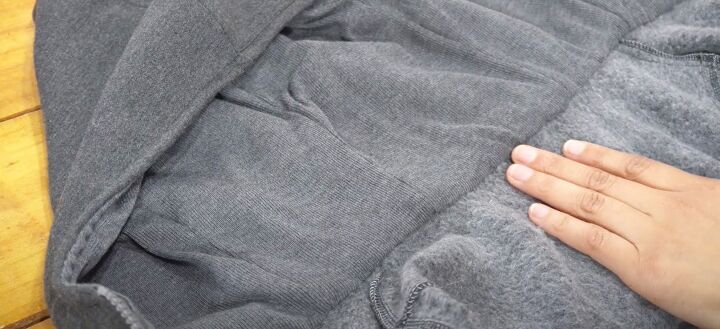
- 2.5 yards French terry fabric
- Dritz Hammer on Snap Buttons
- 30" zipper
- Cord
- Cord stops
- Interfacing
- Fabric marker
- Marker pen
- Hump jumper (optional)
- Mallet (optional)
- Pins
- Scissors
- Ruler
- Sewing machine
- Serger (optional)
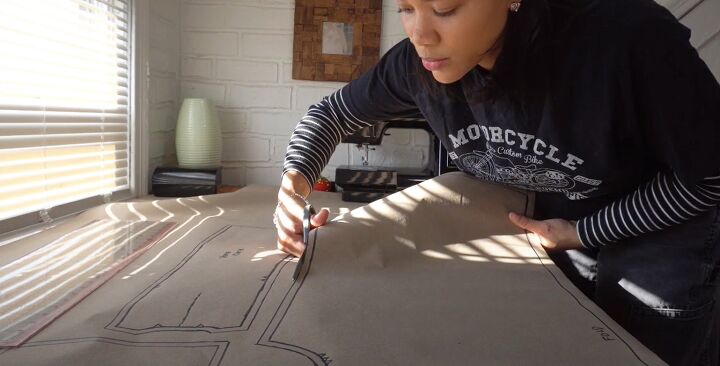
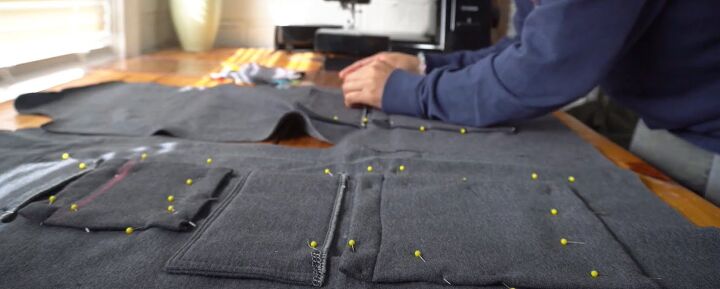
1. Cut out fabric
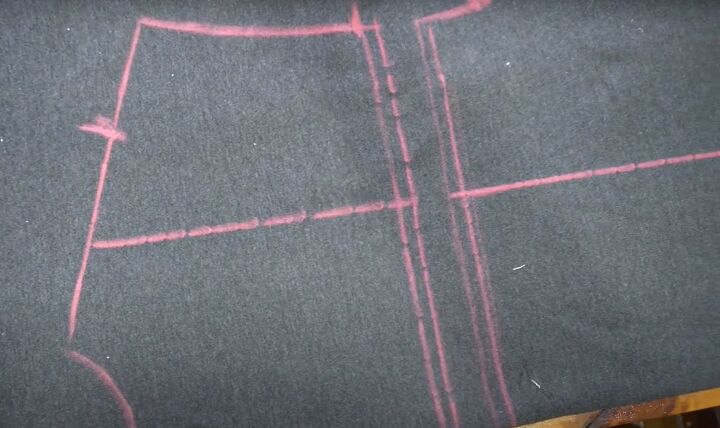
Trace the pattern pieces onto your paper and transfer all the pattern marks.
Pin the individual pieces to your fabric and cut them out.
I made some simple modifications to the pattern. I squared off the lower edges of the pocket flaps and made an additional small top pocket 6.5 by 6.5 inches.
I cut the back into 6 pieces so I could have extra seam details. If you do this, remember to add the seam allowance to each piece.
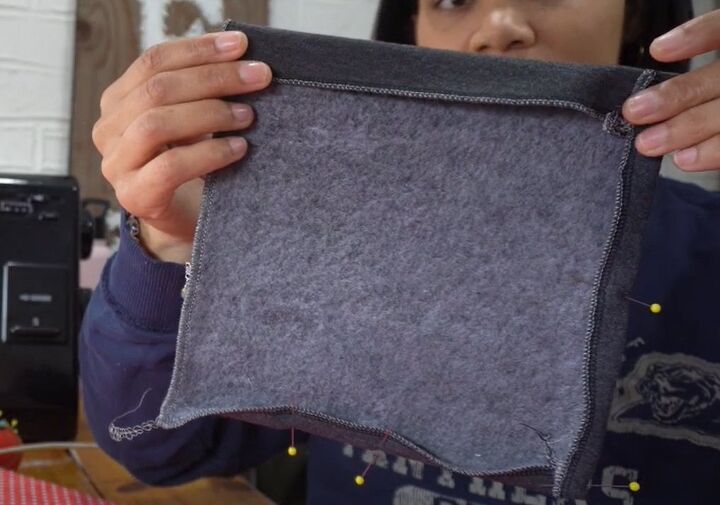
2. Pockets
Serge or zigzag stitch around the pocket edges.
Press in the top edge by one inch and the other edges by half an inch. Top stitch the one inch fold on each pocket.
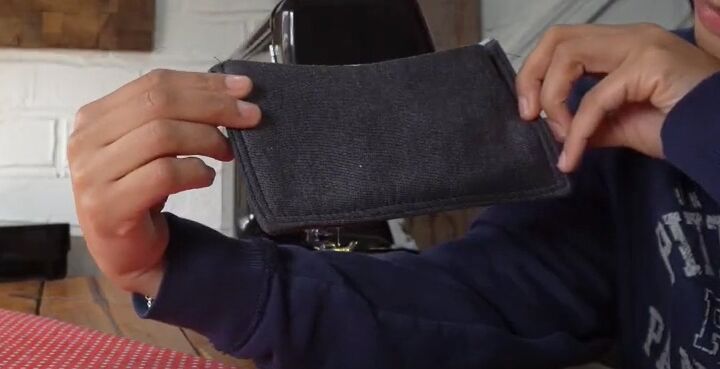
Add interfacing to the underside pocket flaps. Pin each pair of pocket flaps with right sides together and sew along the lower and side edges.
Trim the corners, turn the flaps right sides out and press. Top stitch two rows around the stitched edges and finish the raw edges.
Add the snap buttons. I didn't have mine when I got to this point so I had to add them later.
Pin the pockets and flaps to the right side of the jacket fronts.
Sew two rows of stitching to attach the pockets and one row across the pocket flaps.
Turn the flaps down and top stitch the upper edge.
Use a hump jumper if you have one, or flatten the top edge of the flaps with a mallet.
3. Back
Join the back pieces with the right sides together. Sew, serge and top stitch each seam.
Sew the yoke to the back in the same way.
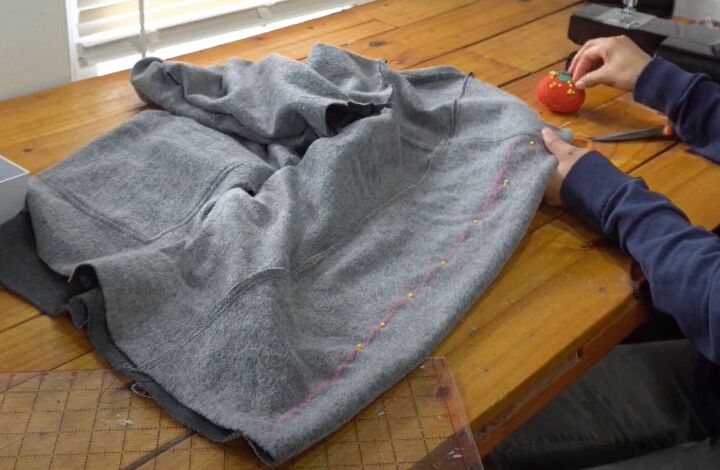
Join the front to the back at the shoulders and try on the jacket. At this point, I realized mine was too big so I took in the center back seam.
4. Sleeves
Attach the sleeves and close the side and sleeve seams.
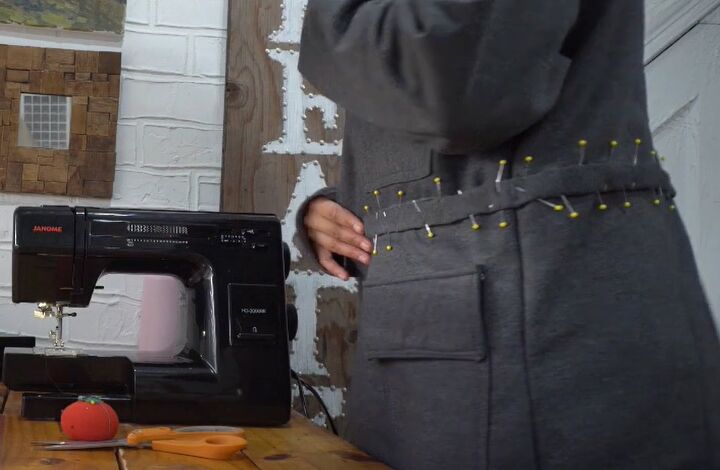
5. Casing
Join the front and back casing strips along the short edges.
Mark the waistline on your jacket and pin the casing in place, folding in the top and bottom edges. Top stitch it to the jacket along both edges.
Thread the cord through the casing.
Tape the ends of the cord and pull them through the cord stops.
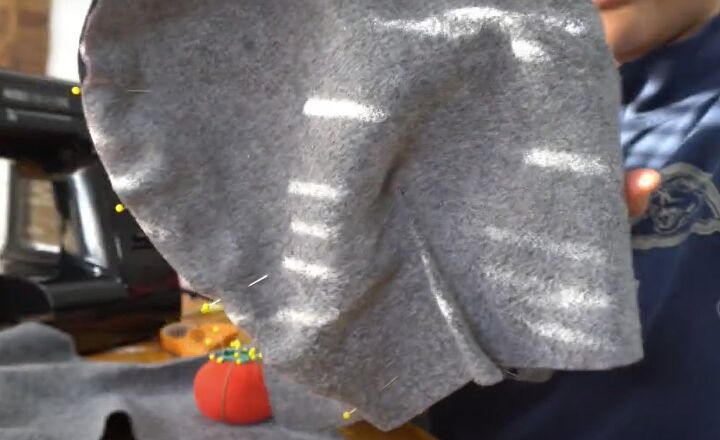
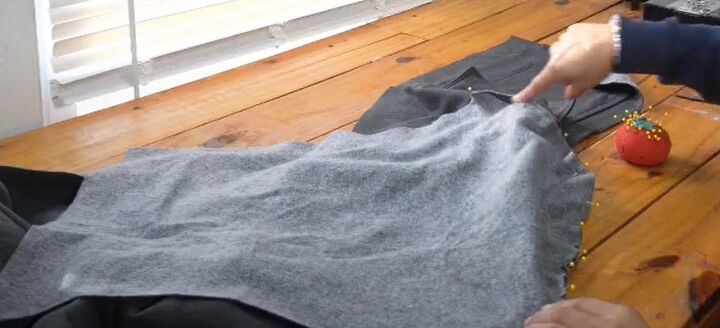
6. Outer hood
Pin and sew the hood darts. Join the center hood piece to each side hood piece.
Finish the raw edges and top stitch. Pin and sew the hood to the neckline of the jacket.
Sew the hood lining pieces together.
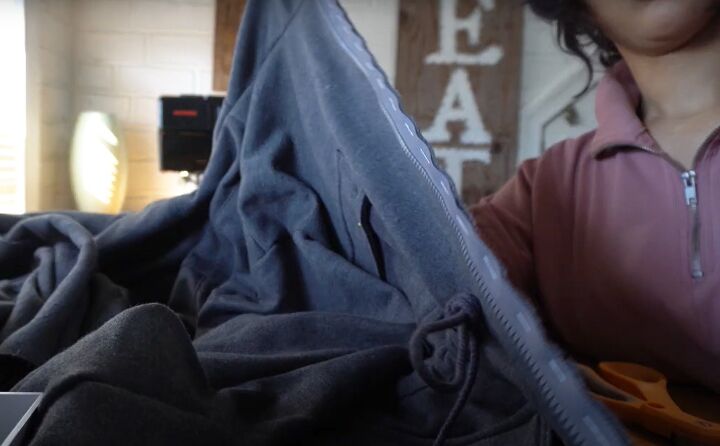
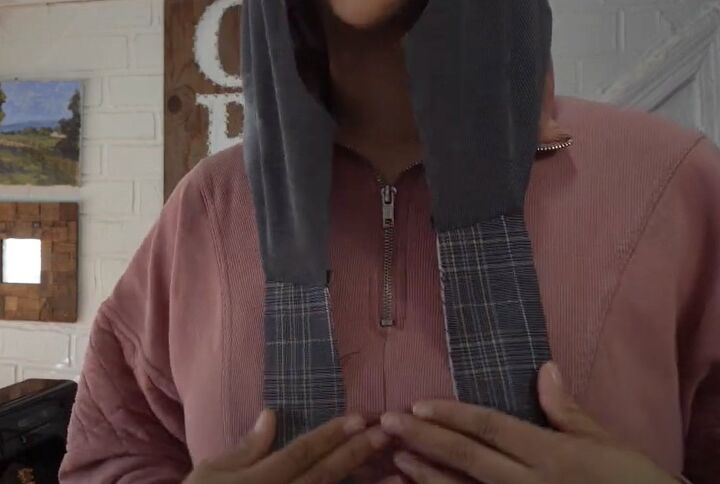
7. Zipper
Hand baste the zipper tape to the center fronts of the jacket before sewing.
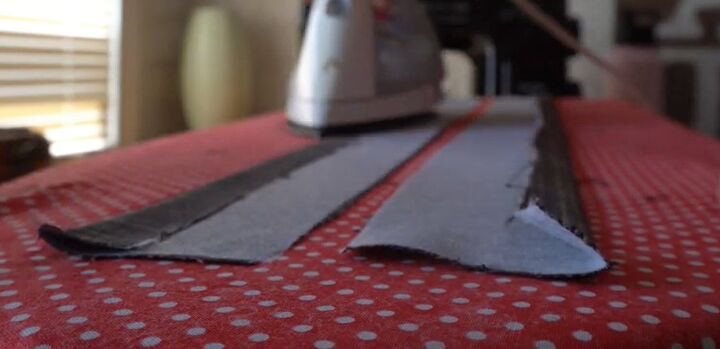
8. Front facings and hem
Add interfacing to both facings and press in the outer edge of each.
Sew the facings to the hood lining.
Pin the facings along the zipper edges with right sides together.
Pin the edge of the hood lining to the outer hood, also with right sides together and sew all the pinned edges.
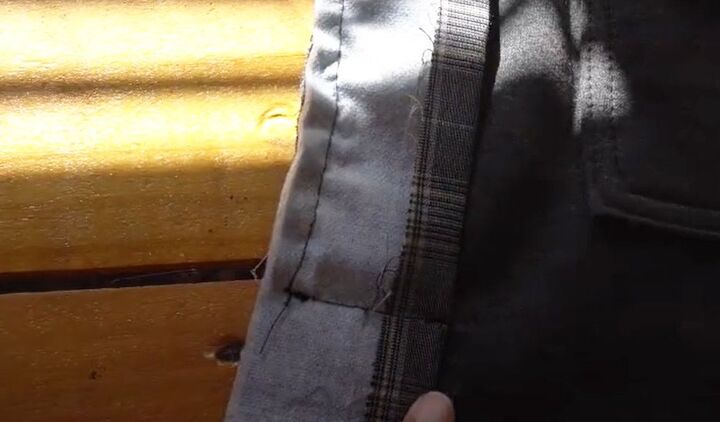
Sew along the lower edge of the facing right under the bottom of the zipper, and cut off the excess.
Turn the facings right side out.
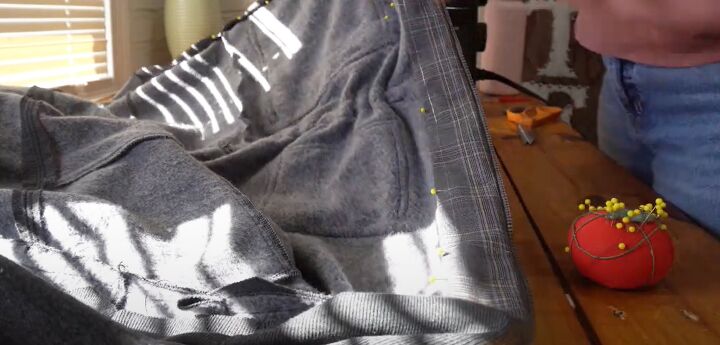
Pin the facings to the inside of the jacket and double fold and pin the bottom hem.
9. Finishing
Hand baste along the inner edges of the facings and top stitch on both sides.
Top stitch around the zipper tapes and the edge of the hood.
Fold up the raw edge of the hood and hand stitch that and the bottom hem in place.
Finish the raw edge of the sleeves, fold over once and top stitch.
Add interfacing to one side of the button placket and join it along the short edges. Turn it right side out and press and finish the raw edge.
Pin and sew the button placket to the jacket, fold it over and top stitch it. Add the snap fasteners.
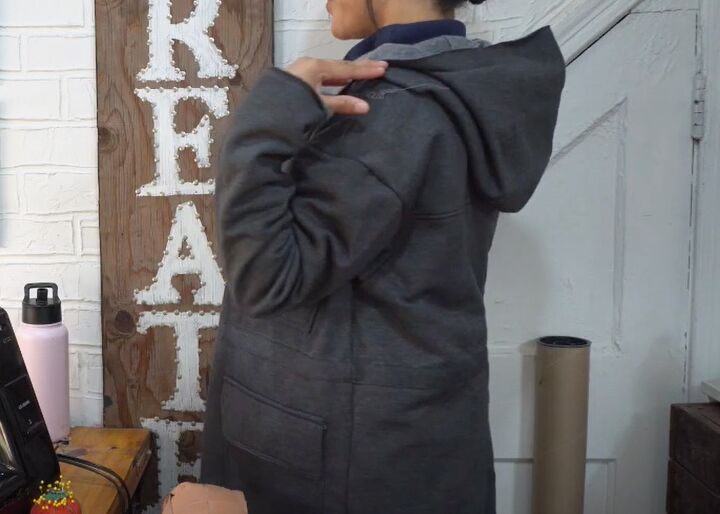
How to sew a hoodie: DIY hoodie
I think this is the cutest jacket I've ever made! It's perfect for spring and was really interesting and fun to make.
Would you wear this? If you found this tutorial interesting, please let me know in the comments.
Check out my post on How to DIY Comfy Gray Cargo Pants.
The author may collect a small share of sales from the links on this page.


Comments
Join the conversation