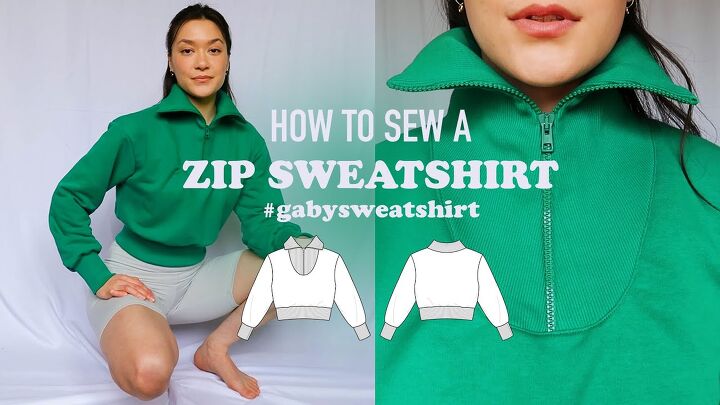
DIY- How To Make A Cozy Zip Sweatshirt

Hey there! Today, I'll be showing you the steps alongside instructions on how to make this cool warm and cozy sweatshirt. I call it the Gaby sweatshirt. It's so easy to make and even the end result is totally worth it!
Tools and materials
- Knit fabric
- Threads
- Pins
- Zipper
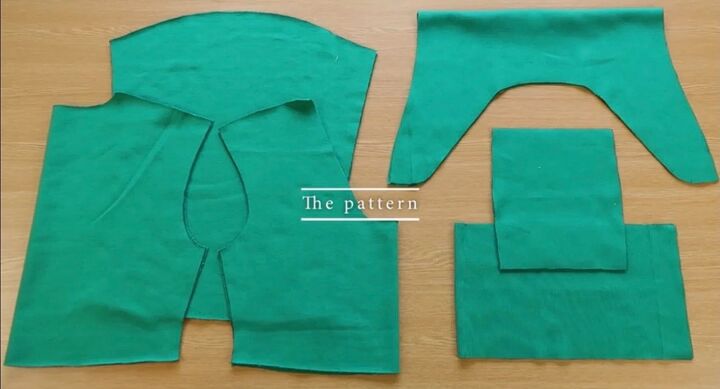
Pattern
The pattern of this sweatshirt is available in sizes 34-46 on my online shop.
It has six pieces in total, consisting of the front, back, collar, two wrist ribbings and a waist ribbing (+a zipper).
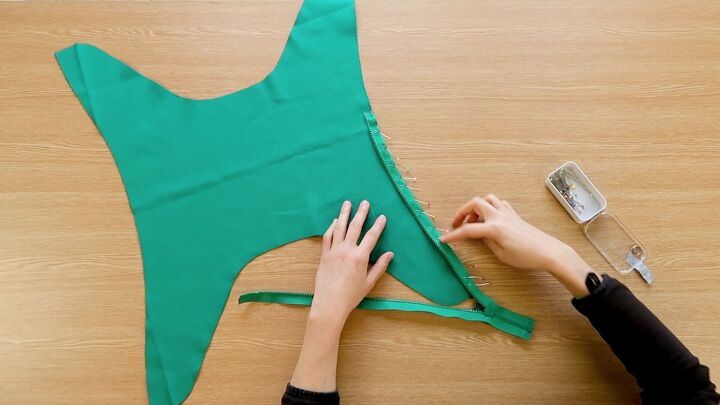
The Collar
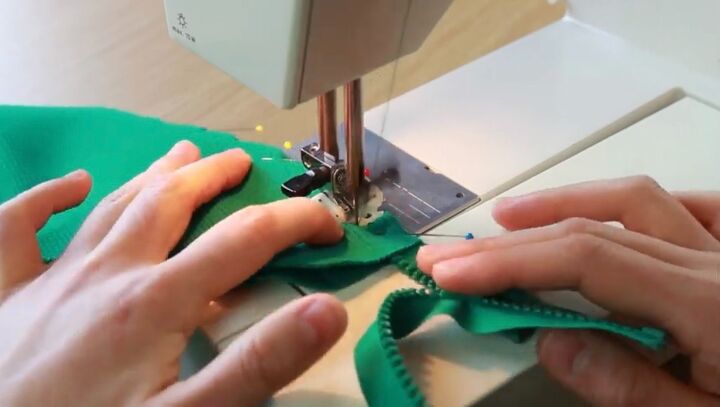
The first thing I did was to work on attaching the zipper to the collar. I zipped it open to have easy access and then, made notches in the middle of the collar to know where to align the zipper. After, lined it up with one edge of the collar.
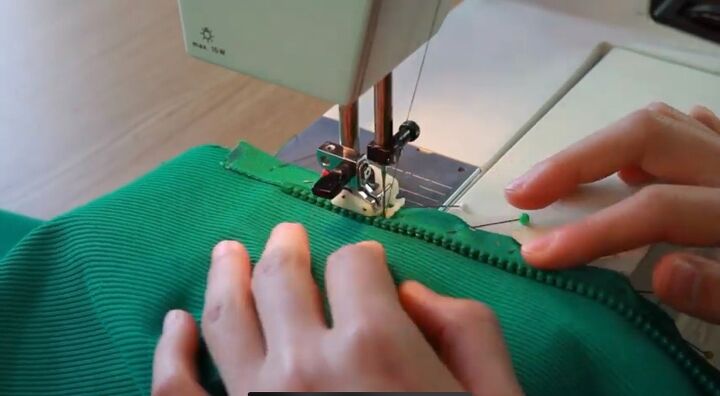
After pining them together, right sides together, I sewed, respecting the 1cm sewing allowance. As shown below, I started the stitch from where the zipper teeth began (right where I put the notch on the fabric).
It was then time to replicate what I'd done to the other part of the zipper.
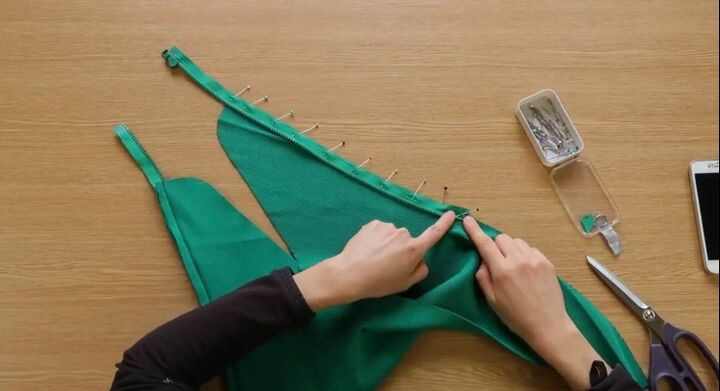
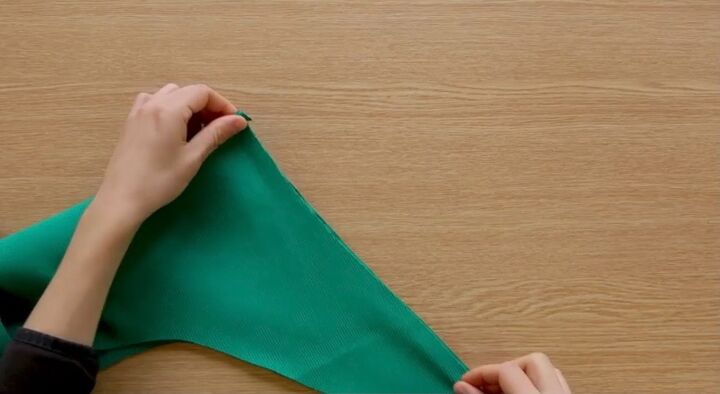
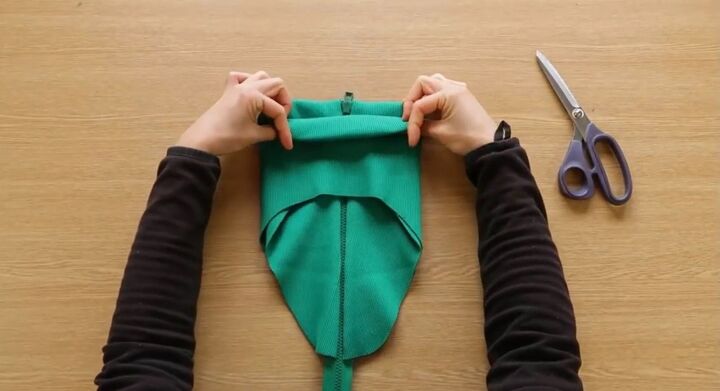
Once the zipper was in place, I proceeded to fold the fabric, right sides together (three layers altogether). In the picture below, it shows the folded fabric with the two other layers behind.
I sewed.
After sewing, I turned it inside out and this is what it looked like.
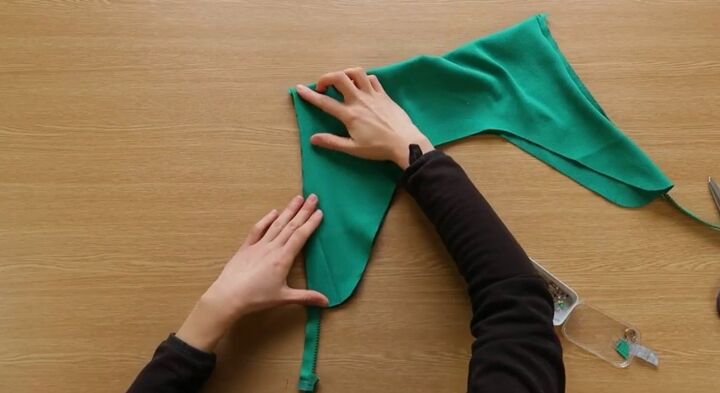
When zipped closed;
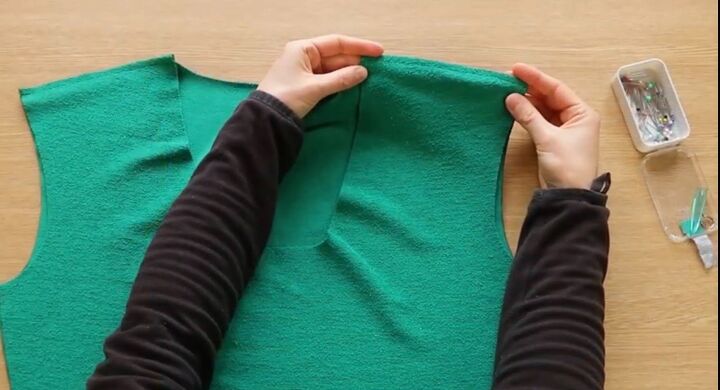
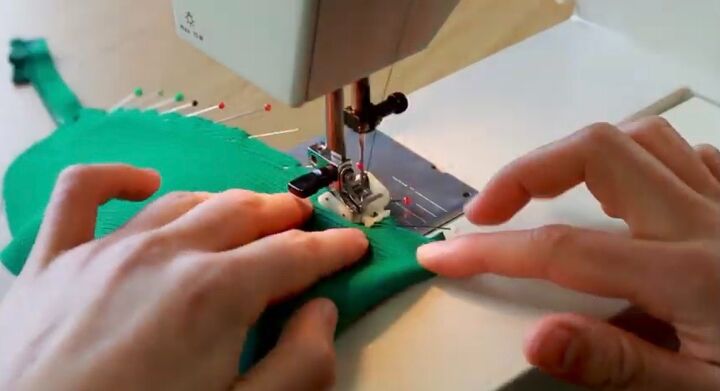
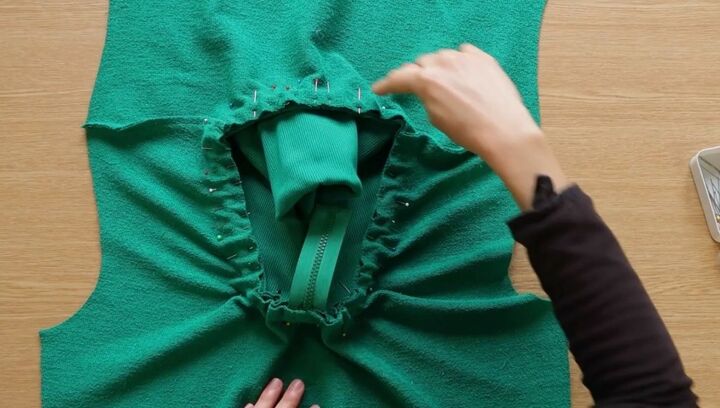
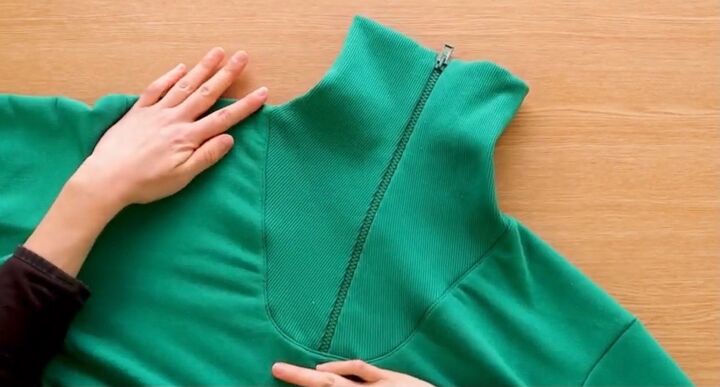
The next thing to do was to fix in the collar and so, I pinned the collar to the neckline, right sides together, making sure the notches were aligned and then, I sewed.
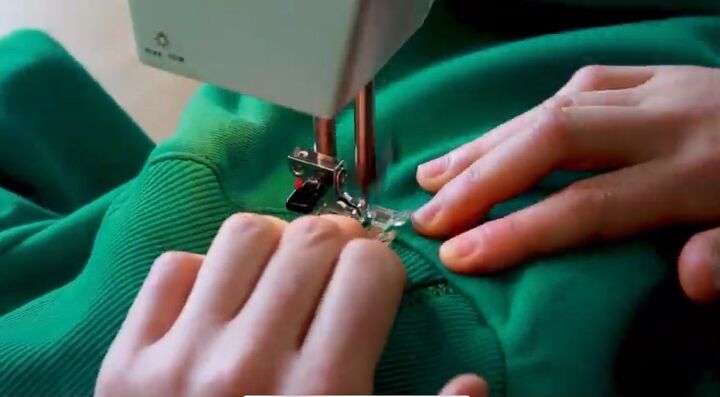
And I didn't forget to top-stitch!
The Sleeves
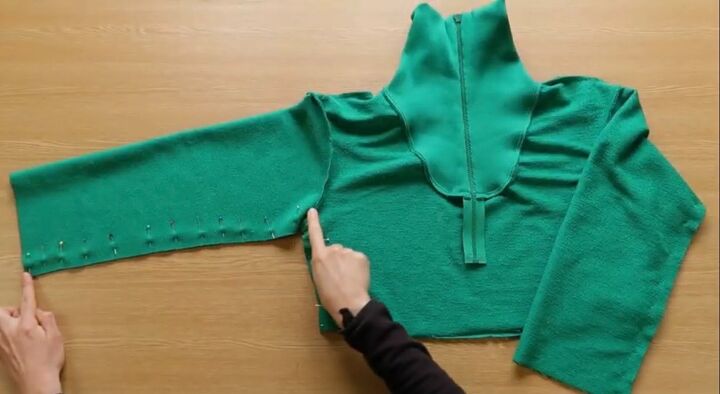
It was then time to add the sleeves. Right sides together, respecting the notches.
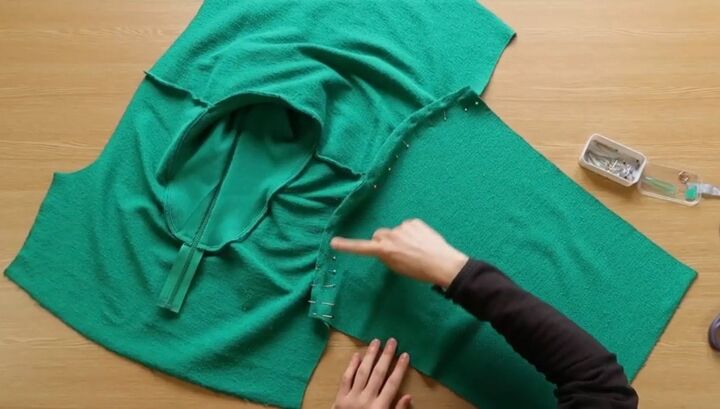
Then, the closing of the sides.
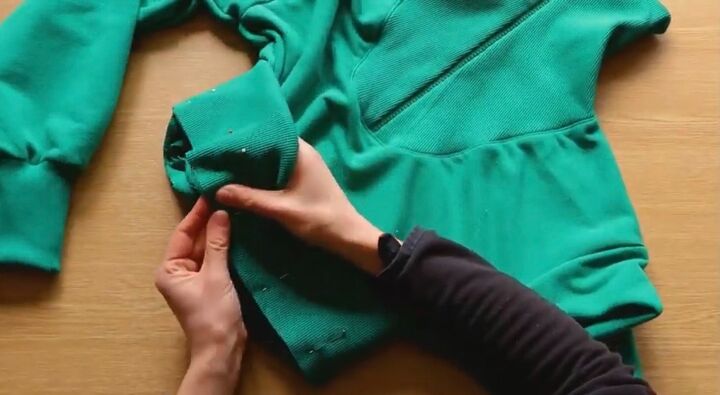
Wrist Ribbing
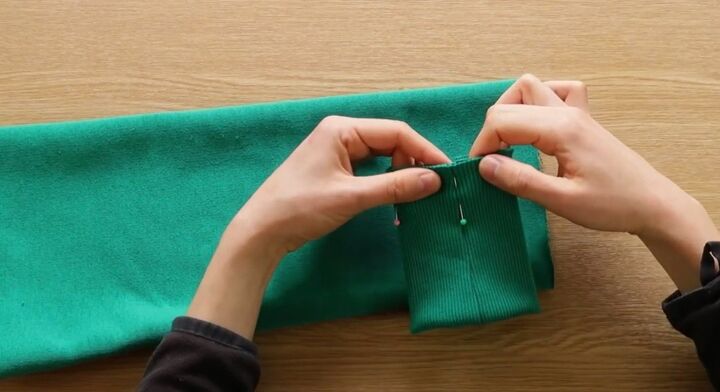
I made notch to mark the middle after folding the piece and then sewed vertically.
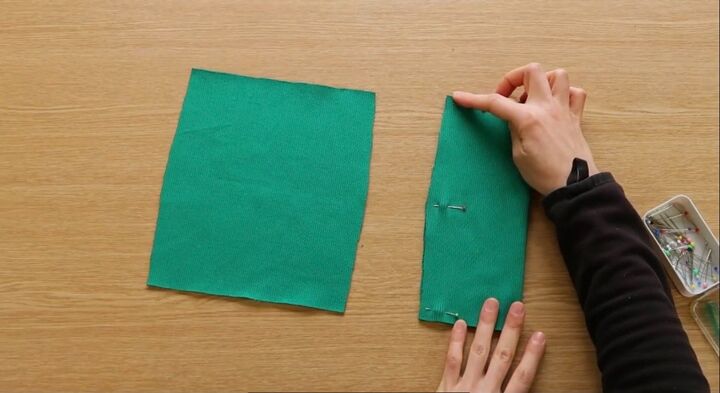
I folded the ribbing wrong sides together and I pinned to hold the layers in place.
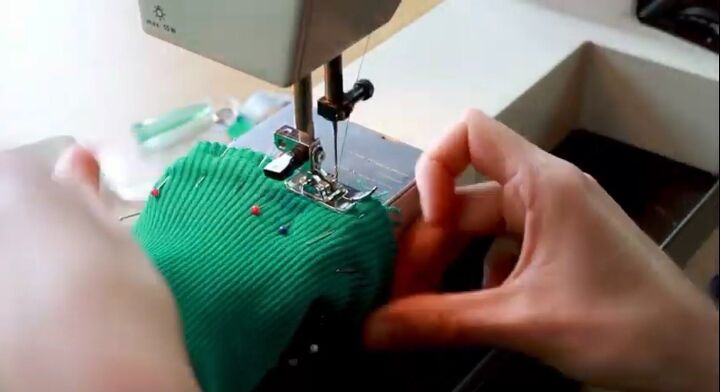
Once again, respecting the notches, I attached the ribbing to the sleeves and sewed, pulling along in the process.
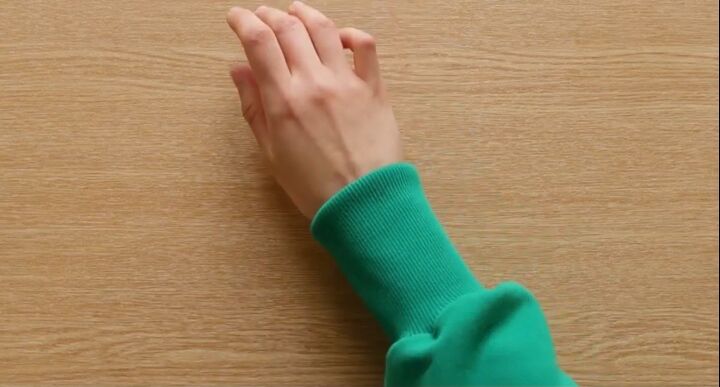
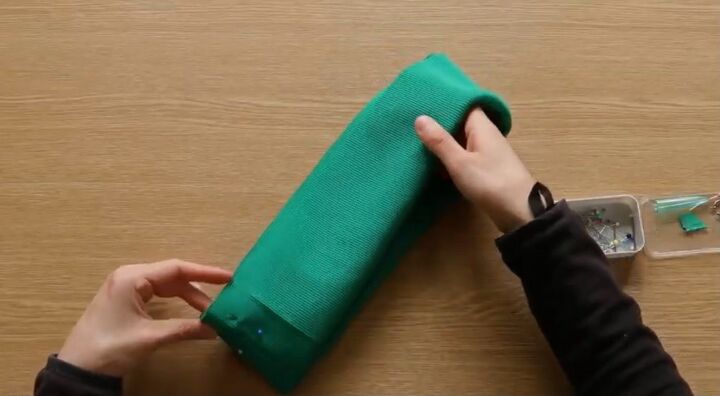
This is how the sleeve turned out.
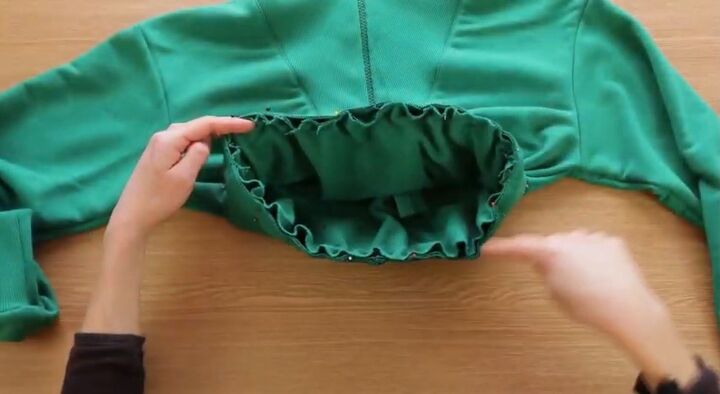
Waist Ribbing
For the final part, I took the piece for the waist ribbing, folded it and sewed to create a sort of loop.

I folded into two, this time, wrong sides together (same thing I did with the wrist rubbing).
I pinned the folded waist ribbing around the hem of the sweatshirt before sewing (also pulling around as I sewed).
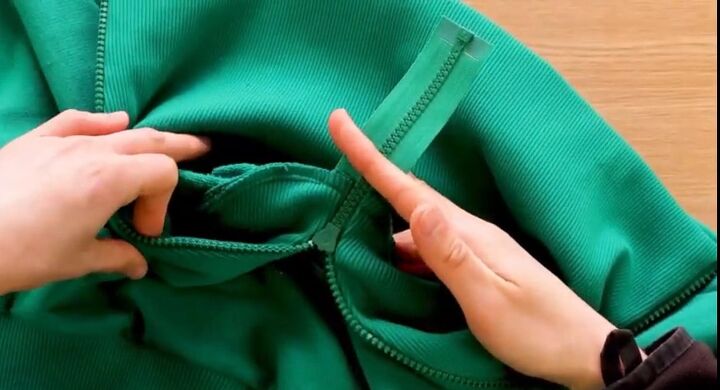
And that was all!
Well, practically. Here, I only had to trim off the zipper remains from the collar.
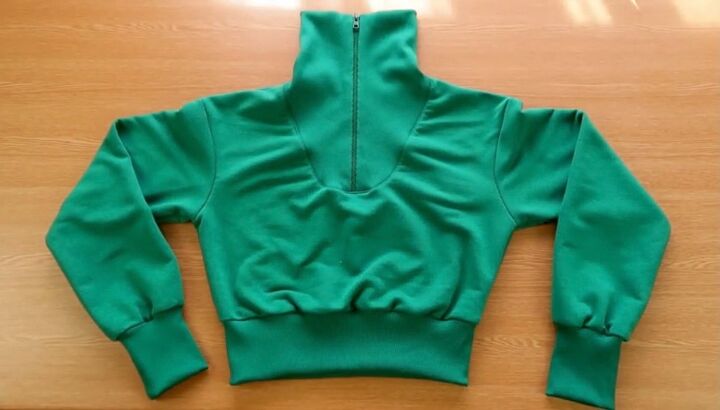
And here you go! Really easy steps to make the perfect cropped sweatshirt!

You know the rest! Tag me on Instagram with the hashtag gaby sweatshirt to show me your own creations!
Xoxo.
The author may collect a small share of sales from the links on this page.


Comments
Join the conversation