How to Make a Sweatshirt

A sweatshirt is a staple, especially in the winter! Learn how to sew a sweatshirt from scratch with this simple DIY project. From creating a pattern to adding the finishing touches, you will be sporting the perfect homemade sweatshirt in no time.
Tools and materials:
- Sweater
- Pattern paper
- Pencil
- Scissors
- Pins
- Fabric
- Measuring tape
- Sewing machine
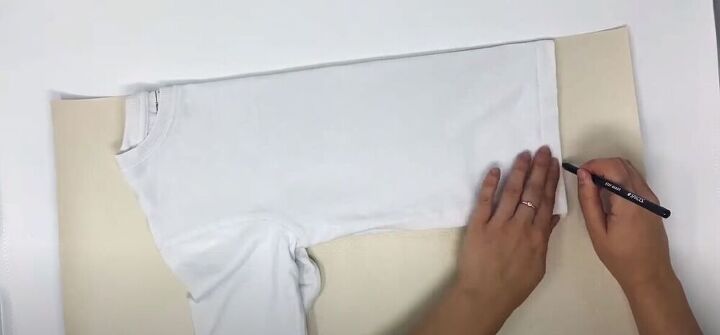
Draft a pattern
To kick off this DIY, Trace a sweatshirt you already have to create a pattern. Make sure to trace both a front and back neckline for your pattern piece.
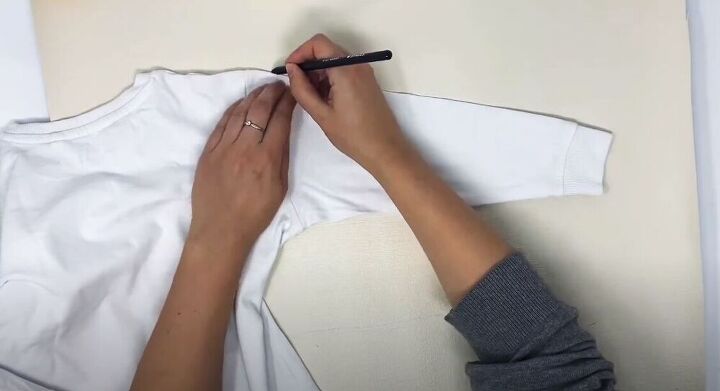
Once you have the bodice pattern piece, you can trace the sleeves.
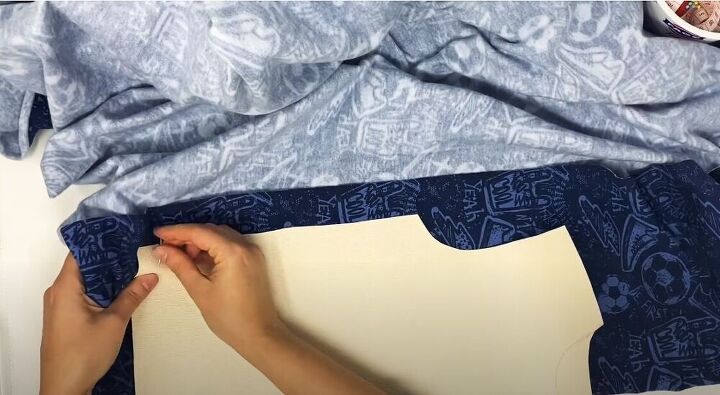
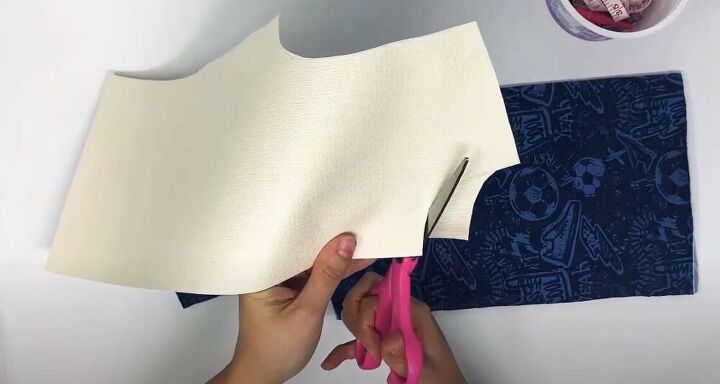
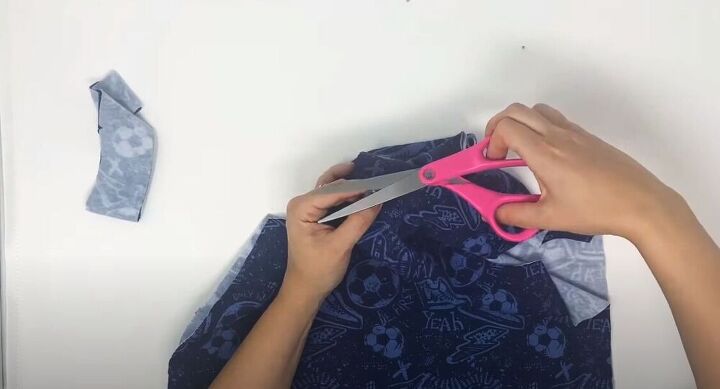
Cut out the fabric
Next, take the pattern piece and pin it onto a piece of fabric.
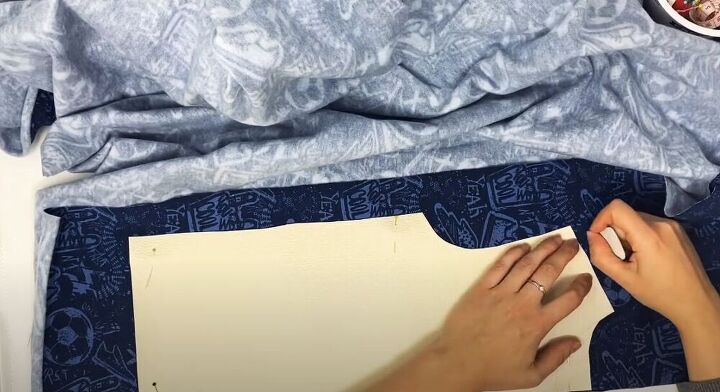
Take a piece of chalk and add seam allowance around the pattern piece.
Once you have your back piece cut out, trim the neckline on the pattern piece and repeat the same for the front bodice piece.
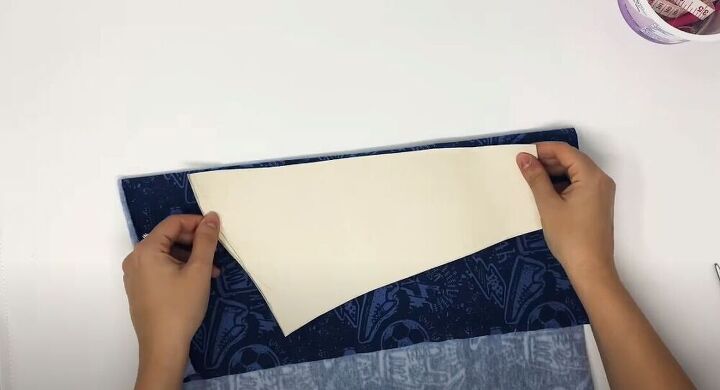
Next, fold your fabric and cut the sleeve on the fold.
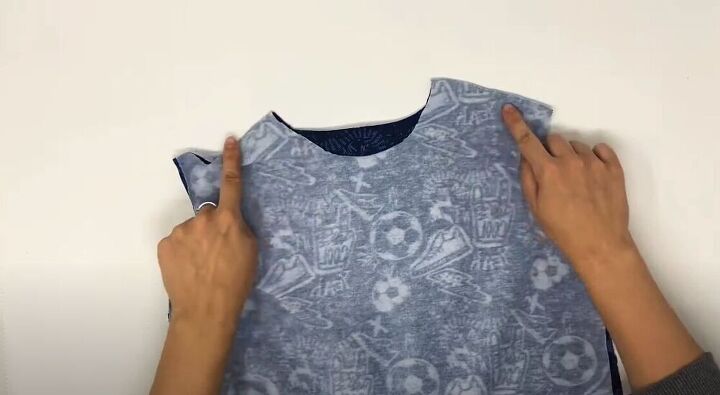
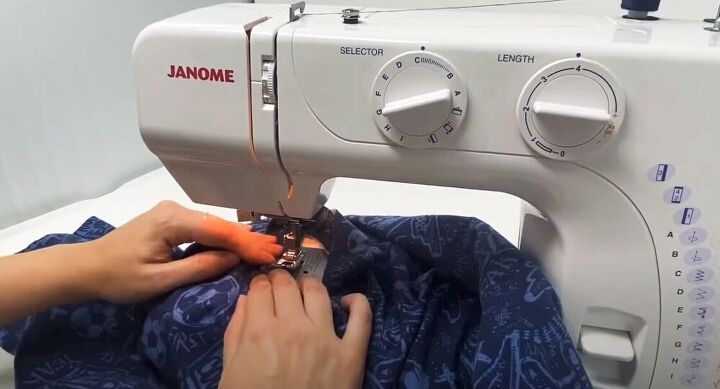
Attach the bodice pieces
Time to assemble the sweatshirt Place your front and back pieces, right sides together, and sew along the shoulder seams.
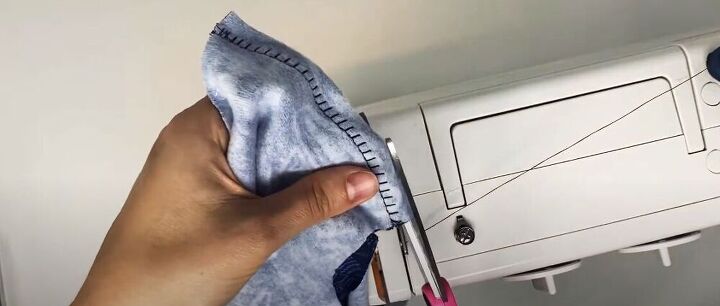
Trim the shoulder seam and then zig-zag stitch over the seam.
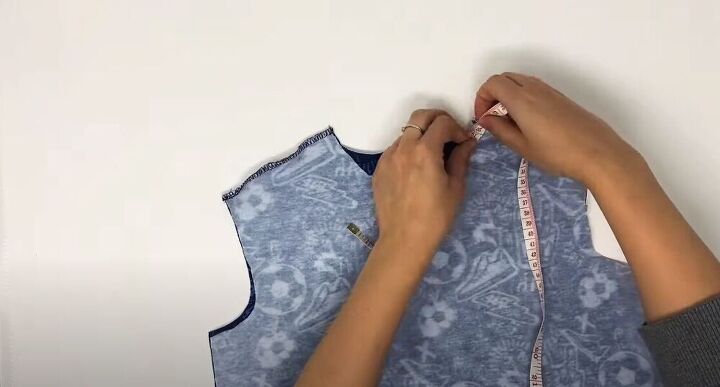
Add a neckband
Grab a measuring tape and measure around your neckline. Multiply that measurement by 0.8.

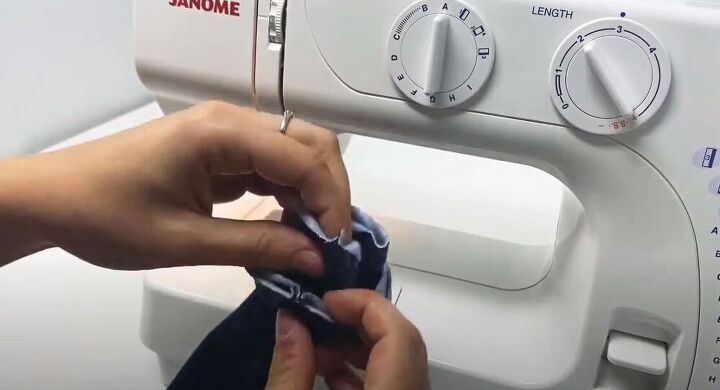
Next, cut a strip of fabric according to your neckline measurement multiplied by 0.8 and sew the ends together.

Make a small notch in the center front of the neckband. Match the center notch with the seam at the back and then notch each side of the band.
Then, notch the center front and center back of the neckline.
Fold the neckband in half and match up the notches on the band with the notches on the neckline. Sew the neckband in place. While you are sewing, stretch the neckband to fit.
Once your neckband is sewed on, grab a pair of scissors and trim around the edges. Then sew a zig-zag stitch around the neckline.
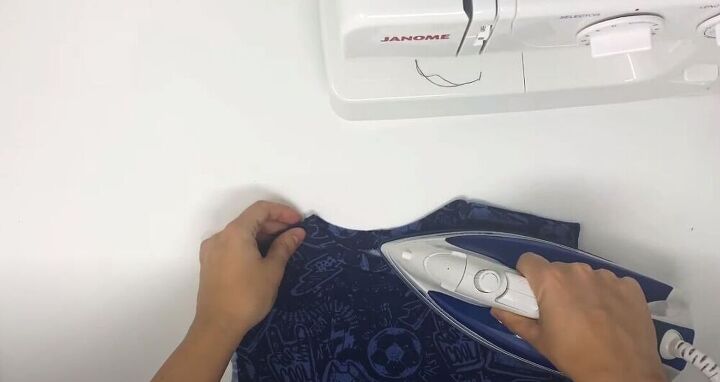
To get a neat and clean neckline, press it using your iron.
Attach the sleeves
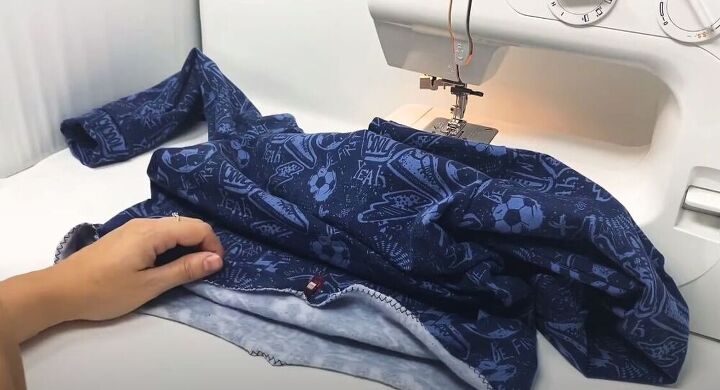
Next, it’s time to attach the sleeves. Match the center of the sleeve with the shoulder seam and sew all along the armhole. Then go ahead and sew the sides of the sweatshirt together and the sleeves closed.

Cut two strips of fabric to be used as cuffs for your sleeves. Make sure that when folded they match up perfectly with your sleeve. Once you have the right size, sew the two ends of the cuff together.
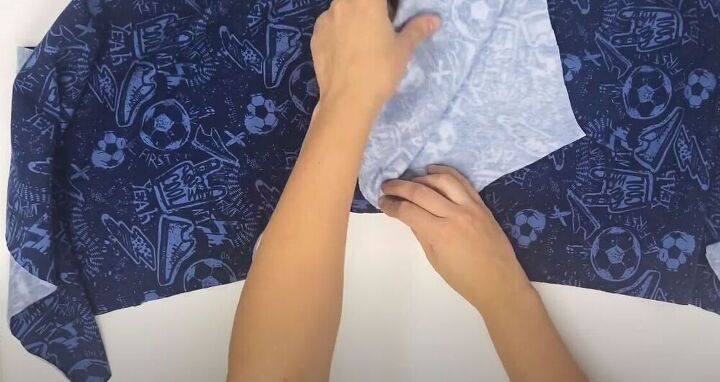
Fold the cuff in half and place it over the sleeve, matching the seams. Then sew the cuff all the way around, attaching it to the sleeve. Just as you did for the neckline, trim the edges and then sew a zig-zag stitch.
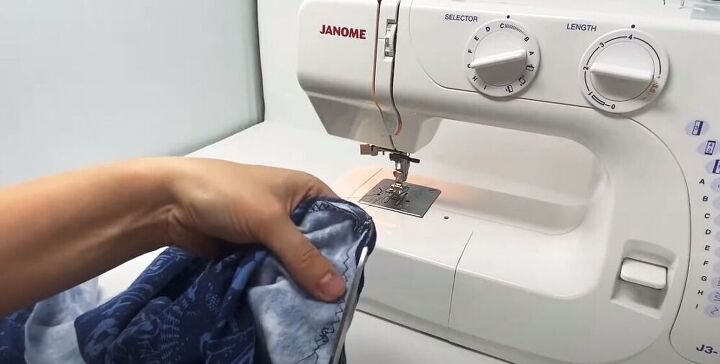
Hem the sweatshirt
To hem the bottom of the sweatshirt, fold the bottom inward and pin the fold in place.

Then sew the hem in place.
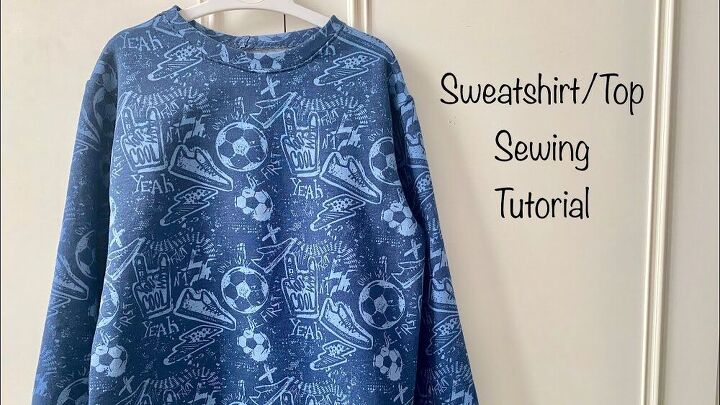
This sewing tutorial is so easy and leaves you with the perfect sweatshirt! Let me know what you think about this DIY sweatshirt in the comments!
The author may collect a small share of sales from the links on this page.


Comments
Join the conversation
SO where is the pic of the final "transformed" look???