How to Sew a DIY High-Neck Bikini Top & High-Waisted Bikini Bottoms

If you're looking for how to make your own DIY high-neck bikini top and high-waisted bikini bottoms, this is the tutorial for you!
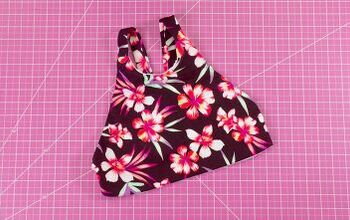
You can use the sewing patterns provided to make your own bikini. The top is high in the front and has a V in the back, but you can wear it the other way round if you prefer.
Both the top and bottoms are fully reversible, so you can use two different fabrics for the exterior and lining, then switch them around as you wish.
So, this bikini can be worn in lots of different ways and it's flattering to any age or size! Let’s get started!
Tools and materials:
- Pattern: Avery bikini top and Gabby bikini bottoms
- Swimwear fabric: each piece uses ½ yard
- Swimwear elastic: best is rubber elastic
- Rotary cutter/scissors
- Clips/pins
- Seam ripper
- Sewing machine
- Serger (optional)
DIY high-neck bikini top

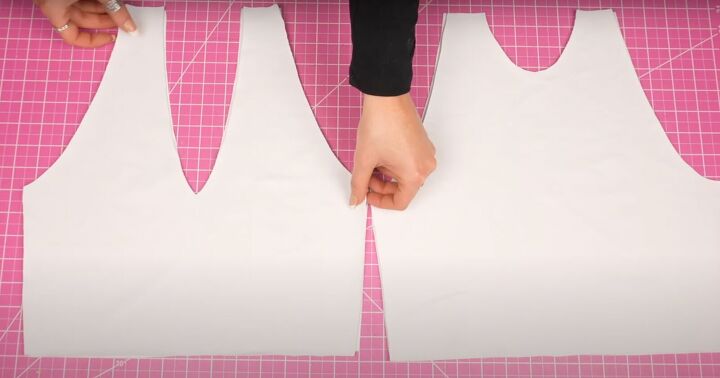
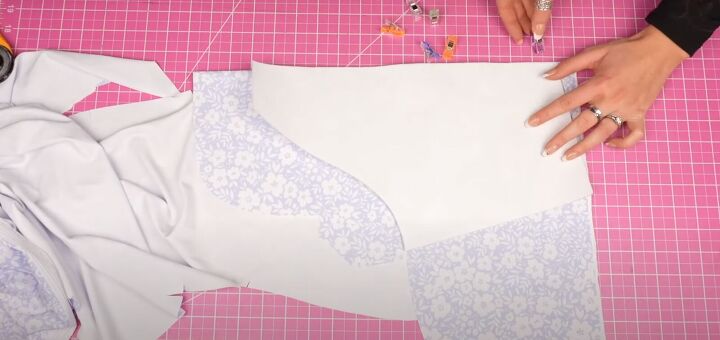
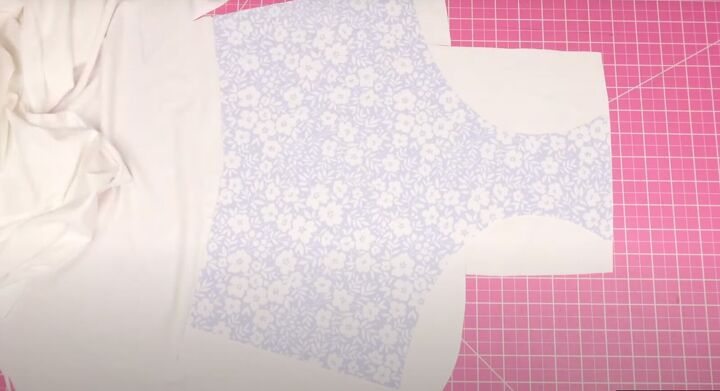
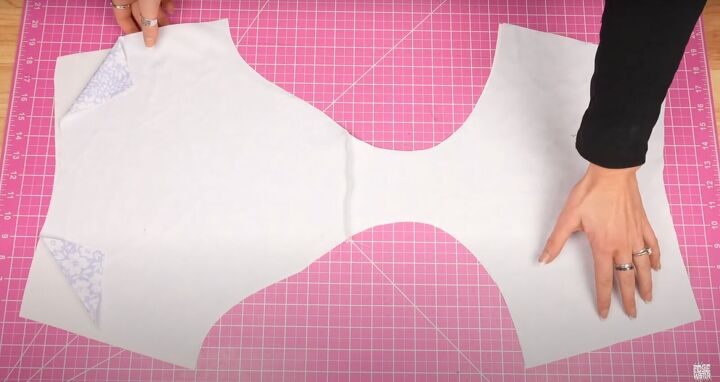
1. Cut out the pattern
Lay the pattern on the fabric. Cut 2 pieces of the front and back separately, especially if you want it to be fully reversible.
2. Sew the seams and elastic
Match the front with the front and back with the back, right sides together.
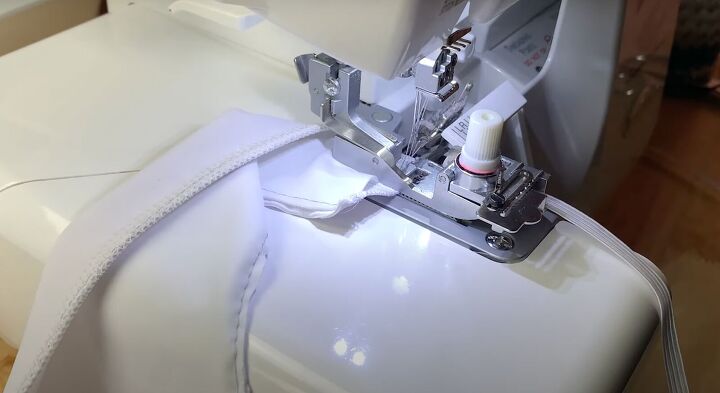
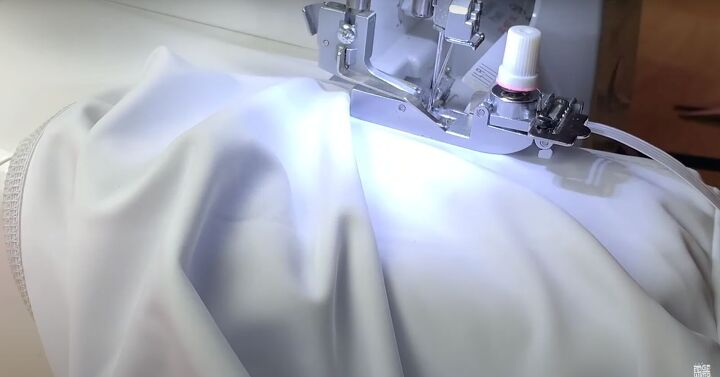
Sew the armholes, neckline, and bottom, attaching swimwear elastic to these seams. If you need some help with this step, see my video on FAQs about swimwear elastic.
Sew the seams together with a basting stitch. It’s better to tack the fabric together beforehand so the elastic is sewn on easily and perfectly.
Remove the basting stitch before you finish your piece.
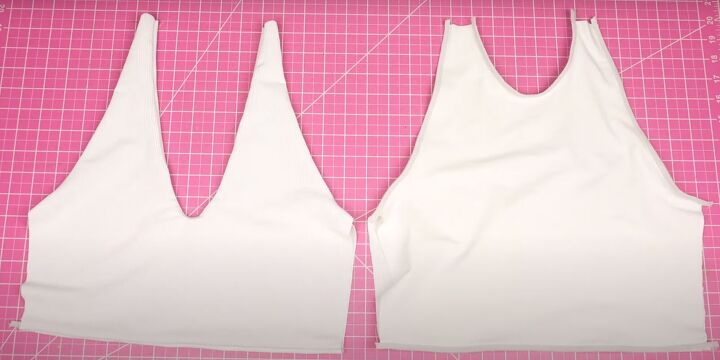
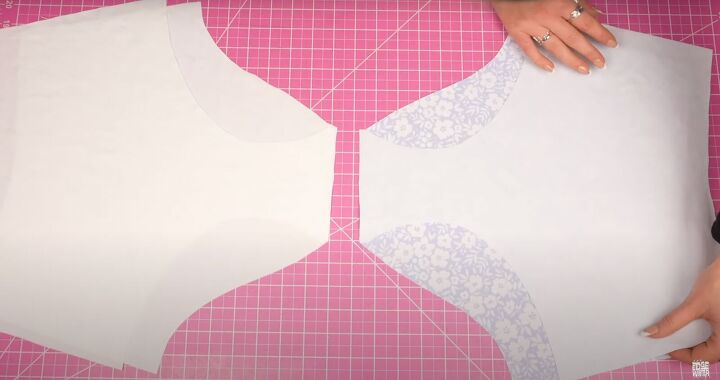
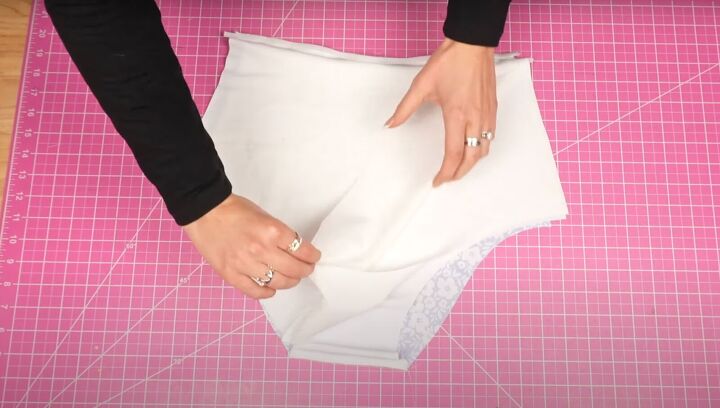
3. Attach the front and back together
Flip the back piece so it’s right side facing. Insert the back piece into the front piece from the open side seam.
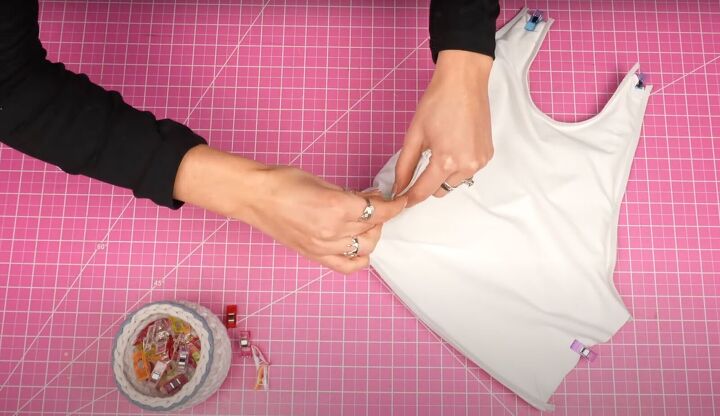
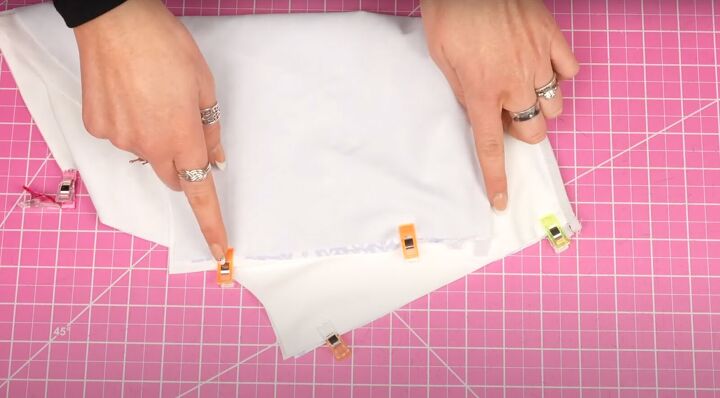
Line up the shoulders as well as both of the sides. Clip in place. Sew across all 4 layers of fabric. Use a straight stitch, sewing about ¼ inch from the edge.
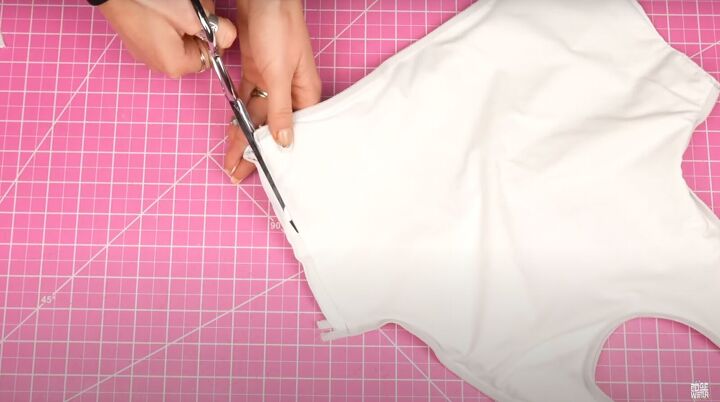
Once it’s sewn, trim the excess.
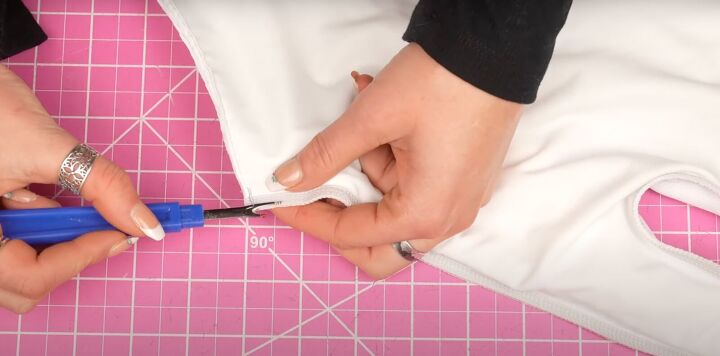
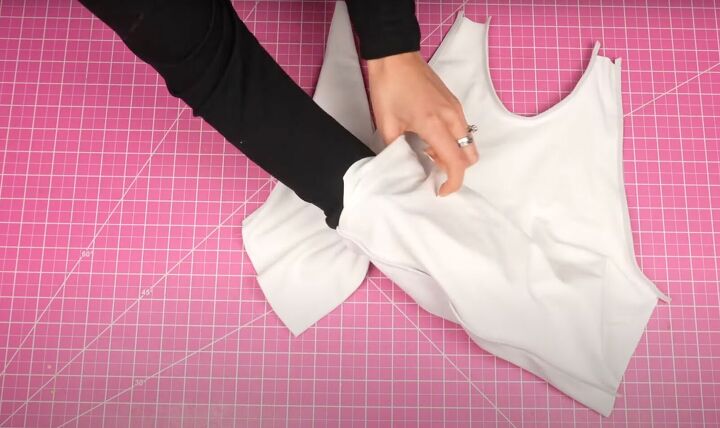
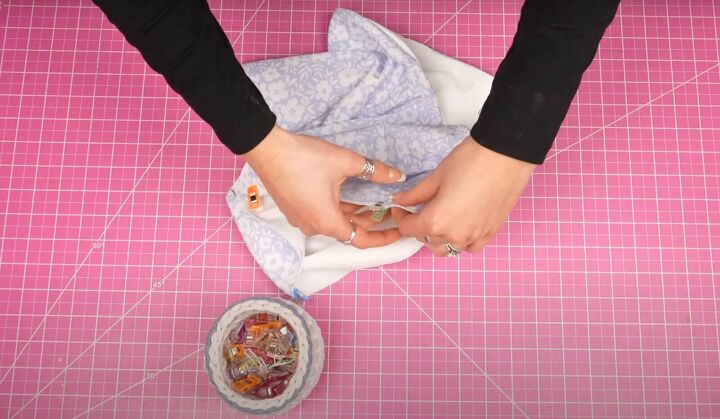
4. Turn right sides out
Use a seam ripper to open a 1-inch to 1½-inch hole on an existing seam in a discreet place.
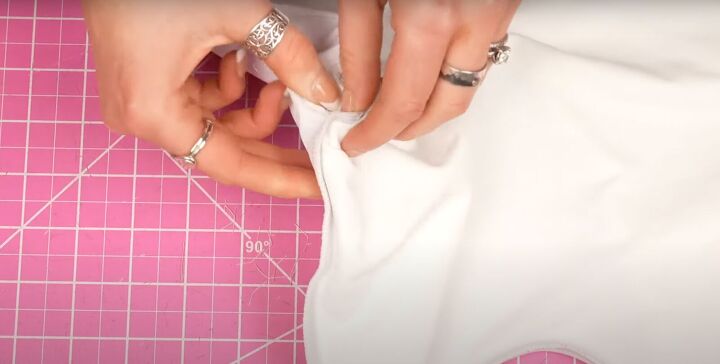
Flip the top to the right side through this hole.
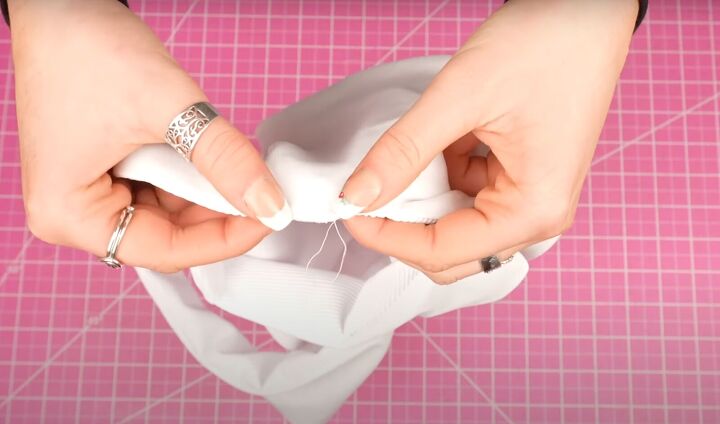
The final step in making the Avery top is finishing off the gap. You can hand-sew it closed with an invisible stitch or straight stitch right on top.
DIY high-waisted bikini bottoms
1. Cut out the pattern
Cut out the pattern pieces for the high-waisted bikini bottom.
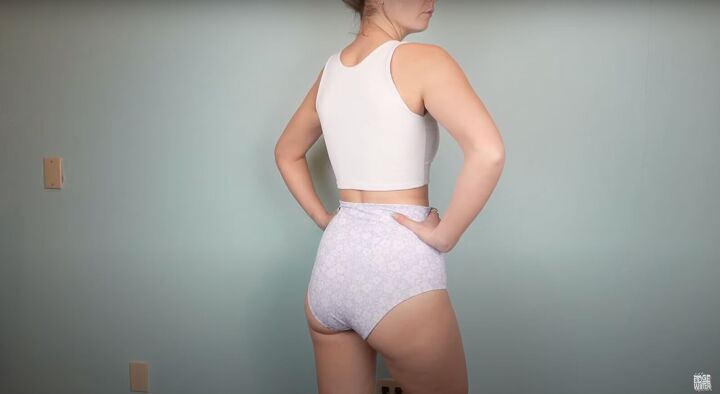
The Gabby bottom pattern has a wider gusset so you can feel secure when wearing it and allows for more movement without getting wedgies. It’s super functional and doesn’t look like a diaper.
While I’m not showing it to you in this tutorial as reversible with concealed seams, you could always make it reversible if you choose to.
Even though this piece isn’t reversible, use a swimwear fabric to line the piece. Cut out 2 pieces in front and 2 in back (fabric and lining).
2. Attach the gusset
Match like fabrics. Lay the front on the back, right sides together. Sew a seam right across each gusset to secure them together.
If you’re using a solid color, you could cut it out in one piece and skip making and sewing the gusset. If you do this, account for the ¼-inch seam allowance.
3. Sew the waistline
Once the gussets are sewn, open up each piece, laying them right sides together. Sew along both of the waistlines and attach the elastic. Sew the elastic evenly to the waistband without tension.
4. Sew up the sides
Grab one side and start sliding it up into the other. Make sure the right sides are together.
Line up the sides and clip in place. Sew across all 4 layers of fabric. Use a straight stitch and trim any excess on the seam allowance.

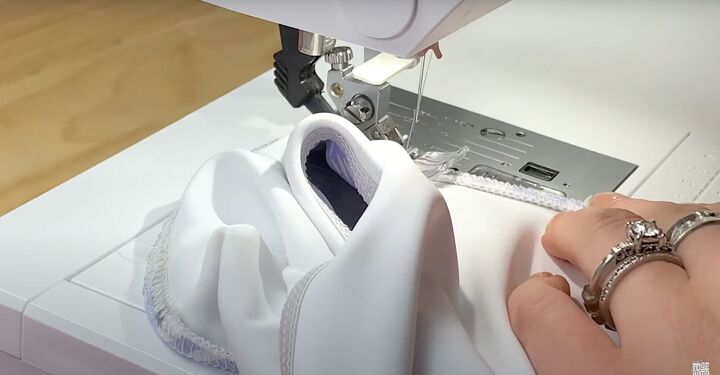
5. Sew the leg holes
The leg holes are unsewn so flip everything to the right side.
First, attach the elastic, fold the seam over, and then topstitch. If you’re an advanced sewer and have a coverstitch machine and you can do it all in one step, more power to you!
For regular sewers, clip the layers in place. Do a basting stitch to sew the leg holes closed. Attach the elastic to the lining, slightly stretching the elastic about 1-3% reduction of the seam.
If you have an elastic foot, tighten the knob and eyeball it to get a good amount of stretch.
Once you’ve attached the elastic, fold over the seam and topstitch.
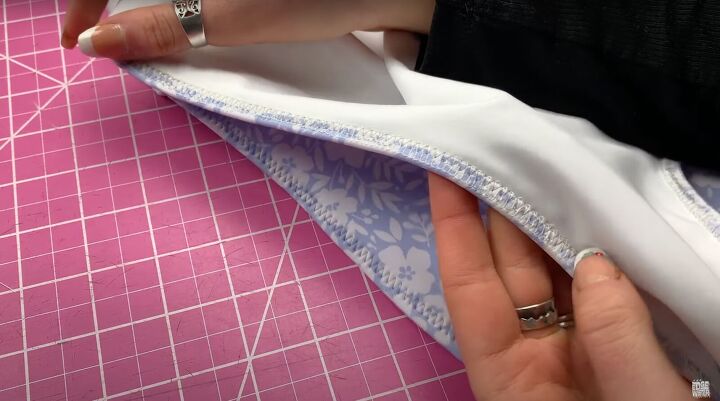
Use a tighter and taller zigzag stitch so the seam sits nice and flat. Trim any threads.

You can wear the Avery top for any thing - yoga, lounging, or as a sports top.
DIY high-neck bikini top and high-waisted bottoms
This DIY high-neck and high-waisted bikini looks great from the front and back! Please let me know in the comments if you made it and even better, share your photos. Thanks for joining!
The author may collect a small share of sales from the links on this page.


Comments
Join the conversation