How to Make a DIY Long-Sleeve Surf Suit You Can Wear 2 Ways

This tutorial will give you step-by-step instructions to make a reversible one-piece swimsuit. This is an advanced tutorial, so best for sewers with experience making reversible clothing and working with swimwear fabric.
Tools and materials:
- Newport one-piece swimsuit pattern
- 2 yards of swimwear fabric
- ¼-inch rubber elastic
- Cutting tool
- Seam ripper
- Acrylic ruler
- Sewing pins
- Sewing needle and thread
- Sewing machine
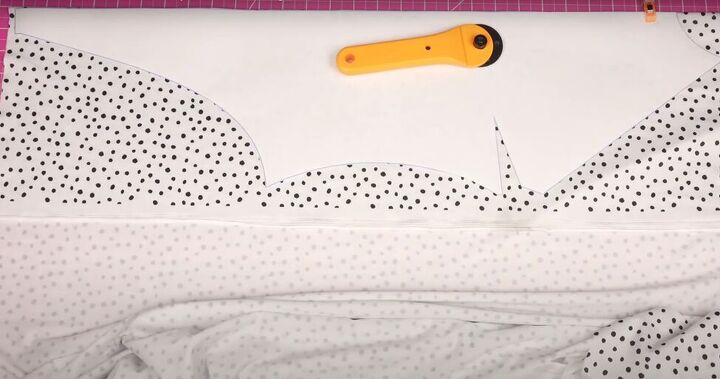
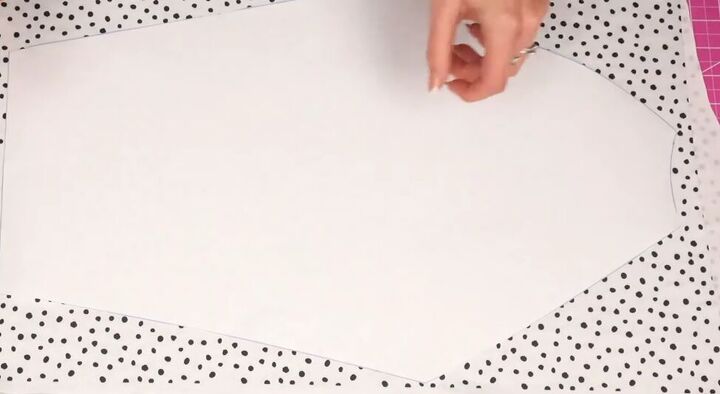
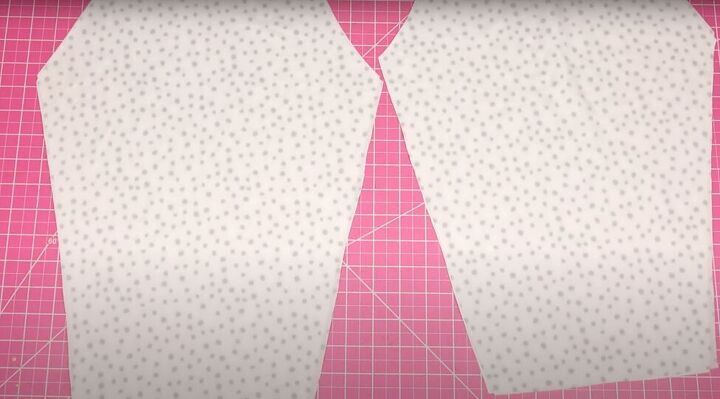
1. Cut your fabric
The first thing to do is download and print the Newport one-piece swimsuit pattern and choose which version you want to make. For this tutorial, I will make the thong version of the swimsuit, with a three-quarter sleeve.
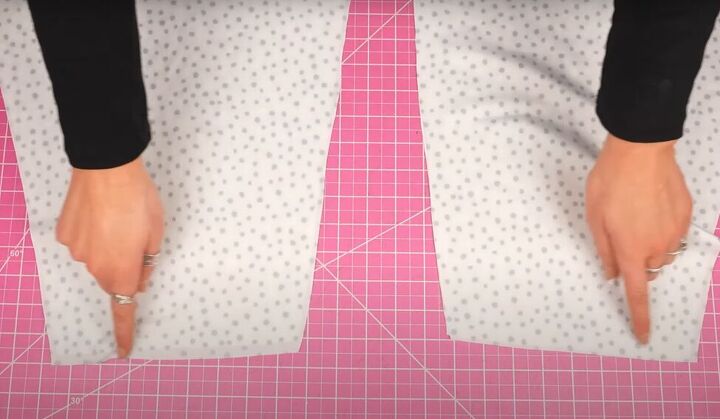
From your first swimwear fabric, cut one front, one back, and two sleeves according to the pattern.
When you are cutting the sleeves, fold over your fabric so you can cut them both at the same time.
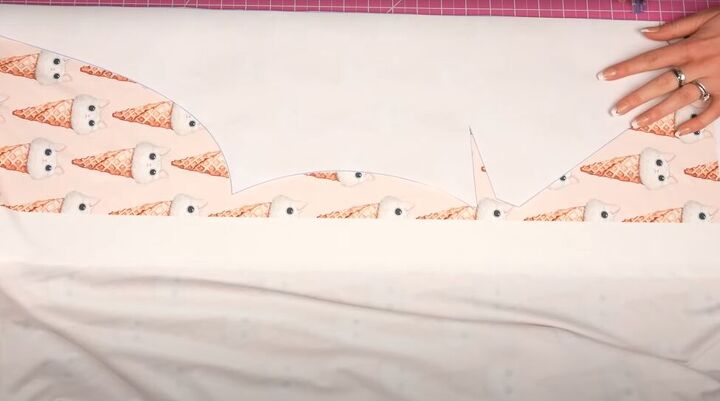
Repeat with your second fabric.
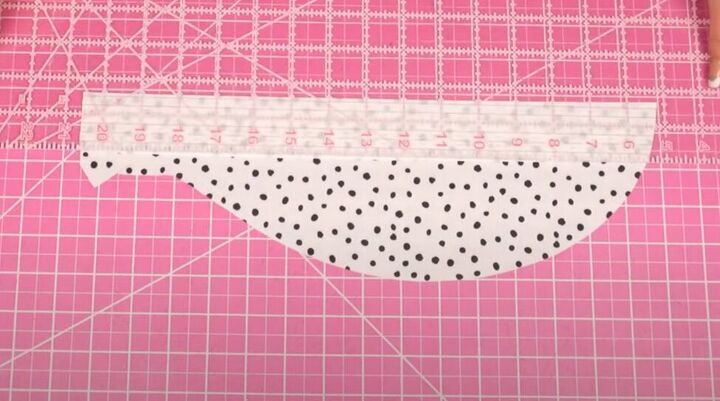
Cut two straps according to the pattern, in whichever fabric you choose.
2. Sew the swimsuit
Sew darts into both front pieces. Keep in mind that there are ¼-inch seam allowances in the pattern, so make sure your darts don’t end up in the seam allowance.
With right sides facing, put the two front pieces and the two back pieces together.
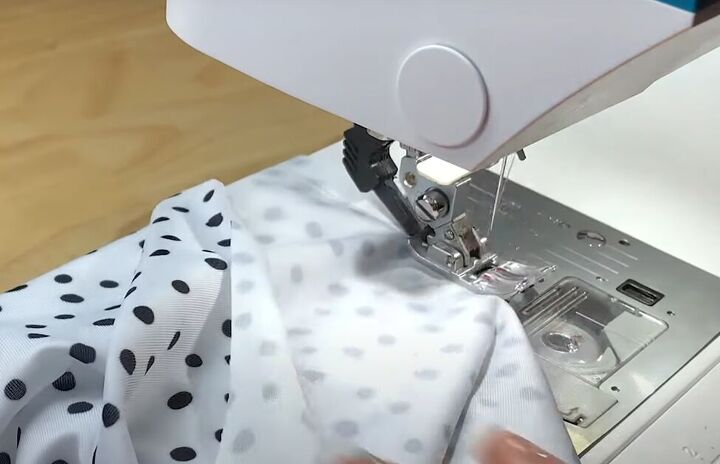
Sew both front and back pieces along the leg holes.
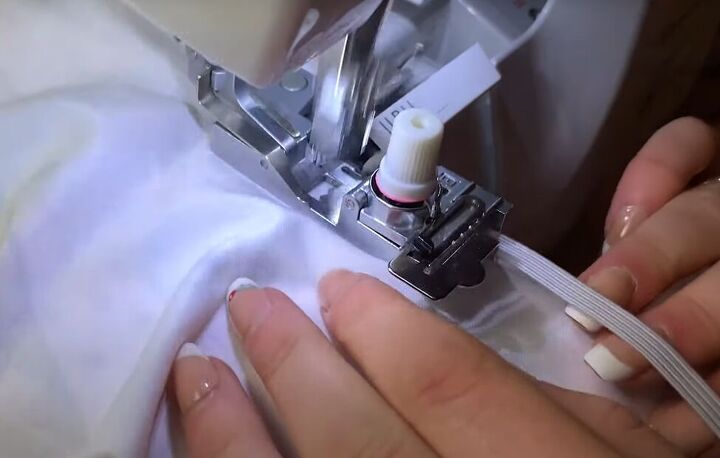
Then sew elastic to the leg holes.
Put together the two left sleeves and the two right sleeves, with right sides facing in.
Sew the doubled sleeves at the wrist and attach elastic to that seam.
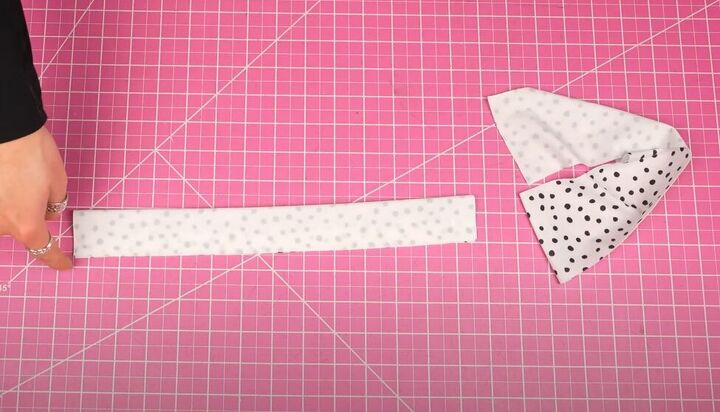
With right sides facing in, fold each of your straps in half lengthwise and sew them along the long open edge and one short edge.
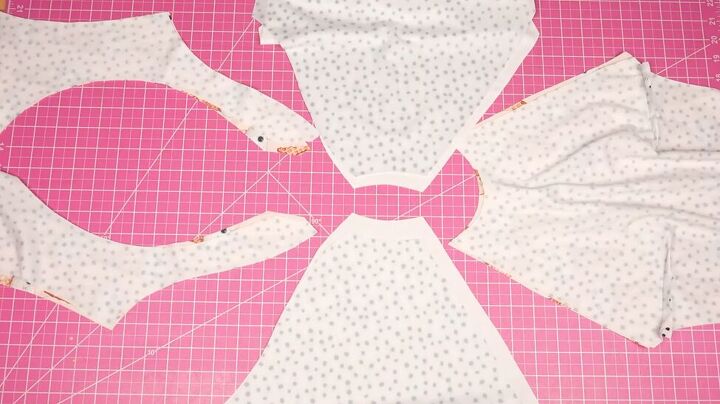
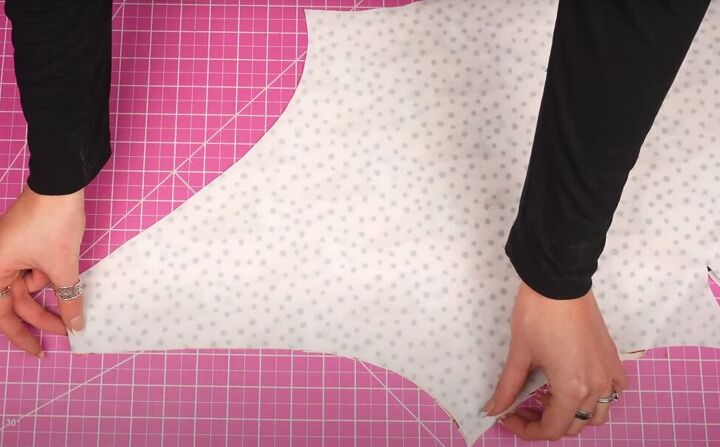
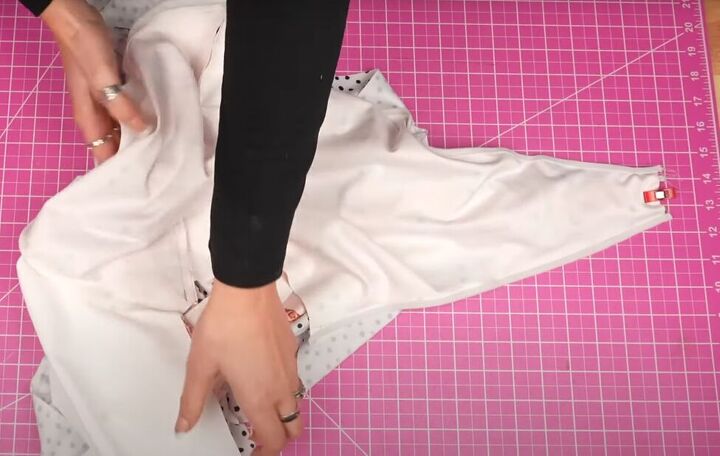
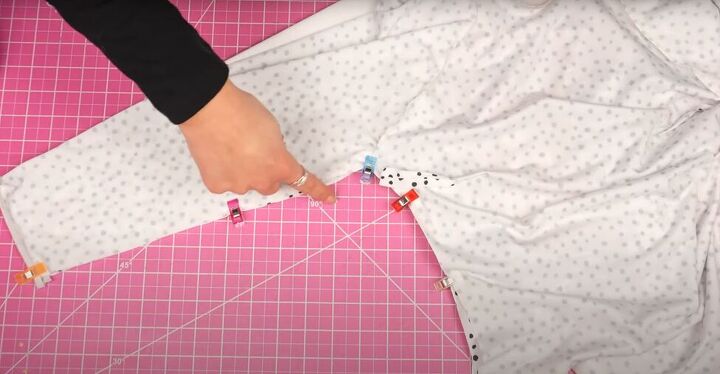
3. Attach the sleeves
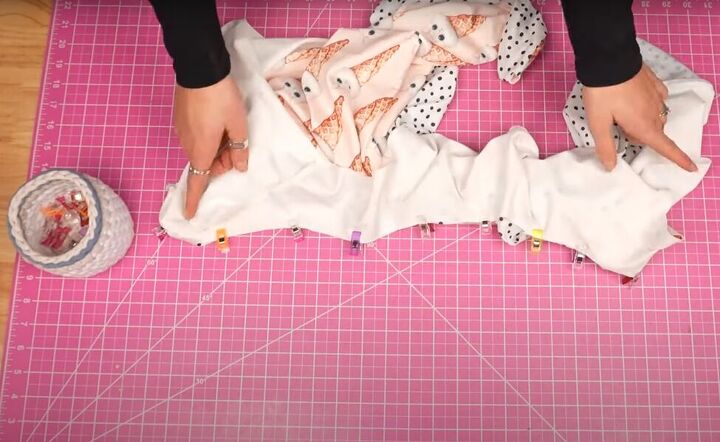
Lay out all of your pieces with the same side up in a circle to help keep you organized.
Follow the video from 7:40 to 8:40 to see how I lined up and connected the sleeves to the front and back of the swimsuit. It’s a bit tricky, but I go slowly so you can see all the steps.
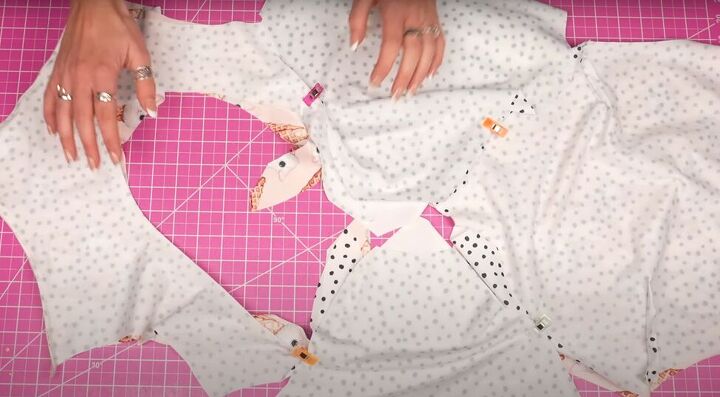
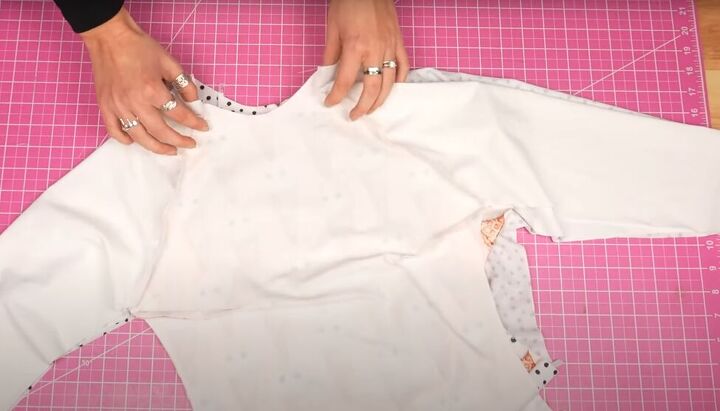
Once you have everything pinned together, you will need to sew a total of 8 seams, 4 on each side (for the two fabrics) of the swimsuit.
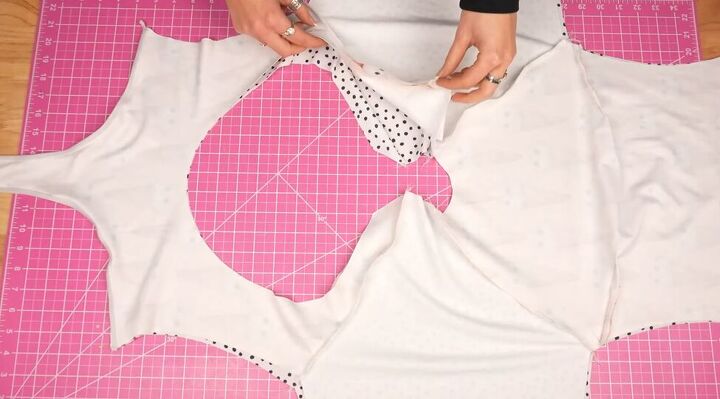
When you are done sewing those seams, and the sleeves are all attached, lay it all out again and it should look like the image above.
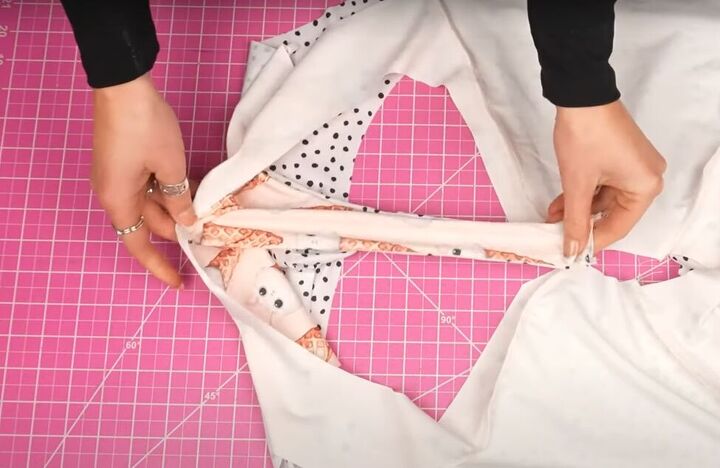
4. Sew the front neckline
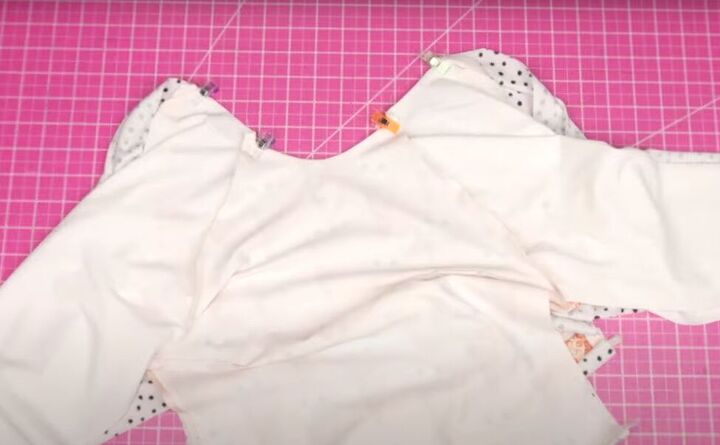
In order to get the back of the swimsuit folded inside the front we need to do some maneuvering.
On the back piece, reach through the neckline, grab a hold of the gusset, and pull it through the neckline until it is right side out.
Now take that back gusset and push it through the front neckline and down the front gusset.
Pin the ends of the gussets together to hold it in place.
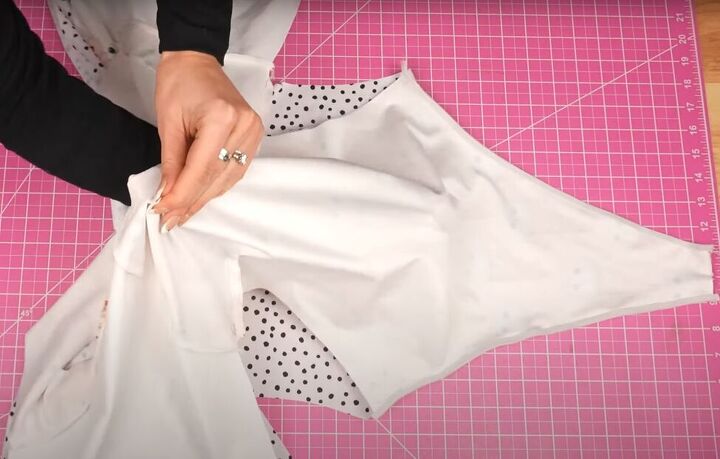
Now you can smooth out the whole thing and see that it makes sense!
Pin the front neckline together and sew along the edge with a basting stitch.
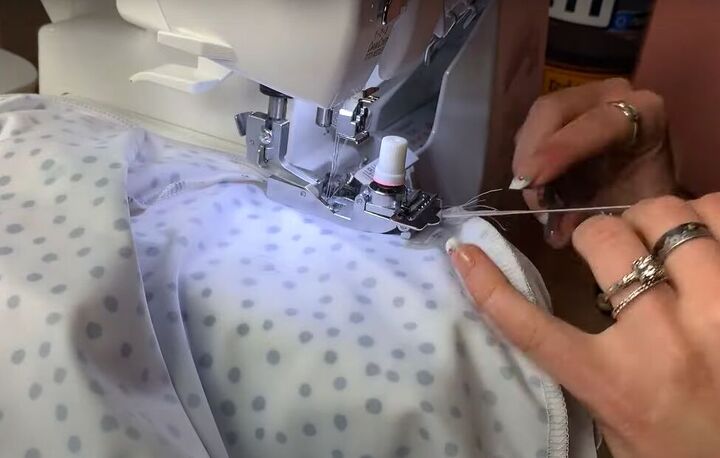
Then sew elastic to the neckline.
5. Sew the back neckline
In order to get to the back neckline, we need to do some more maneuvering. Watch the video from 11:04 to 11:30 to see how I expose the back neckline.
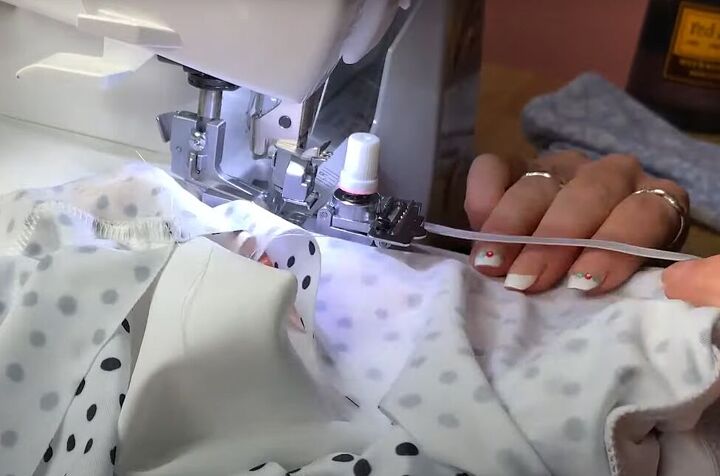
As you did with the front neckline, sew a basting stitch around the low back neckline and then attach elastic.

6. Attach the straps
Turn both of your straps right-side out, and insert each strap into a strap opening at the shoulder of the swimsuit.
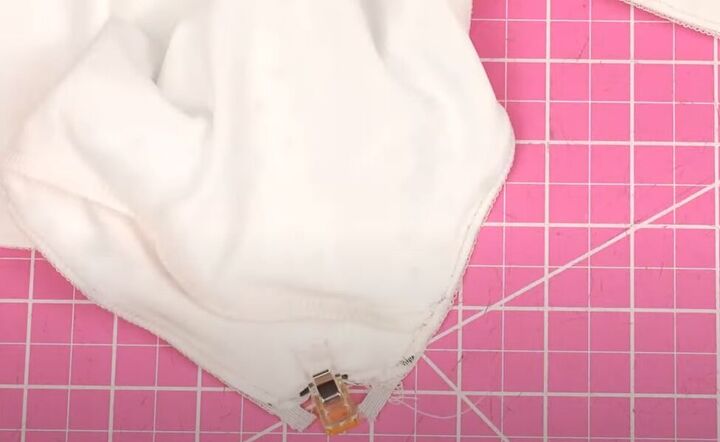
Insert the strap all the way, then pin and sew it in place at the opening. Repeat with the other strap.
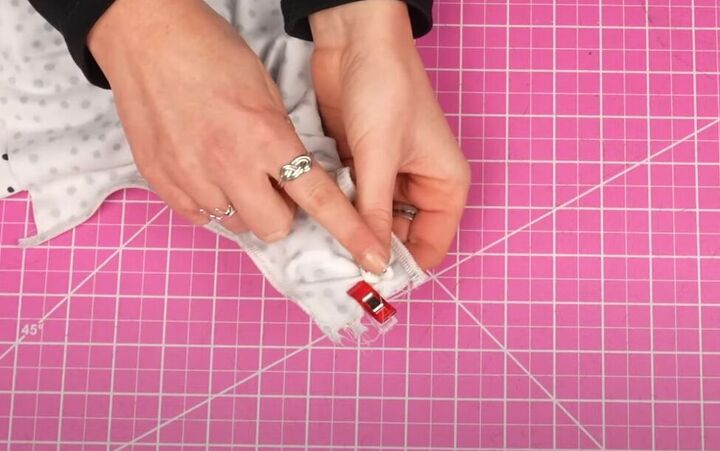
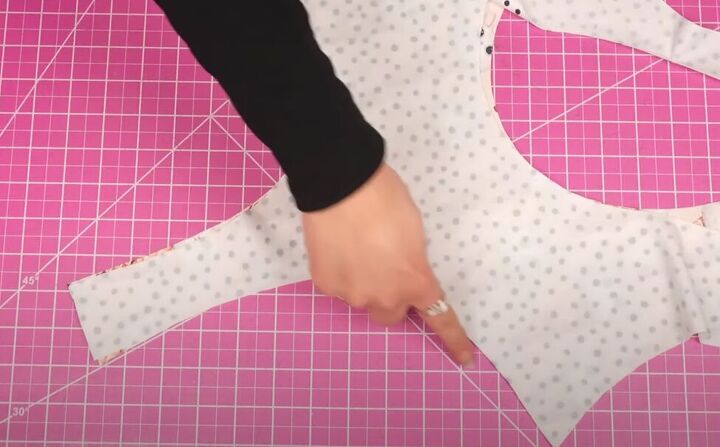
7. Sew the gusset seam
Pin and sew the gusset seam, sewing across all 4 layers of fabric. Trim off the excess fabric from the seam allowance.
8. Sew the side seams and inside sleeves
On one side of the swimsuit, pin the side seams and inside sleeve seams together. Sew the sleeve and side seams, with an overlock stitch, as one continuous seam, going through all 4 layers of fabric. Repeat on the other side.
Tip: you might find it helpful to first baste the inner layers and then go back and stitch all the layers together, so you don’t lose any layers in the process.
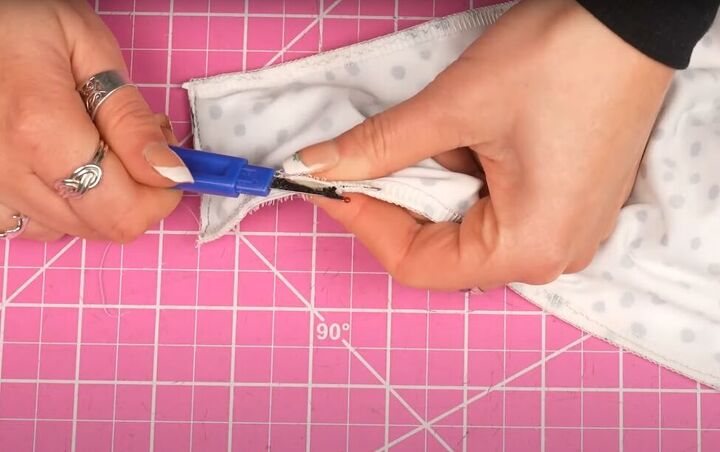
9. Turn the swimsuit right-side out
In order to turn the whole piece right-side out you need to seam-rip a small hole in the gusset.
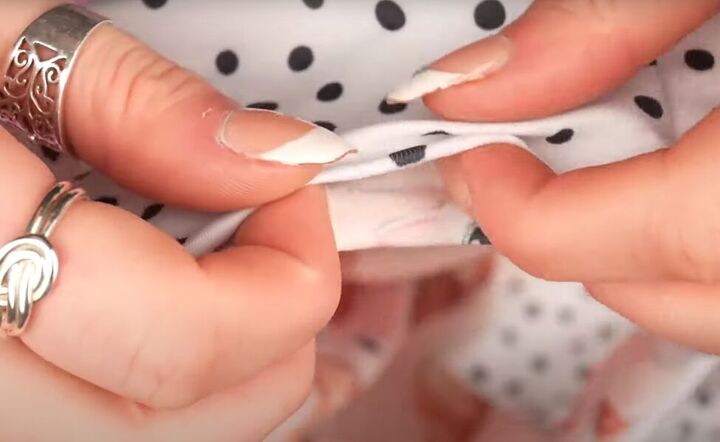
Turn your swimsuit right-side out through the hole and then sew up the hole.
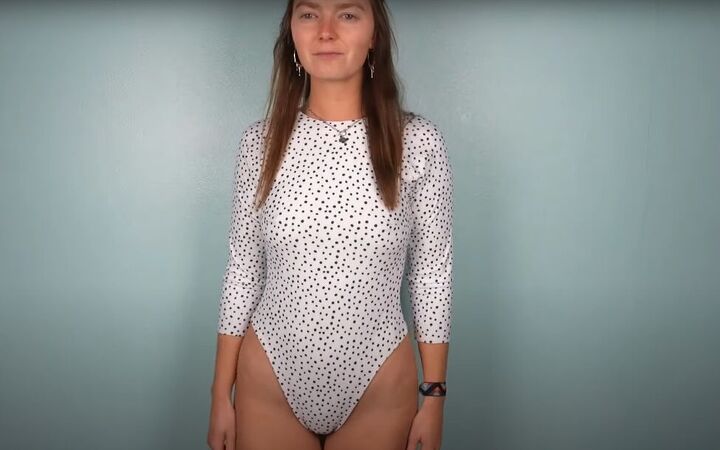
DIY long-sleeve surf suit
That completes the one-piece reversible swimsuit!
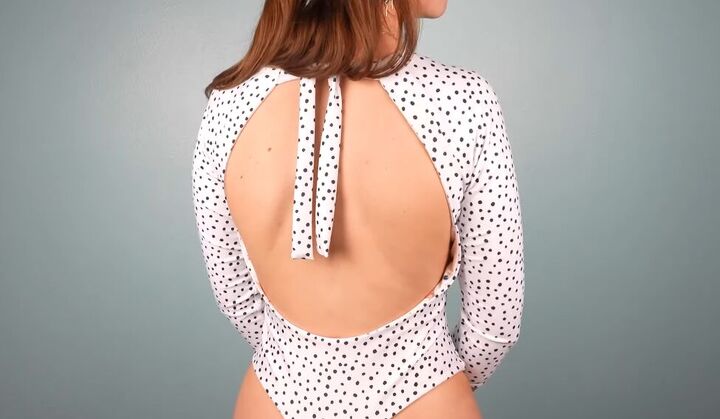
This is how the low back looks.
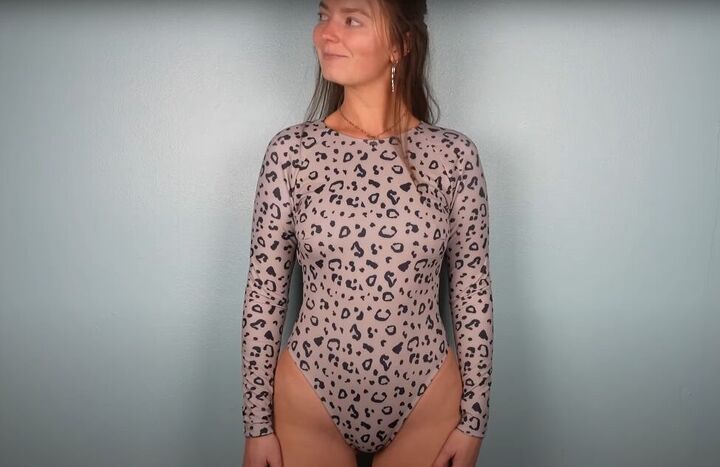
And here it is on the reverse side. If you give this reversible one-piece swimsuit a try, leave me a comment to let me know how it worked out for you.
The author may collect a small share of sales from the links on this page.


Comments
Join the conversation