How to Make a Sexy DIY Swimsuit With a Wrap Tie - Perfect For Summer

In this tutorial, featuring the beautiful Isabelle one-piece DIY swimsuit, I’ll show you how to make your own swimsuit with a wrap tie design. It is fully reversible so you can choose the colors that suit you best.
Let’s get started on your DIY swimsuit because summer is just around the corner.
Tools and materials:
- Isabelle one-piece swimsuit pattern
- Swimsuit fabric - 2 different ones for a reversible suit. Depending on your size you may need 1¼ yards. Many people need one yard of each.
- Rubber swimwear elastic
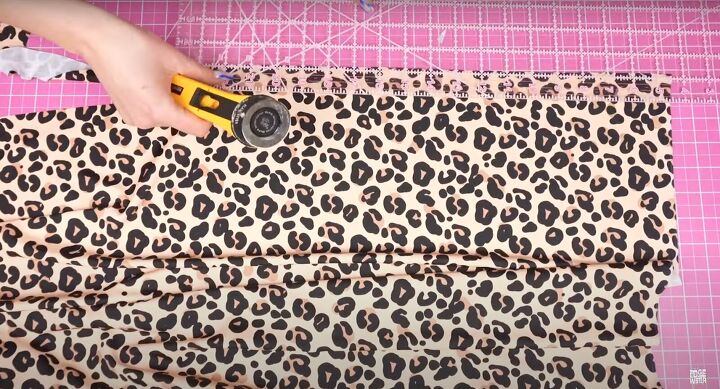
- Rotary cutter
- Sewing machine
- Serger (optional but handy)
- Elastic foot (optional but very handy)
- Clips
- Loop turner
Pro-tips: Use a basting stitch to secure your pieces before attaching elastic. This is the longest stitch on your sewing machine. It is a temporary stitch and not secure but it holds your fabrics together so your elastic attaches perfectly.
When sewing elastic, try not to stretch the elastic or the fabric. If you don’t have a serger, use a zigzag stitch whenever I recommend using a serger.
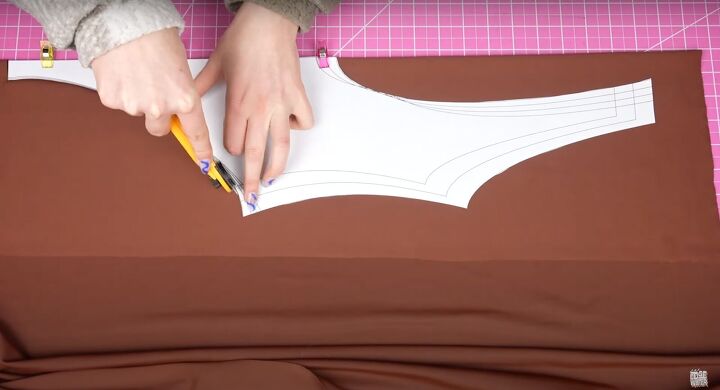
1. Make the pattern
Download, print, and cut out the paper pattern. Lay the pattern on folded fabric and cut out the pieces as the pattern directs.
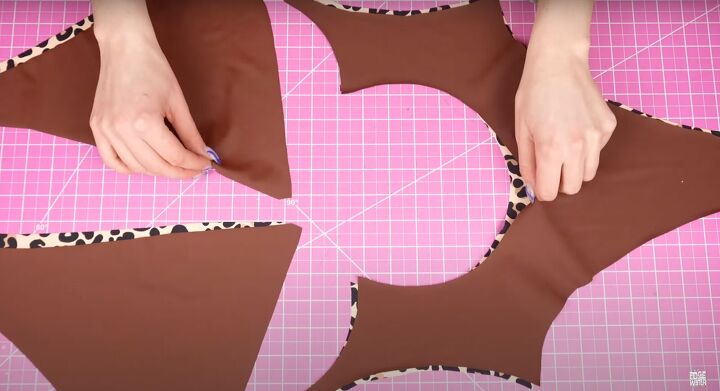
You’ll cut a front bottom, back bottom, and 2 bust pieces in each fabric.
Cut 2 pieces of fabric for the straps as the pattern directs for width and length.
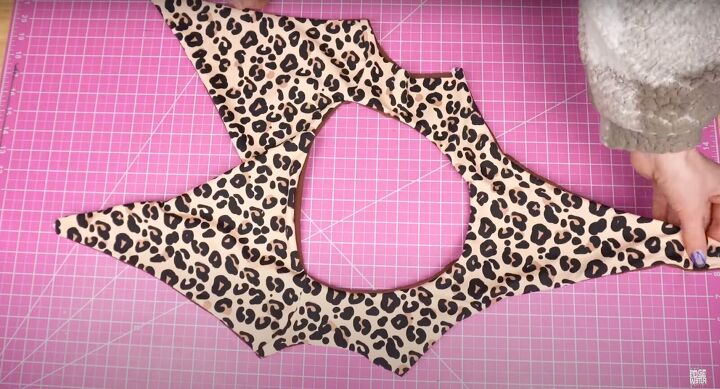
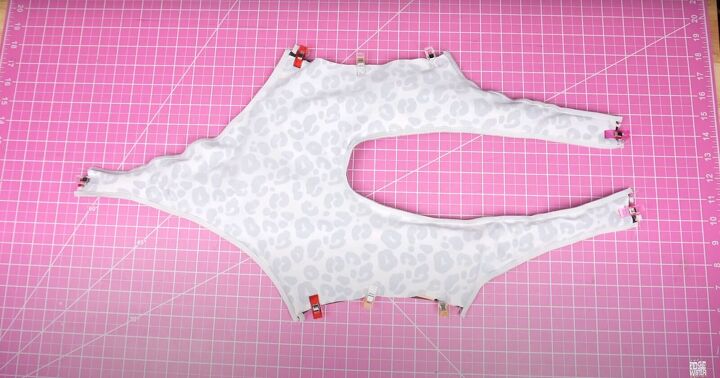
2. Construct the front of the swimsuit
Separate the pieces so your fabrics match. You’ll attach the bust pieces to the front bottom.
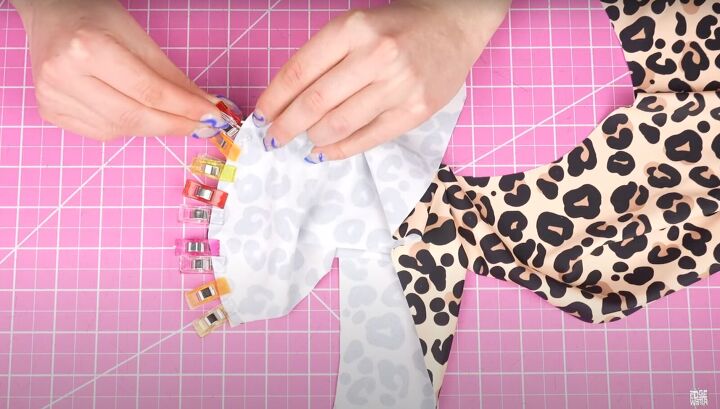
Flip the bust pieces down so the cup lays at the rounded top portion of the bottom piece. Use lots of clips to attach.
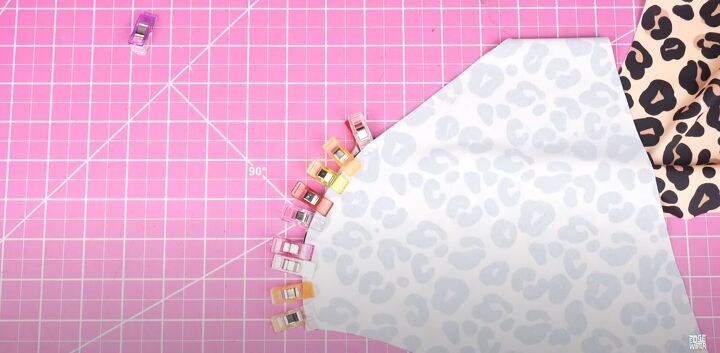
Line up the curve of the bust piece to match the cup opening. You’ll do this for the outer and lining fabrics. Try not to stretch the fabric when pinning.
Serge this area and sew the 4 cups down. You’ll have two full front pieces.

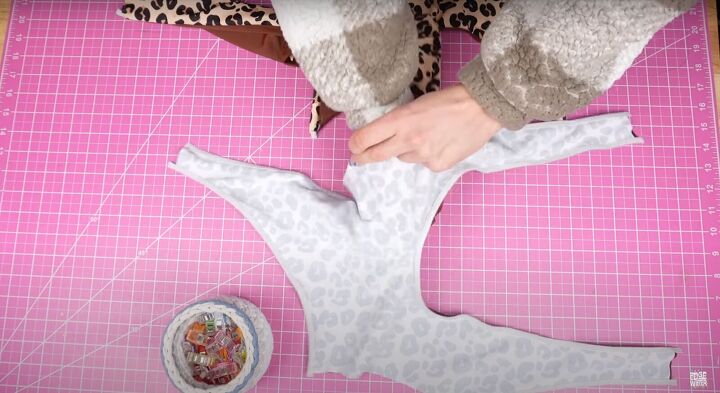
3. Sew the back of the swimsuit
Lay the back pieces right sides together.
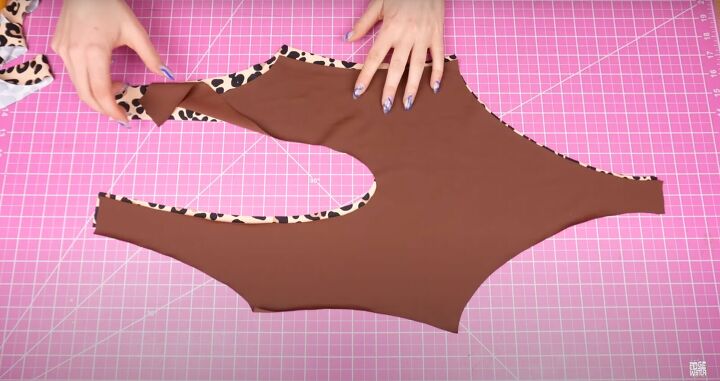
Sew along the leg holes, armholes, and neckline. Attach elastic to all the seams you’re sewing together.
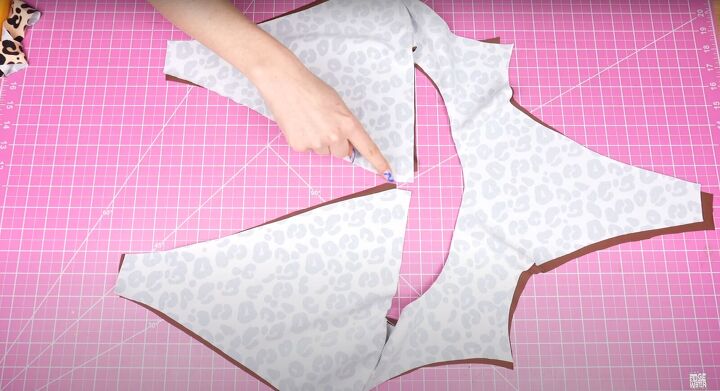
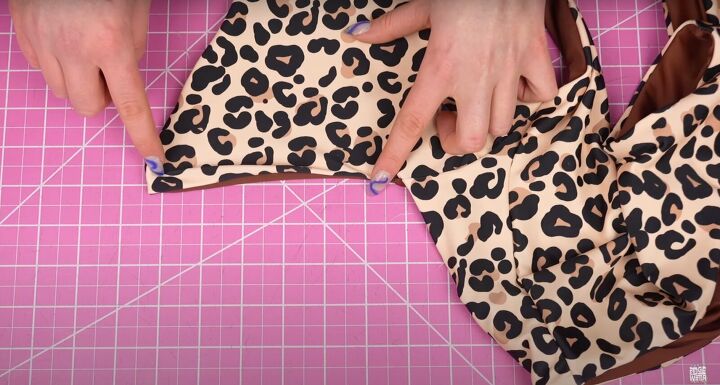
4. Sew the front of the swimsuit
Match the front pieces together. Pin in place and sew, attaching elastic to the leg holes, armholes, and neckline.
Attach elastic to the belly scoop area but do not attach elastic to the bottom of the cup pieces. Sew that area closed without elastic.
The inner corners of the bust pieces have an opening that is ½ inch. Leave that area unsewn so you’re able to insert the straps later.
If this part is too confusing, refer back to your pattern’s written instructions or watch the video from 5:05 to 5:30.
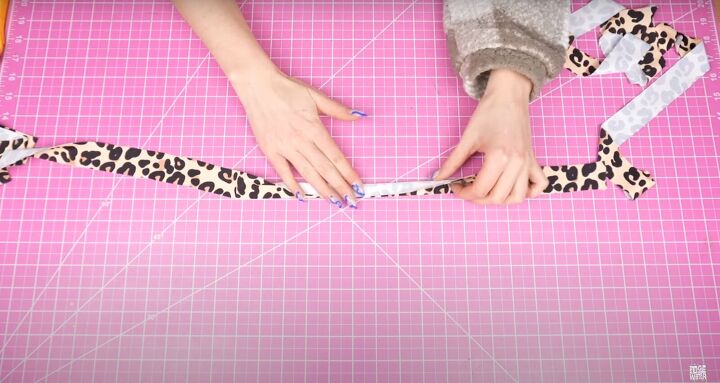
5. Sew the straps
Fold the straps in half lengthwise.
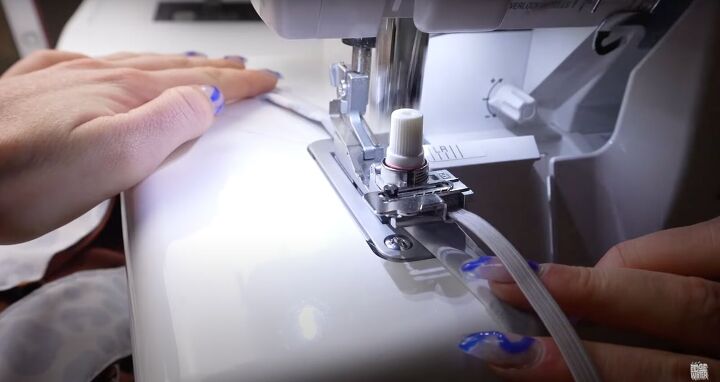
Sew along the raw edge, attaching elastic.
6. Attach the front and back
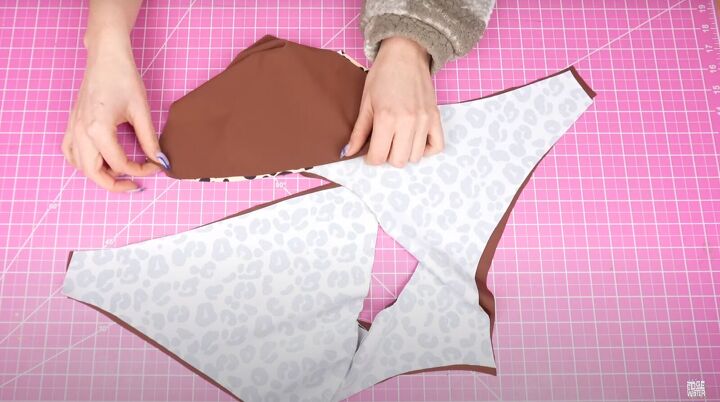
Flip the front piece to the right side. Baste stitch the strap opening, side seams, and gusset.
Insert the front piece into the back piece, right sides together.
Line up the shoulder straps, sides, and gusset. Pin in place. Sew across all 4 layers of fabric into position with a straight stitch or an overlock stitch with the serger.
Here’s where basting stitches help because 2 layers are already under control.
Trim the ¼ inch seam allowance excess.
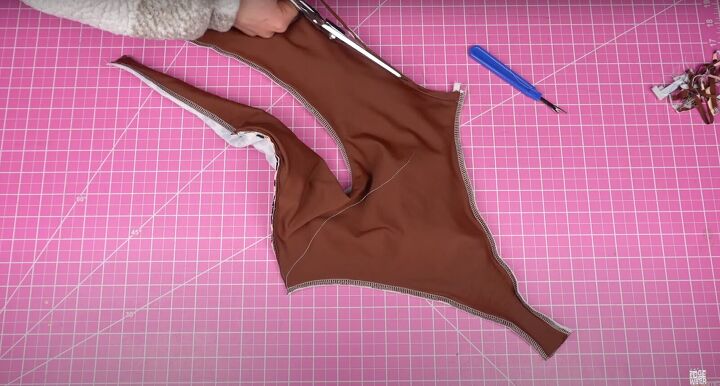
Everything is encased inside the back piece and it needs to all go to the right side.
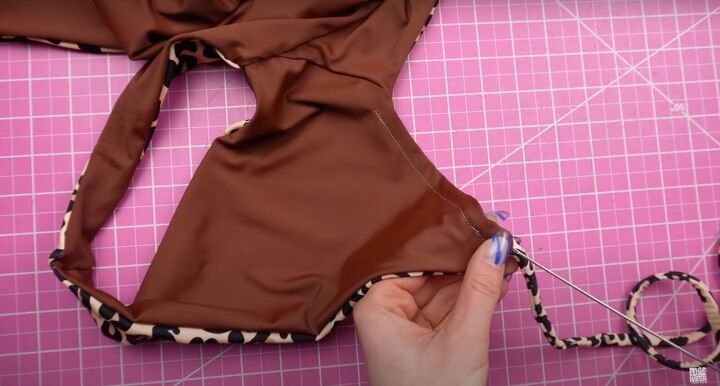
7. Finish your swimsuit construction
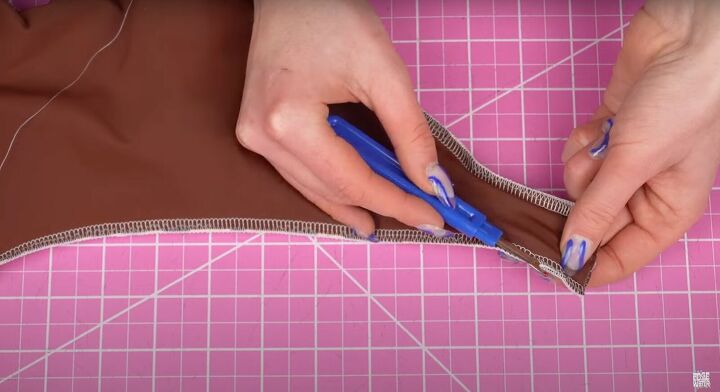
Use a seam ripper to open a 1- to 2-inch opening on an existing seam. Use this hole to take your swimsuit to the right side.
Sew the hole closed either with a straight stitch on your sewing machine or an invisible stitch with a needle and thread.
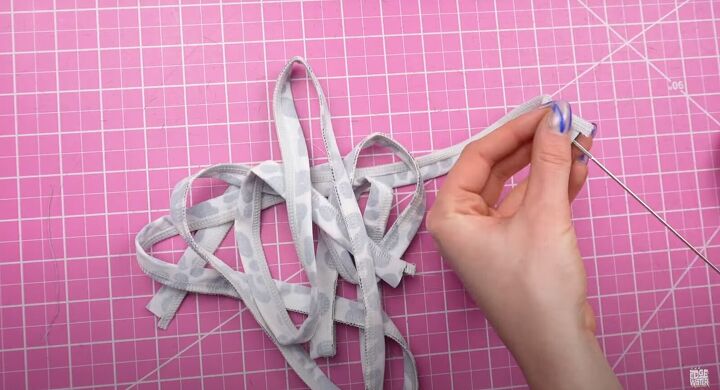
Turn your straps to the right side using your loop turner. If you don’t have one, you can use a safety pin.
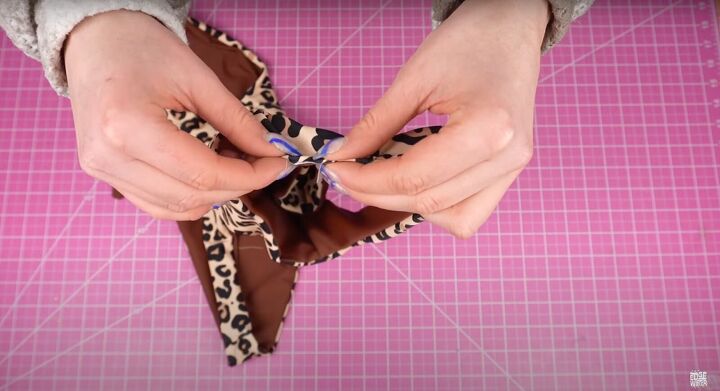
To insert the straps, you’ll sew 'faux' strap channels by the ½ inch opening on the bra cups. The straps offer some adjustability but the channels are not truly functional strap channels.
Sew channels down to just before the front bottom on both bra cups. Insert a strap into each channel, clip, and securely stitch it across.
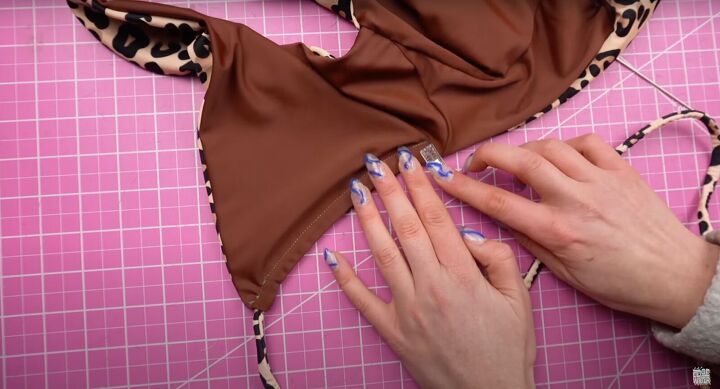
You can use the simpler method which is to insert the strap into each opening, clip, and then straight stitch the channel at the edge of the strap. Secure the strap with a straight stitch across. Trim any excess threads.

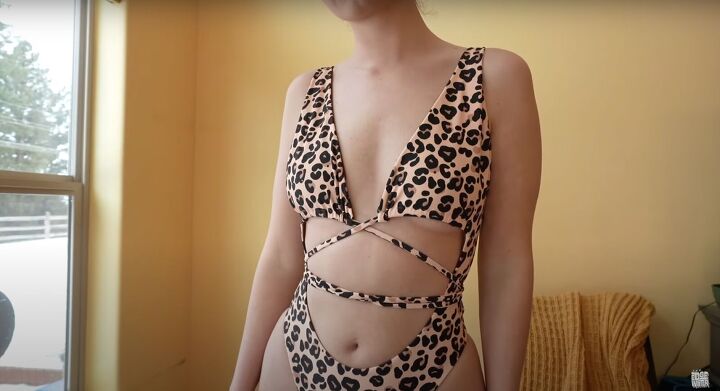
DIY swimsuit with a wrap tie
You’re done making a DIY swimsuit. I hope I showed you how to make your own swimsuit.
I’d so appreciate hearing your comments about this one-piece and even better, seeing your work!
The author may collect a small share of sales from the links on this page.


Comments
Join the conversation