DIY Spray-Painted Clothing: How to Spray Paint Your Clothes

DIY spray-painted clothing is lots of fun, and the possibilities are endless! If you are planning to give it a try, check out this tutorial first.
I’ll give you some tips about the best spray paint to use, depending on your design, and some great techniques so you get the best possible result.
Tools and materials:
- Plain t-shirt
- Fabric paint
- Textile pump spray paint
- Aerosol spray paint
- Fabric marker
- Scrap cloth
- Iron
When to use textile pump spray paint
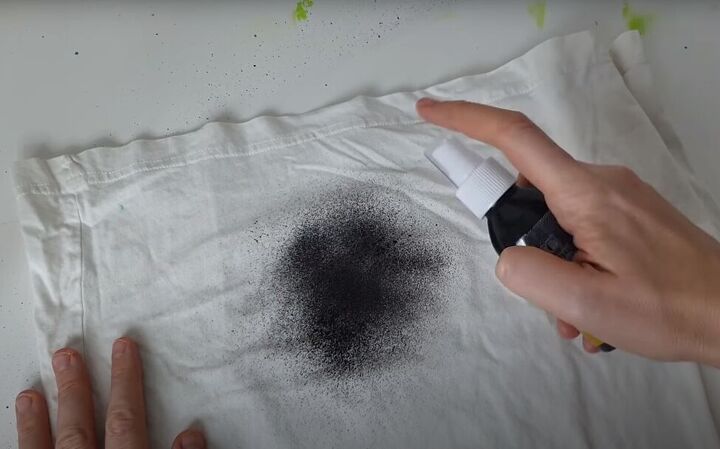
This type of spray paint is a good choice because it’s specifically made for textiles, so it doesn’t make your fabric stiff, and doesn’t fade after washing.
The pump doesn’t give you a lot of control, so you can use it with stencils, but it’s not very easy to draw or write with.
For more tips on using stencils on clothing, see my previous tutorial.
When to use aerosol textile or acrylic spray paints
Even though one is made for use with textiles, both textile aerosol spray paint and acrylic spray paint can leave the fabric feeling a bit stiff.
They also both fade a bit after washing, so they are not the best choice for use with stencils, when you want a deep, saturated color. Aerosol sprays are, however, good for writing or drawing larger designs.
How to spray paint clothes
1. Create your spray paint design by hand
Lightly draw your design onto your t-shirt or make a stencil of your design. Stencils take some effort and time to create, but if you are planning on using the same design over and over, it’s a good way to go.
2. Add fabric paint details
Now you can use regular fabric paint and a small paintbrush to draw in the smallest details of your design.
3. Create a stencil background
If you have a stencil that you want to use, but you want a background for the stencil, simply lay the stencil on the fabric and pump textile spray paint all around the outside border of the stencil.
Remove the stencil and you have a colorful background.
4. Paint in stencil details
Now you can fill in the details by drawing them in, and then painting with fabric paint and a small paintbrush.
5. Spray-paint large elements
Use aerosol spray paint to add any large design elements or writing.
6. Use fabric markers for small elements
You can also add small details with fabric markers.
7. Set the fabric paint
Fabric paint needs to be fixed with heat, so lay a cloth over your design and iron on top of the cloth.
Here is my completed t-shirt with all of the elements: pump textile spray paint, aerosol spray paint, fabric paint, and fabric markers.
DIY spray painted clothing tutorial
Here’s how the t-shirt looked after washing. You can see how the black acrylic paint lettering faded and is now a bit lighter than the black fabric paint. The good news is that the fading will only occur in the first wash, and it won’t continue fading after this.
So, now you’re all ready to make your own fabulous creations, using the right spray paint for the right job. Please leave a comment to let me know how you liked this tutorial on spray painting clothing.
Enjoyed the project?
Suggested materials:
- Plain t-shirt
- Fabric paint
- Textile pump spray paint
- Aerosol spray paint
- Fabric marker
- Scrap cloth
- Iron
The author may collect a small share of sales from the links on this page.


Comments
Join the conversation
Thank you so much for showing the multiple methods of t shirt painting! Would you possibly consider making an other example? Personally, I find this "joker-like" image very disturbing- so much so that I cannot go back and follow your instructions. That is such a shame because I (and others) would benefit so much from your insights! Thanks so much for sharing your creativity!