How to Embroider a Custom T-Shirt Using 4 Easy Embroidery Stitches

Do you have a plain t-shirt that could do with a little sprucing up? If that’s the case, you’ve come to the right place! I’ll show you how to embroider a t-shirt (or anything else for that matter) with four easy embroidery techniques.
This really is your ultimate guide to beautiful embroidery stitches, which you can use to embroider your own t-shirt with a custom design. Let’s start!
Tools and materials:
- Embroidery thread
- Needle
- T-shirt
- Paper
- LED light pad
- Pencil
- Washable friction pen
- Embroidery hoop
- Stabilizer
1. Make your design
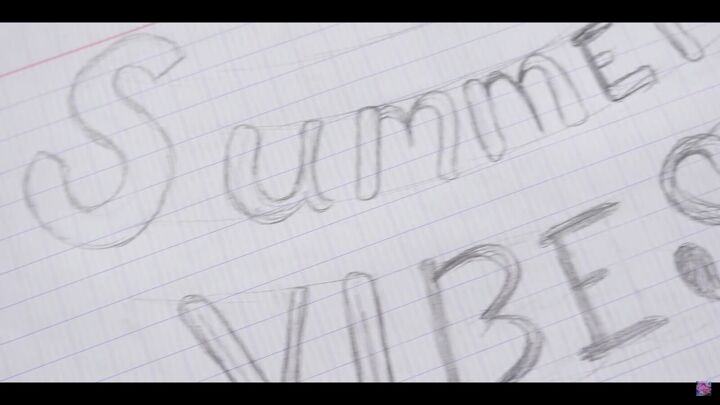
Draw out your design on paper. It can be anything you like, from letters to flowers; let your imagination run wild!
2. Transfer the design
You can either use tracing paper to transfer the design or a LED light pad like I’m using. Put the LED pad under your t-shirt together with the design, and then trace it onto the t-shirt.
Tip: Use a washable friction pen for this.
You can use a stabilizer to avoid losing the shape of your fabric. You can place it under or over the fabric.
3. Embroider
Next, place your embroidery hoop before you embroider your t-shirt.
1. Woven wheel stitch
This stitch, otherwise known as “spiderweb stitch” or “woven wheel rose”, is pretty easy to do! To make things easy, draw a circle and five equally spaced spokes.
Embroider the spokes with a simple stitch. Once you’re done, come up to the side of the center, in between two spokes.
Then, weave the thread under the nearest spoke.
Then, over the next spoke.
Continue weaving under and over the spokes, going around the circle while pulling the thread gently as you stitch.
Your woven circle will start taking shape. Continue as the shape is filled out. Aren’t these woven beauties just cute?
2. Lazy daisy stitch
Now, I’m going to show you how to embroider a lazy daisy stitch. Come up in the spot where the center of your daisy will be.
Then, go back down the same hole or closer. Leave a good-sized loop just before the end. You can use your fingers for guidance.
Bring your needle back up to the point where the end of the petal will be. Make sure your needle goes through the loop and that the loop is lying flat.
Make a tiny stitch to anchor it down. That’s your first petal! Now, make the rest of the petals, working your way around.
You can make as many petals as you like! If you accidentally pull your thread too tight, just use the end of your needle to pull and loosen it.
3. French knot
Come up where you want your knot to be and pull it through.
Wrap the thread around your needle, depending on what size you’d like the French knot to be. Make sure the thread is held between your thumb and pointer finger. I usually go 2-3 times.
Keeping the wrap on top with your fingers, take the needle back down through where you initially came up.
Then, start pulling your thread through the wraps you made.
The trick with this is not to loose the tension of the wraps. So, when you start pulling the thread to the back of your fabric, keep holding the thread with your fingers. Once your thread is almost all the way through; you can let go.
4. Heavy chain stitch
Start the heavy chain stitch by making a small vertical stitch.
Bring the thread back up one stitch length away and pass the needle under the first stitch without picking up any fabric.
Put the needle back in where the last stitch came out.
Move down another stitch length, come up through the fabric, and slide the needle under the first stitch.
Once again, go back down in the same spot where the last stitch came up.
Now you have two chain links on top of each other.
Again, come back up on stitch length away and pass the needle through the last two loops.
Keep following this method, and always remember to pass through the last two loops.
Pretty awesome, right?
For the “vibes” design, I decided to use French knots.
How to embroider a t-shirt
Now you know how to embroider a t-shirt using four different stitches. What do you think of my hand-embroidered t-shirt? I love the different stitches and colors; it definitely makes for some fun summer vibes!
Thanks for joining me, and I hope you have fun embroidering!
Enjoyed the project?
Suggested materials:
- Embroidery thread
- Needle
- T-shirt
- LED light pad
- Pencil
- Washable friction pen
- Embroidery hoop
- Stabilizer
The author may collect a small share of sales from the links on this page.


Comments
Join the conversation