How to Give Yourself an Amazing Toenail Makeover at Home

Has winter been rough on your feet? Have you been like me, with no time at all to take care of your toenails? Maybe it’s time for a complete toenail makeover. Don’t wait any longer! Follow this tutorial for a DIY pedicure in your own home.
Tools and materials:
- Foot file (preferably glass)
- Nail scissors and clippers
- Nail file
- Nail polish remover
- Cotton pads
- Cuticle oil
- Cuticle stick
- Old toothbrush
- Nail base coat
- Nail polish
- Nail glitter polish (optional)
- Nail top coat
- Moisturizer
- Nail bath or tub
- Shaver, hair removal cream, or epilator
1. Prep your feet and nails
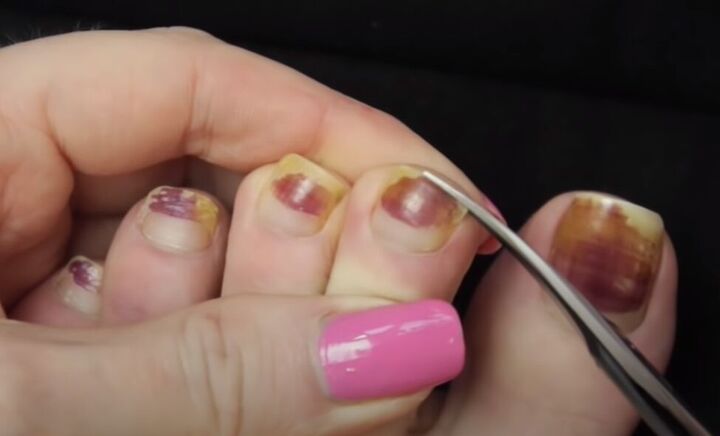
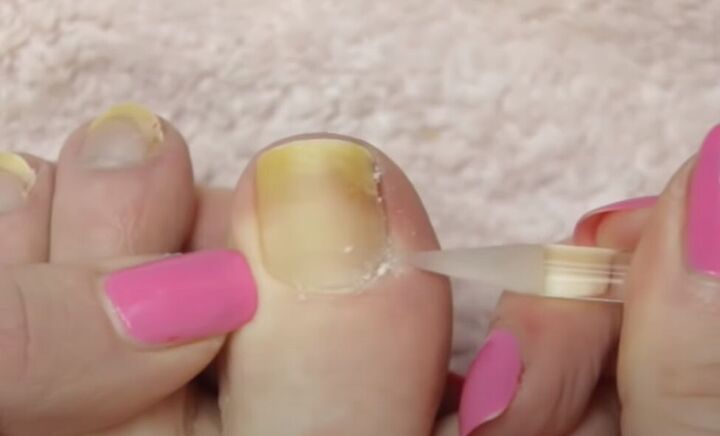
Use sharp nail scissors to trim all your toenails. If they are yellow like mine, don’t be grossed out. It’s likely just staining from nail polish, and you’re about to trim that off anyway.
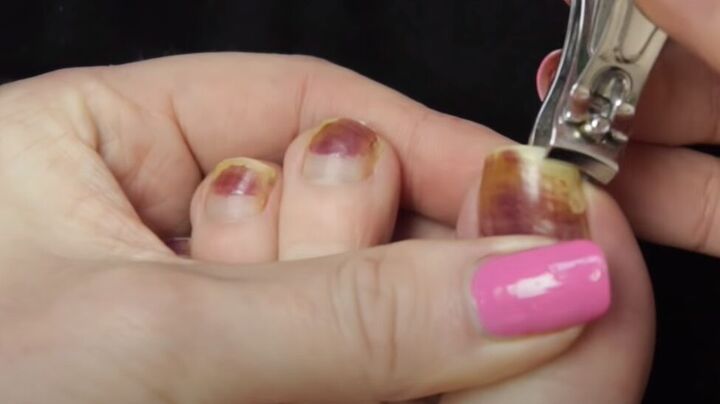
You might find that a toenail clipper works best on your big toe. Then you can just tidy up the trim with nail scissors.
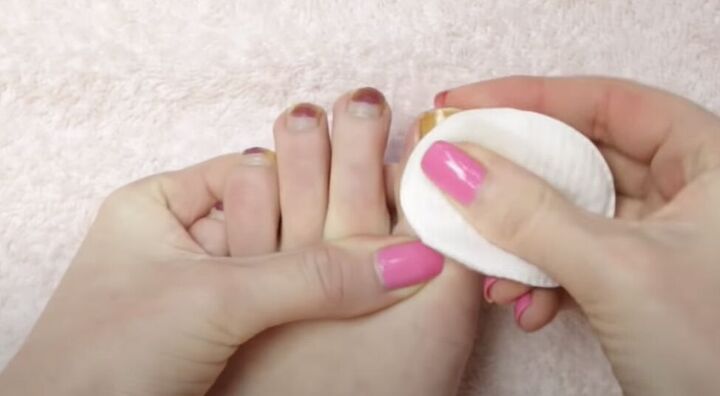
Next, remove any remaining polish from your toenails with plain old-fashioned nail polish remover and a cotton pad.
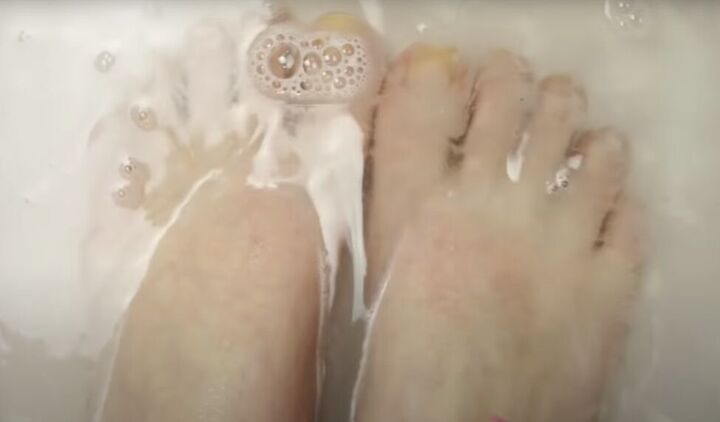
Give your feet and toes some extra love by soaking them in soapy water to soften them up.
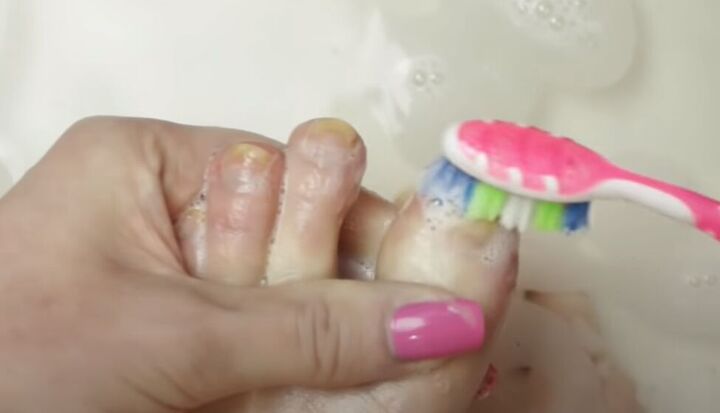
While your feet are soaking, use an old toothbrush to give your toenails a scrub.
2. File your feet and toenails
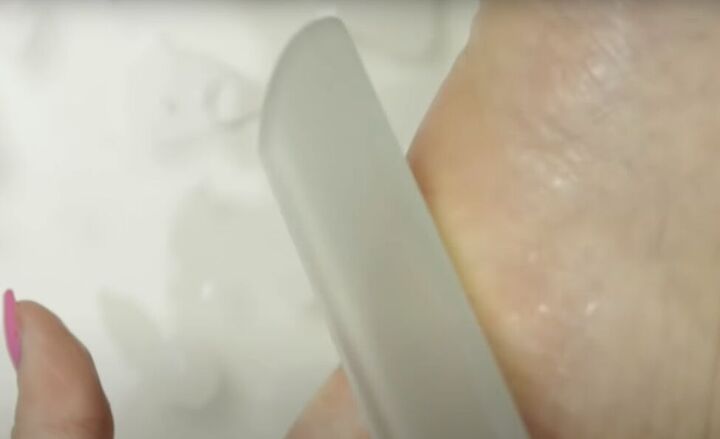
Use a glass foot file to file away dry skin from all over your feet.
With a glass foot file, the file is not sprayed or glued on. It is actually etched right into the glass, so it won’t ever wear away.
The tempered glass has natural antibacterial and antifungal qualities and is fully sterilizable.
Some glass foot files have two different surfaces. One side is a rough file for getting rid of the dry skin, and the other side is a smoother file, for softening the skin.
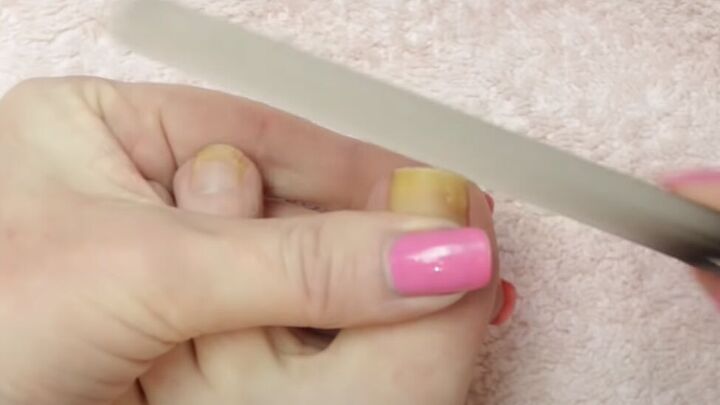
Sometimes the smooth side of the foot file can even be used to file your nails. But if it feels too big, then go in with a regular nail file instead.
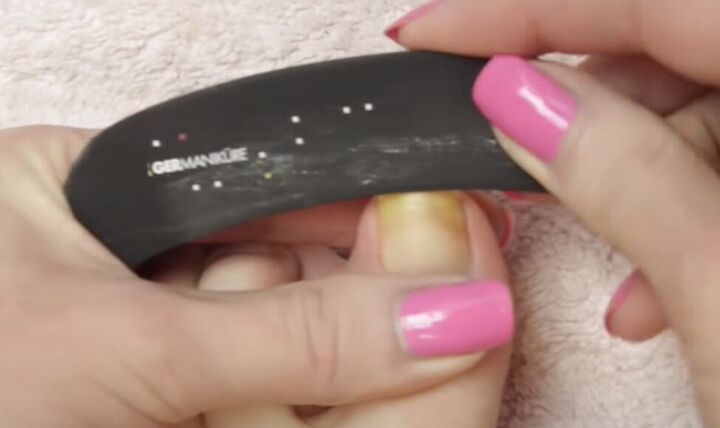
A moon-shaped file has a groove in it that makes it really easy to file your nails. Just get the tip of your nail into the groove and then file away.
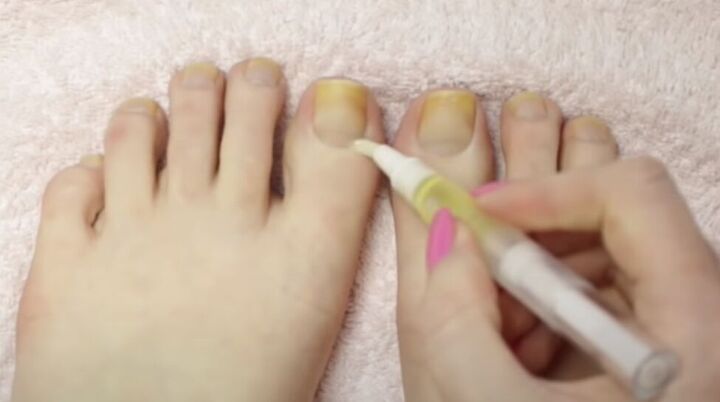
3. Soften your cuticles
Apply cuticle oil that is specially made for softening cuticles to all of your toenails at the base of the nail.
Then use a cuticle stick to remove the softened cuticles.

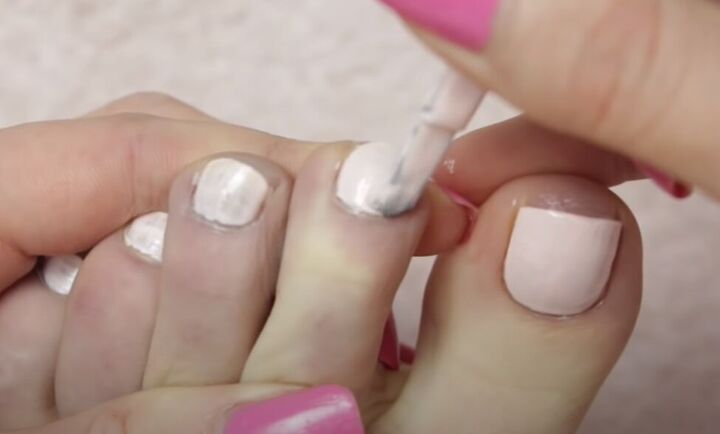
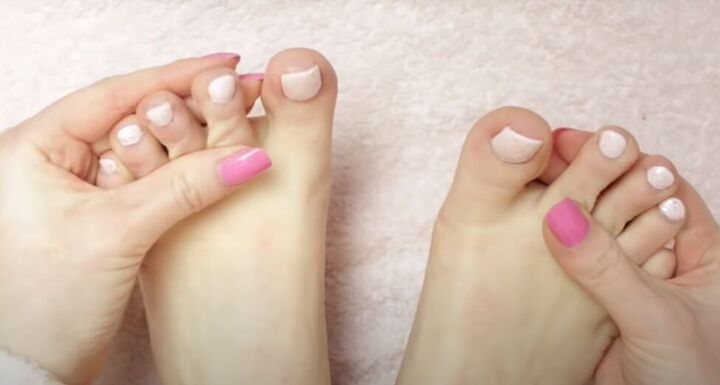
4. Time to polish
Start by applying a base coat to the top and edges of your toenails.
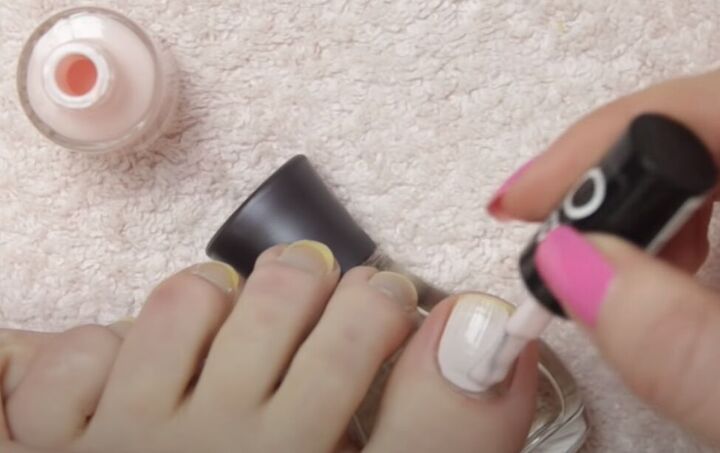
Follow with your nail color.
Tip: To get into the corners, try holding onto your toe and pinching it gently to expose the corner more clearly.
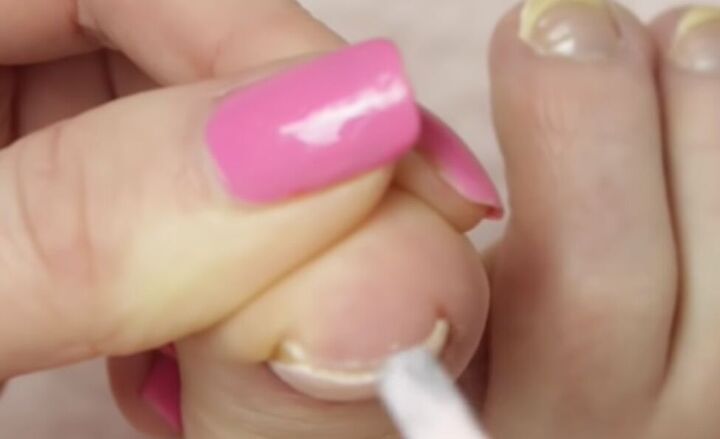
Don’t forget to polish the edges to seal in the color.
Let the first coat dry and then apply a second coat of nail color.
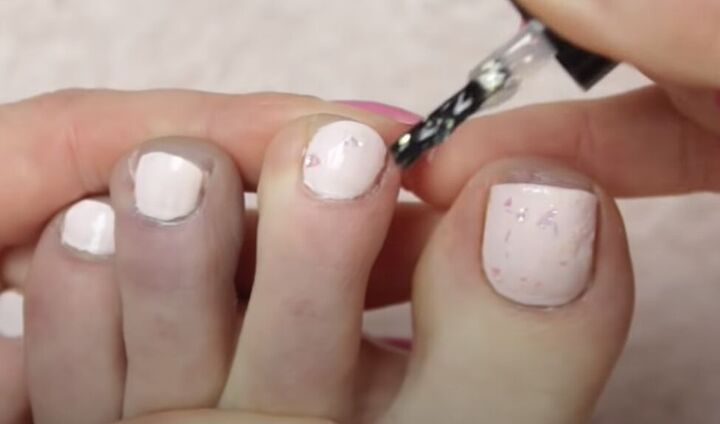
If you are feeling festive, go ahead and add a little sparkle or glitter polish after your second coat of color!
Finish with a fast-drying top coat.
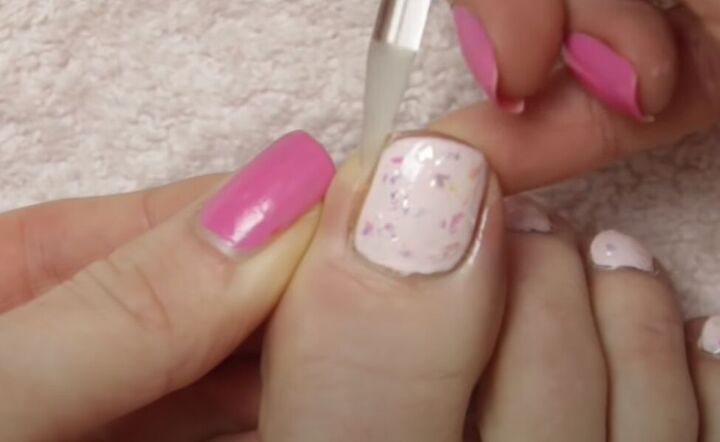
Clean up any nail polish that’s gone astray by using your cuticle stick dipped in nail polish remover.
Don’t be afraid to admit that you have some hair on your feet. Everybody does! Just use a shaver, hair removal cream, or an epilator to remove it.
Lastly, apply some moisturizer to your feet.
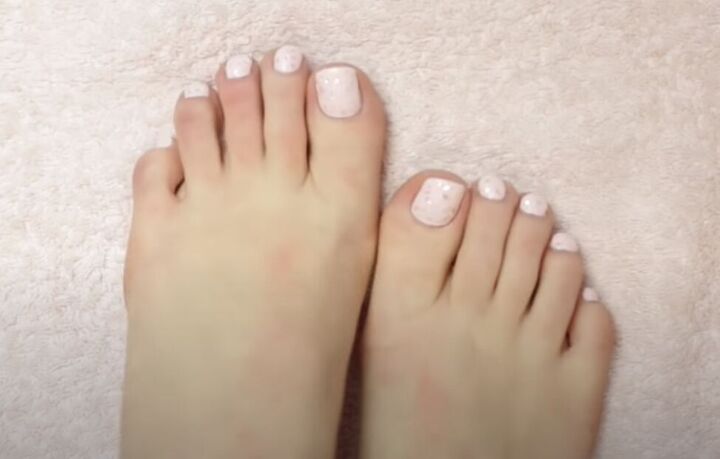
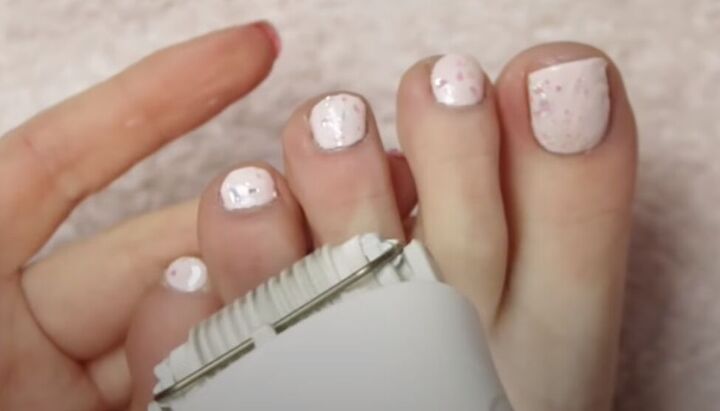
Toenail makeover tutorial
Wow, what a difference a good pedicure makes! And with a DIY pedicure at home, it only makes a difference to your feet, not your wallet!
Leave me a comment to let me know how you liked this toenail makeover tutorial, and how much you are now looking forward to sandal weather.
The author may collect a small share of sales from the links on this page.


Comments
Join the conversation