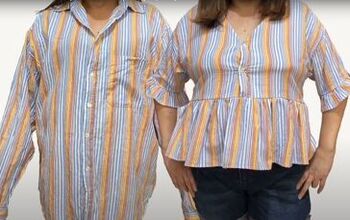
How to Upcycle an Old Plaid Shirt Into a Cute Ruffle Top

For this awesome thrift flip project, all you need is a plaid shirt and your sewing gear.
Follow along with my step-by-step tutorial to learn how to create your own plaid ruffle top. Let's get started.
Tools and materials:
- Plaid shirt to be upcycled
- Patches and iron (optional)
- Straight pins
- Fabric scissors
- Sewing machine
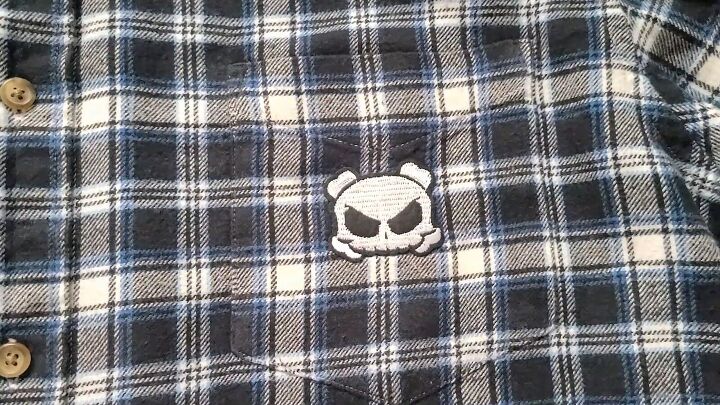
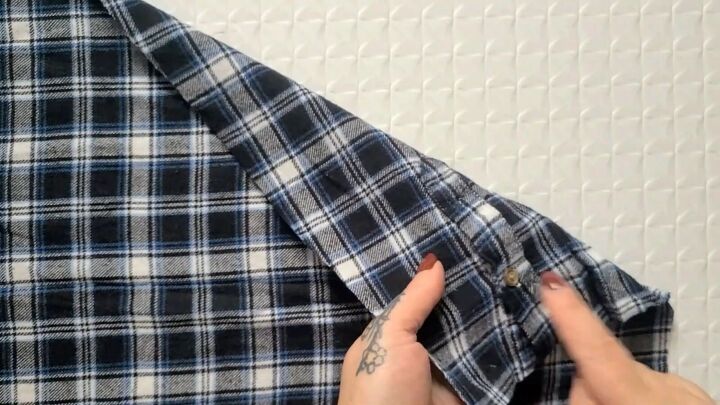
1. Logo coverup
Consider covering any logos or imperfections with patches.
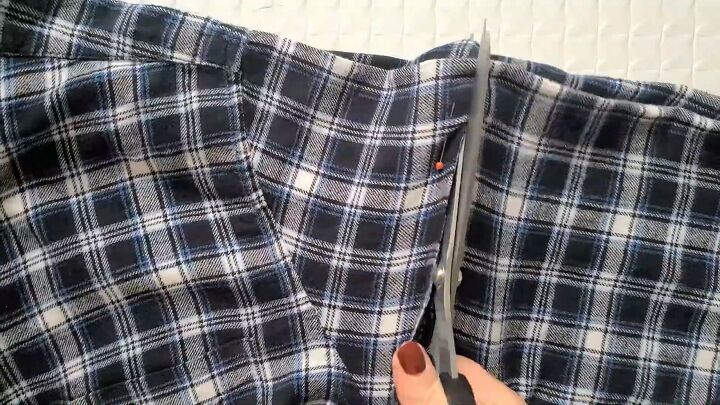
2. Find and create the desired length
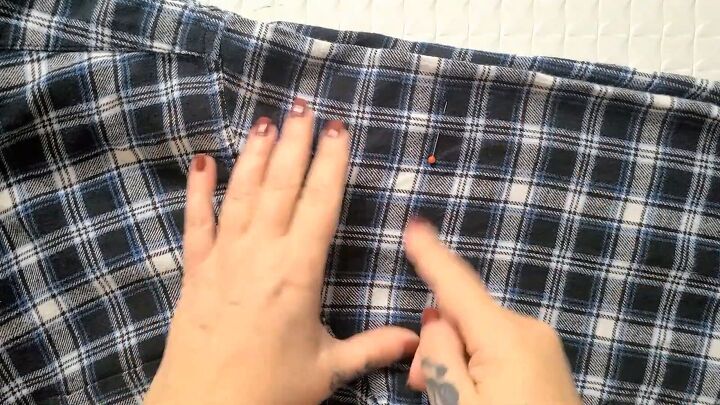
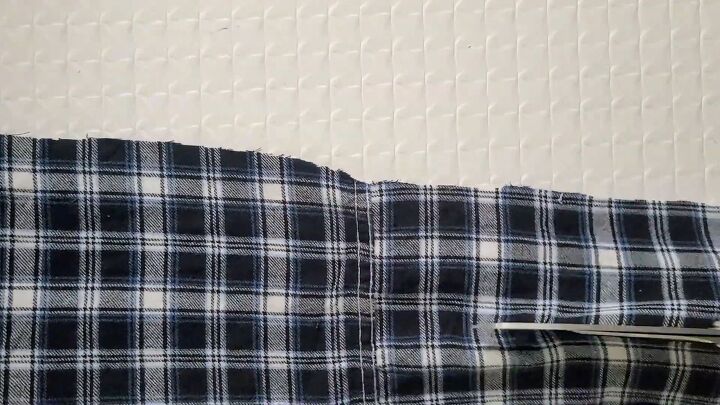
Try on your plaid shirt and mark the desired length with a pin. We are going for a slightly cropped look.
Save the excess fabric to be used on the sleeves later. Cut across at the new length.
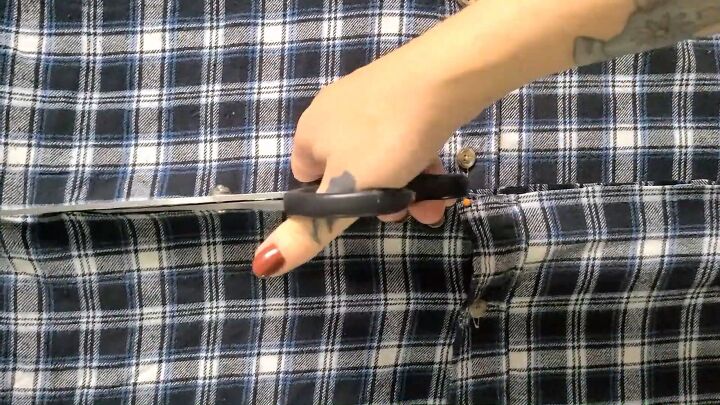
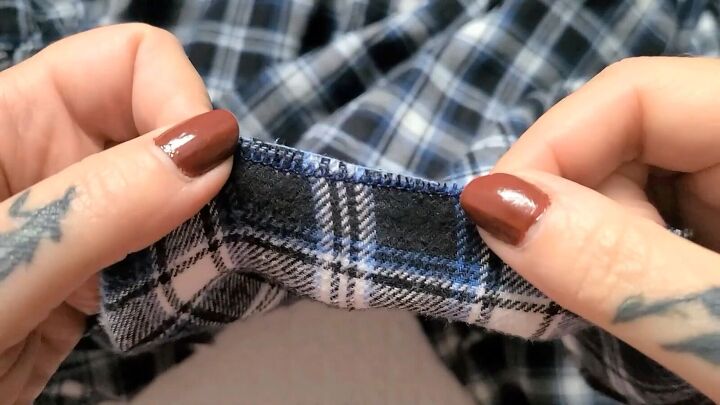
Then, use a relatively tight zigzag stitch to finish the raw edge.
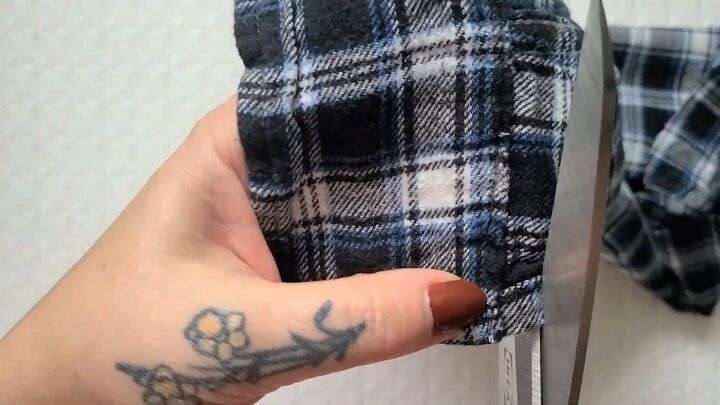
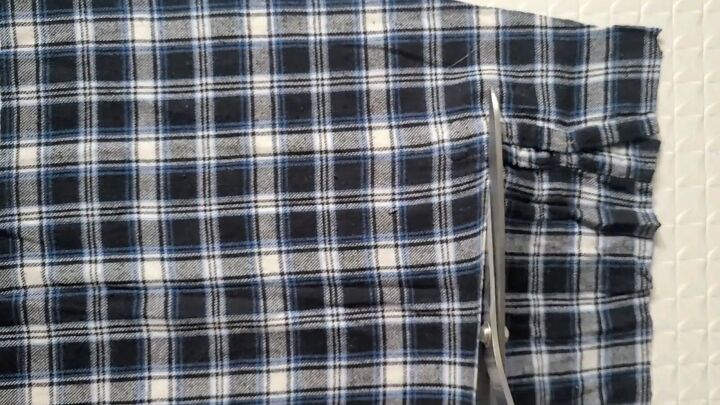
3. Plan your sleeves
Try the shirt on again and mark with a pin where you want the bell-like sleeve to start.
Then fold the shirt evenly in half and cut off both sleeves.
We will be using the original sleeve cuffs on our upcycled top, so chop those off from the sleeves as well.
Be sure to allow enough extra fabric beyond the cuff to be able to stitch it back on to the shirt.
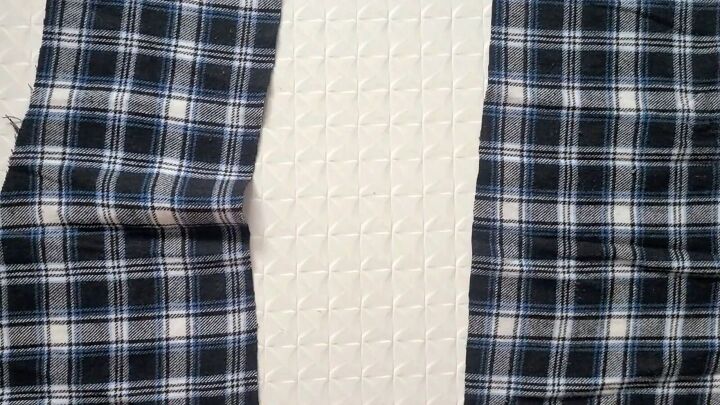
4. Prepare the first sleeve tier
Start by cutting open the sleeve piece, cutting out the bulky seams as well.
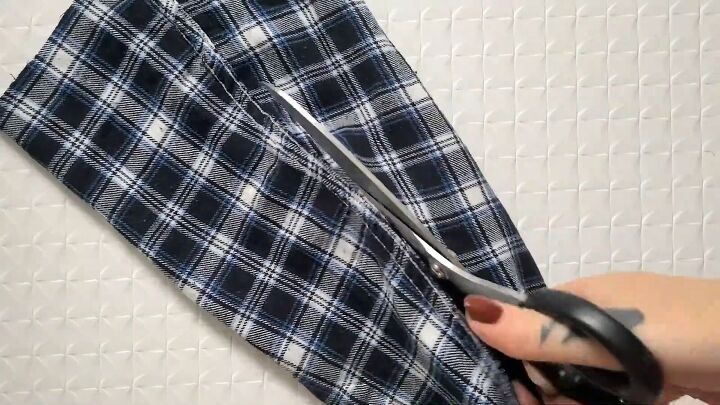
Next, cut right above the button on the sleeve.
Now, cut the flat fabric piece in half, leaving you with two long, flat pieces.
Then, sew them together to make a longer strip. This will become the first piece of the sleeve tiers.
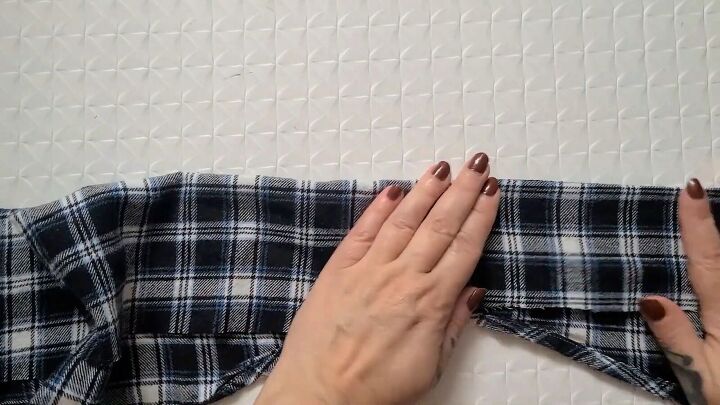
5. Prepare strip for the second sleeve tier
The second piece of the sleeve tier needs to be longer than the first to create that bellowing shape.
Take the excess piece that was chopped from the bottom of the original shirt and fold it in half horizontally, including as much fabric as possible.
Cut off the curved edge.
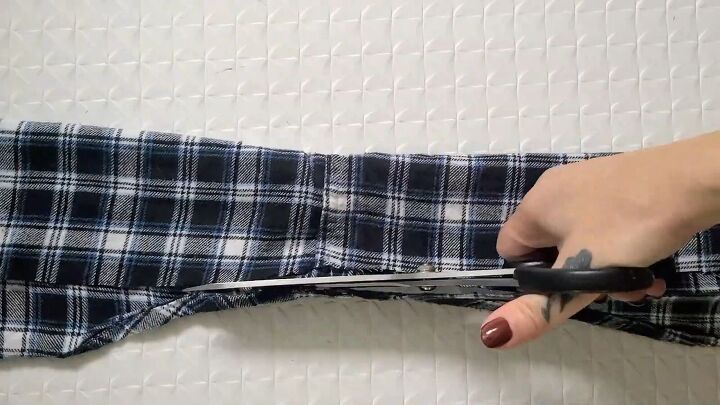
Then, cut the resulting piece in half lengthwise to create two, extra long strips.
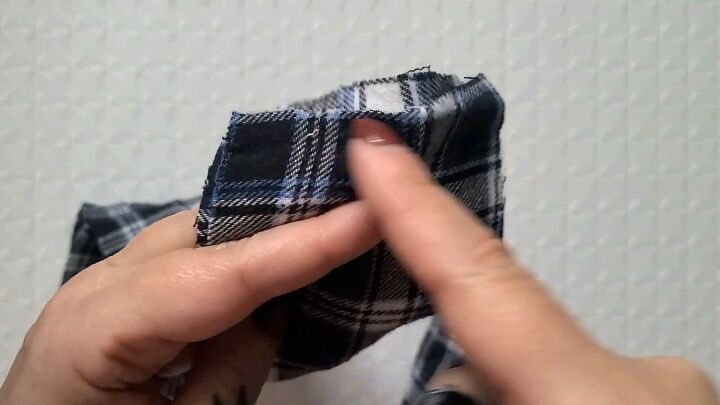
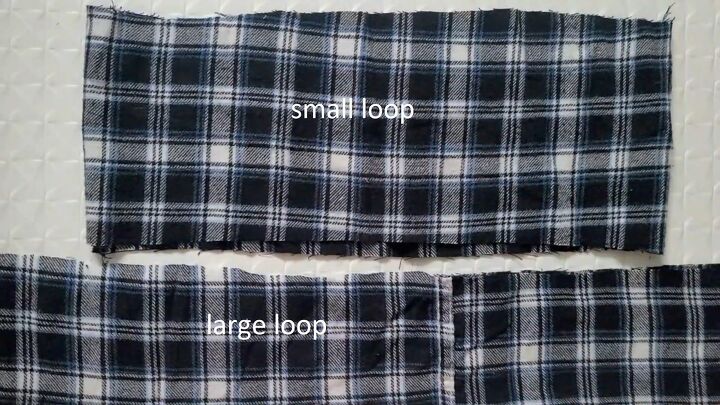
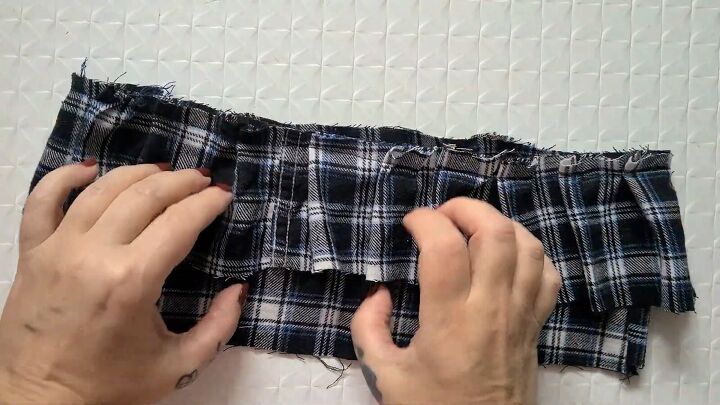
6. Create loops with tier 1 and tier 2 pieces
Sew the pieces from step 4 together, then sew the pieces from step 5 together, creating a small loop and a large loop of fabric.
Here is the result:
7. Join the loops together
Put the small loop with the right side facing out. The longer loop should have the wrong side out. Place the small loop inside the large loop.

Line up a side seam and pin it in place.
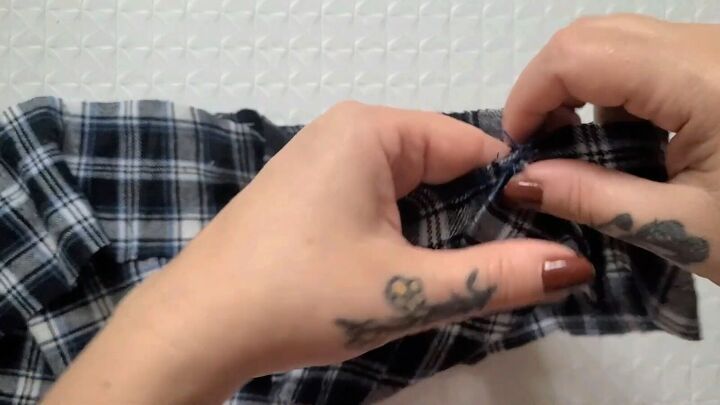
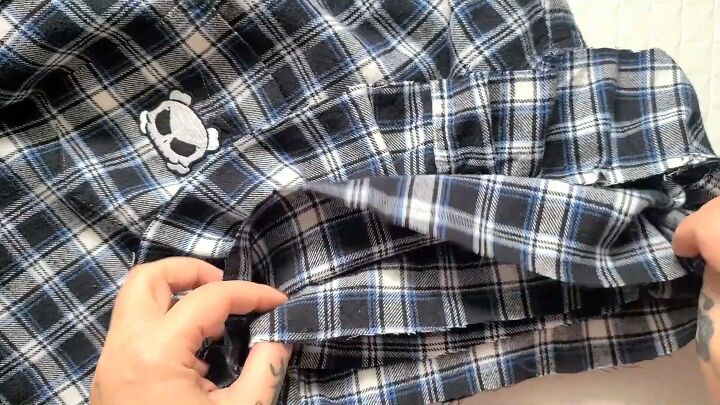
8. Place the pin tucks and sew
Then tuck and pin the fabric all around to create the sleeve detail.
Note: You can just use your machine or hand stitching to make the gathered edge on the longer piece. I prefer the crisper look of pin tucks.
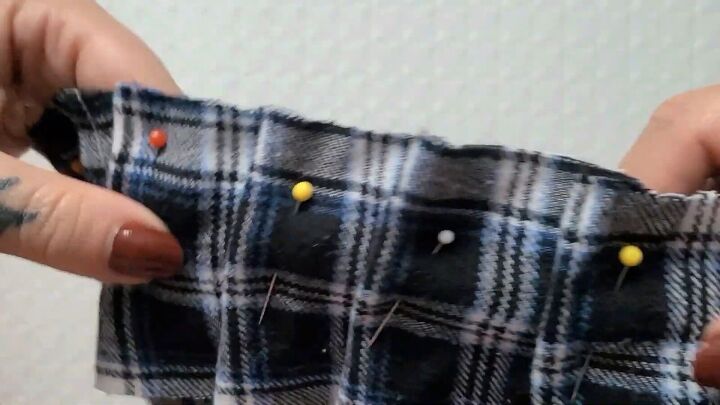
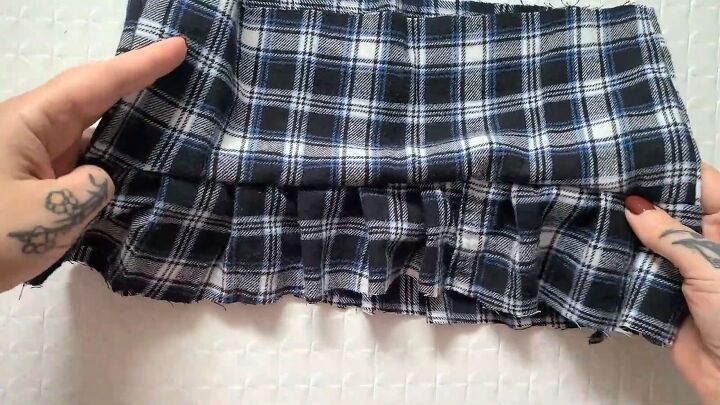
Then sew it together, removing the pins as you go. Here’s the view from the inside, then right side out:
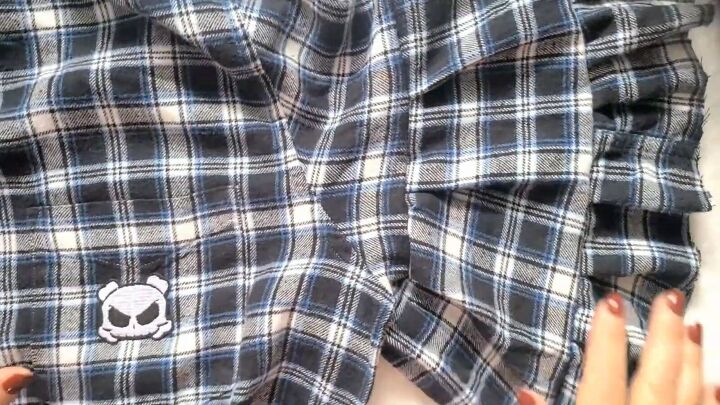
9. Attach the new sleeves
Sew the new sleeve ruffle piece onto the remaining sleeve stub, using the same pin tuck method.
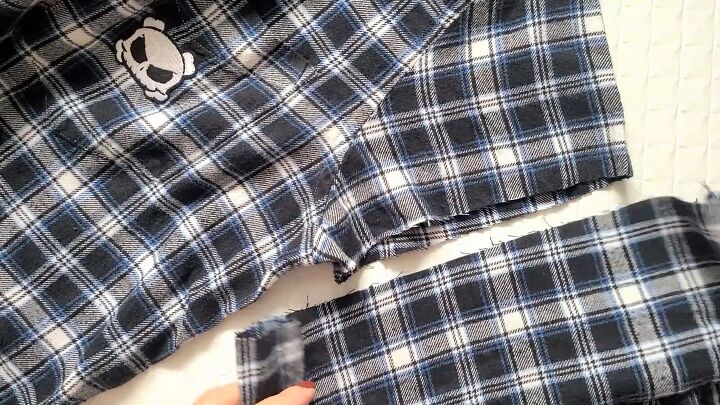
Start by flipping the new sleeve fabric so that the right sides are facing each other. Then apply the pin tucks all around and sew. See video 8:12 - 8:36.

Here’s the result:
Now repeat the whole process with the other sleeve.
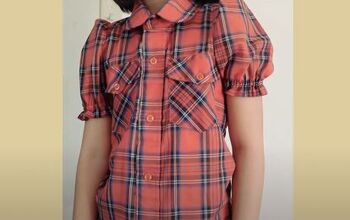
10. Finish the sleeves
Now that both sleeves are attached, I’m not sure yet if I want to add the cuffs back on, since these floaty, floppy sleeves look pretty amazing.
In the meantime, sew a zigzag stitch on the raw edges to prevent fraying.

Here’s the look of the plaid ruffle top without the cuffs:
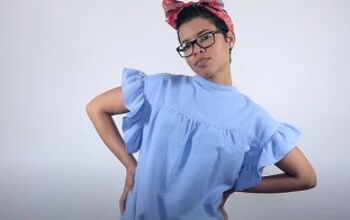
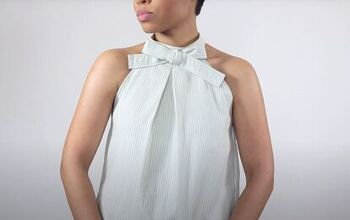
DIY plaid ruffle top
You’d never know that not that long ago, this thrift flip was a masculine, plaid shirt! It looks and feels amazing, and I can’t get over the gorgeous sleeves.
If you liked this upcycled plaid shirt tutorial, I hope you will make one of your own and show us your results in the comments below.
Feel free to add the cuffs back on as well for a slightly different plaid ruffle top.
Find all of my 30 Days of Refashions tutorials here
The author may collect a small share of sales from the links on this page.


Comments
Join the conversation
I will try the project one day but I have a comment about the person that was complaining about you laughing too much. For one laughing is good medicine for your soul and makes you feel good. Second if they don’t like you laughing so much they don’t have to watch your video. It’s just my thought about it. By the way, this is first time I have watched your video and highly enjoyed it, laughing and all!! Especially learning how to change a shirt to a different style!!
You are so fun, thank you!!