How to Make a DIY Strapless Tuxedo Top Out of an Old '80s Blazer

Hi friends, today we are doing a strapless top DIY. I'm excited to show you how to make a strapless tuxedo top out of a thrifted blazer.
I have been waiting to upcycle this amazing Neiman Marcus blazer for a while. I found this at the Goodwill and it’s very 80s with the whole structure of it. Let's get started!
Tools and materials:
- Blazer with lapels
- Scissors
- Pins
- Sewing machine
- Dress form (optional)
- Clasp
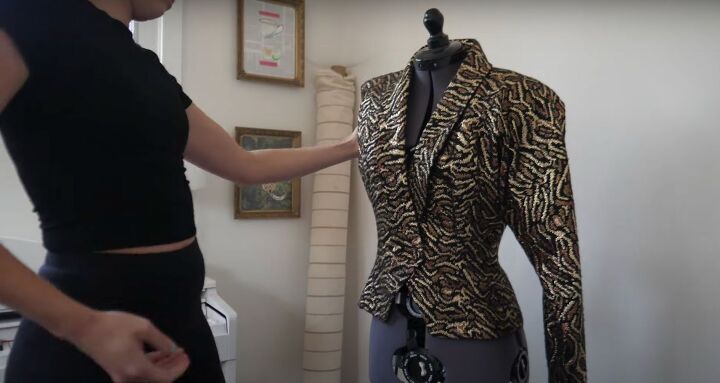
This is how the blazer looked originally. It actually fits my waist perfectly. There are two buttons, so I was thinking about chopping off the top and making it a strapless top, but keeping the lapel.
I wasn't quite sure how I would do it, so I figured it out as I went.
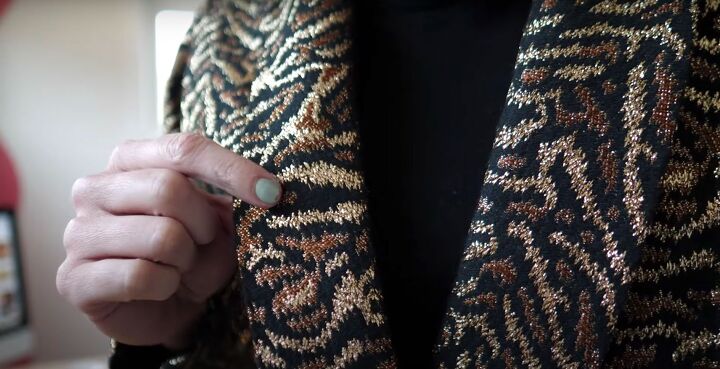
I was so obsessed with this fabric that I just had to get it to upcycle it. It's so shiny and fun. I think that this DIY strapless top could be something really funky and cool, like a New Year's Eve outfit.
1. Cut off the sleeves
I hate cutting up clothes, especially a Neiman Marcus blazer, but the arms needed to be cut off.
2. Gauge the fit
Next, I decided that since the lapel was just naturally going around and I liked that look, I would leave it as is, as well as the collar. That created basically a halter.
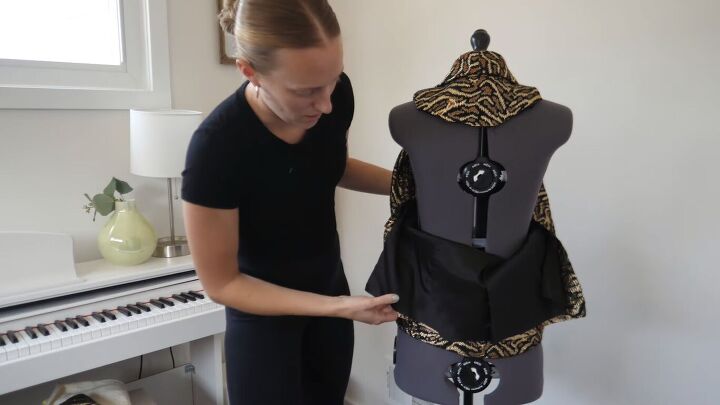
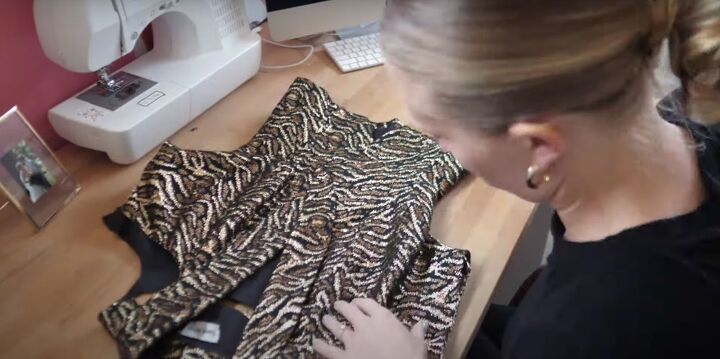
3. Cut out the lapels at the back
I separated the lapel from the top of the blazer, so it was easier to play around with and trimmed the excess fabric.
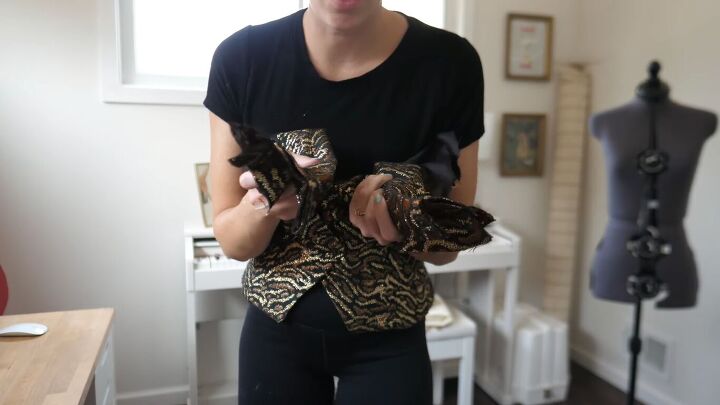
I alternated putting the top on my dress form and on my body to see what worked.
I also cut the lapel itself at the top.

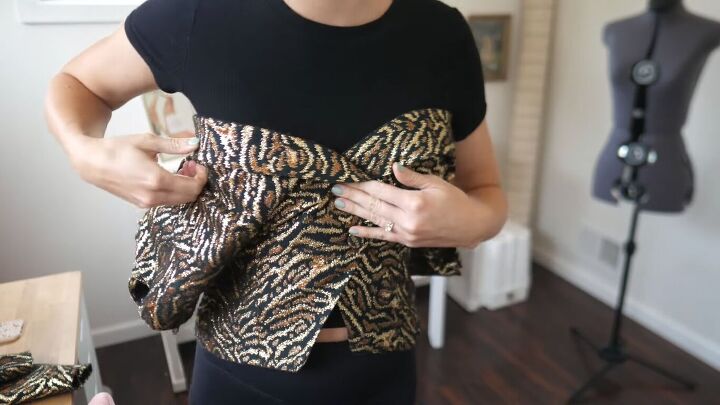
4. Take in the sides
Next, I took in the side seams so I could see how much extra fabric I needed to remove.
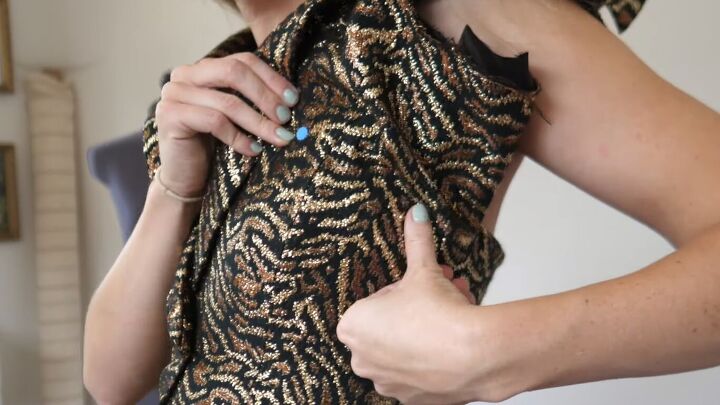
Once everything was lined up, it was easier to see how I could fold over the lapels at the front.
5. Cut the top of the bodice
Once the sides were taken in, I put on the top. I pinned where the bodice needed to start and trimmed off the excess fabric.
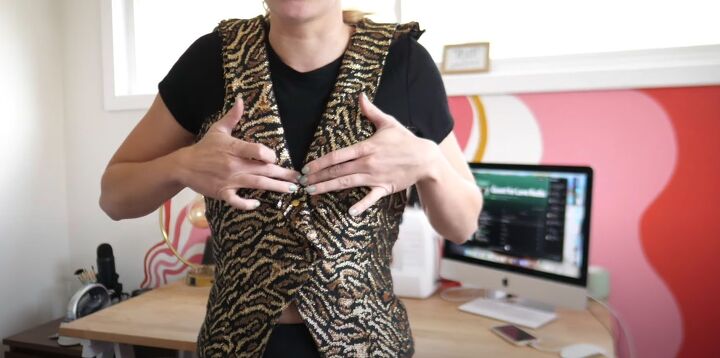
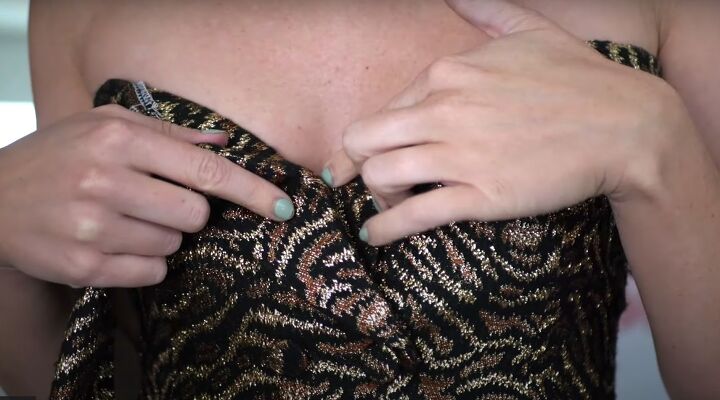
6. Add a clasp
I needed to hold the front in place a little better so added a clasp.
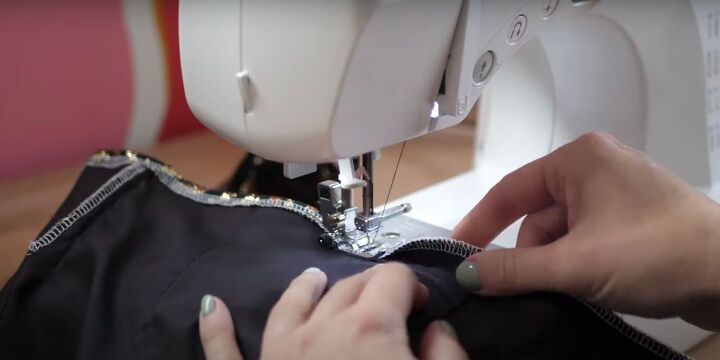
7. Finish the edges
Then I finished off the raw edges.
8. Sew the lapel in place
I kept playing with the lapel until I got it to lay in a way that I liked, then pinned and stitched it in place. The folds also hid the serging on the edges.

DIY strapless top tutorial
What do you think? Personally, I am obsessed. I cannot believe that this turned out this good.

I'm honestly shocked! The moment that I saw this blazer at the thrift store, I envisioned this top, and now I've made it! Usually upcycling is so up in the air and you never know how it will turn out.
I think that it looks really cute. I hope you enjoyed this strapless top DIY. Let me know what you think in the comments below.
The author may collect a small share of sales from the links on this page.


Comments
Join the conversation
That top came out really cute, good job!