DIY Upcycled Denim Top
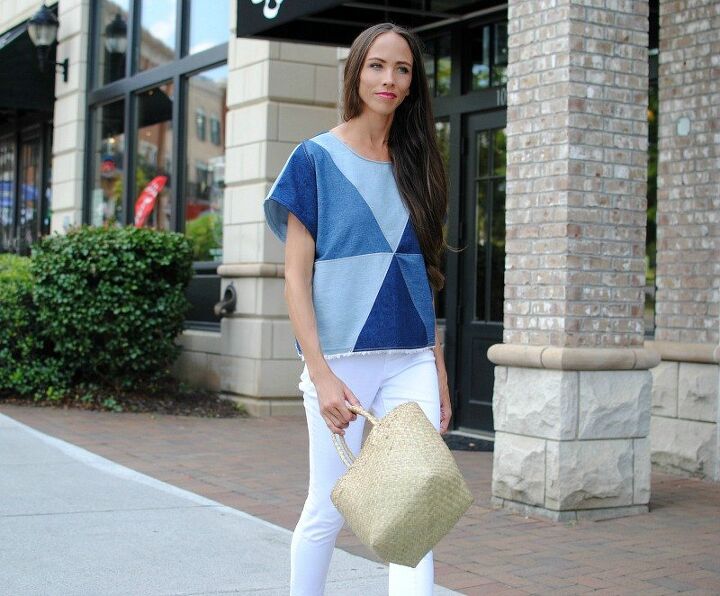
My past couple sewing projects have consisted of sewing different shades of denim together. Denim fabric doesn’t have to be used just for jeans or jackets. It’s a great material to make accessories, home projects, and comes in a variety of different weights and shades. After combining some light weight denim together I wanted to create a loose top using this technique. I typically use Dual Duty Plus Jeans thread in gold for topstitching and for sewing I like Dual Duty Plus Denim thread for Jeans in faded blue. To add more detail I topstitched along the seams with Dual Duty Plus Jeans thread in gold. Get the details below and create your own.
Supplies:
-different shades of light wt. denim
- Dual Duty Plus Denim thread for Jeans
-pattern (I used New Look 6519 and drafted the pieces).
-pattern paper
-grid ruler
-Brother Sewing Machine
Create the pattern:
Pick a simple top pattern that is loose and sleeveless. You can draft this as well. I used a simple top pattern and added about 1” around the pattern.
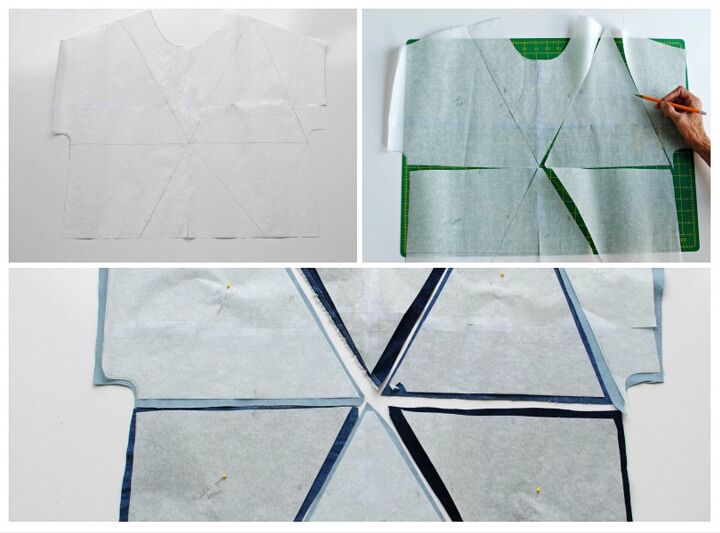
Trace the pattern out on pattern paper (I use parchment paper and tape the centers together). Front and back should be the same (make sure front neckline is lower, back is higher).
Step 2)
Use a grid ruler and create slants into the pattern. I did a couple slants across the shoulders and then through the center. You can do this however you’d like.
Cut the pieces out. (tip: as you cut make sure you keep the pieces together and right side up).
It’s a good idea to mark letters/notches or shapes so you know where each pattern piece goes. I used letters and also marked placement: for example, bottom right, center front.
Step 3)
Cut the fabric:
When cutting the fabric make sure you add a 1/4” or so perimeter for the seam allowance.
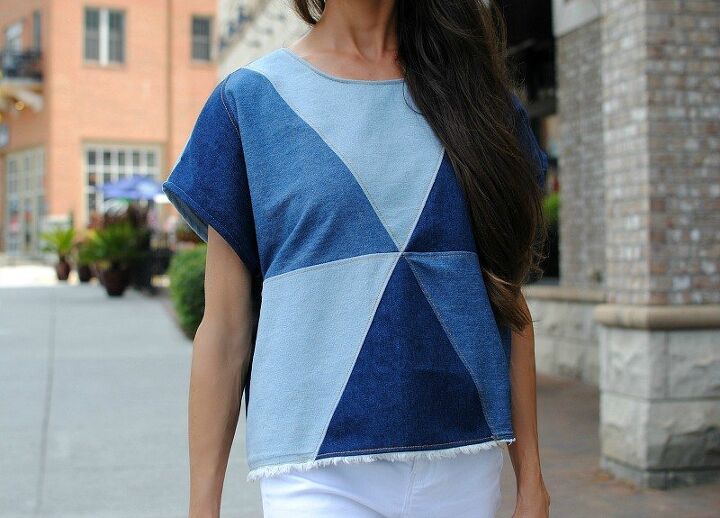
As you cut place the pattern pieces together so you can see how it will look with the different fabrics and you don’t get the pieces mixed up. I also used the fringe/selvage edges as my bottom hem. I just liked the look.
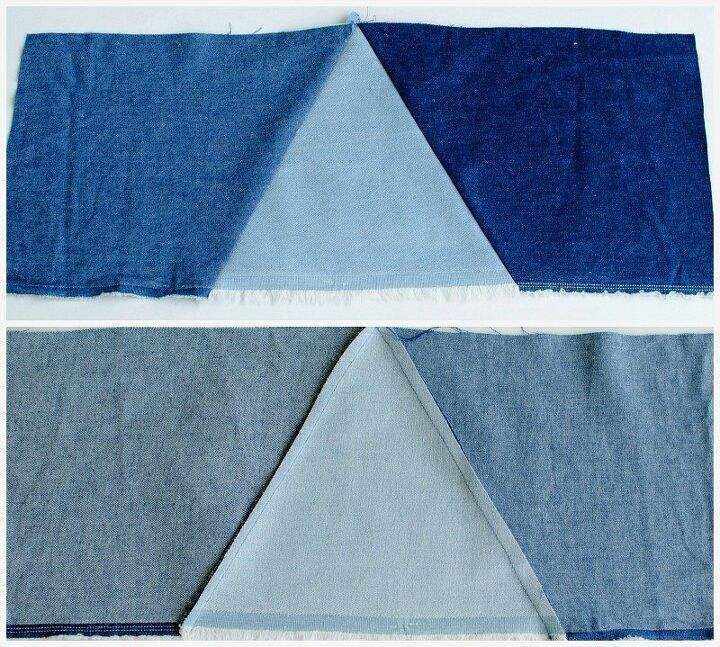
Step 4)
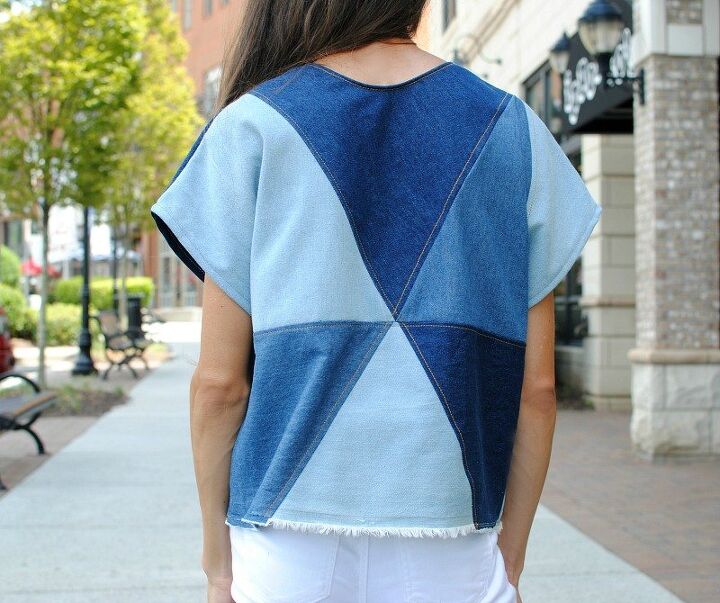
Cut the back out as well. (Tip: alternate one of the fabrics to get a fun contrast, I swapped the dark denim for the light denim on the back).
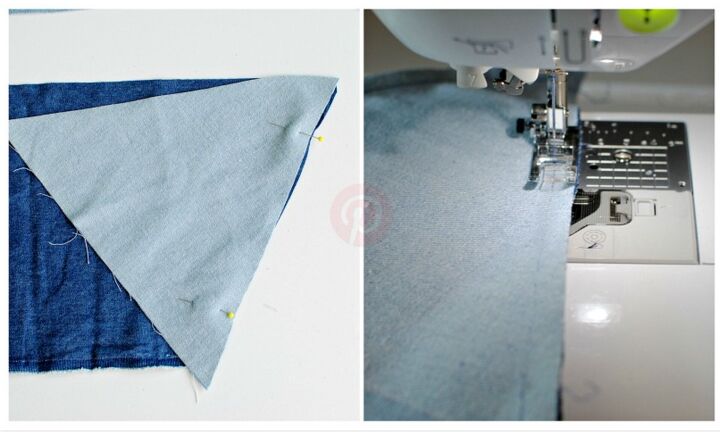
Step 5)
Sew: Sew the bottom pieces together first as if you’re sewing a quilt.
Once sewn, press the seam allowances outward.
Step 6) Sew the top pieces together and this time press the seam allowances inward.
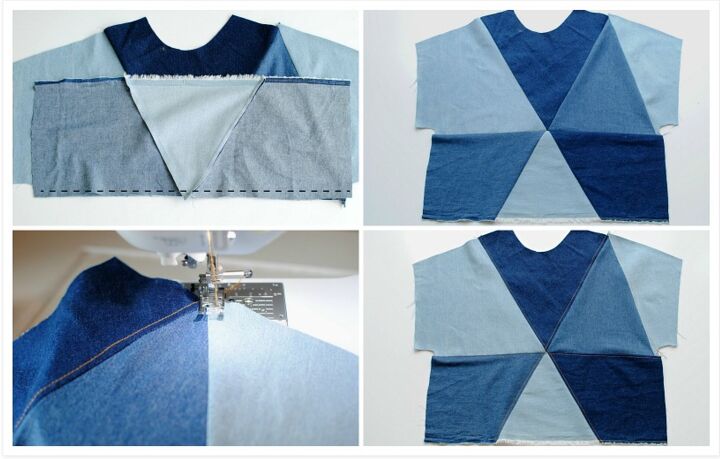
Step 7) sew top and bottom together and press seam allowances down. You may have to clip some of the seam allowances near the center to get them to properly lay flat.
Step 8) Now it’s time to topstitch.
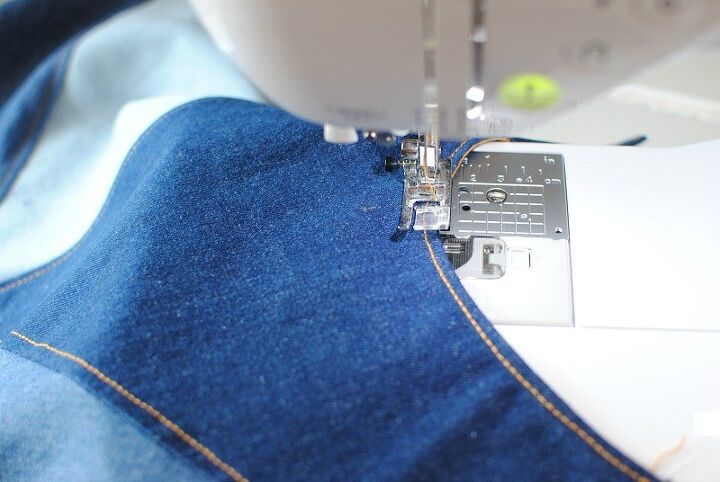
Step 9)
Use Coats & Clark Thread for Jeans. I used the gold but they have other colors. Topstitch the seam allowance down just shy of ¼” the seam line. I used a 3.0 stitch length.
Step 10)
Repeat for the back.
Step 11)
Place front and back right sides together and stitch the side and shoulder seams. Finish seam allowance with serger or bias tape. Lastly, finish the neckline, bottom hem, and sleeve hems.
The author may collect a small share of sales from the links on this page.


Comments
Join the conversation
Great top and your translation and execution of your vision of the top is wonderful. Thank you for sharing your process.
Love it, love it.