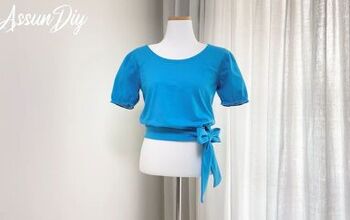
How to Transform A Shirt Into a Cute Top
What can you do if you have an oversized shirt you never use? Most of us have dads, brothers, boyfriends, or friends who stop wearing their shirts for several reasons. You can also have a big shirt in your wardrobe that still looks great, but maybe shirts aren’t part of your style.
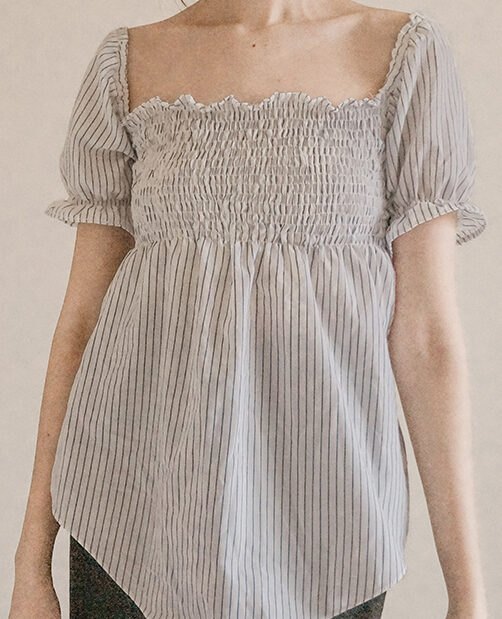
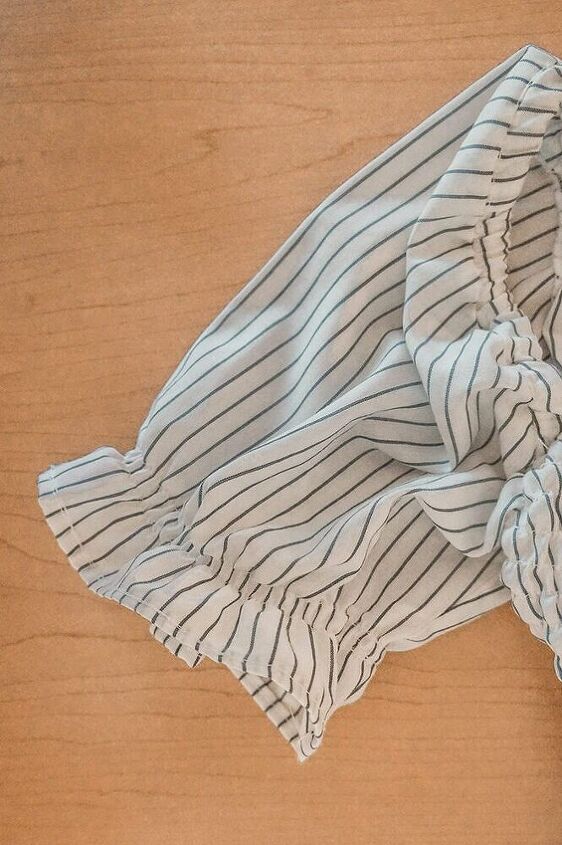
I had this men’s shirt that I wanted to transform, but I wasn’t sure what I wanted to do yet. I’m not a girl who wears shirts, in fact, I don’t like them, but I really like the stripes and the fabric of this one. So, finally, I decided to make a cute feminine top I could wear in the warm weather.
♡ A men’s shirt (a women’s oversized shirt can work too)
♡ Elastic Thread
♡ Thread in the same color of your fabric
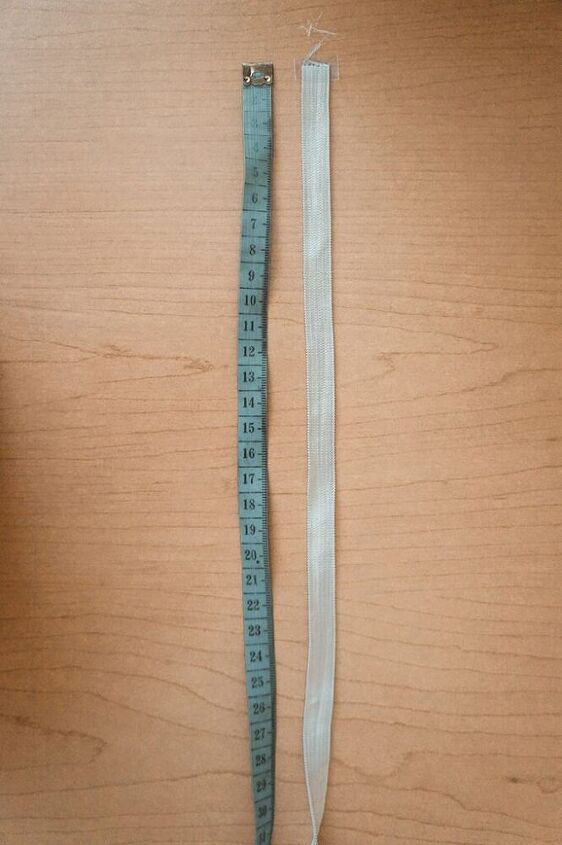
♡ Sewing machine
♡ Measuring tape
This is not 100% necessary, but I just like to start with a clean canvas. Also, removing the pocket makes it look like a brand new item, instead of a shirt that was transformed. If that’s what you’re going for, keep the front pocket.
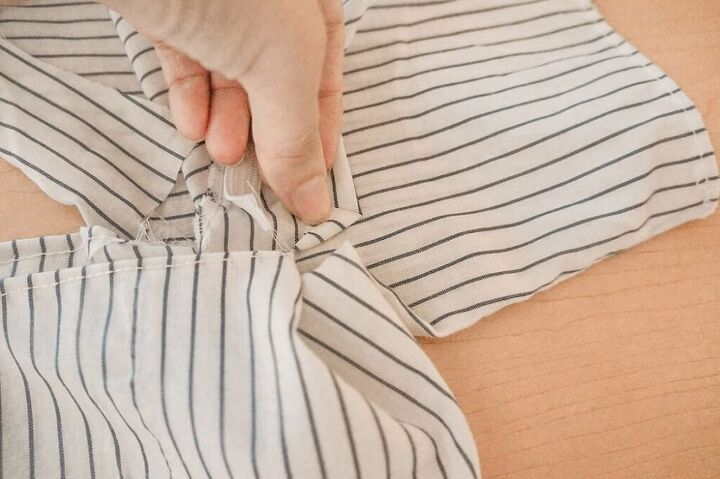
Take your shirt and join the open sides of the shirt to make sure it doesn’t move in the process.
I forgot to do this first & struggled, so I recommend doing it on this point.
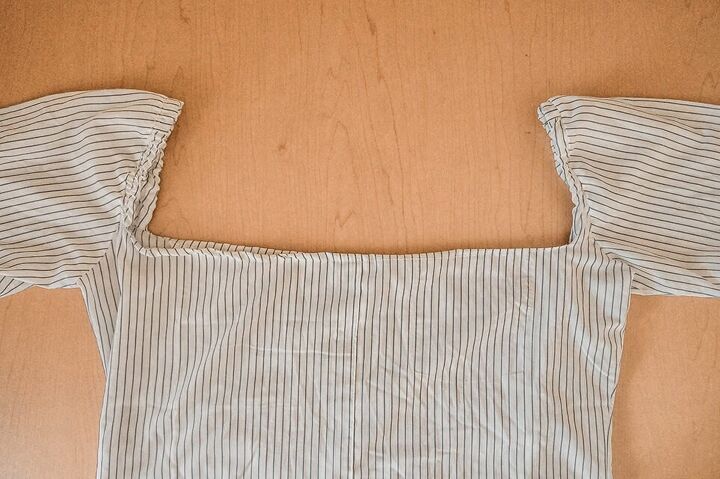
I took my measuring tape and calculated where I wanted my neckline.
Once you have the measure, trace it over your shirt.
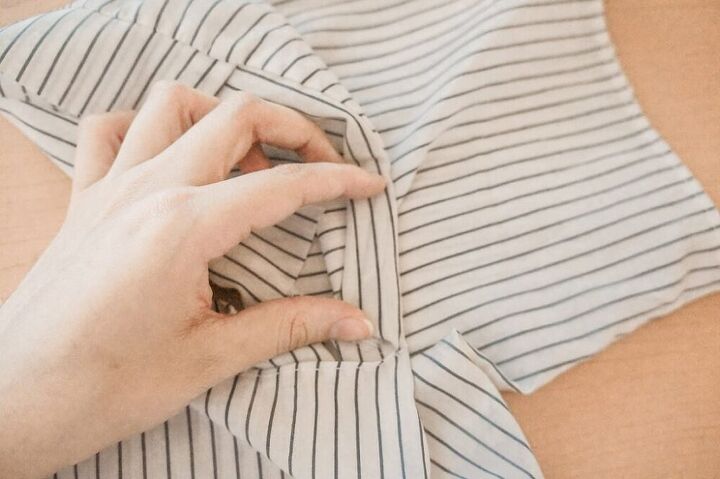
Add half an inch for allowance and on the sleeves leave about 1 inch —at least—.
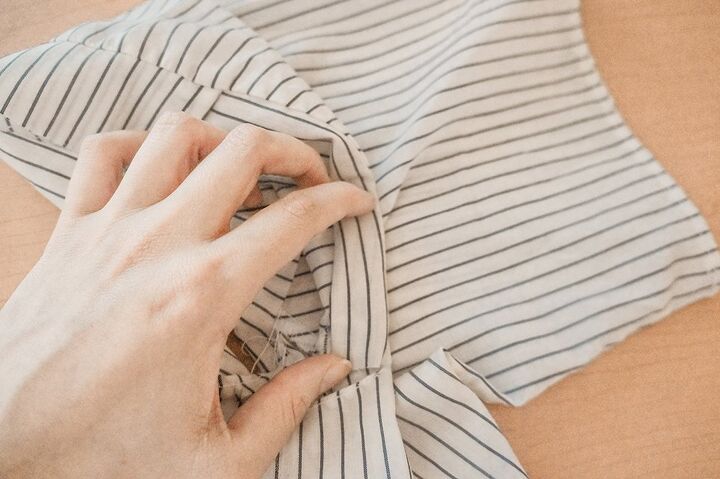
Cut it. It will look something like this:
Now it’s time to see how long you want your sleeves. You can leave them as long or as short as you want them, just make sure to cut both of them the same length. Remember to leave 1/2 inch for allowance.
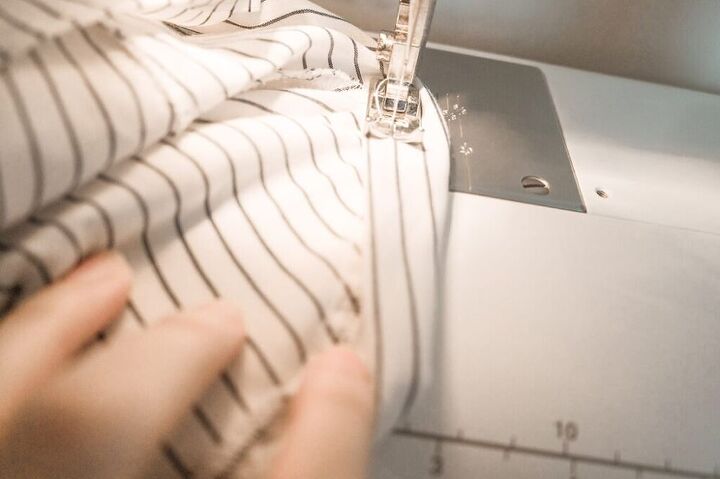
Cut the sleeves.
Make a hem in on the sleeves.
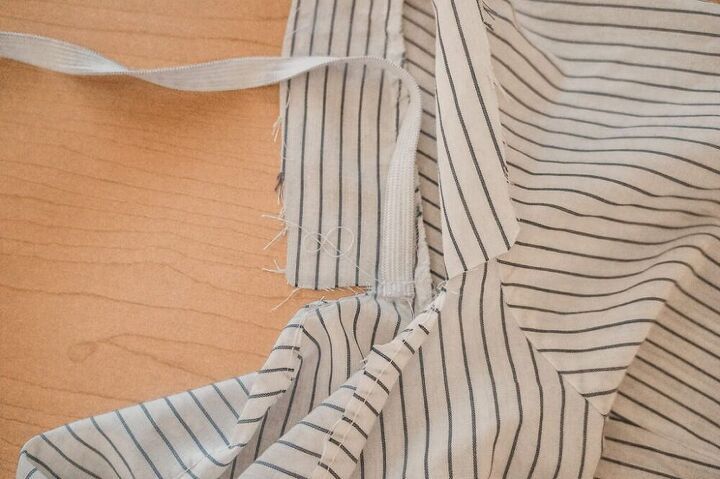
You will need now two elastics for the sleeves. So, take two stripes that measure the same: 2/3 of the shoulder contour measure. Your measure will probably be different from mine, so don’t worry if it doesn’t look the same.

Then, sew one edge of the elastic on the edge of the armhole. Do it on both sides.
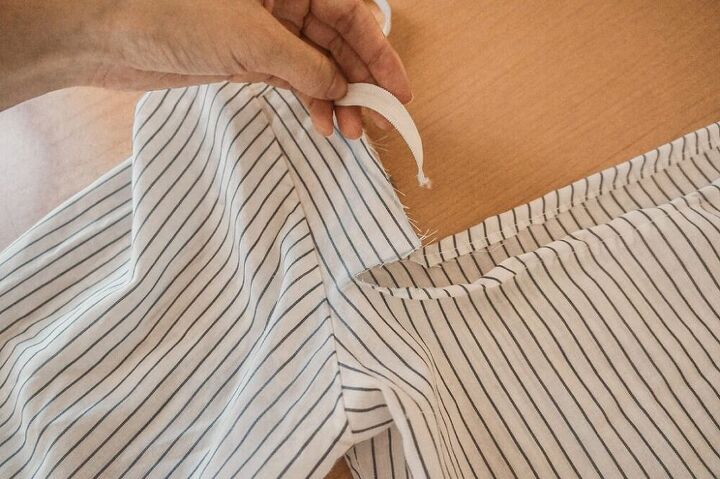
*If you need to cut the fabric to wrap the elastics, do it. I cut almost 1 inch, following the straight line of the neckline.
Next, sew the other edge of your elastic in the other edge of your armhole.
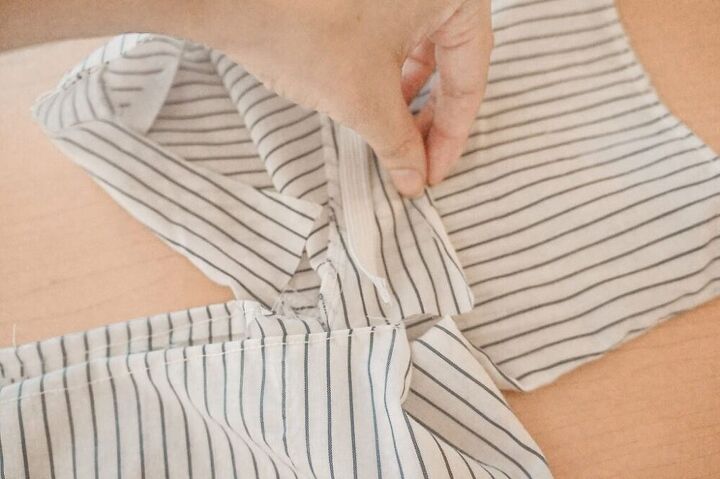
Now, cover the elastics by wrapping them with the fabric. It will be just like making a hem, but with an elastic inside.
Take your elastic thread and insert it on your bobbin. Don’t pull or stretch it.
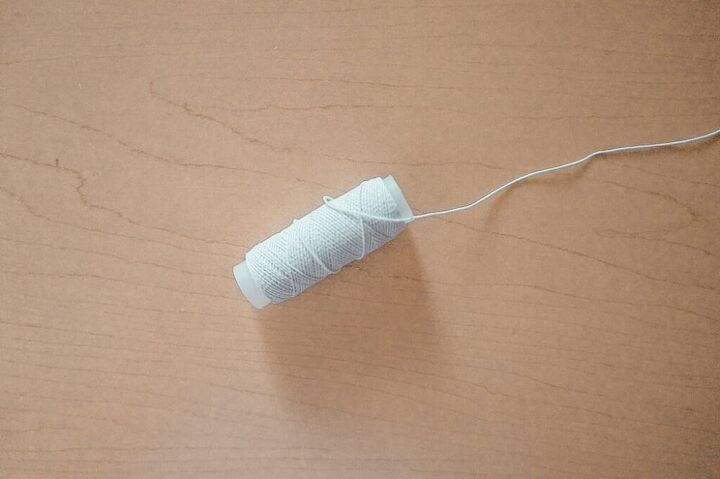
Next, once you inserted it, make sure you are working with the right tension. I worked with a tension of 5, but every sewing machine is different.
This is the fun and easy part, just sewing in straight lines. But first, the hem of the neckline.
For this, you will prepare your blouse and start sewing as you normally would, but the elastic will gather the fabric this time. Don’t worry if it looks awkward, it will start looking good after a few stitches.
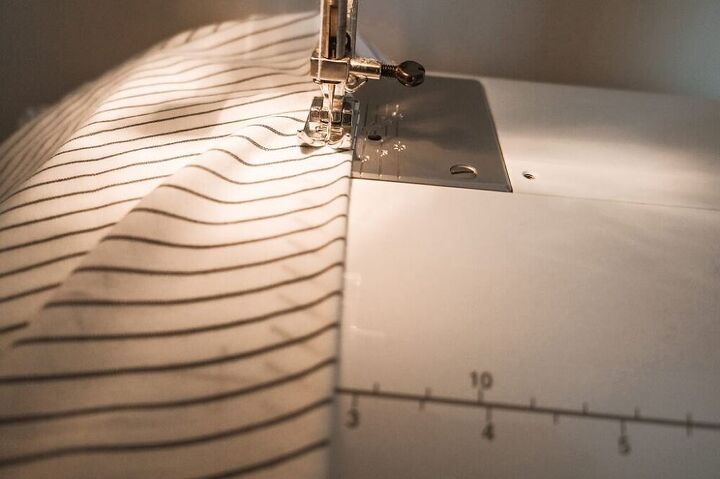
Between each line, I left 1/2 inch of separation. Keep sewing & trying it on to make sure the gathering is in the length that you want.
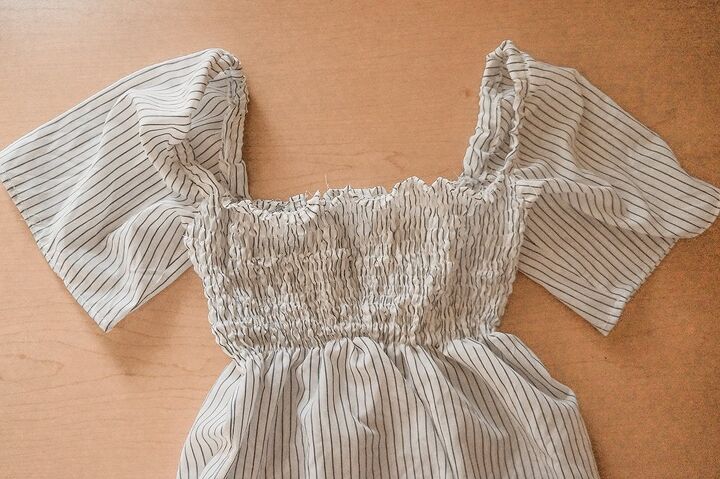
You can leave it like this if you like it. If so, skip to the last step to see how to finish the sleeves.
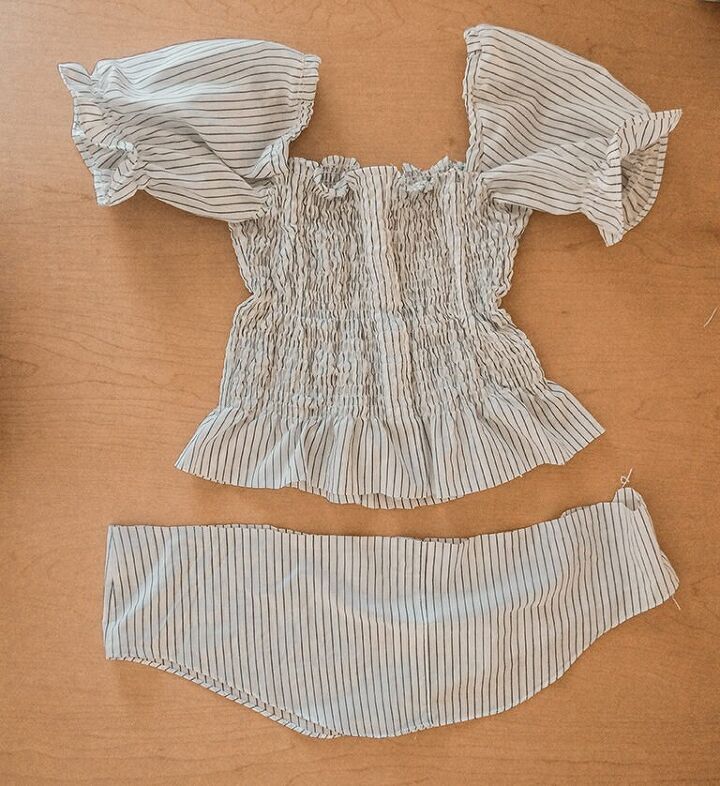
However, in my case, I wanted to keep going and make a crop top and I’m also sharing the process with you. So, f you want the same top, follow the next steps:
Keep going with the shirring and stop every now and then to try it and see how long or short you want it to be.
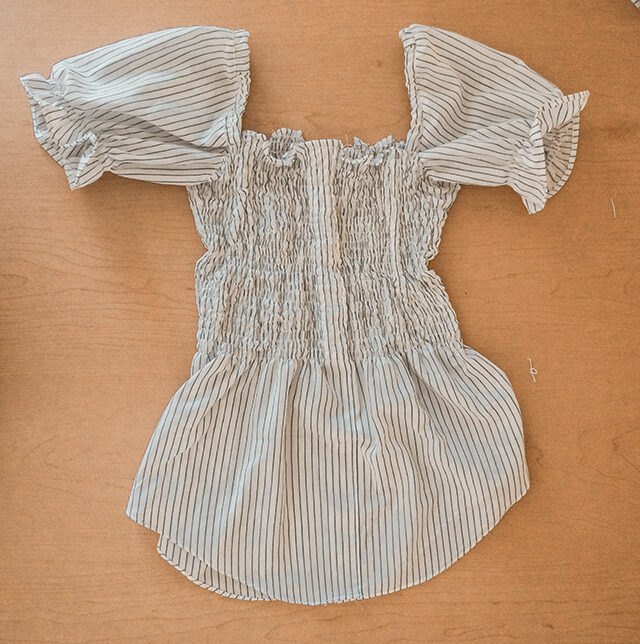
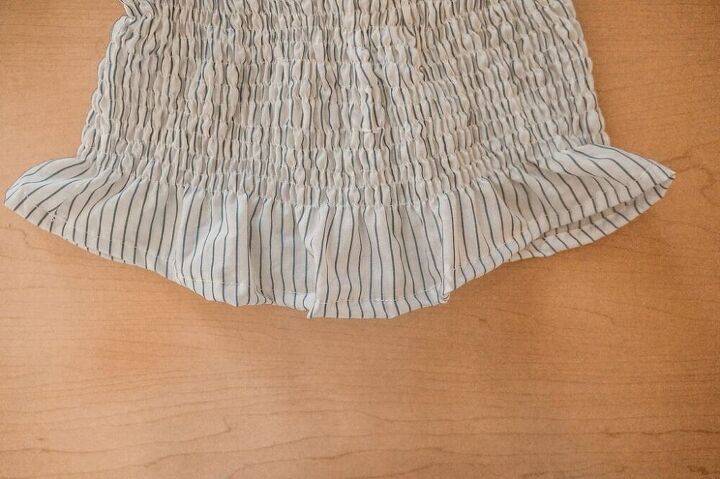
Cut the excess of the top. Leave 2.5 extra inches for the ruffle & the hem.
Make a hem.
Let’s go back to your sleeves! Measure 1 inch above your hem & pass your machine with the elastic thread 2 times. Follow the contour of your sleeves. This will make them puffy, making your top even cuter.
And that’s it! It looks so cute, isn’t it?
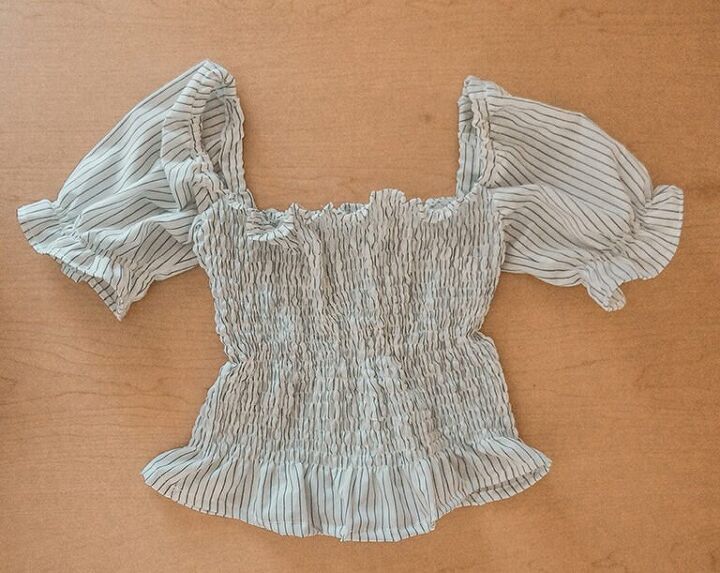
I’m obsessed with the result I want to make another one!
If you try it, don’t forget to show us and tag us on Instagram! We love seeing your sewing projects!
We hope you enjoyed this tutorial and you love it as much as we do.♡
We would love you to be part of our community. There are monthly freebies, giveaways, weekly tutorials, and other secrets we only share with our insiders!

The author may collect a small share of sales from the links on this page.


Comments
Join the conversation
Very cute! And your instructions are very clear.