Make an Easy Peplum Top

This post is about using a scarf to make a fun peplum top. I used an old freebie t-shirt (Those are easy to come by.) and a scarf that looked appropriate for St. Patrick's Day. This idea is perfect for any lightweight narrow scarf you have. You do not need to follow a holiday theme.
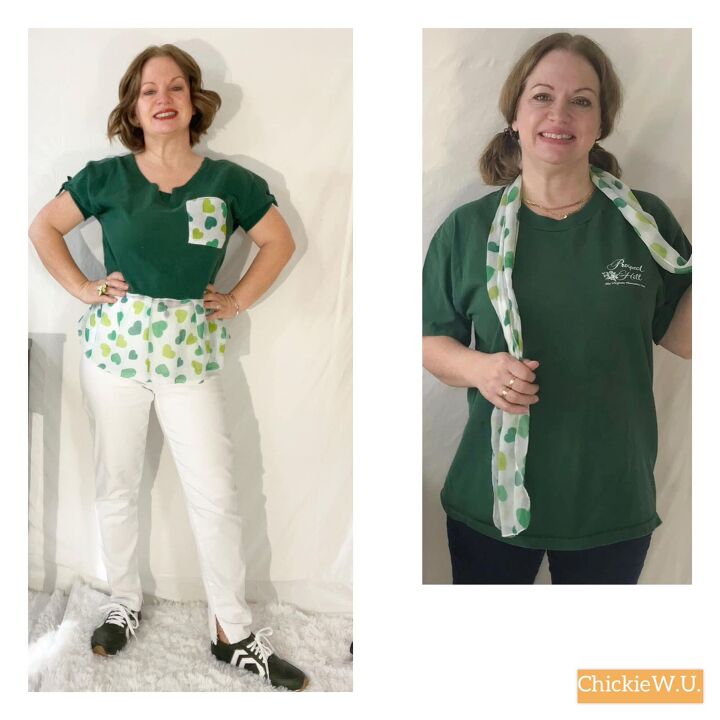
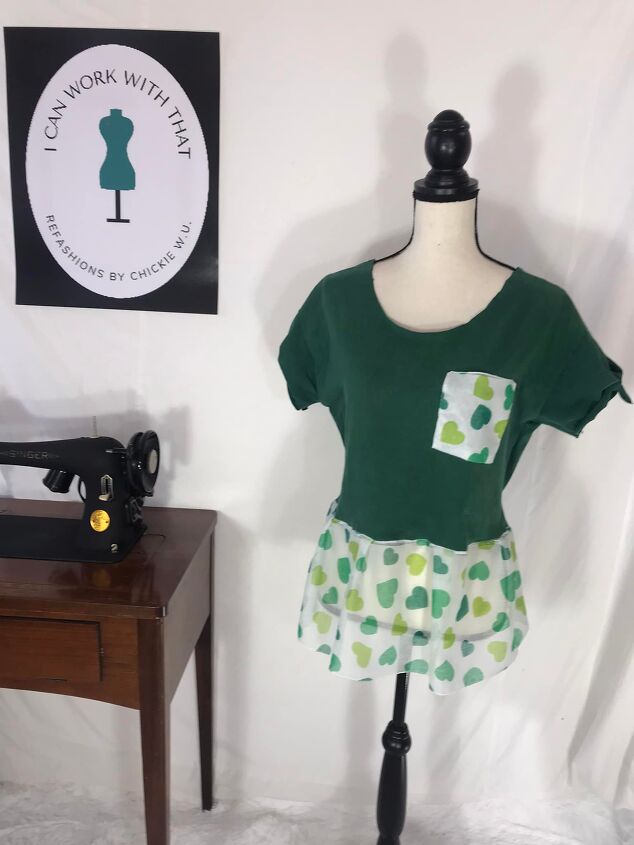
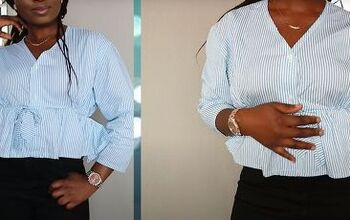
Before and after.
This green t-shirt was not very exciting on it's own. The scarf is actually covered in green hearts. It's going to be perfect for my new shirt.
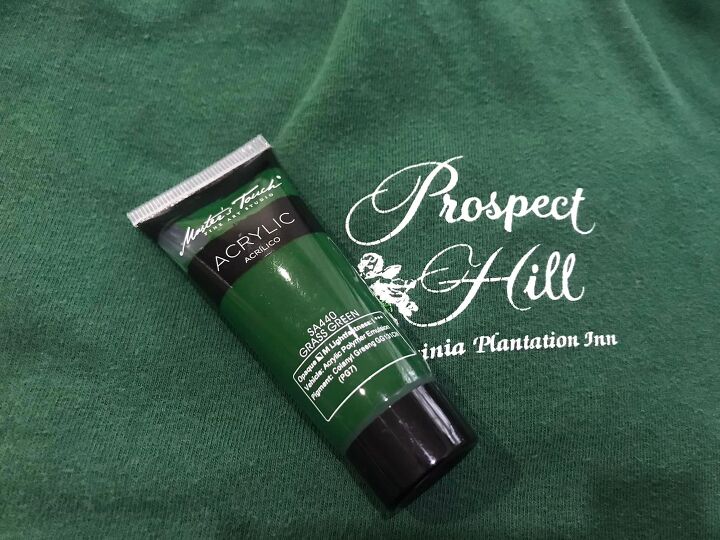
I decided to paint the logo on my shirt. I wanted to cover the business name on it. I used some green acrylic paint that I had on hand. Any acrylic paint would work. The green colors didn't match exactly but that won't matter. If your shirt doesn't have a logo on it you can skip this step.
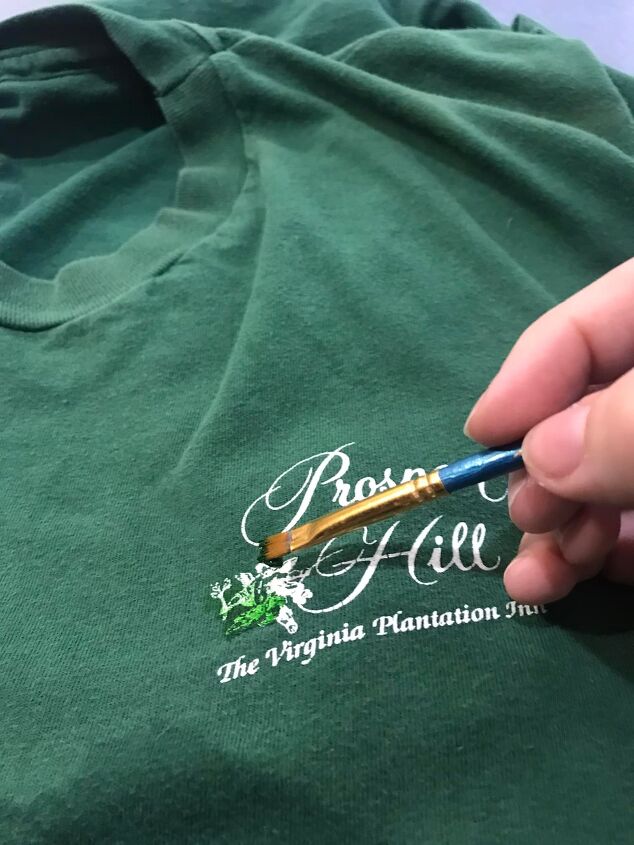
This shirt was a freebie from a swap and I used green paint to cover the logo of the business. It didn't have to cover 100% it just had to tone down the white of the business name. (This isn't a business I am trying to give free advertising to. Let's just paint over the name.)
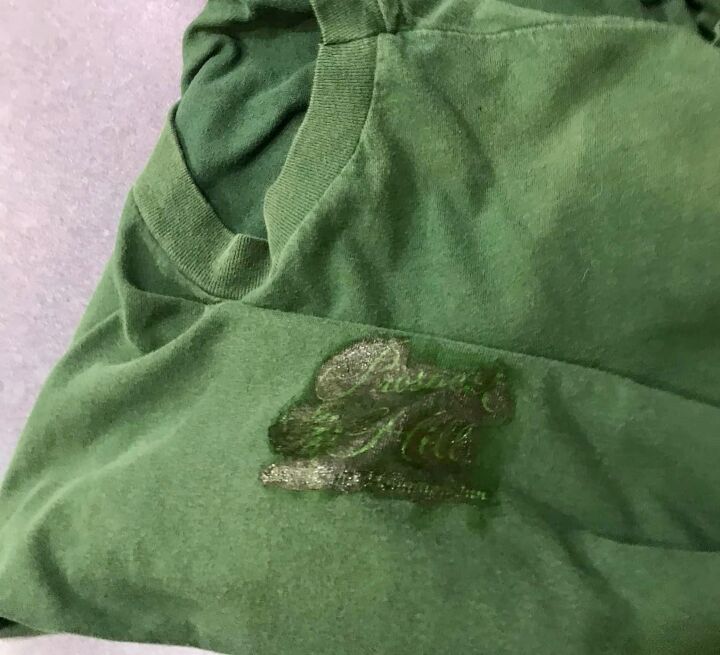
I let this paint dry over night. It doesn't look very good here... but trust the process. It's going to look a lot better.
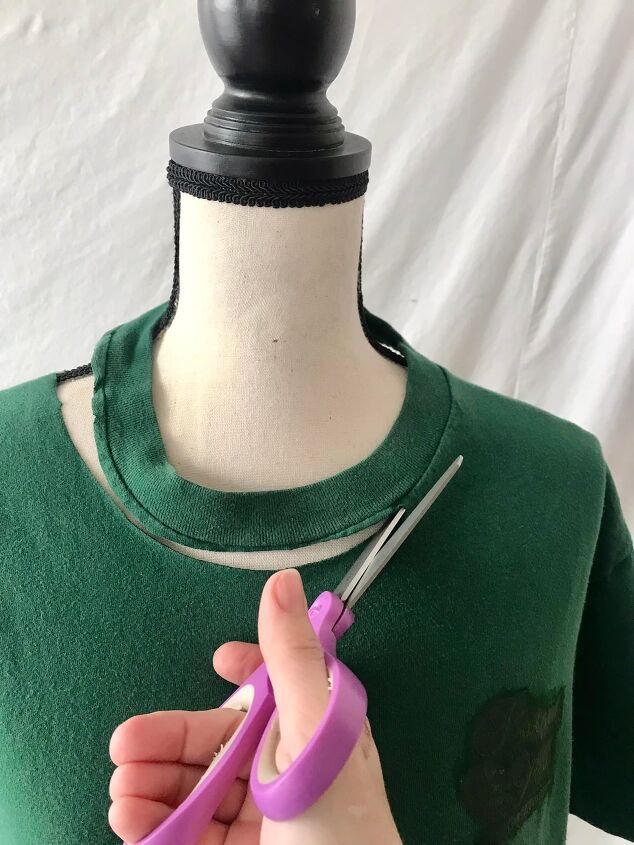
When the paint was dry, I put the shirt on my dress form to work on the fit a little. I cut the neckband off the shirt. This opens up the neck and chest a little and makes it more roomy and comfortable.
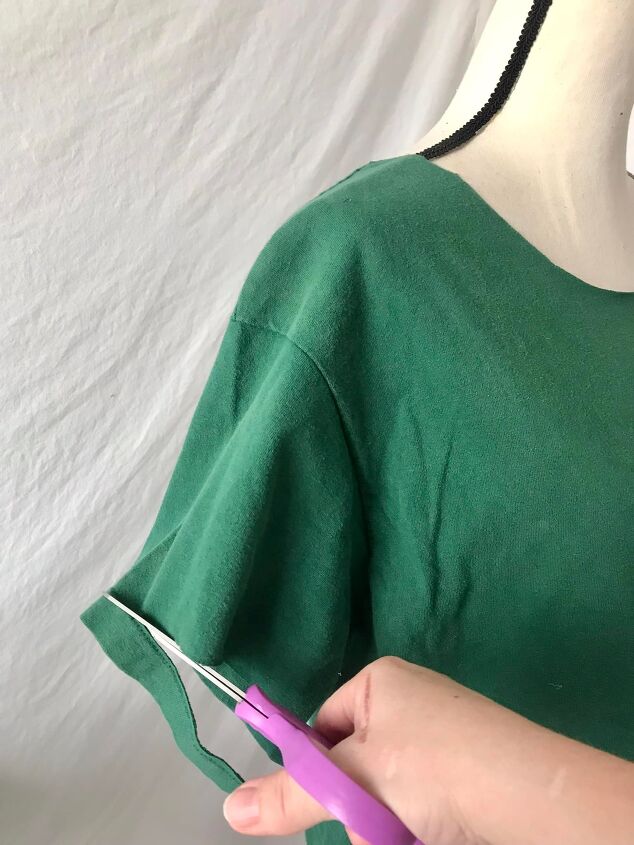
I wanted some cute puffy sleeves so I cut the hemmed edge from the ends of the sleeves.
I cut a slit in the top of the sleeve to separate the sleeve into 2. I cut along the outside/top of the sleeve up to the shoulder seam. Do not cut the shoulder seam.
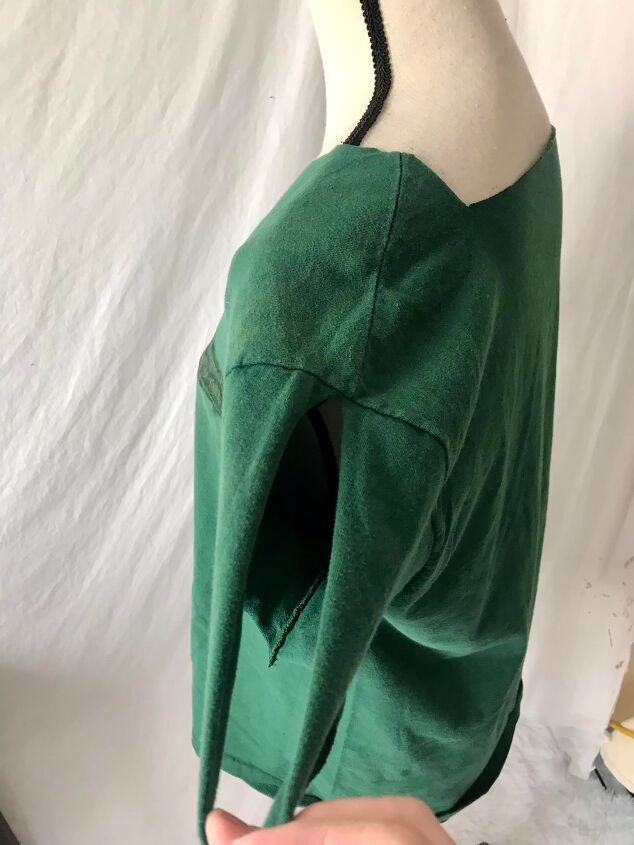
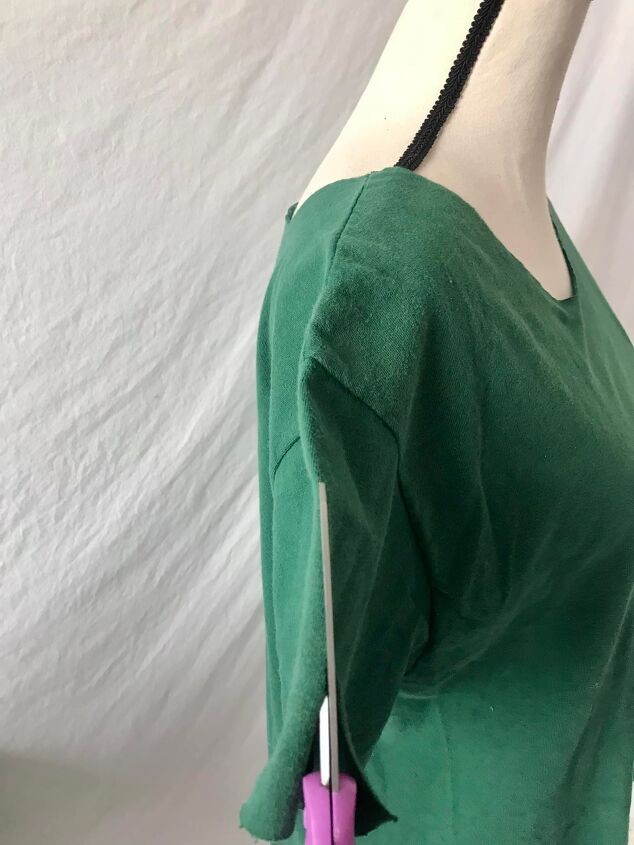
I stretched the cut edges to make them longer. T-shirt material has a lot of give and stretch in it so this was not hard to do.
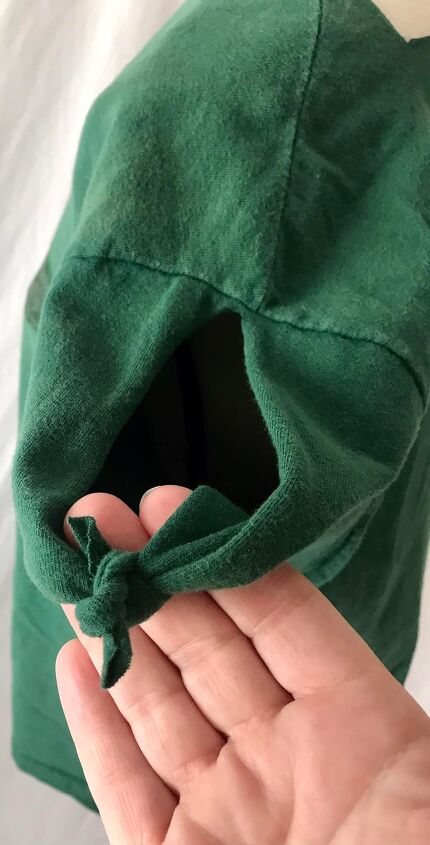
I took the 2 ends and tied them into a small knot. This made the sleeves more interesting and gave them a little puffy fullness.
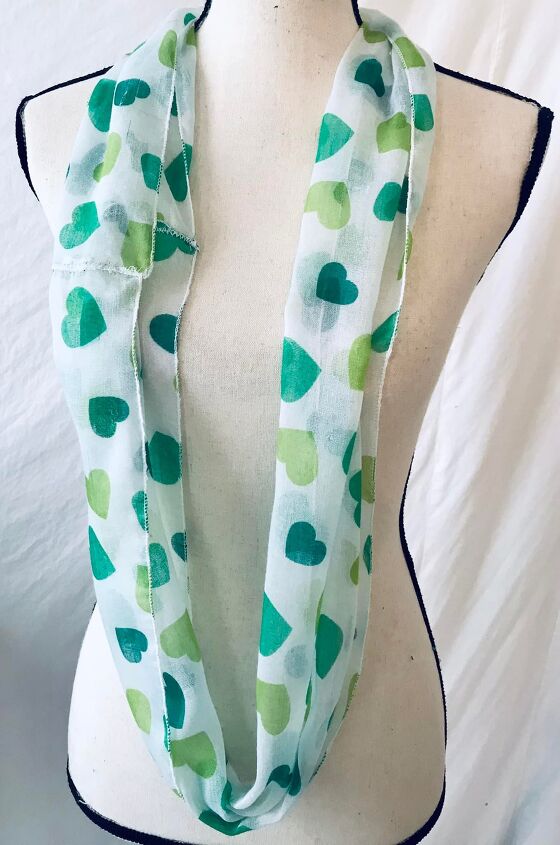
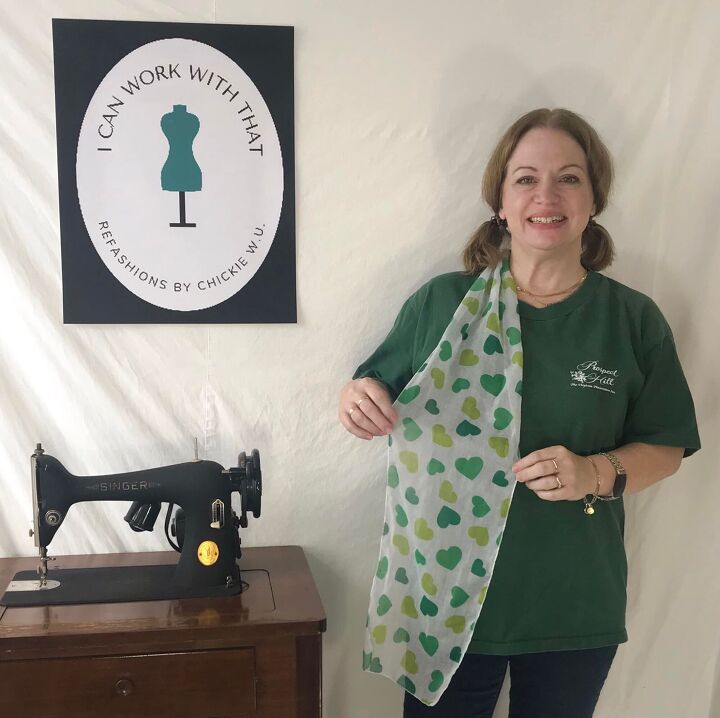
Let's talk about this scarf. It is very thin and a little sheer. That is OK for what I am going to do with it.

I cut out a small piece from one edge of the scarf. I wanted to make a pocket. Remember that logo I was painting earlier? This will cover the company name perfectly.
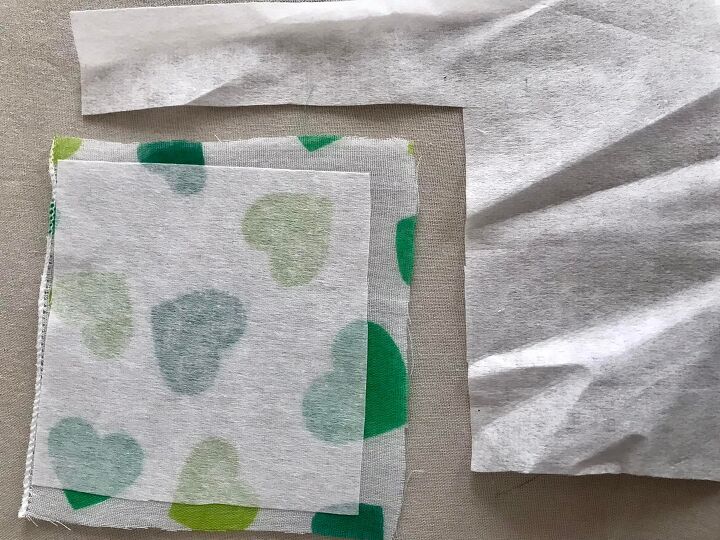
This scarf is made of very thin lightweight material. I decided to add some fusible interfacing to strengthen the pocket and make it easier to sew. If your scarf is thicker than mine, you might not need to do this step.
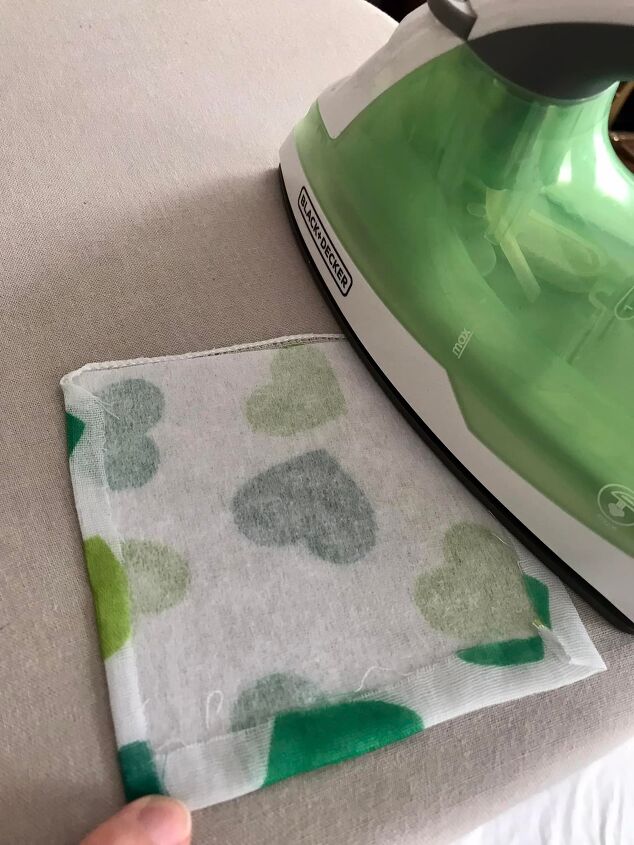
I ironed the bumpy side of the interfacing to the inside of my pocket fabric. The interfacing was cut smaller than the pocket so I could fold the edges in. This will give me a nice finished edge all around the pocket when I sew it to the shirt.
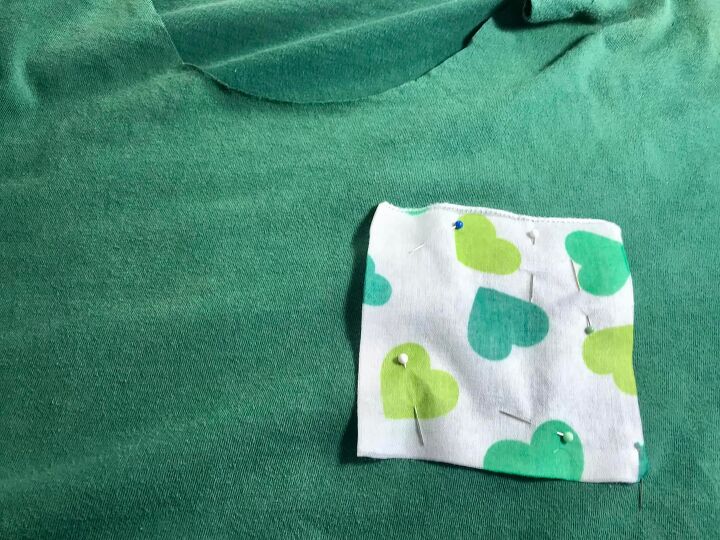
I placed the pocket on top of the logo I painted over the day before. The paint did it's job. You can't see the logo anymore at all. I pinned the pocket in place on my green shirt with quite a few pins. I made sure the pocket was level and balanced.
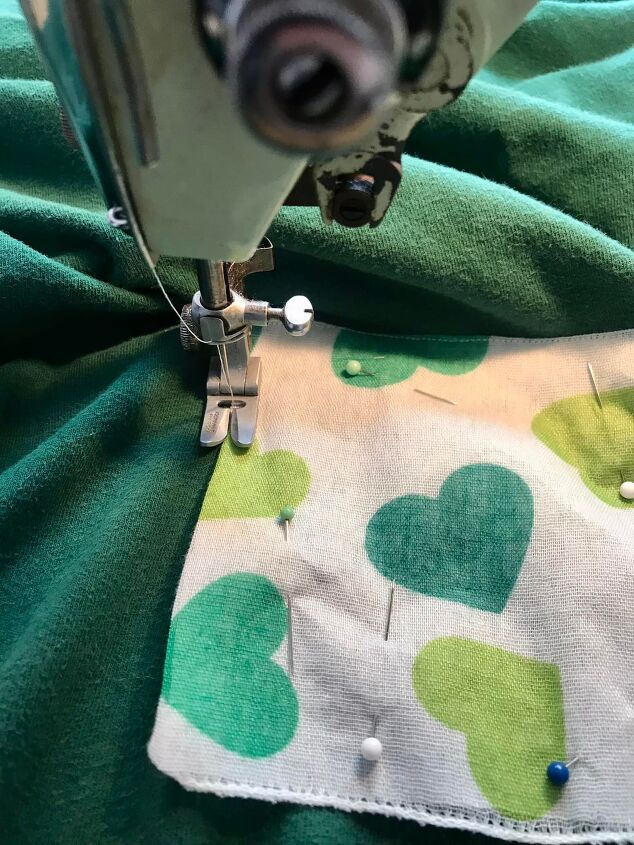
I sewed the pocket to the shirt on the sides and along the bottom. I left the top of the pocket open, so I could use it like a real pocket. The top of the pocket is the finished edge of the scarf. It looks nice and neat.
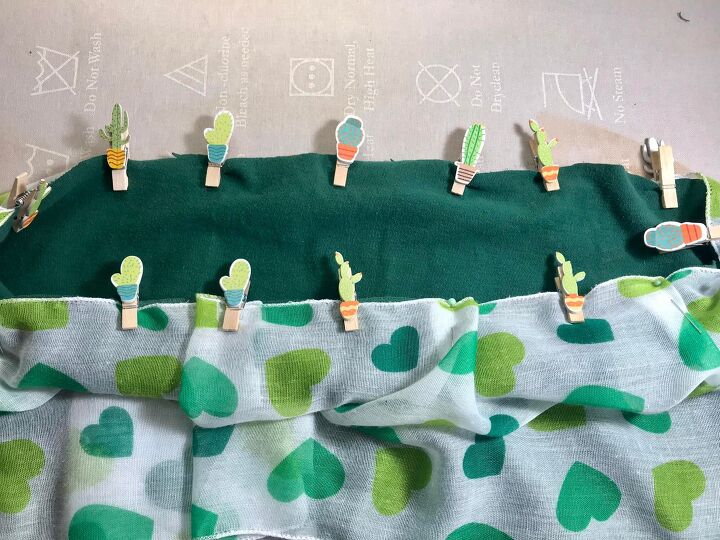
I cut about 6 inches from the bottom of the t-shirt. I wanted the green shirt to end at the waist of my jeans so I tried them on together and cut the shirt. You can make your shirt any length you want. I clipped the scarf around the bottom of the shirt. Every body is different so your desired shirt length might be different from mine. Measure to see how long you want your shirt to be.
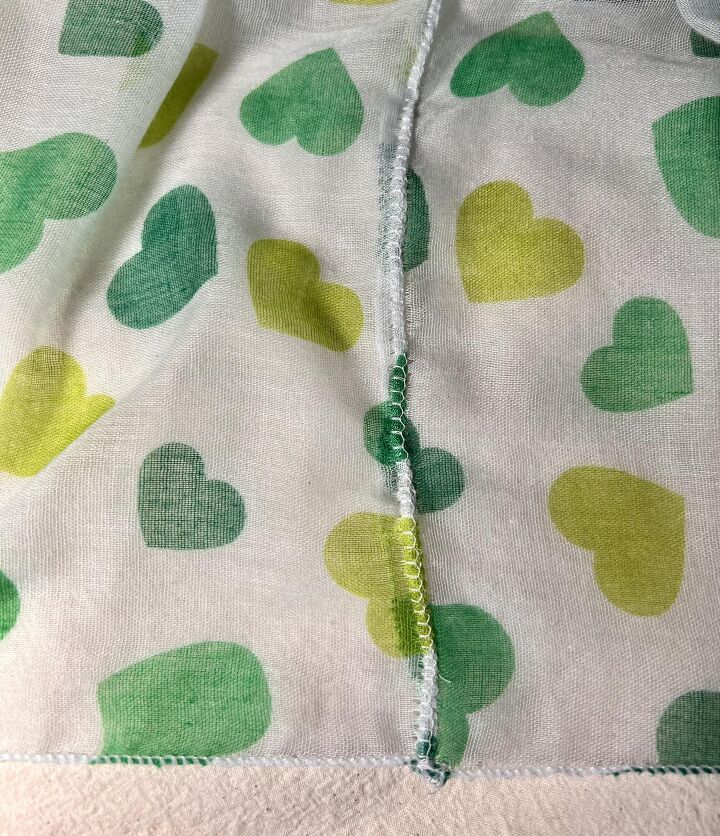
I also had to connect the cut ends of my scarf. If you do not cut your scarf to make a pocket, you won't have to do that. I made sure this seam was in the back of my shirt when I clipped the scarf and shirt together.

I put the right sides of the scarf and the shirt together and used a zigzag stitch. I gathered the scarf fabric together a little as I stitched. The scarf was just a little bigger than the shirt. The fullness of the scarf will make the peplum ruffle around the hips.
I cut the scarf to make my pocket. I connected the ends of the scarf into a circle to make the big ruffle/peplum around the bottom of my t-shirt.
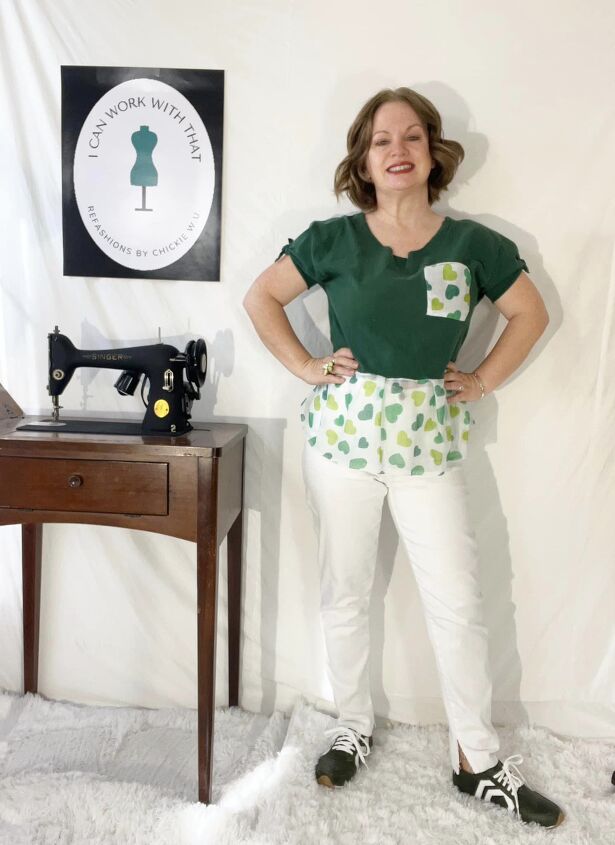
My new peplum top is done. Thanks for reading along, now go make something fun for yourself.
Chickie
The author may collect a small share of sales from the links on this page.


Comments
Join the conversation