The Easiest DIY Top Ever? No-Sew, Multi-Way Top Takes 5mins to Make

Could this be the easiest and most versatile top ever made? If you want to make your own clothes, but don't know where to start, this no-sew DIY multi-way top is for you. It takes just a few minutes to make and there are so many ways you can wear it.
Follow me on this simple step-by-step tutorial on how to make a multi-way top, then I'll show you 10 different ways to style it too. Let's get started!
Tools and materials:
- Solid and self-finished fabric
- Measuring tape or ruler
- Scissors
- Chalk
Important: This DIY top requires a solid and self-finished fabric; the color should be the same on both sides and it shouldn’t fray when cut. This type of fabric may be slippery, so have something to hold it down (like a phone) when you measure and cut.
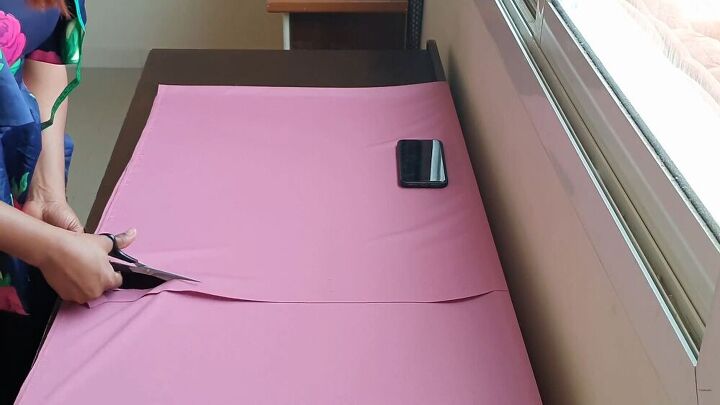
1. Cut the fabric
The fabric should be at least a yard long and 24 inches wide (90cm x 60cm. Fold the fabric in half. Mark the fabric to 27 inches (68cm) for the length of the top. You can always increase or decrease this length to match your body. Trim the fabric to the preferred length.
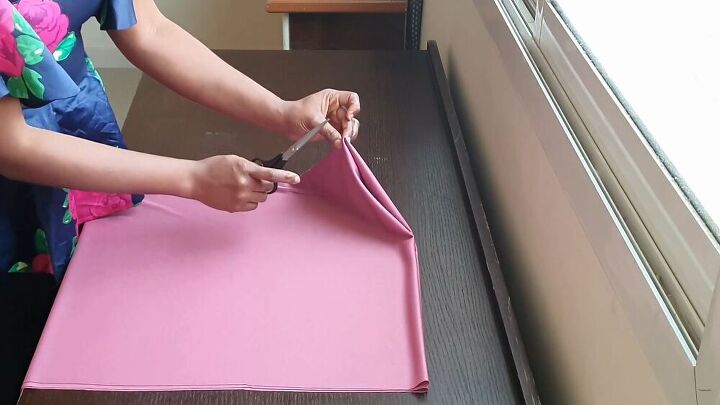
2. Make the sleeve
Fold the trimmed fabric in half. The top fold is the front. Measure down the top fold for the sleeve about 20 inches or 50cm. Mark the fabric and cut it to the desired sleeve length.
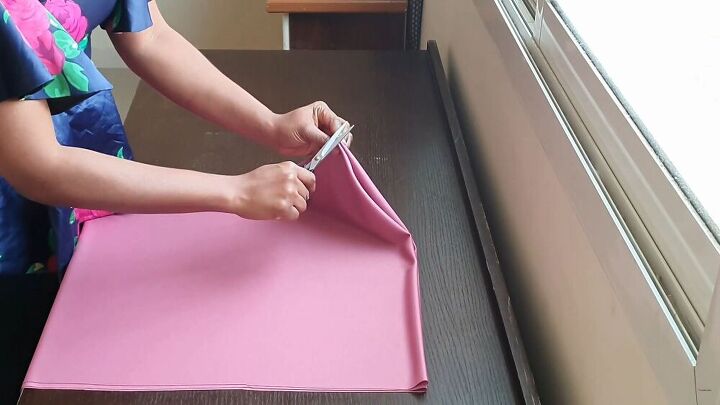
3. Make the neckline
Unfold the fabric and refold it the other way, making sure it's even. At the top of the fold, snip a tiny hole with the scissors. Unfold the fabric.
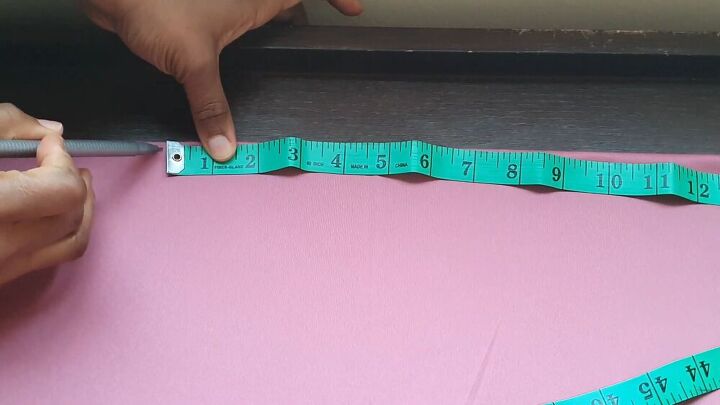
Place the measuring tape or ruler at the hole. A standard opening is 9 inches (22cm). Place the start of the ruler or measuring tape at the hole. Mark at 4½ inches (11cm) going to the right. Flip the measuring tape around and measure the same distance to the left.
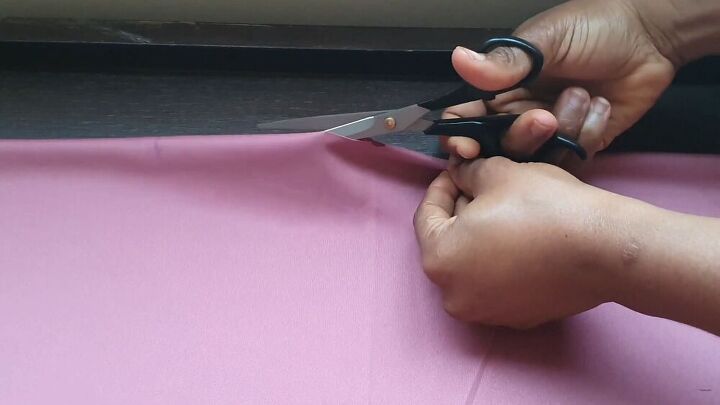
Cut the hole from the center outward in each direction the 4½ inches (11cm) for the neck opening.
10 Ways to wear the DIY multi-way no-sew top
Now I'll show you how to wear the top in 10 different ways!
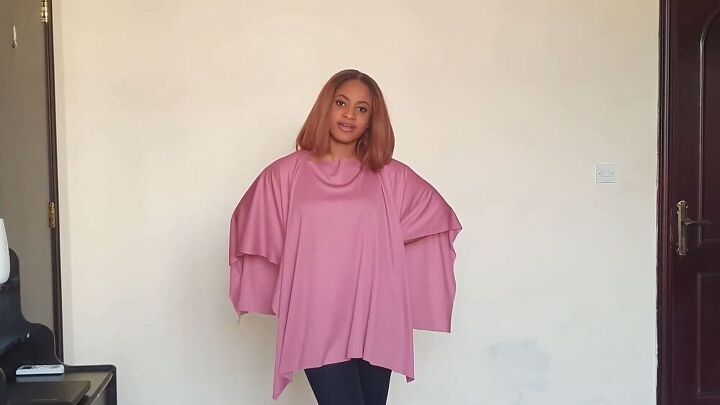
1. Poncho top
Pull the shirt over the head. Easy and breezy: the top is like a poncho.
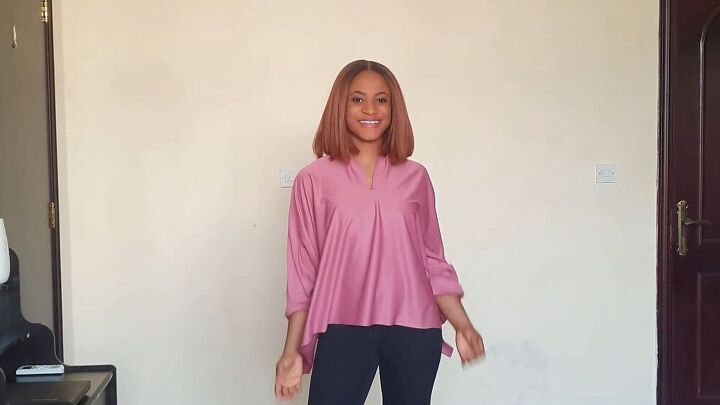
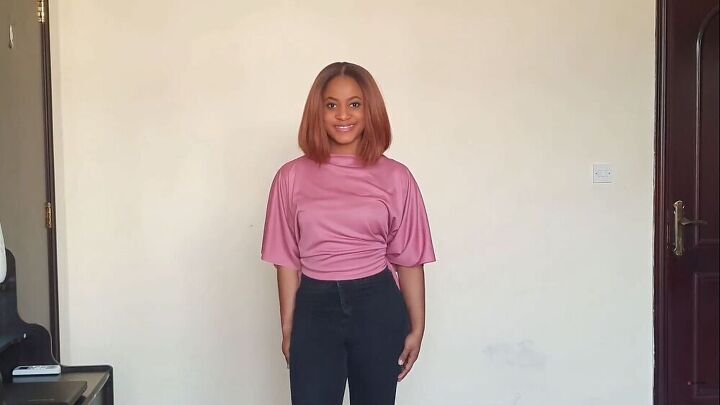
2. V-neck top
Turn the top so the neckline is moved forward, creating a V shape in the front and back. This also lengthens the sleeves.

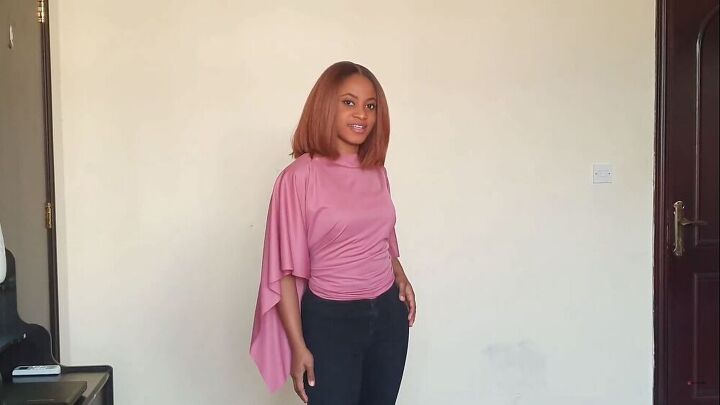
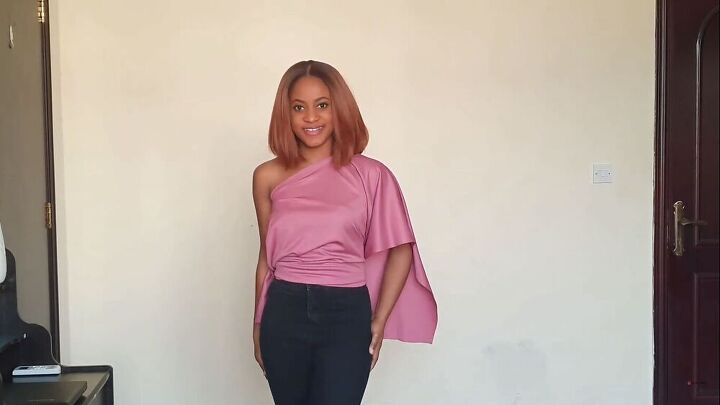
3. One-shoulder top
Carefully ease out one arm through the neckline for a sexy one-shoulder look.
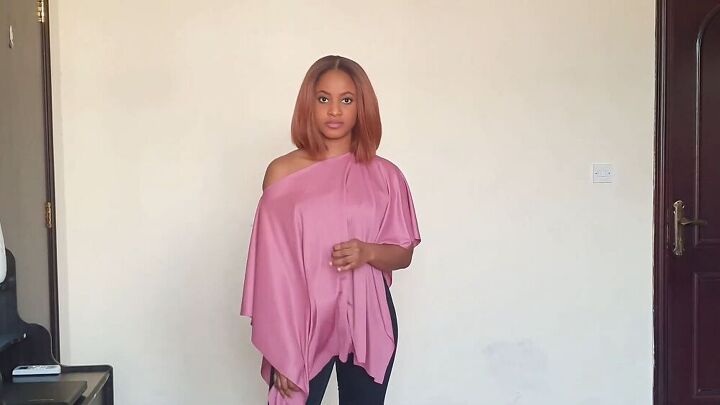
4. Slouch shoulder top
Pull the shirt down slightly to reveal one shoulder. Flashdance vibes!
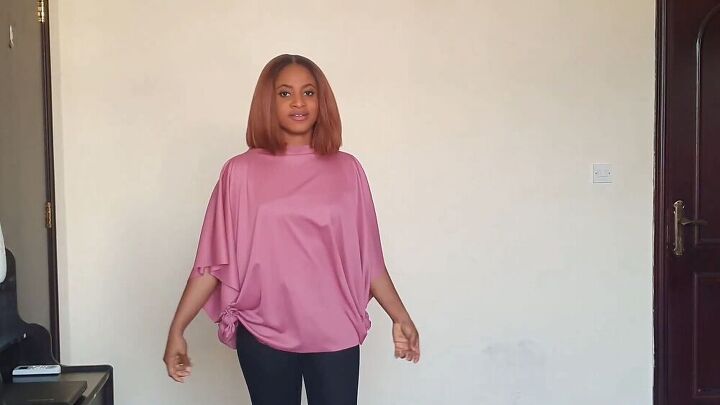
5. Tied sides top
Grab the front and back end on the right and tie them together. Do the same for the left for this easy blouson look.

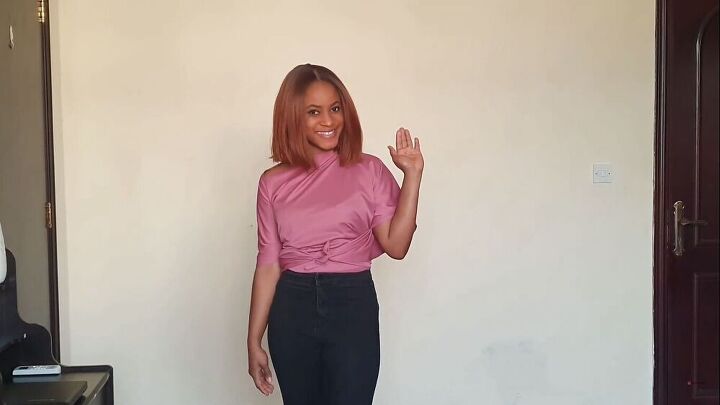
6. Tie-front top
Pull the left and right back ends forward and tie them at the front over the fabric.
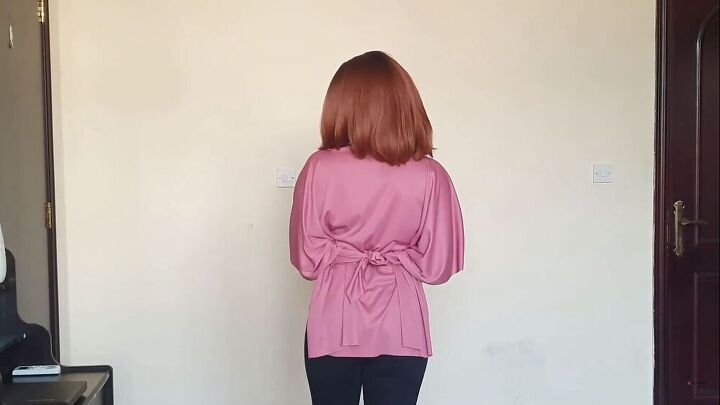
7. Tie-back top
Do the same tie, but this time at the back.
This is what it looks like from the front.
8. Cape back top
You can also tie the back under the fabric to create a cape back, like this.
9. One-shoulder cape back top
Now, ease out one arm through the neckline to make the cape back top one-shouldered.
10. Double-tie top
With the back ends tie still in place under the fabric, bring the two cape ends through and tie at the front.
DIY multi-way no-sew top tutorial
Isn't this just the easiest top to make and style? You could wear this DIY top on a night out, hanging with friends, at the pool as a cover-up, or even just lounging at home.
Let me know in the comments what you think of this DIY multi-way top tutorial and which way you would wear it!
The author may collect a small share of sales from the links on this page.


Comments
Join the conversation
You are SO clever! I will be trying some of these ideas for sure! Thank you 😊
Beautiful use of a creative imagination. Cheers!!