Thrift Flipping Idea: DIY Scarf Top

I have a new thrift flipping tutorial for you today. I love those triangular scarf tops with floaty sleeves, but until now I couldn't find the right scarf to make it from.
You need a scarf that's big enough to wrap easily around your body, in any fabric you like.
This is a quick and easy scarf top DIY project with minimal stitching - you could even hand sew it.
Tools and materials:
- Large square scarf
- Boxy, loose-fitting top as a template
- Lace or bias tape
- Scissors
- Pins
- Sewing machine or hand sewing needle and thread
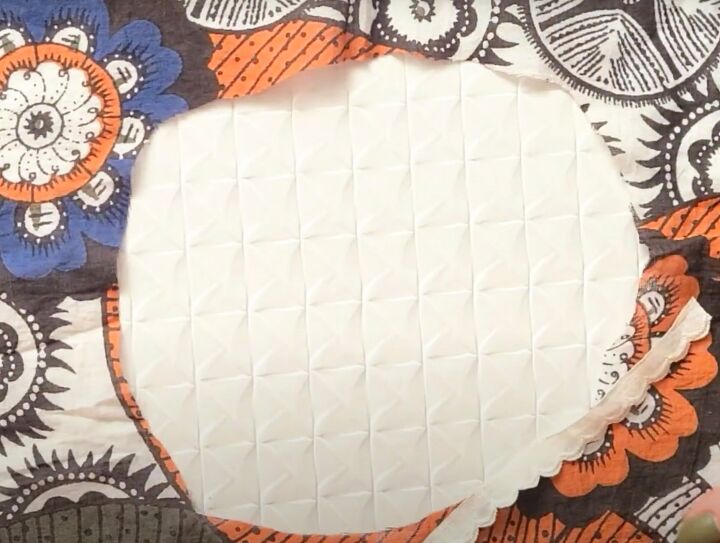
1. Fold the scarf
Fold your scarf in half diagonally and lay it out with the point at the bottom.
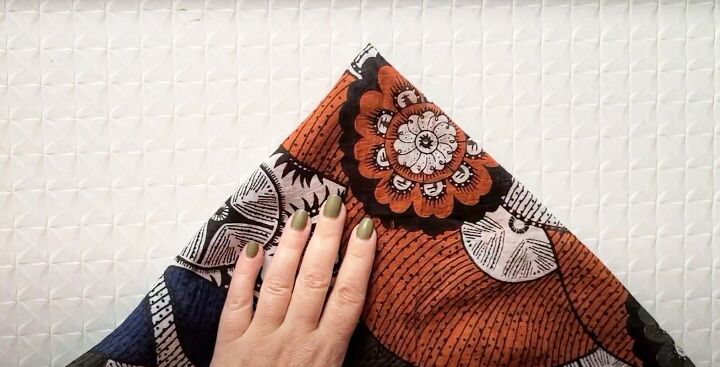
Take the two ends of the folded edge and place them together, as evenly as possible, to fold the scarf in half again.
Lay it down with the folded point at the top and the open edges at the bottom.
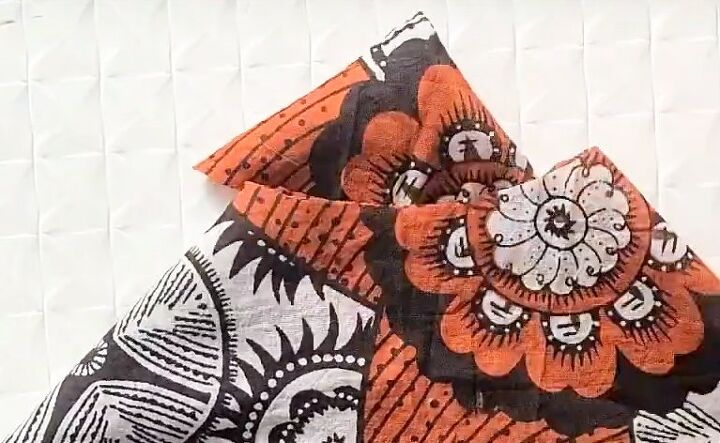
2. Cut out the neckline
You want to cut a quarter circle from the point of the folded scarf to put your head through.
I didn't measure this, I cut a small curve off first, about an inch and a half (3 cm) deep and tried it on.
It was too small, so I refolded the scarf and cut out another inch (2.5 cm) or so, until I had the neckline depth that I wanted.
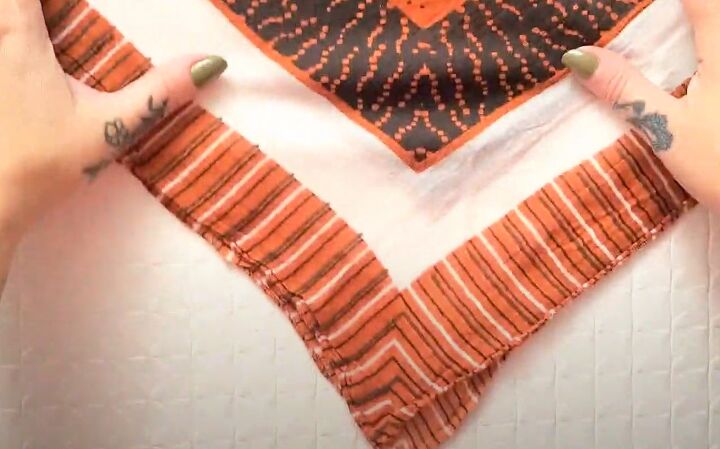
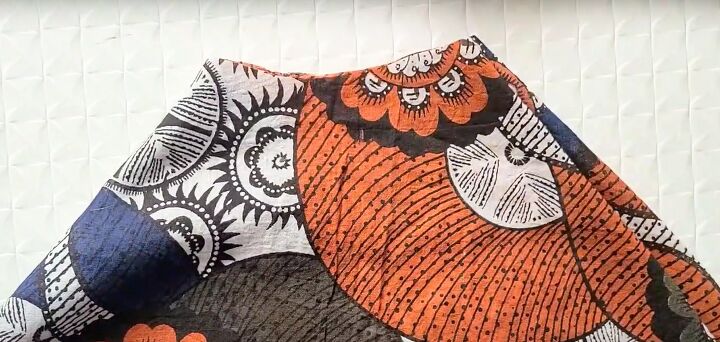
3. Bind the neckline
If you're using a cotton jersey or sweatshirt type fabric that doesn't fray, you can simply pull gently around the neckline. The edge will roll over and it won't need any further finishing.
If your scarf is made from a fabric that will fray, as mine is, you can use pretty much any type of bias tape or border trim to bind the raw edge. I happened to have a vintage border in my stash, so I used that.
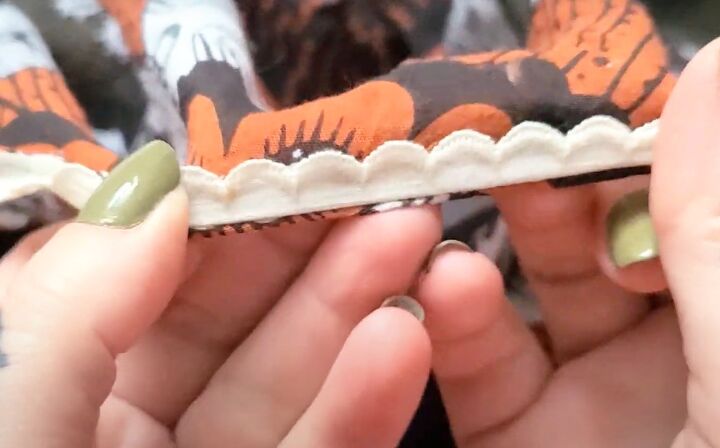
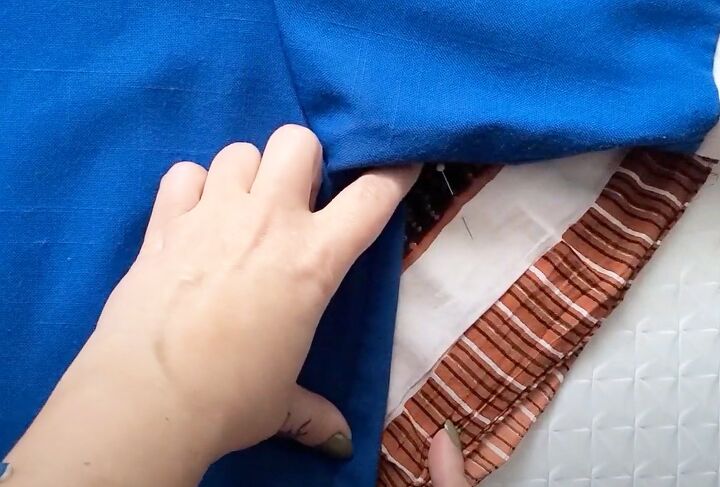
Pin and sew the tape or border around the neckline on the inside, aligning one edge of the border with the raw edge of the neckline.
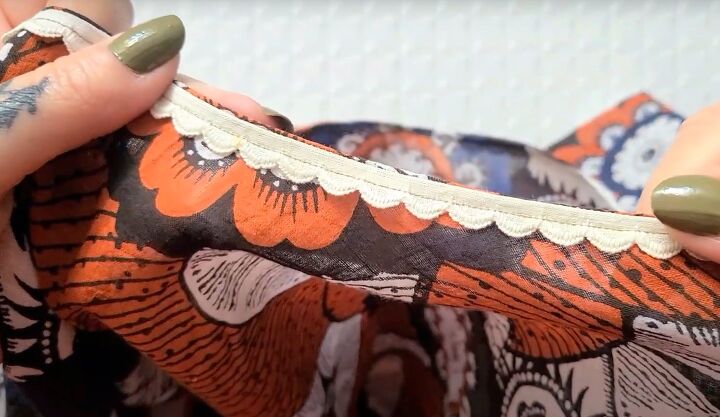
Fold the border over the raw edge to the right side and top stitch it in place.
I didn't press mine down or pin it first but if you're working with a slippery fabric, I would definitely recommend that you do that.
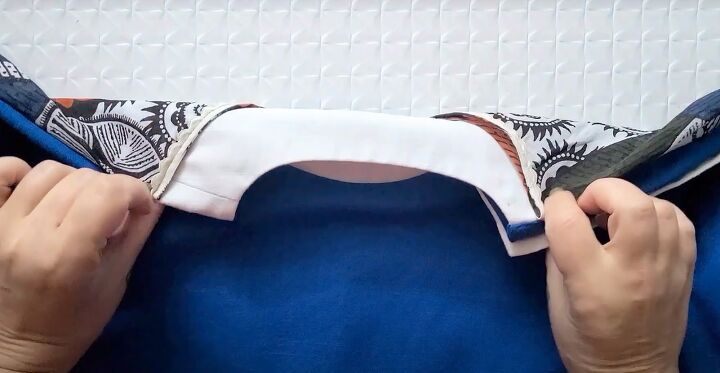
4. Sew the side seam
Fold your scarf in half widthways with the neckline at the top and the pointed edges at the bottom.
Place your template top over it, aligning the necklines as far as possible.
Mark with a pin close to where the underarm seam of your template top is on the scarf.
Stitch straight down from the pin to the open edges of the scarf, creating a short side seam.
Use the first seam as a template for the second.
Fold the scarf in half lengthways. Mark the start of the stitching on the other side of the scarf and sew the side seam as before.


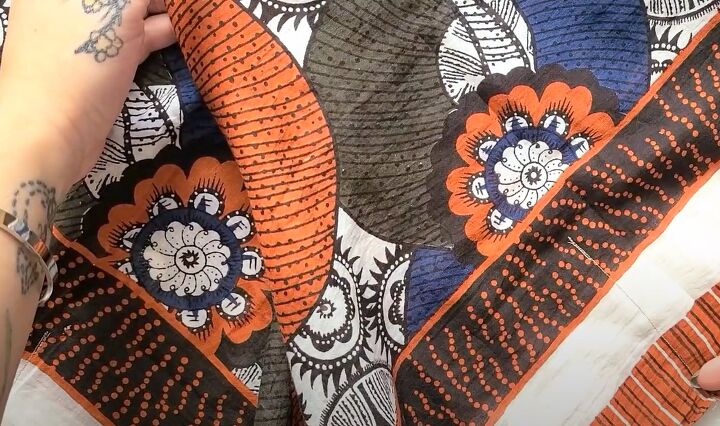
DIY scarf top
How gorgeous is this one! It's so floaty and feminine, I love it so much. The neckline turned out beautifully and it was one of the easiest thrift flipping projects I've ever done.
I would love to hear your thrift flip ideas.
Drop me a comment below and let me know what you'd like me to make a tutorial on.
In the meantime, check out my post on How to DIY a Cool Upcycled Jacket.
The author may collect a small share of sales from the links on this page.


Comments
Join the conversation
I love this idea as I have several very pretty large scarfs that would make really pretty shirts. I got stumped following your directions after I ironed a beautiful pink, blue and green cotton scarf I have when I realized it is actually a rectangle and not a square. So folding it diagonally I don't end up with even ends. If anyone has any suggestions making a shirt in this style and just folding it differently, I'd love to hear it.