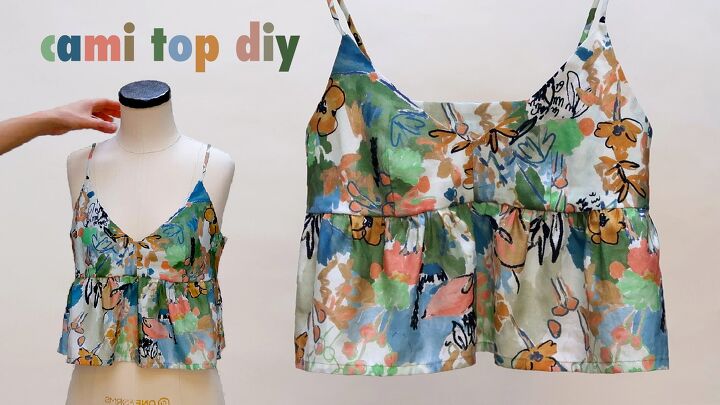
How to DIY a Cute Ruffle Cami Top

The Maggie pattern is for a ruffle cami top that works well in any light woven non-stretch fabric such as satin, silk, linen or chambray.
Total beginners could make this, with a little patience. The top sizes up a little large so make sure to try it on during the sewing process and make any adjustments needed.
Tools and materials:
- Maggie Cami top pattern
- Light woven non-stretch fabric
- Paper for pattern
- Pins
- Scissors
- Fabric marker
- Loop turner
- Sewing machine
- Serger (optional)
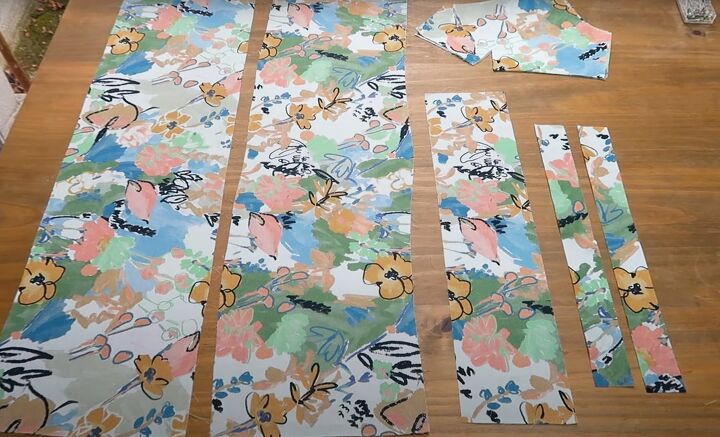
1. Cut fabric pieces
Print out the pattern and tape it together, then cut out the individual pieces.
Pin them to the fabric as directed and cut 1 each back and front ruffle, 2 upper back pieces, 4 upper front pieces, and cut 2 shoulder straps on the bias.
Cut notches in the center of the top edge of the ruffle and upper back pieces. Also notch the position of the straps on the upper back.
2. Darts
Draw the darts on the wrong side of the upper front pieces.
Pin and sew them and knot the ends together at the tips instead of backstitching.
Press the darts open.
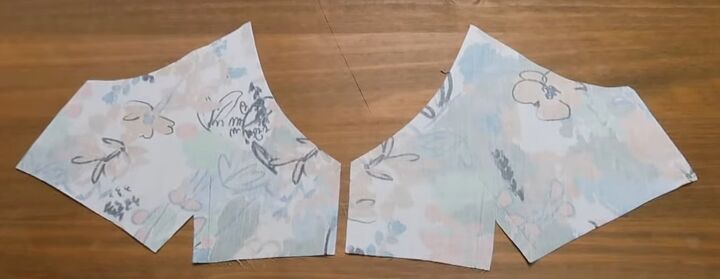
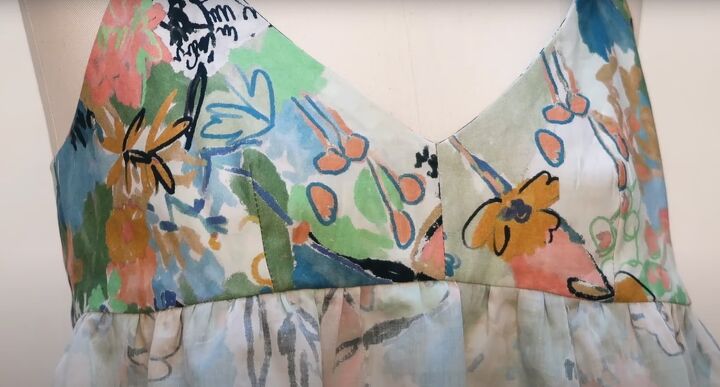
3. Upper fronts
Place a left front over a right front with the right sides together and sew the center front seam, taking a half inch (1 cm) seam allowance.
Sew the front lining in the same way and press the seams open.
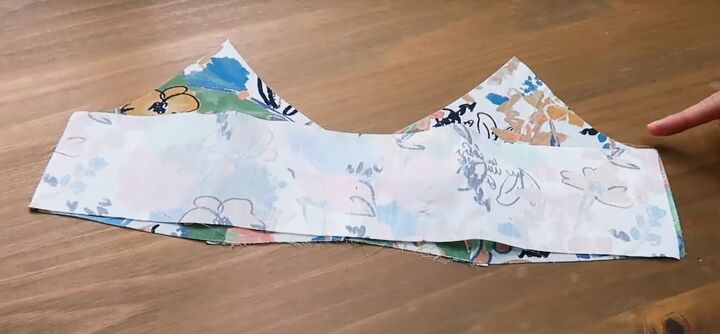
4. Upper front and back
Place the upper back piece over the upper front with right sides together and the notches on the top edge.
Sew the side seams and press them open.
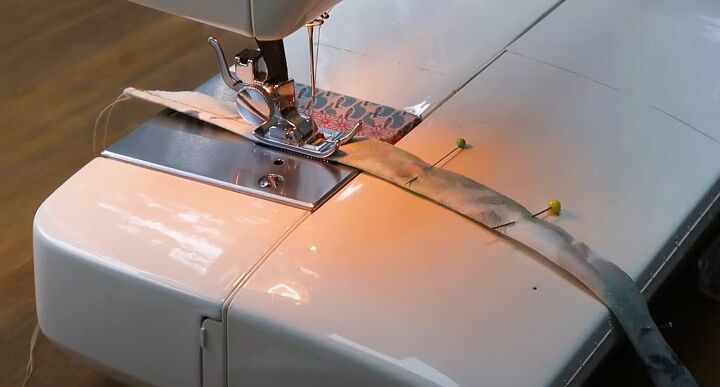
5. Straps
Fold the straps in half lengthways with the right sides facing and sew half an inch (1 cm) from the raw edge.
Be careful not to stretch them as you sew.
Trim the seam allowance and use a loop turner or crochet hook to turn them right side out, then press them.
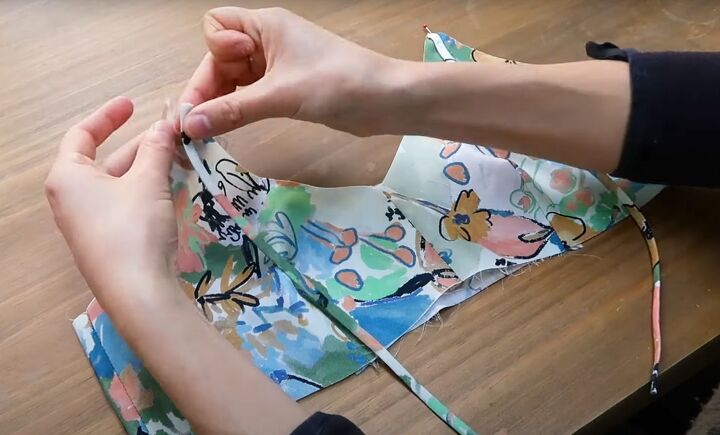
Pin the straps to the right side of one of the upper front layers, at the point of the upper front and at the notch in the upper back.
Check the straps are the correct length before sewing - the point of the darts should be at the same level as your nipples.
Sew the straps in place inside the seam allowance.
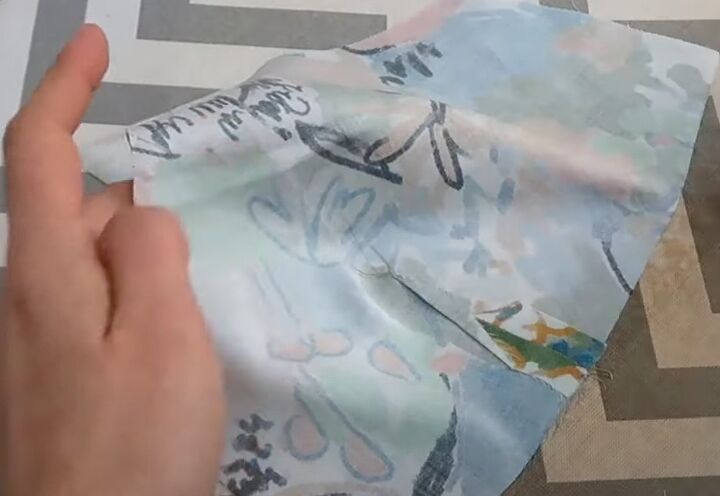
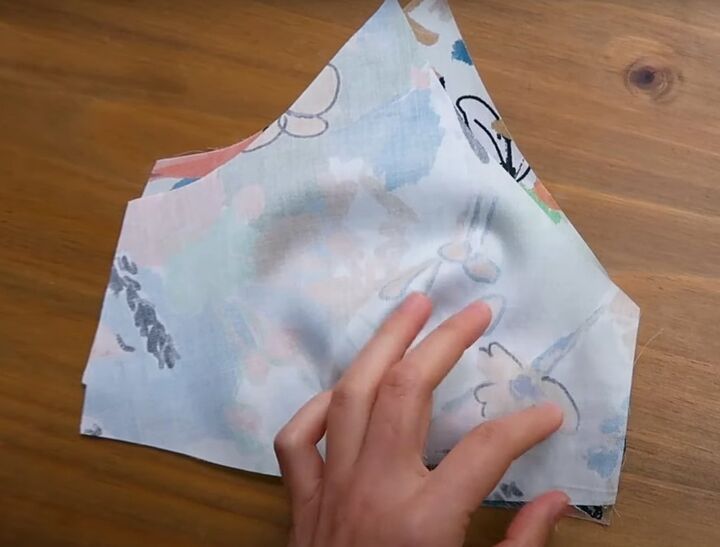
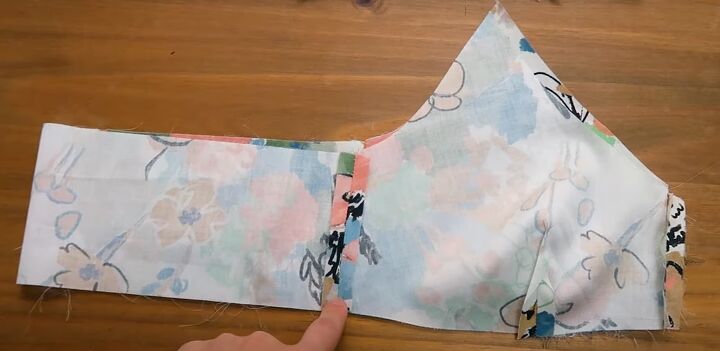
6. Upper front layers
Turn the other front layer wrong side out and slide it over the layer with the straps, so the right sides are together.
Pin the two layers together, enclosing the straps between them, and sew the layers together along the upper edge.
Cut notches along the curved sections and trim the seam allowances around the straps.
7. Lower hem
Draw a line 0.75 inches (2 cm) from the lower edges of the back and front ruffles to mark the hem.
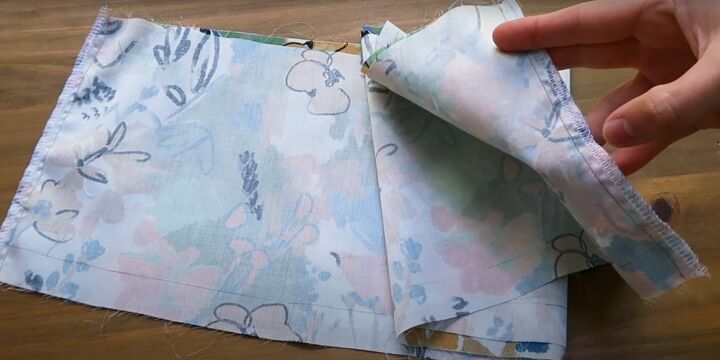
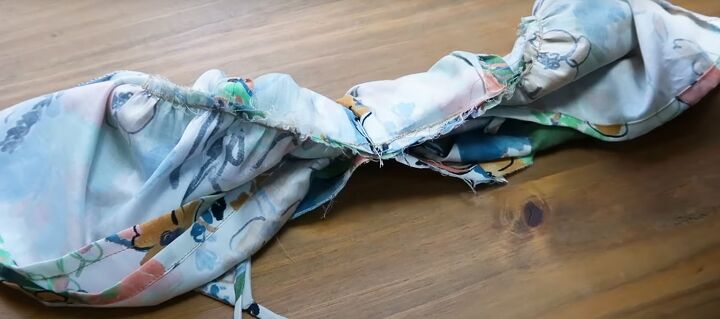
Place the ruffle pieces with right sides together and sew the side seams. Finish the seams with a serger or use a zigzag stitch.
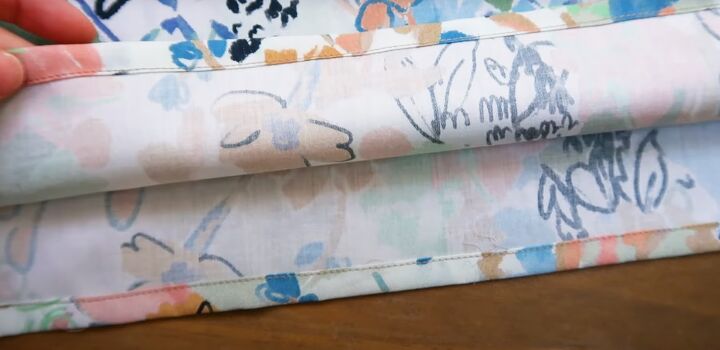
Make a double hem on the lower edge and sew it in place.
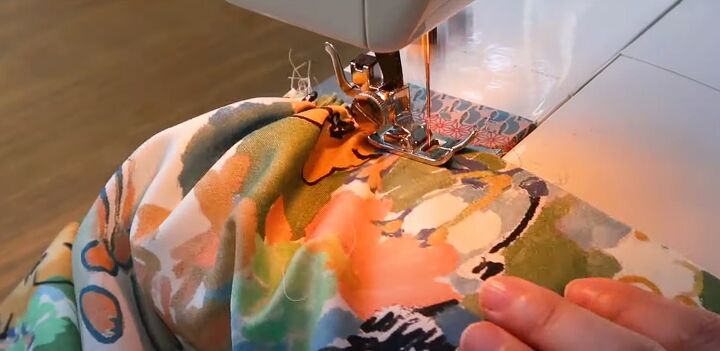
8. Gather the lower sections
Set your machine for the longest straight stitch and the highest tension.
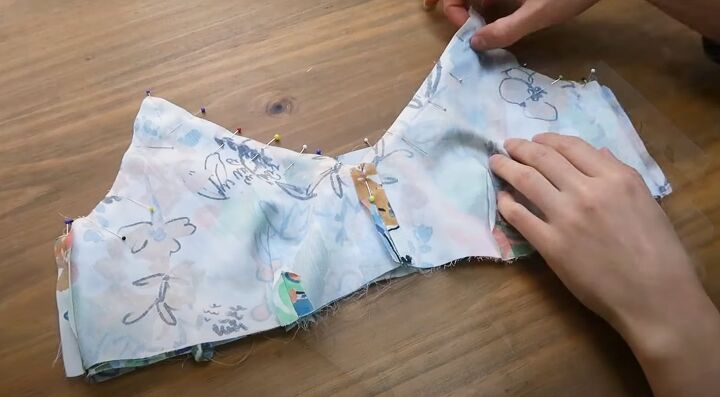
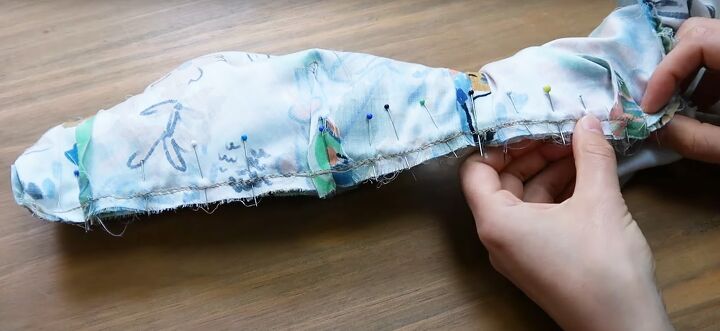
Sew a row of gathering stitches inside the seam allowance, either all around the top edges or in four sections, as I did.
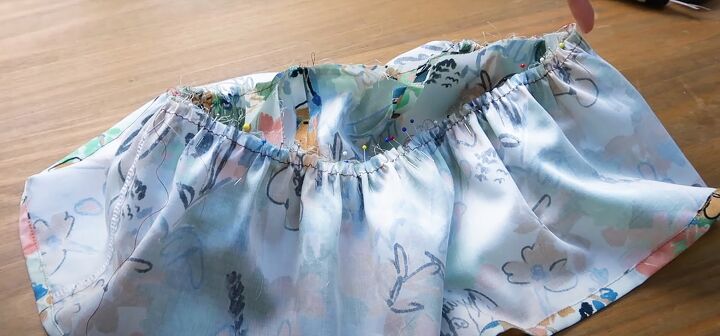
Matching the center notches and side seams, pin the gathers to the upper front and back outer pieces with right sides together, adjusting the gathers evenly.
Sew them in place on the seam allowance.
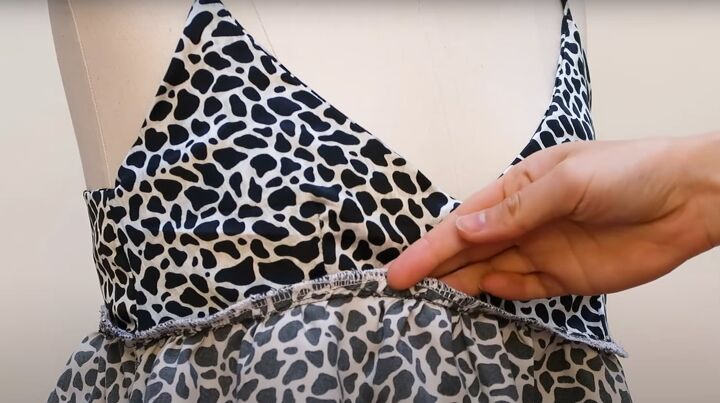
9. Close the bust lining
You can attach the bust lining to the lower gathered part with a seam and finish the edges.
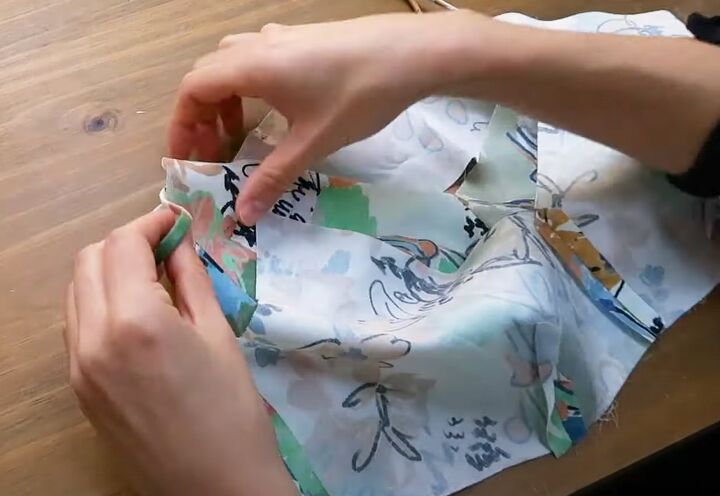
If you prefer a hidden seam, turn your top inside out. Roll the bottom sections up.
Take the right side of the bust lining at the back over the upper front and underneath the gathered section and attach it to the lower edge of the outer front.
See the video at 6:20 for exactly how I do this.
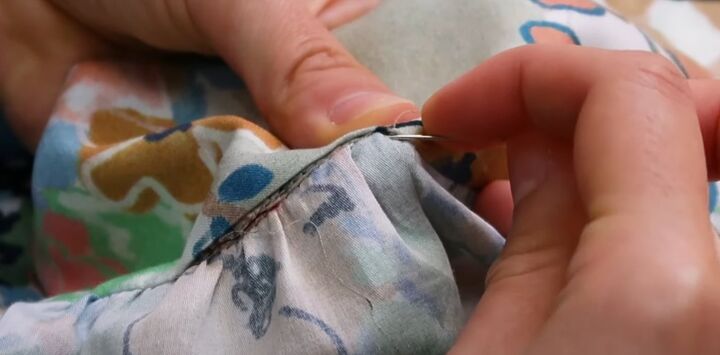
You can also hand stitch the lining in place on the wrong side by turning up a hem and sewing it to the ruffled section below the seam.
Press the seams but don't press the ruffles down, just steam them so you don't flatten them.
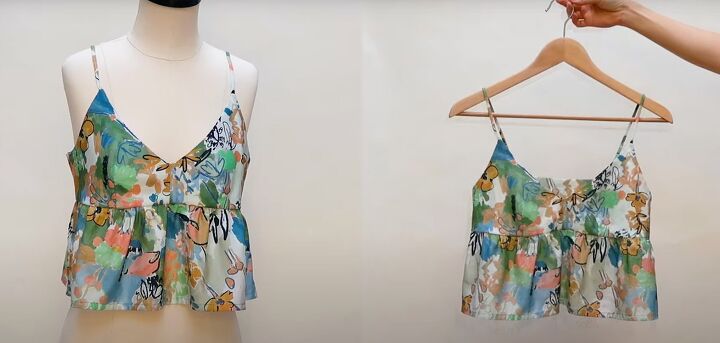
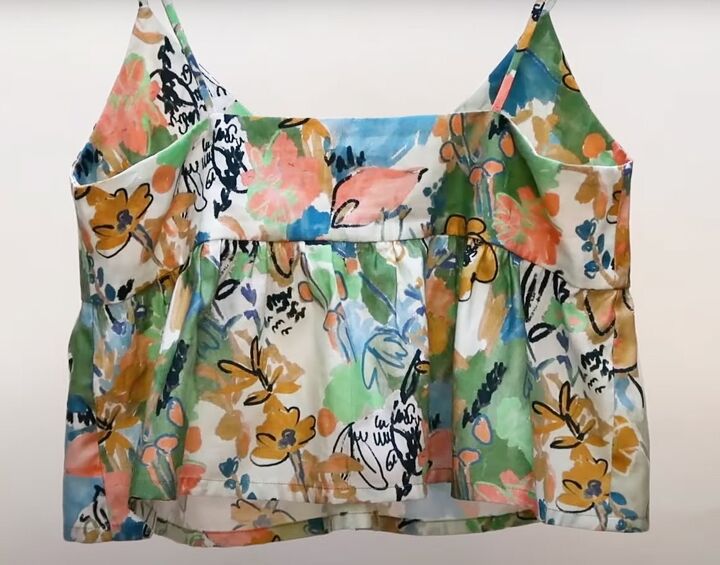
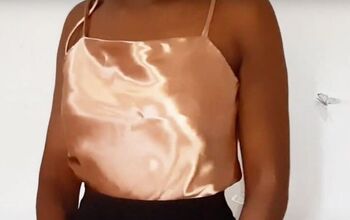
DIY ruffle cami top
This is a perfect women’s ruffle top for the summer, very feminine and versatile. It works well as part of a casual or more dressy outfit.
You could even make it into a pretty pajama top to wear with silky pants or shorts.
Although the tutorial is fairly detailed, it's actually an easy item to make. Just take it slow if you're new to sewing!
I'd love to know if you enjoyed this, or if you make the top yourself, in the comments below.
For more sewing content, check out my post on How to DIY a Sexy Racerback Maxi Dress.
The author may collect a small share of sales from the links on this page.


Comments
Join the conversation