How to DIY a Sexy Satin Handkerchief Top

I made a reversible satin handkerchief top from 60 inch wide fabric. It turned out a little longer than I would have liked.
If you want to make a handkerchief crop top, adjust the length when you draft the pattern.
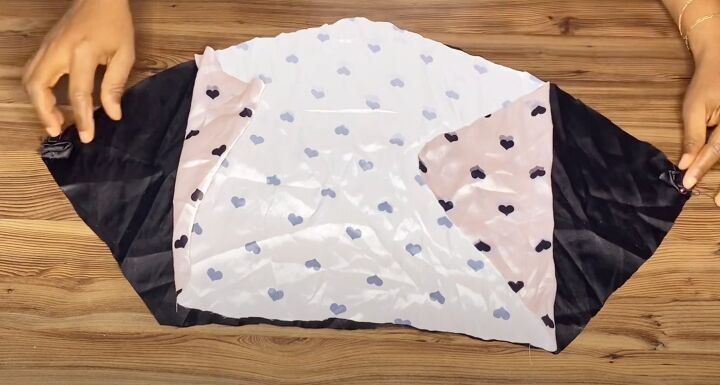
I chose a plain satin for the outer fabric and a patterned satin for the lining, and I do love that the top is reversible.
This project is suitable for a beginner and should take you around 3 hours.
Tools and materials:
- Satin fabric 60 inches wide
- Satin lining fabric 60 inches wide
- Ruler
- Tailor's chalk
- Measuring tape
- Ruler
- Scissors
- Pins
- Iron
- Hand sewing needle and thread
- Sewing machine
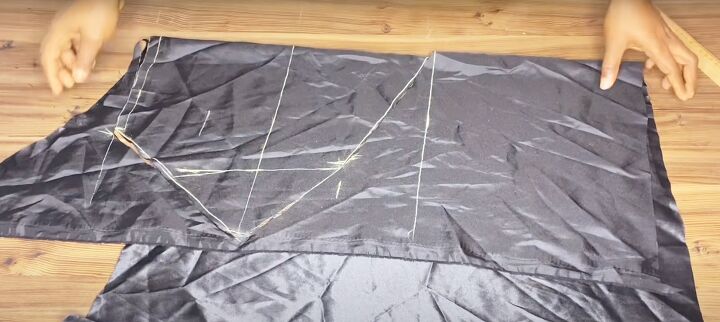
1. Draft pattern
I drew my pattern directly on to the fabric. Yu can make a paper pattern first, if you prefer.
Start by folding your fabric in half widthways.
Cut two 2 inch wide strips across the width of the folded fabric.
My top is 16 inches long to the center point and I think it's a bit too long. You may prefer a length of 14 inches or even 12 inches.
Measure yourself before you start from about 2 inches below your collarbone to the longest point you want the top to be, and adjust the pattern accordingly.
Then see the video at 0:10 - 2:26 for how I drafted out the top.
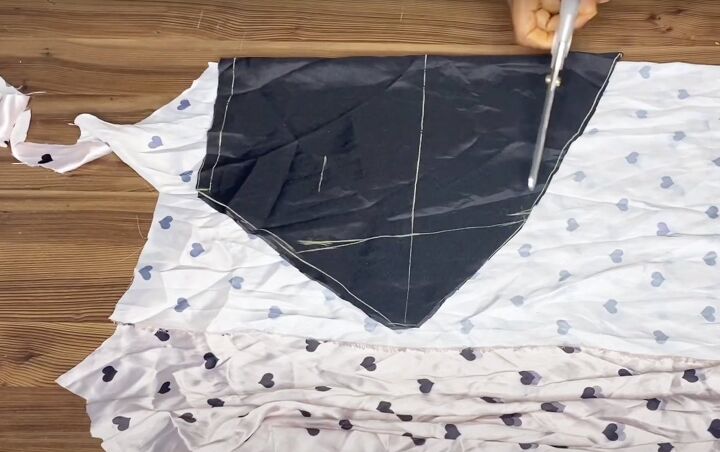
2. Cut out the main fabric and lining
Cut out the front from the main fabric on the fold and use it as a template to cut out the lining.
3. Make the loops
Cut 2 inches from one end of both strips of fabric.
Fold the 2 inch squares in half with the right sides together. Sew them along the longer edge and turn them right side out.
Fold them in half lengthways and pin the raw edges to the right side of the main fabric, at the bottom of the straight edge on each side.
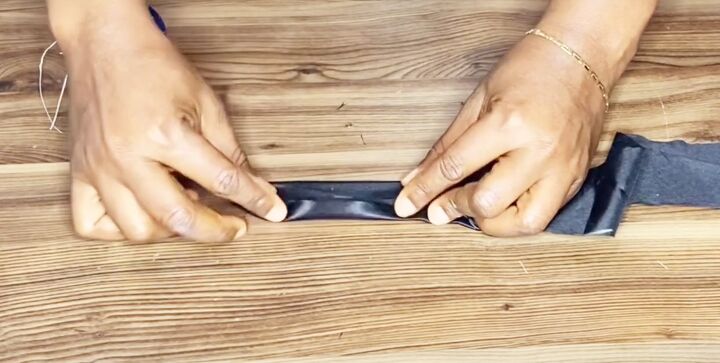
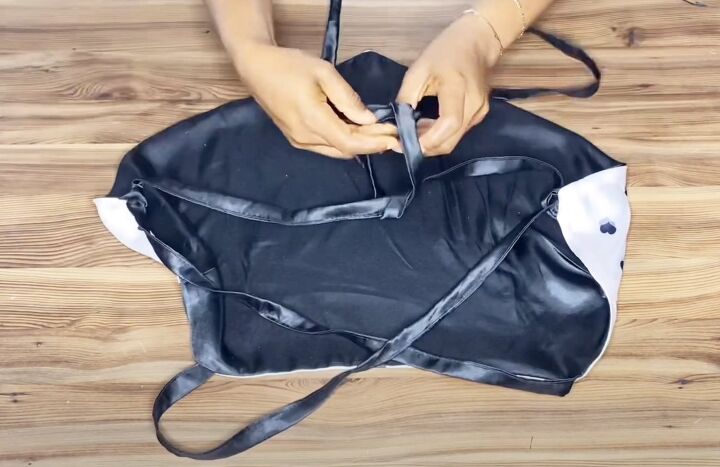
4. Make the straps
Fold both long edges of the fabric strips into the center on the wrong side.
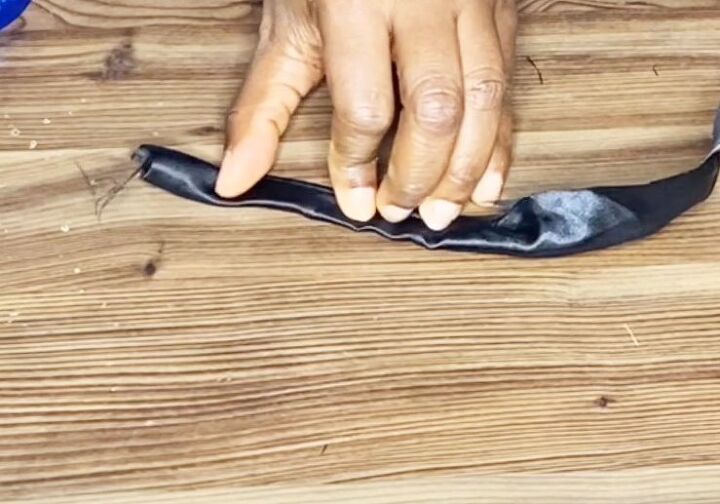
Fold the strips in half lengthways and pin.
When you get to the end, turn in the short end before pinning the final section.
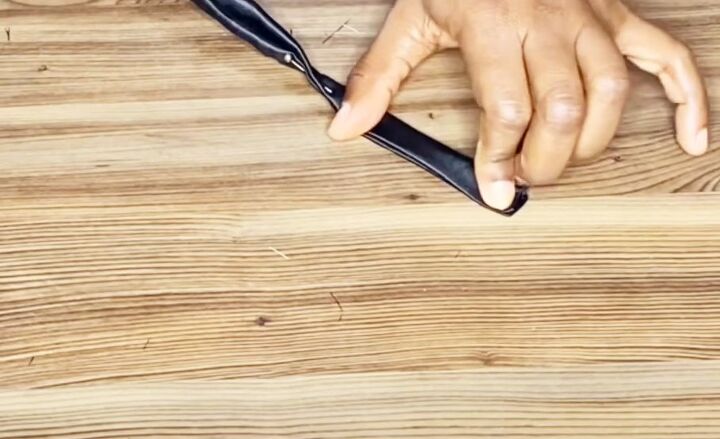
Sew along the length of the straps and press them flat.
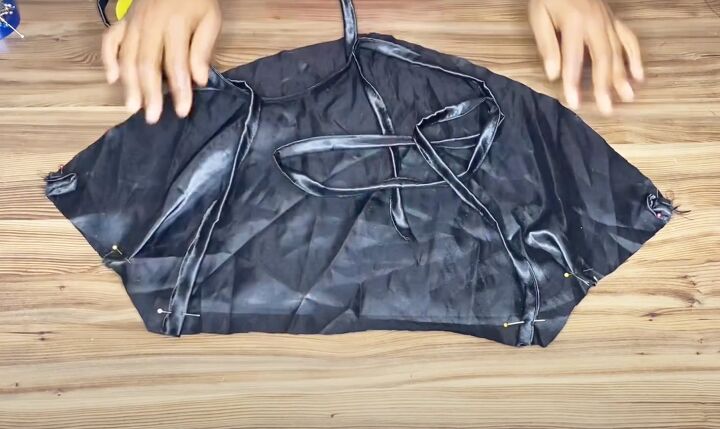
5. Attach the straps
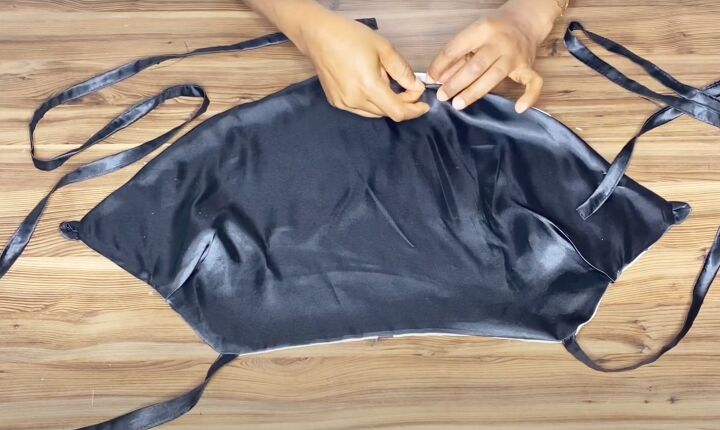
Pin the raw edges of the straps to the outer edges of the neckline on the main fabric, on the right side.
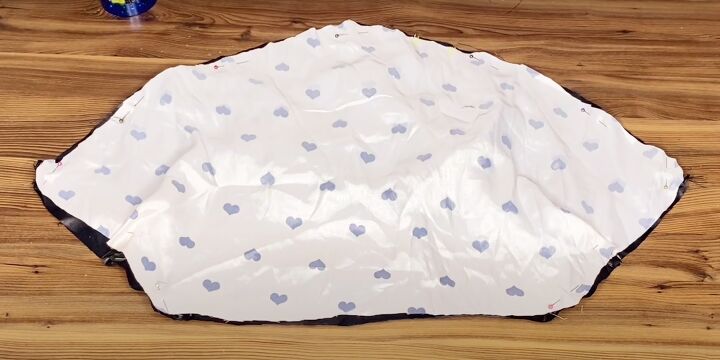
Place the lining over the main fabric, with right sides facing, sandwiching the ends of the loops and straps between them.
Pin them together around the edges, being careful not to catch the rest of the straps.
I did try adding a 1 inch pleat on the side edges, 3 inches below the neckline, but I wasn't happy with the final effect and unpicked it.
You may find though that you need to add bust darts to the outer and lining fabrics. I'd suggest trying on the pinned top before sewing it.
When you're happy with the fit, sew around all five sides of the top, leaving a 2-inch gap on one of the lower edges.
6. Finishing
Turn the top to the right side through the opening.
Finger press the seams and iron the top flat.
Hand sew the opening closed.
Cross the straps over and thread the ends through the loops.

DIY satin handkerchief top
Satin can be challenging to work with because it slips, but the final result is well worth it.
Even though I had to unpick part of my top to remove the pleats, this was still a quick and successful project. Handkerchief tops are so versatile and overall I'm very happy with it.
What do you think? I'd love to hear from you in the comments below.
Check out my post on How to DIY a Super Trendy Denim Jacket.
The author may collect a small share of sales from the links on this page.


Comments
Join the conversation