How to Sew a Cute and Sexy Corset Top

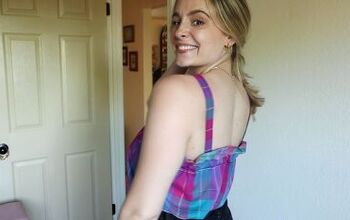
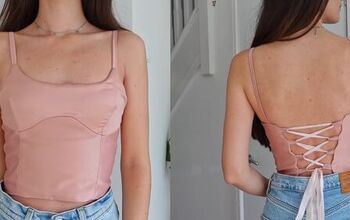
Today, I want to show you how to sew a corset top by adapting my Audrey corset top pattern. The original pattern has the lacing at the back, but for this corset top DIY I moved the lacing to the center front.
I also shortened the top and added bias tape to all the edges. For this version you need a fabric without stretch, so check the pattern measurements and modify the sizing accordingly.
Tools and materials:
- Audrey Corset pattern
- Non-stretch fabric such as poplin or denim
- 2.25 yards (2m) of 0.75 inch (20 mm) bias tape
- Interfacing
- 18 eyelets
- Eyelet kit (optional) or crosshead screwdriver
- Hammer
- 2.25 yards (2m) ribbon for lacing
- Paper for pattern
- Pins
- Scissors
- Ruler
- Fabric marker
- Sewing machine
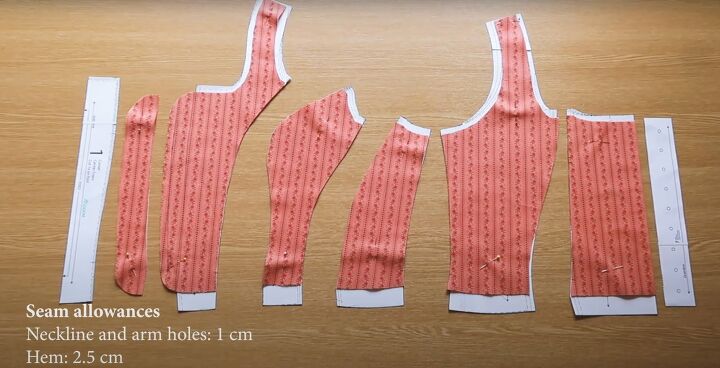
1. Pattern modifications
When cutting the fabric, remove the seam allowances of half an inch (1 cm) at the neckline and arm holes and 1 inch (2.5 cm) at the hem.
Decide how much space you want between the two front parts. Don't cut the center front pattern part (piece 1), but add fabric to the inner edge of piece 2, which is the part that has the front straps attached.
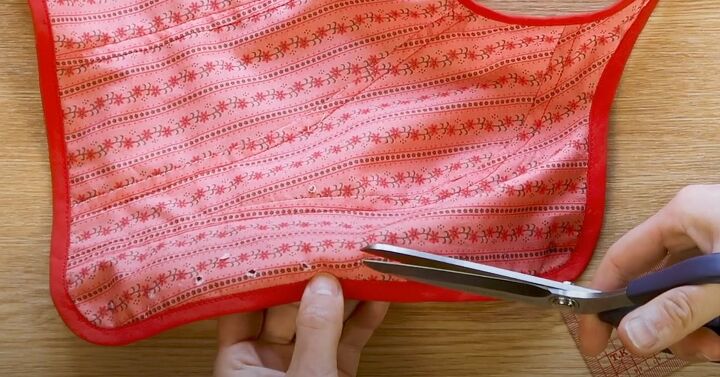
Round off the front corners, to make it easier to attach the bias tape.
Cut two pieces of fabric to be the eyelet plackets. They should have the shape of the center front extension and be about 1.5 inches (4 cm) wide. Reinforce these with interfacing.
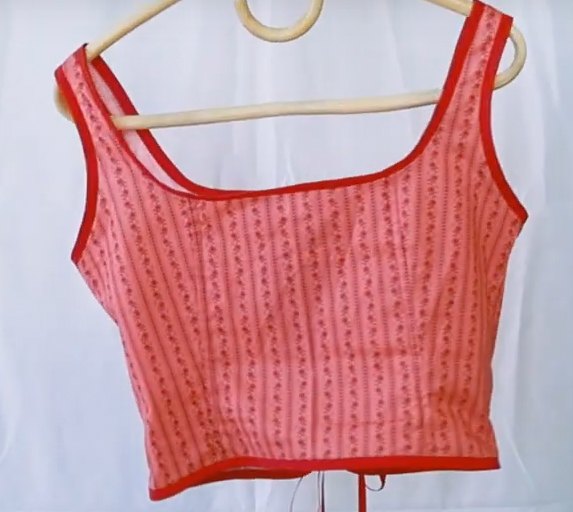
Do not use the back eyelet placket (piece 7). On the center back (piece 6) remove the half inch (1 cm) seam allowance (which I forgot to do) and then cut the fabric on the fold.
I didn't use any boning for this version.
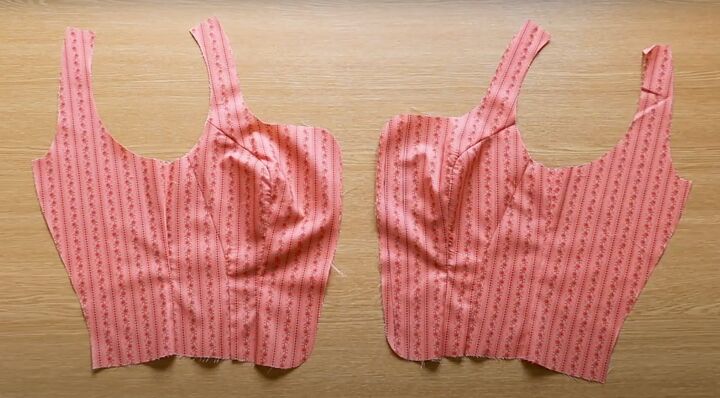
2. Assemble the fabric parts
Sew each center front piece to the corresponding front and back side pieces.
You should also attach the center back panel now, which I didn't do until later.
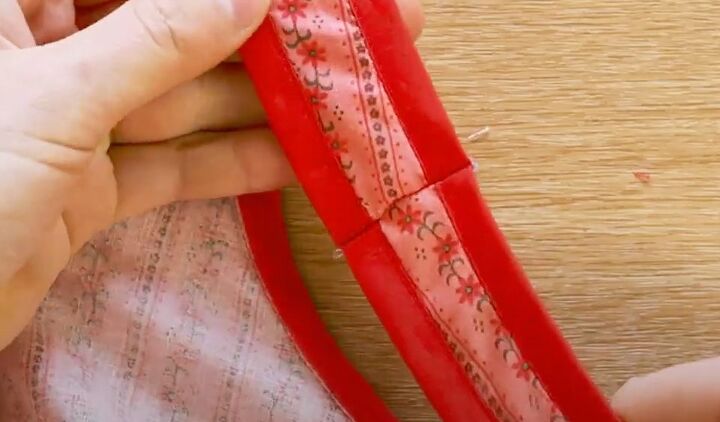
Finish the straight edges of the eyelet plackets.
Sew the curved edges to the center fronts with wrong sides together, inside the seam allowance.

Finish all the seam allowances, press the seams down and top stitch them.
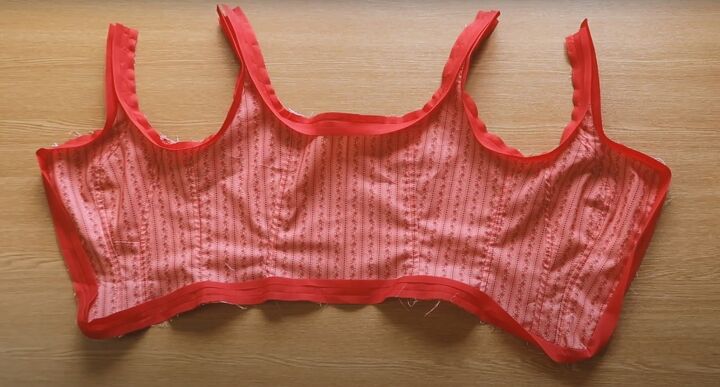
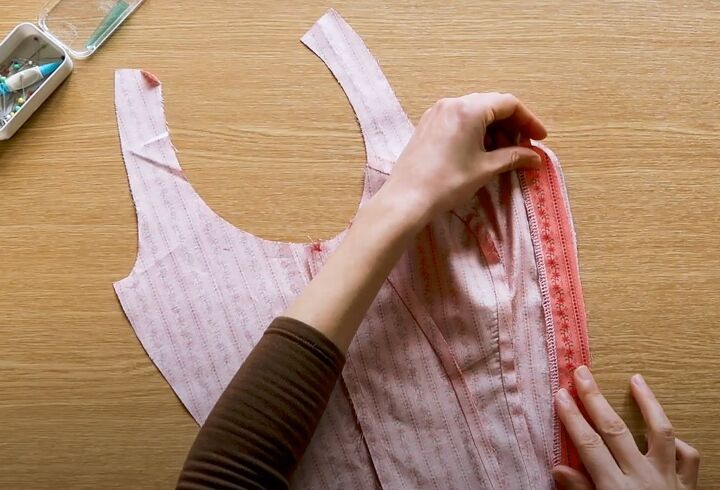
3. Attach the bias tape
Pin the bias tape around all the edges with right sides together and sew it in place on the right side.
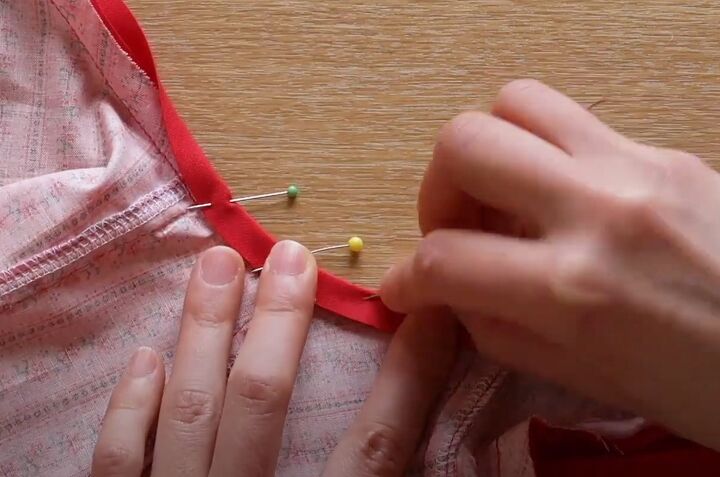
Fold the tape to the inside and pin it.
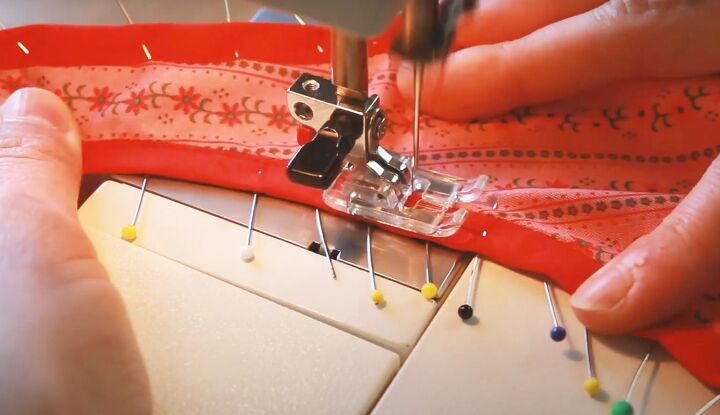
Top stitch it close to the inner edge on the right side.
4. Close the straps
I really recommend that you try the top on and adjust the straps if necessary before sewing them together.
You could even do this as the final step after the top is completed.
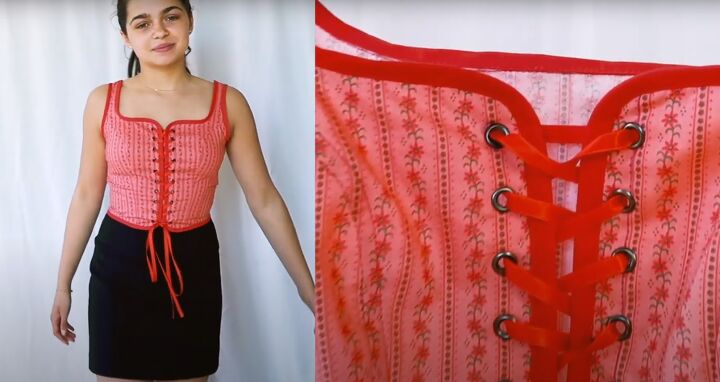
5. Attach the eyelets
Measure and mark the eyelet placement on both sides of the center front. Make sure they are in line horizontally.
Depending on the eyelet system you're using, make the holes for the eyelets with a hole punch or scissors and attach the eyelets.
I used a vice in my uncle's workshop but you could use a hammer and crosshead screwdriver if you don't have an eyelet kit.
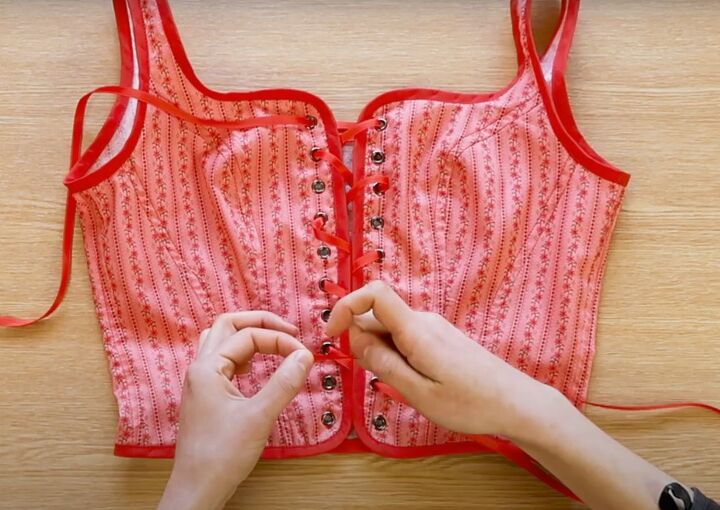
6. Finishing
Thread the ribbon through the eyelets and tie the ends in a bow.
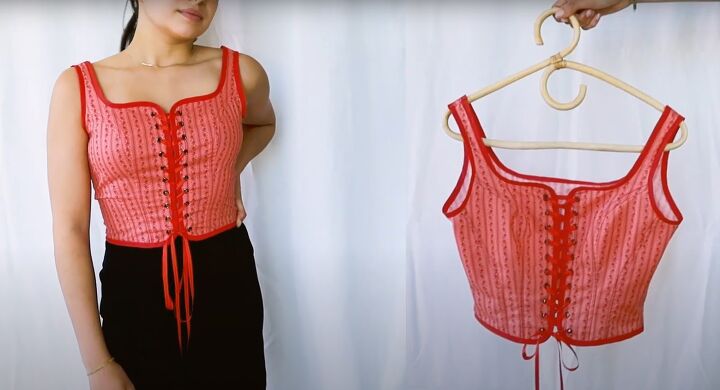
How to sew a corset top: DIY corset top
I actually wanted a larger gap between the two fronts than you see here, but this is easy to modify and I'll do that the next time I make it.
I think this is a very cute version of the original back laced top and you can have a lot of fun matching or contrasting the bias tape to the fabric.
This would also look stunning in denim or even non-stretch satin. So many possibilities!
I'd really like to know if you make either version of this DIY corset top and how you get on with it. Please leave me a comment below. I love to hear from you.
Check out my other tutorial to Learn How to Sew Sleek Tailored Trousers.
The author may collect a small share of sales from the links on this page.


Comments
Join the conversation