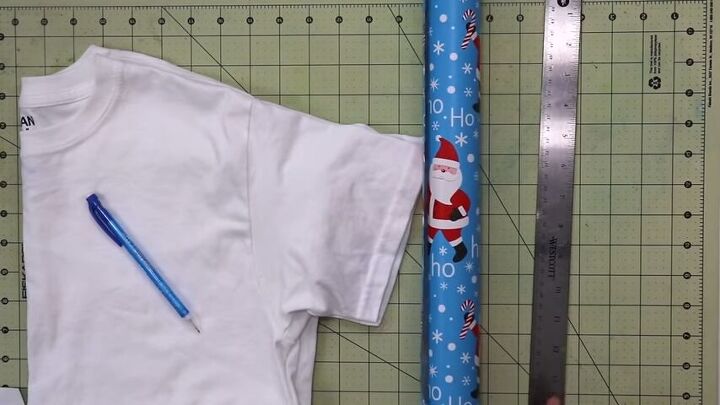
Make Your Own T-shirt Pattern Using Supplies You Already Have

It’s important to have patterns when it comes to sewing projects. But did you know that instead of buying patterns you can make a super easy one using a t-shirt you already have? In this simple tutorial, I will show you how to draft your own pattern using things you already have lying around your house. So grab the few materials listed below, and get ready to create!
Tools and Materials:
- Existing T-shirt that fits you well
- Pencil
- Paper (I used gift wrapping paper, but any paper will work just as well)
- Ruler
- Scissors
- Measuring tape
Fold your t-shirt in half lengthwise, matching up all the seams as you do. So shoulder seam goes with shoulder seam, side seam goes with sides seam, you get the picture. I used pins to keep the t-shirt together, but if you’re using a good quality t-shirt you plan to wear again, don’t use pins as it can ruin the fabric.
Place your folded T-shirt onto your pattern paper and mark the front and back necklines as well as the hemline on your paper. You want to mark where the true neckline is, not where the band of the neckline is. For the hemline marking you can round it up a bit since the hem is straight.
Use your ruler to draw a straight line connecting all your markings. Then draw a straight horizontal line from the top point of your neckline.
Use your pencil to mark your shoulder lines. Start with the top of the shoulder, then mark the bottom of the shoulder. Use your ruler to connect those points with a straight line.
From the top of your shoulder line, mark rounded, dotted lines that connect to your front and back neckline markings. I just did a generic neckline, but you can also copy your shirt’s neckline exactly if you want to be more precise.
Mark the bottom of your armscye and the other side of the hem, then use your ruler to draw a line connecting the points. An armscye is the technical term for the armhole and may come up here and there in patterns that you find.
Marking the curve of the sleeve is a bit more challenging because you can’t just trace the line of the shirt. You’re going to lift the sleeve as you go, and mark where the hem of the sleeve is on your paper. Then connect those with a dashed, curved line. Once you’ve done that, draw a line connecting both sides of the hemline.
This step is actually optional, but I do like to mark my bust and waistlines. This will make it easier for me to modify this pattern or to make a new one in the future since I’ll have all the measurements. After you mark them, draw two straight horizontal lines from these points. Label your lines with “bust” and “waist” accordingly.
Next, you’re going to outline your sleeve. If you don’t have enough room on your paper, like me, you can just cut out the curve of your sleeve and attach another paper under it to give you more room. Use your ruler to mark the straight line at the top of your sleeve, then trace the bottom of your sleeve. Now connect the lines so that you have a full outline of your sleeve and label it with “sleeve.”
Now cut out the sleeve and then cut the excess paper from the body of the shirt. I like to do it without seam allowance because I add seam allowance later according to the project and the fabric, but if you want to add seam allowance before you cut it, watch the video for a little hack!
This is another optional step, but I like to mark my bust and waist quarter measurements on the pattern. So for the bust, I marked 9” and for the waist, 7.5”.
All right, guys, we are almost done! Now you’re going to take a scrap piece of paper and a measuring tape and measure both sides of your neckline and add them together. The front was 6” and the back was 4” so that gave me 10”. Since the neckband needs to be stretched out, I usually do them ⅕ or ¼ smaller than the half measurement. ⅕ from 10” is 2, so instead of making the neckband 10” on the fold, I did it 8” on the fold. I also made the neckband 2” wide so that it’s 1” when it’s folded in half. Then cut the neckline out and you are done!
That’s it! How easy was that? Now you have your pattern ready to use whenever you want it. If you want to learn how to draft a shirt from scratch, be sure to check out this video or a step-by-step tutorial. I would absolutely love to see the projects you make using this pattern, so be sure to show me in the comments!
Enjoyed the project?
The author may collect a small share of sales from the links on this page.


Comments
Join the conversation