This Cute DIY Tie-Front Top Used to Be an Old Men's T-Shirt

This tutorial will show you how to transform a man’s shirt into a stylish front-knot puff-sleeved, tied crop top. Learn how to make a DIY tie-front top in just a few simple steps. Let's get started!
Tools and materials:
- Man’s stretchy t-shirt
- Thread
- Scissors
- Ruler
- Sewing machine
- Pins
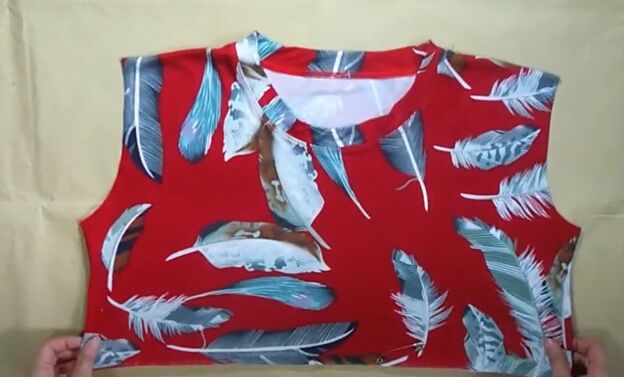
1. Trim the t-shirt
Cut the sleeves off a man’s t-shirt and cut the shirt to the length you would like, allowing for the hemming.
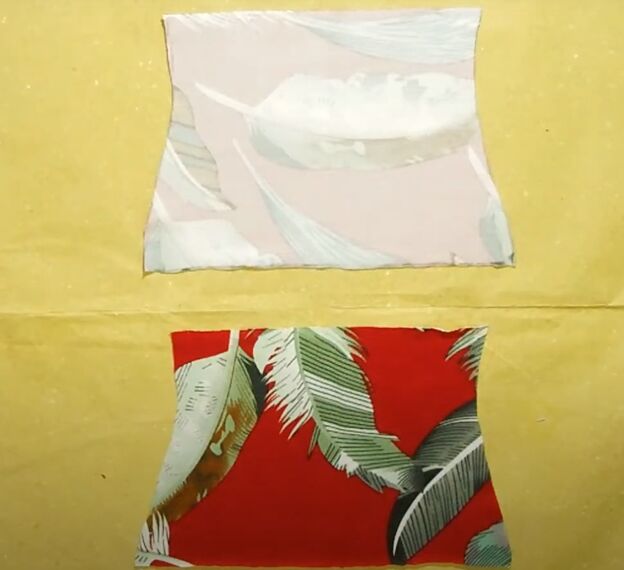
2. Shape the crop top
Turn the t-shirt inside-out and fold in half widthwise. Lay a well-fitting shirt, also folded in half, on top of the t-shirt as a template, lining up the top of the shirts and the folded edges. Trace the outline of your shirt onto the t-shirt, adding a seam allowance.
Cut out the crop top shape along your lines.
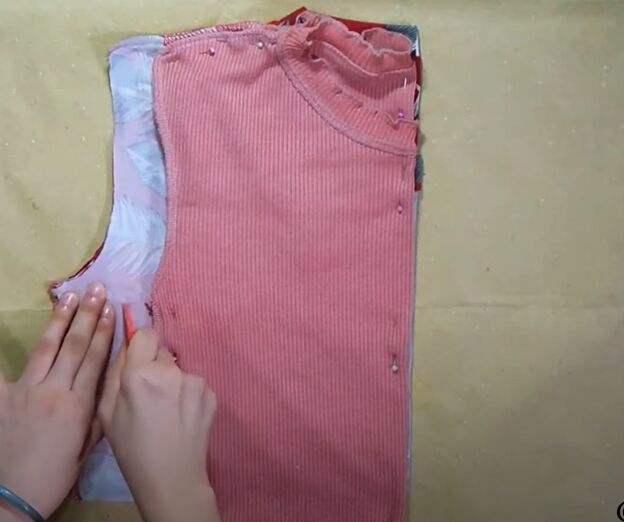
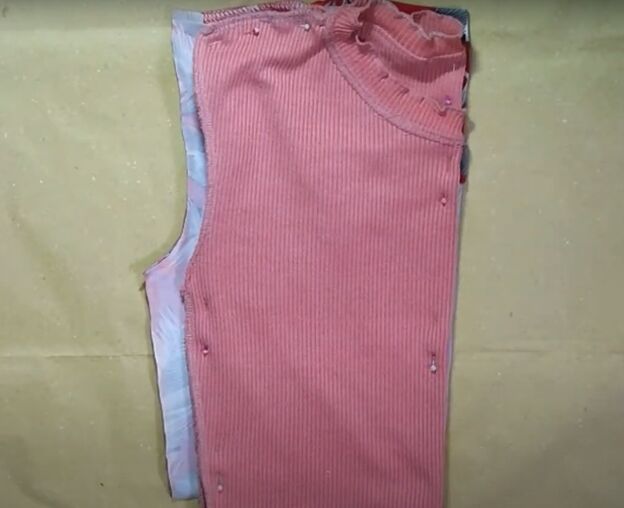
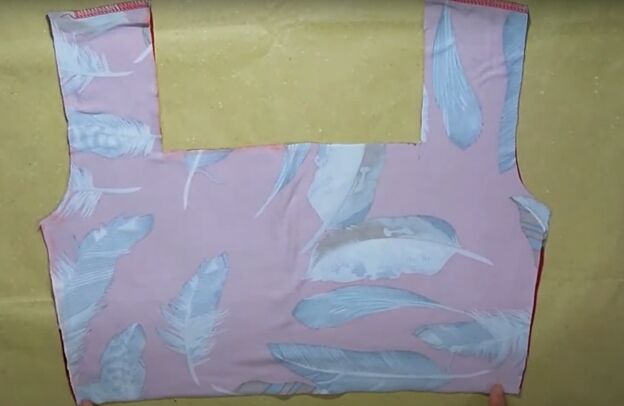
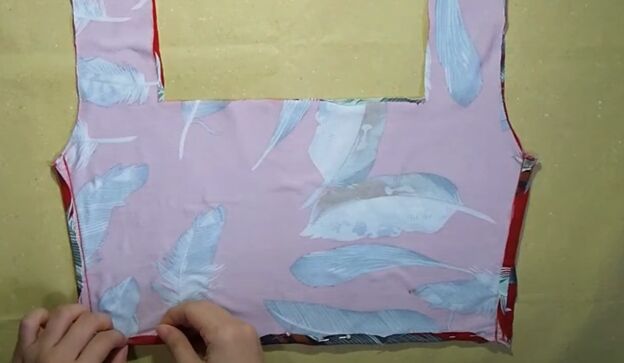
3. Make a square neckline
Use a well-fitting sleeveless top as a template for your neckline. Fold both the crop top and sleeveless top in half widthwise, and lay the sleeveless top on the cut crop top, lining up the folded edges and the shoulders.
Trace the top and bottom points of the sleeveless top neckline onto the crop top.
Use a ruler to draw a right angle connecting the neckline marks, then cut it out.
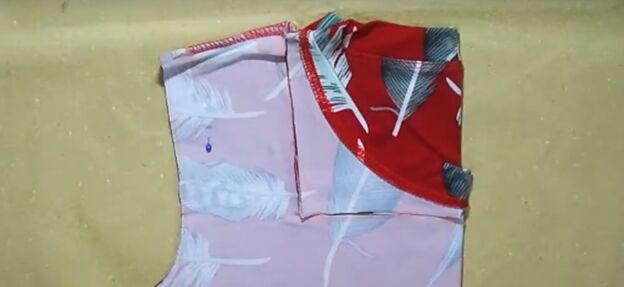
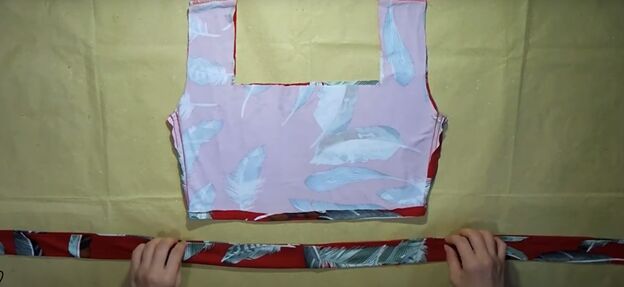
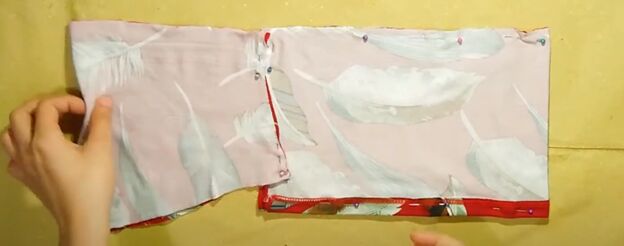
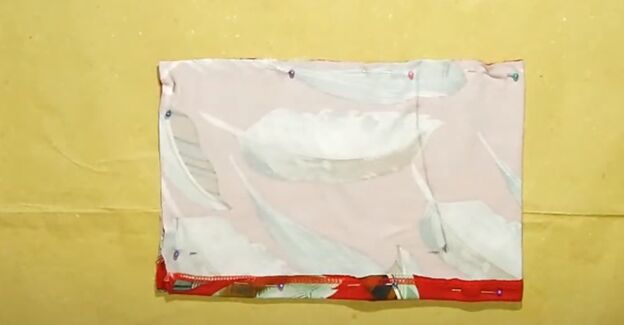
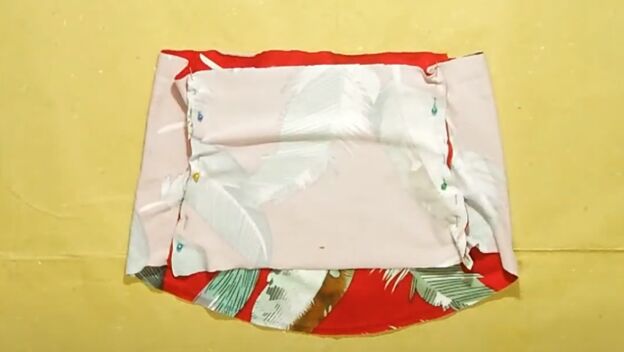
4. Sew the bodice
Unfold the crop top and sew the side seams.
Fold up the bottom of the crop top and sew the hem.
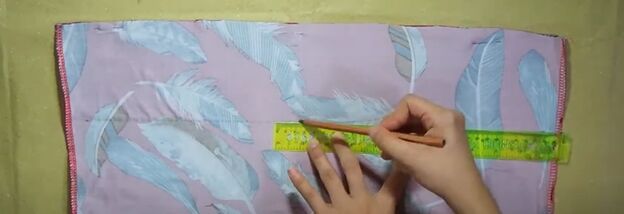
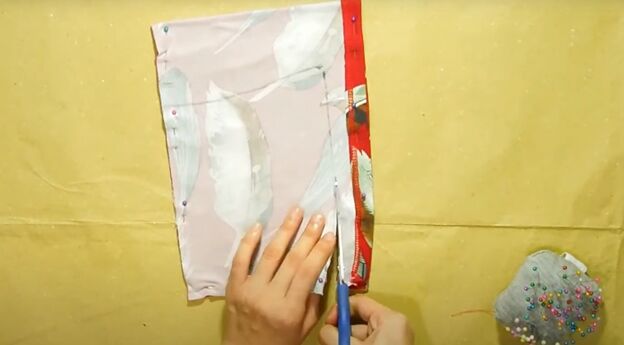
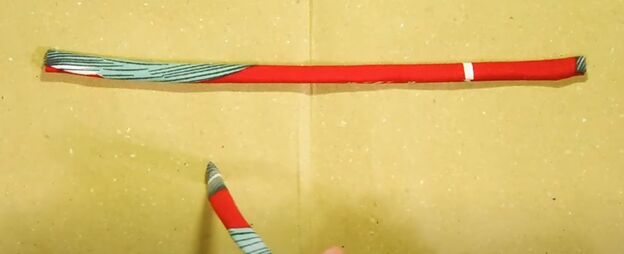
5. Make the tie
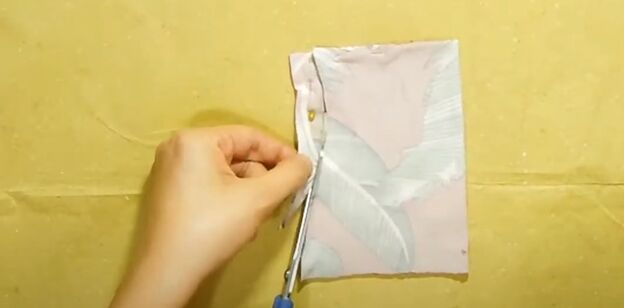
From the t-shirt fabric, with the t-shirt lying flat, mark a 10-centimeter (3.9-inch) wide band across one whole side of the t-shirt.
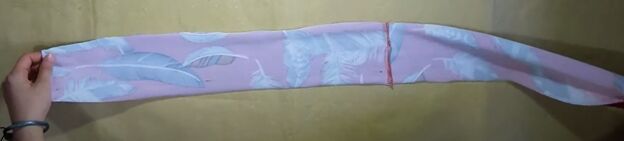
Open one of the t-shirt side seams, and then cut out the tie strip.
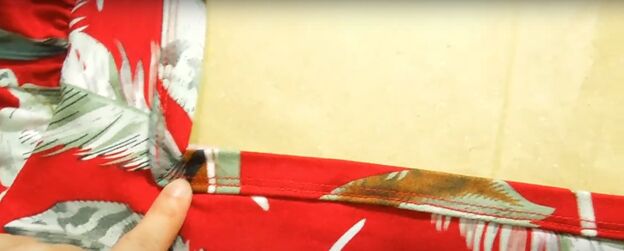
Fold in and hem the short edges of the tie. Now, fold in the long edges of the tie and then fold the tie in half. Press flat with an iron.
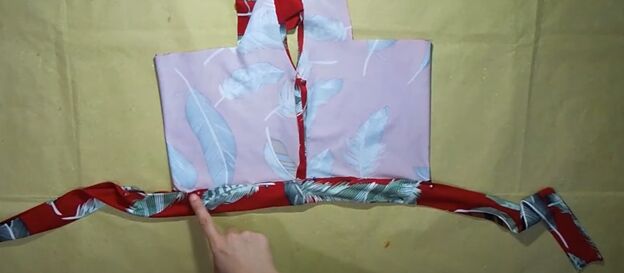
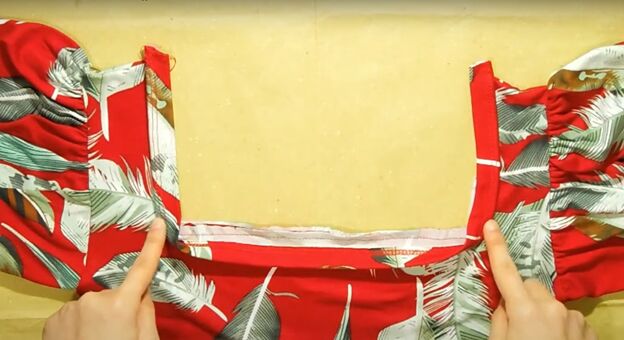
Attach the tie to the crop top by laying the top flat, inside out, with a side seam in the middle. Pin one folded edge of the tie to each side of the crop top, all the way around. Sew the tie in place.
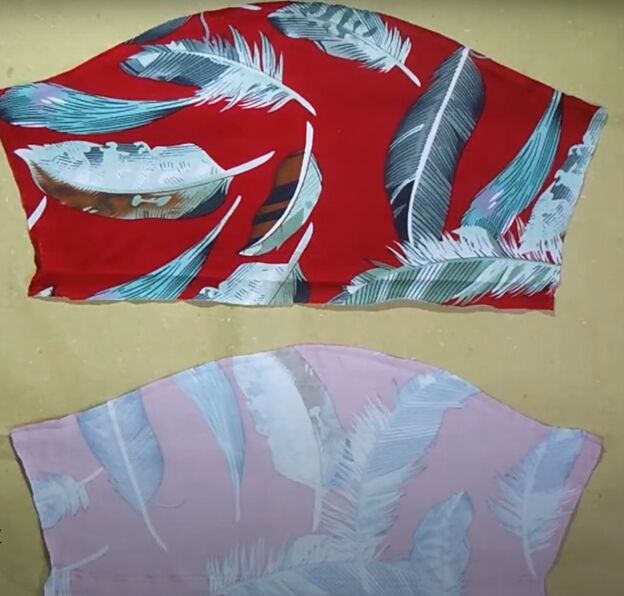
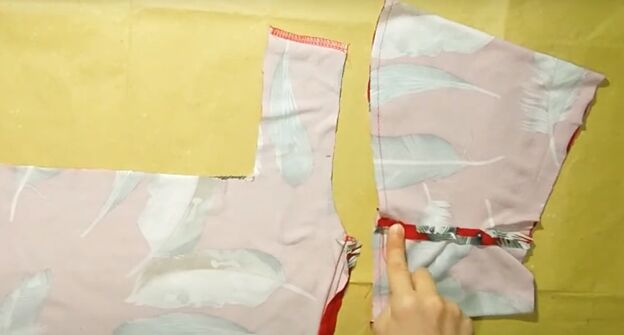
6. Make the sleeves puffy
First, seam rip both of the t-shirt sleeves, so you have flat pieces of sleeve fabric.
Use your extra fabric to cut a rectangle that is at least the same height as the t-shirt sleeve. This will be the fabric that forms the puff. Fold each sleeve piece in half, with right sides facing.
Shape one end of the puff fabric to match the armhole of the crop top where you will be attaching the sleeve by tracing the armhole line. Shape the other edge to match the t-shirt sleeve you will attach the puff to.
Cut out the sleeve puffs from two layers of fabric, for two puffs.
Continue to shape the other end of the sleeve. Fold the puff in half widthwise and trace the curve from one end on to the other end. Cut along the curved line.
Unfold and separate the fabric and you now have two puffs.
Attach the puffs to the sleeves by pinning the puff to each end of the open sleeve to make one circular puffy sleeve. Sew to attach it.
Straight stitch the armholes of the sleeves without backstitching, so you will be able to gather the puff.
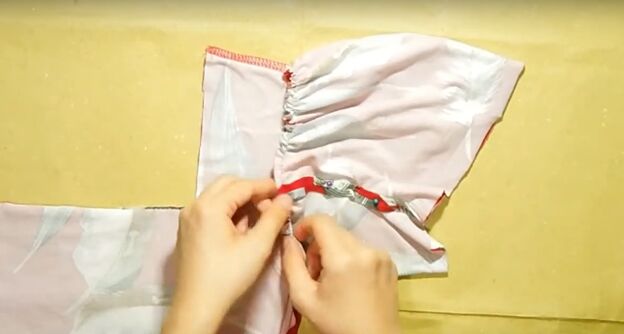
Gather the sleeve to fit the armhole and adjust gathering as necessary.
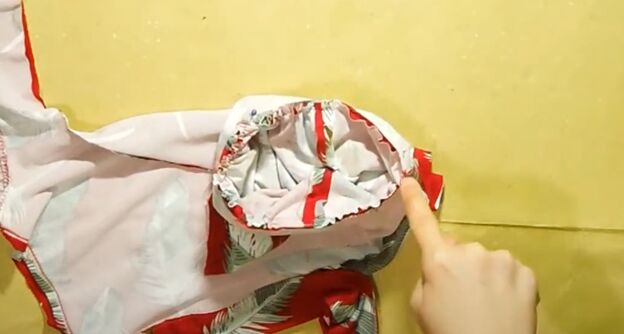
Turn the sleeves right-side out and insert them in the armholes. Pin the sleeves in place and sew using a straight stitch, then a zigzag stitch.
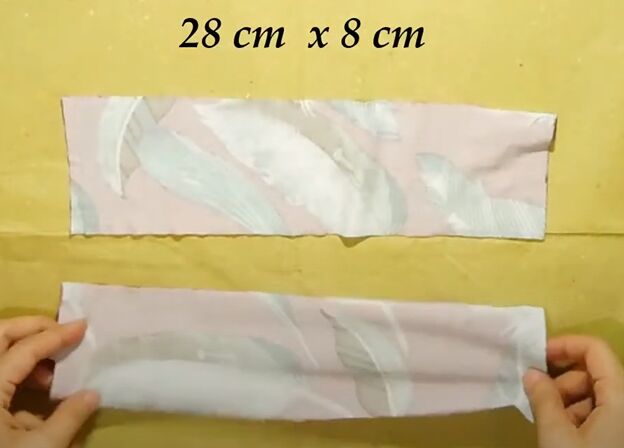
To make the sleeve bands, cut two 28 x 8 centimeter (11 x 3 inch) strips from the remaining t-shirt fabric.
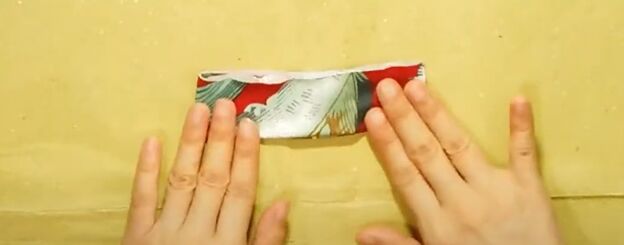
Fold the strips in half widthwise and sew the side seam. Then, fold the sleeve band in half lengthwise.
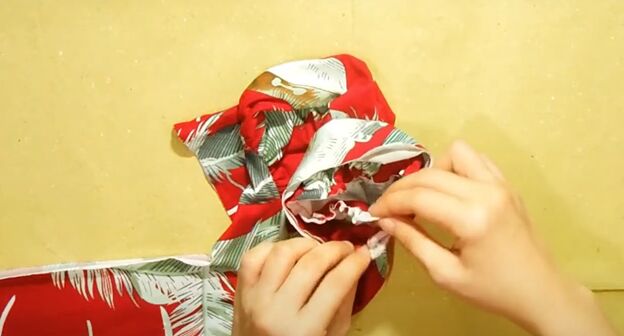
Pin the band onto the sleeve, matching up the side seams, and sew in place.
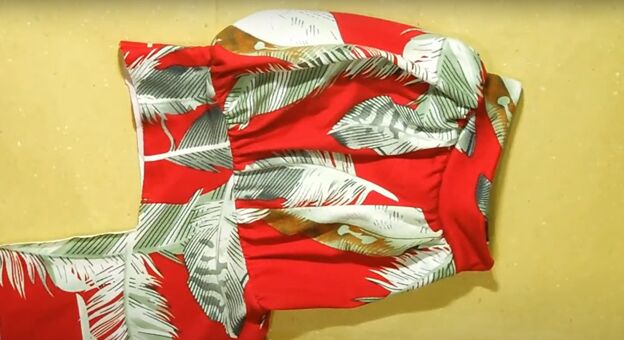
Here is your finished puff sleeve.
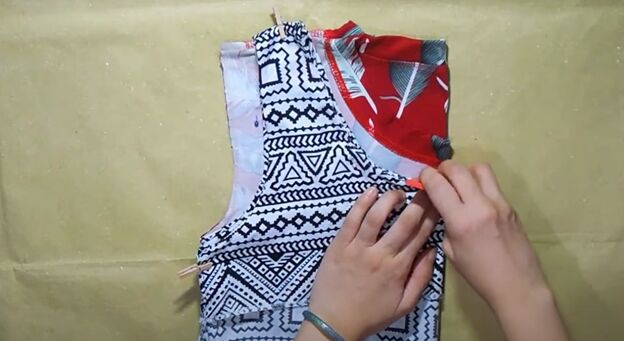
7. Finish the neckline
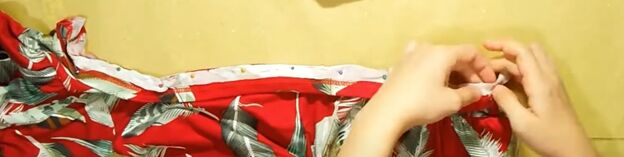
From the discarded neckline of the t-shirt, cut the neckband to make two strips for the new neckline bias tape. Pin one long edge of the bias top to the neckline of the crop top, with right sides facing, and sew in place.
Now, fold the bias tape and pin the other long edge to the inside of the neckline and sew it again.
Now you have a nice clean neckline.
8. Make the back cross straps
Cut two strips of t-shirt fabric measuring 30 x 2.5 centimeters each (11.8 x 1 inch). Fold the strips in half lengthwise and sew the open edge. Turn them right-side out and press flat.
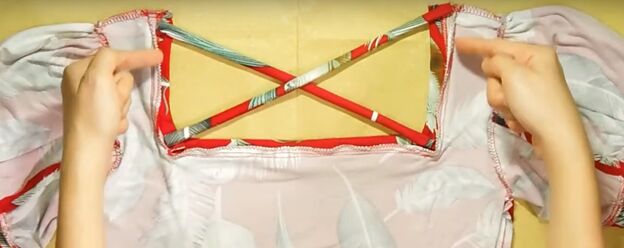
Sew the straps into position at the back of the neckline.

DIY tie-front top video tutorial
This DIY tie-front top is so cute and comfortable! Leave a comment to let me know how yours turned out.
The author may collect a small share of sales from the links on this page.


Comments
Join the conversation