Why is My Gel Polish Wrinkling? + How to Fix It

Wondering why your gel polish is wrinkling when you do an at home manicure? Follow along to solve those pesky curing issues with me.
Let's get started.
Tools and materials:
- Gel polish
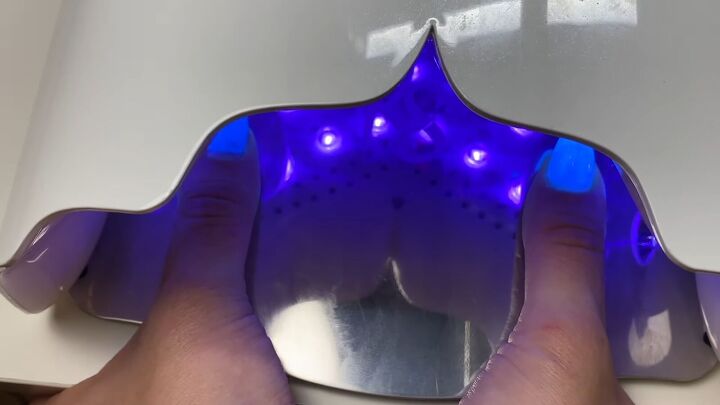
- UV lamp
- Nail clippers
- Buffing block
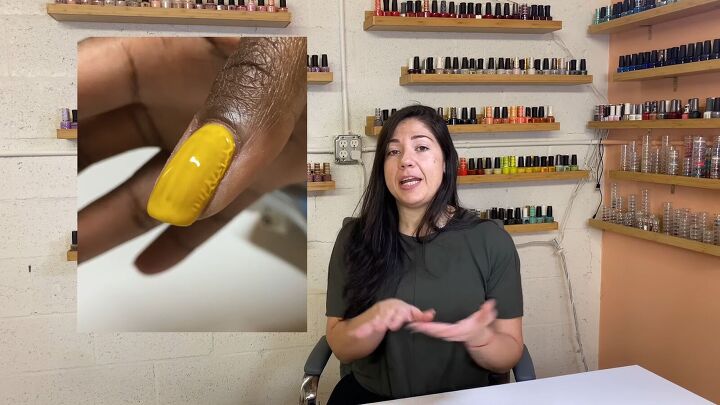
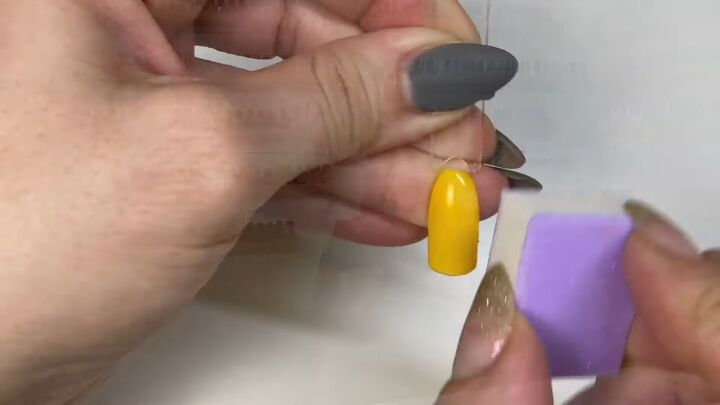
1. Wrinkly polish on the thumb nails
Maybe you or a client takes their hand out from under the curing lamp and all the nails are dry except the thumb. The polish might look wrinkly like in the above image.
Believe it or not, this is usually caused by improper placement of the bulbs in the lamp as opposed to the hand not laying flat.
That being said, you should still avoid “hitchhiker thumb”, which will prevent the gel from drying evenly.
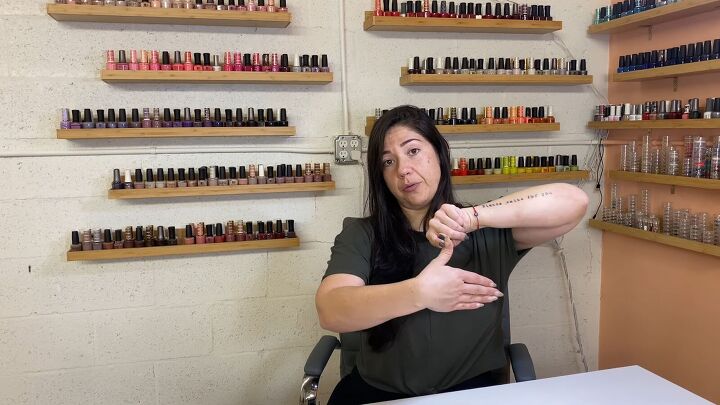
Make sure to flatten out your thumb to ensure that the light reaches all of the thumb nail.

If this is uncomfortable, you can first polish and cure the 4 other nails on each hand and then polish and cure the thumb nails together.
2. When polish wrinkles on nails besides the thumb nail
If wrinkling occurs on the other nails as well, the potential causes vary.
First, it could be that you’re applying the polish on too thickly. Some colors are super pigmented and therefore thicker, so they should be applied as thinly as possible, as well as for the base coat. This will allow the surface to cure more evenly under the lamp.
A second cause could be that the bulbs in your lamp are no longer efficient.
A third reason could be that you are using a low quality gel polish that just doesn’t cure well.
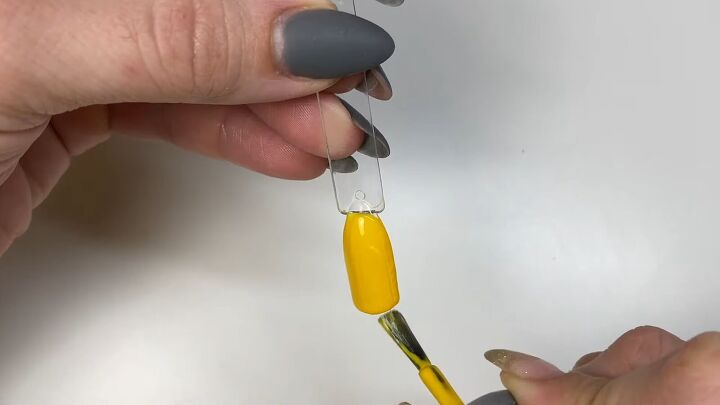
3. How to fix gel polish wrinkling
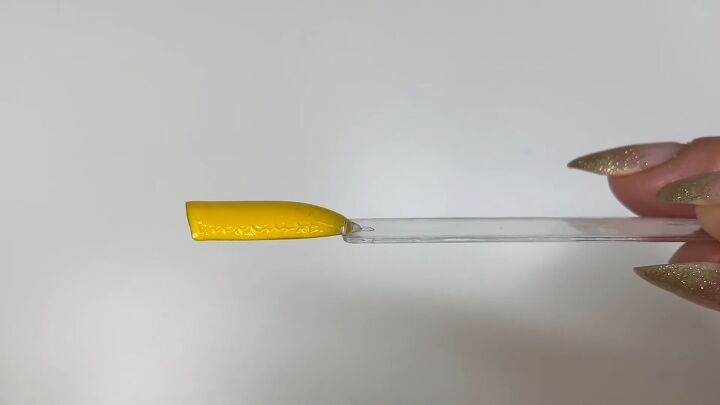
If you see small wrinkles like in the following photo, as long as you are able to harden the gel, then 9 times out of 10 they will disappear under the 2nd coat or top coat.
If the wrinkles seem more raised, start by wiping down and buffing the nail to smooth it out.
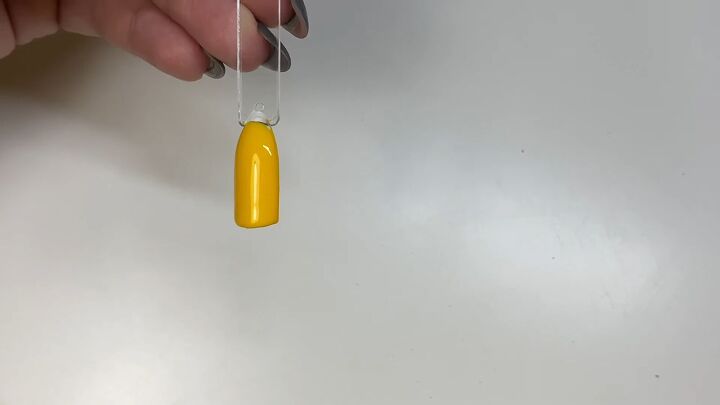
Then apply another base coat followed by another coat of color and a top coat.
These results show that small wrinkles are totally fixable.
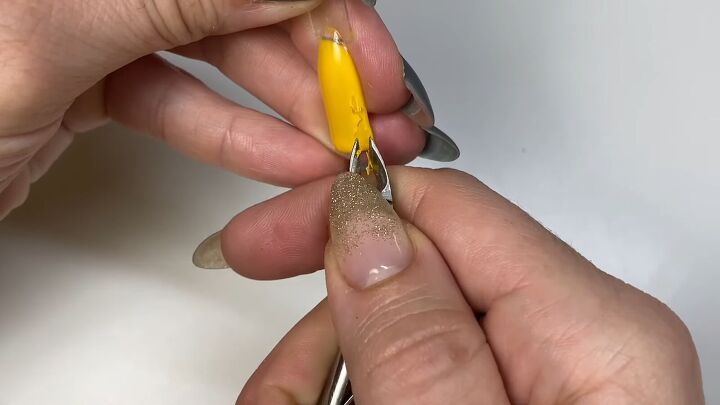
4. Unevenness concentrated at the tips
Rather than wrinkles all along the nail, if you notice some unevenness at the tips of the nails that feel “gushy” underneath, the solution will be different than above.
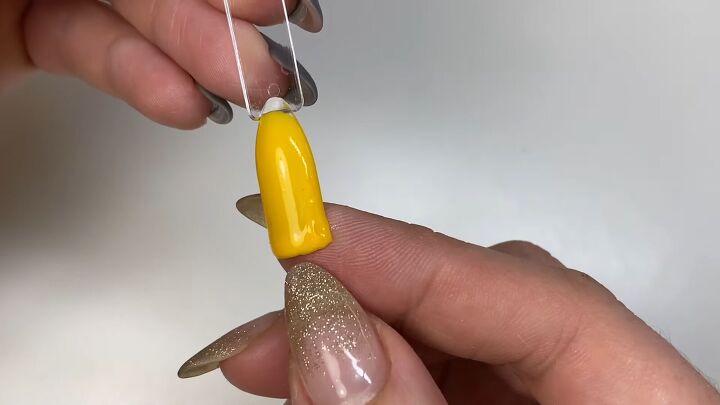
For a small spot like this, cut it out with clippers, then wipe, buff and touch up with polish to patch in the color.
Then paint a thin coat on the entire nail. If you don’t feel confident in doing this type of fix, feel free to soak the nail and just start over.
5. Extreme wrinkles
If your nail looks like this, it can’t be saved:
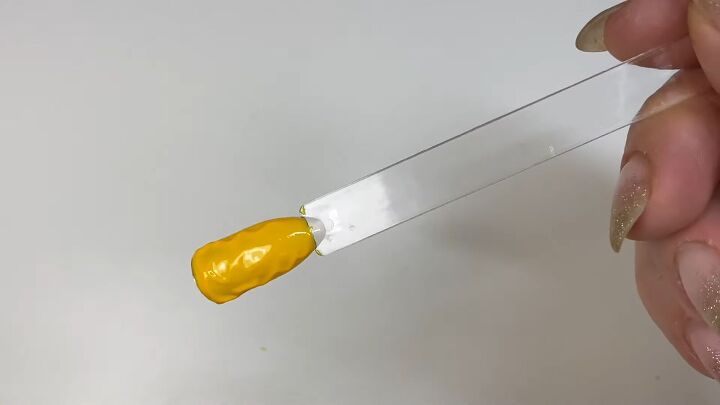
Instead, wipe it down, cut out all the excess gel, soak the nail and then repolish.
Why is my gel polish wrinkling?
If you don’t address these problems when you see the signs, the wrinkles will worsen when your nails get wet. They will bubble and peel, which you’ll want to avoid.
I hope these tips will help you prevent and combat wrinkling gel polish.
For more nail content, check out my post on a Waterless Manicure: Easy Tips on How to Shape Your Nails.
The author may collect a small share of sales from the links on this page.


Comments
Join the conversation