How to Make a DIY Blanket Poncho & Sweater Mittens for Winter

This tutorial is all about wintery DIYs: blanket poncho and no-sew mittens! Winter is here! If it’s chilly or cold where you live, you probably need an extra layer to keep you warm!
In this tutorial, I’ll teach you how to make a poncho from a blanket and how to make mittens from old sweaters. Let’s get started making a DIY blanket poncho and mittens to keep you cozy!
Tools and materials:
For the DIY recycled sweater mittens
- Sweater
- Hot glue gun
- Tailor’s chalk
- Scissors
For the DIY blanket poncho
- Blanket
- Sewing machine
- Tailor’s chalk or marking pen
- Scissors
DIY recycled sweater mittens
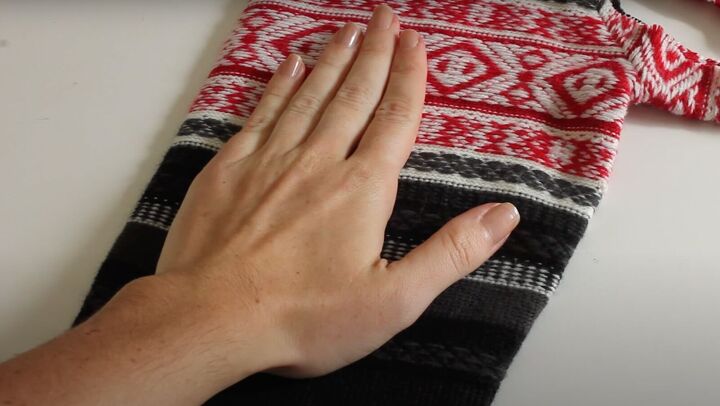
1. Make the pattern
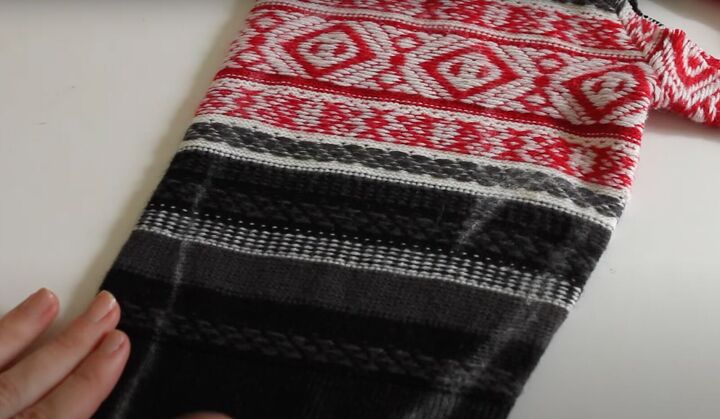
Use an old sweater. Lay the sweater down on a flat surface. Lay your hand on the top of the sleeve near the shoulder line of your old sweater.
Trace the outline with chalk leaving some extra room around so your fingers can move freely. Make sure to trace your thumb on the side!
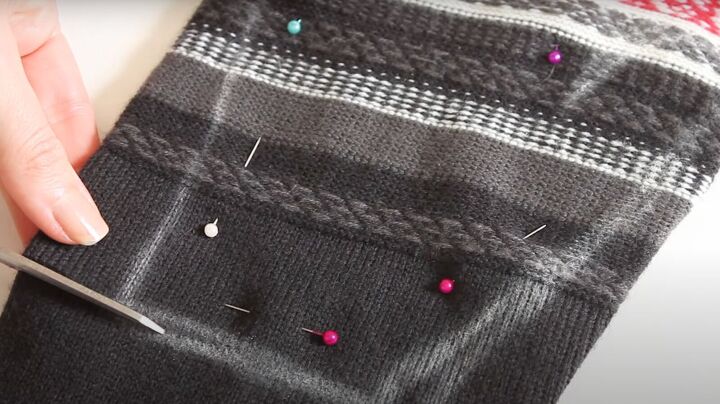
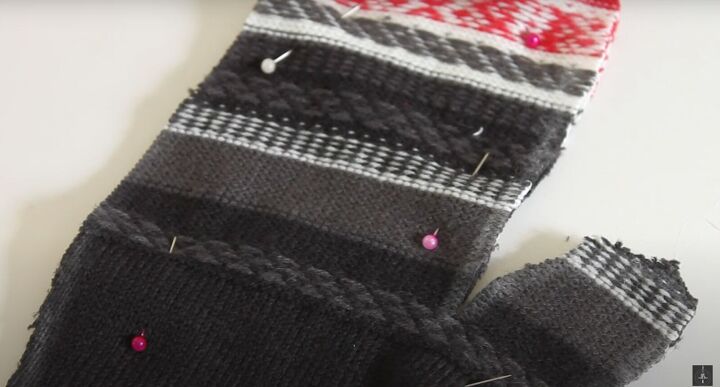
Pin the tracing in place. Cut carefully making sure the fabric doesn’t slip or move so the sides are symmetrical.
2. Make the mittens
Once the pieces are cut, lay them right sides together. Hot glue the edges together. Gently press them after gluing. Wait until the glue dries before turning them right sides out.
Repeat the process for the second mitten.
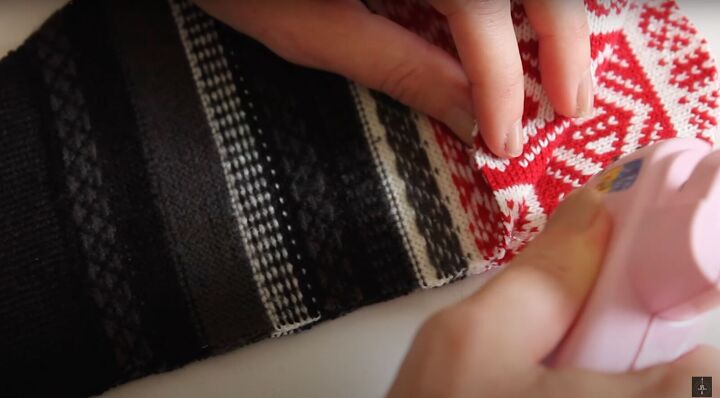
3. Attach the cuff
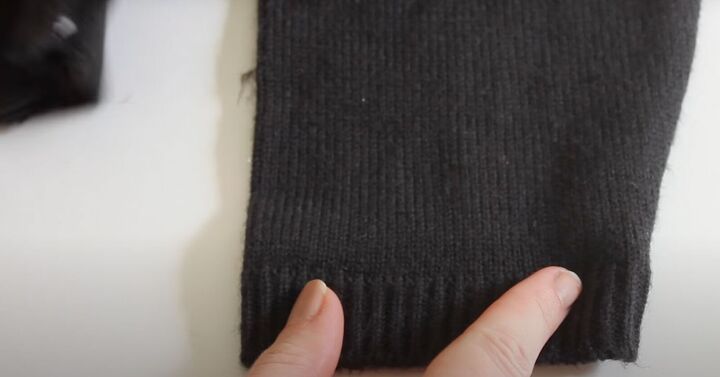
Cut the cuff off of the sweater you made the mittens from. Turn your mittens so the wrong side (or inside) is facing you.
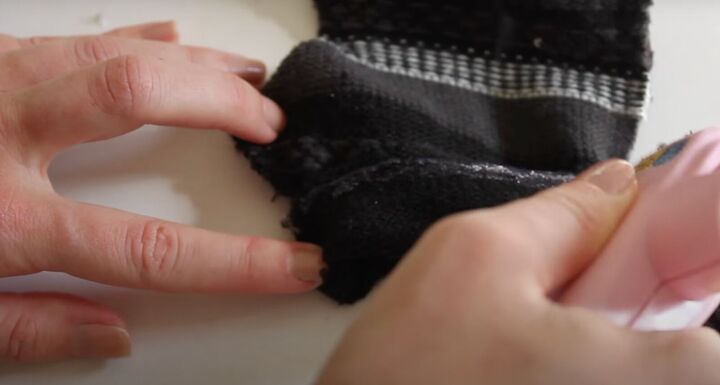
Fold up the bottom edge about an inch or so. Hot glue the folded edge of the mitten.
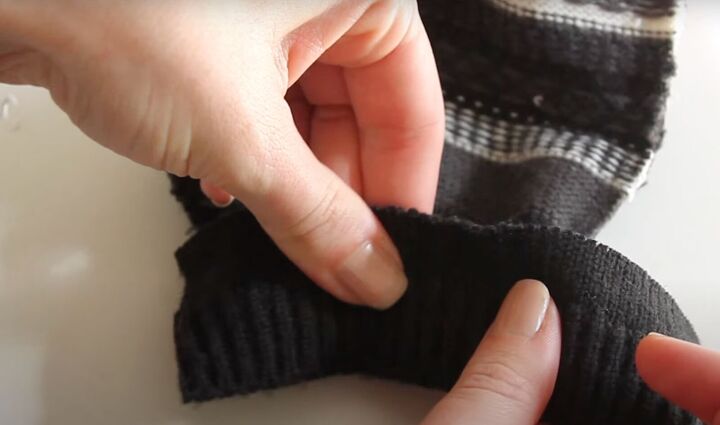
Lay the cuff around the mitten and gently press it into place.
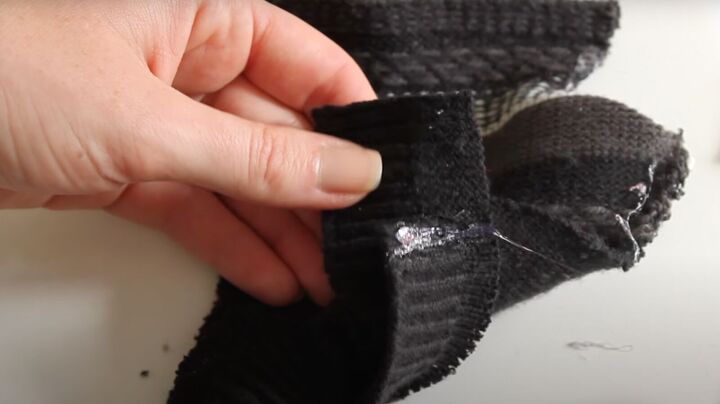
When you reach the end, hot glue the end of the cuff together.
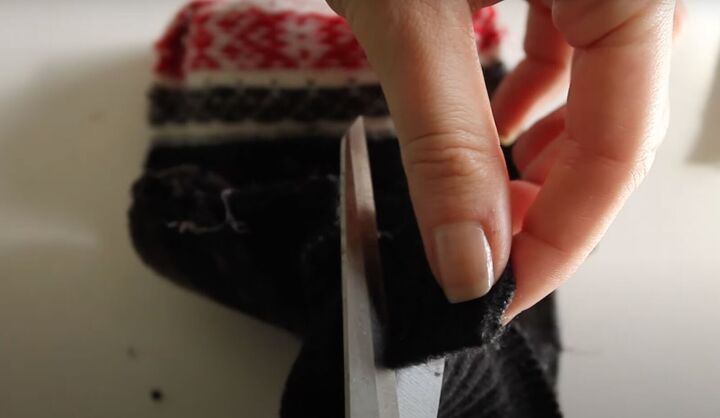
Trim any excess. Flip them inside out.
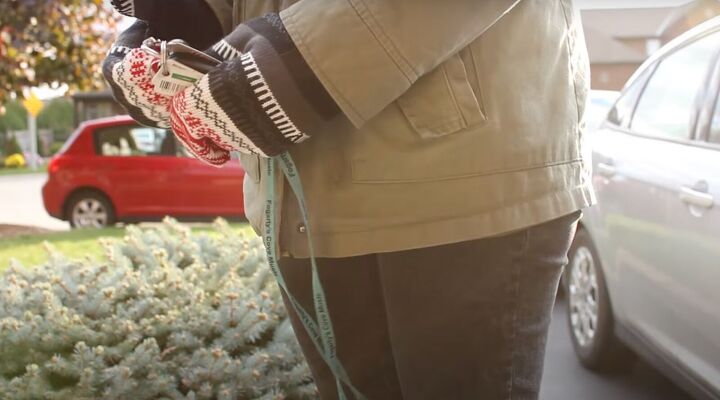
The mittens in use!
DIY Blanket Poncho
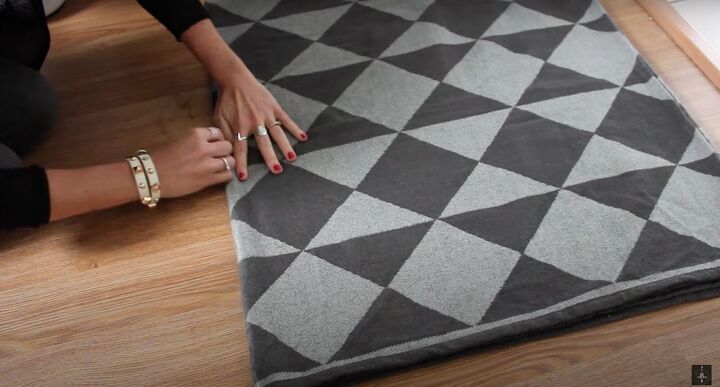
1. Make the poncho pattern
Fold the blanket in half. Then fold it again in the opposite direction. Use the chalk to draw a line against the folded edge. This is instead of measuring the center point.
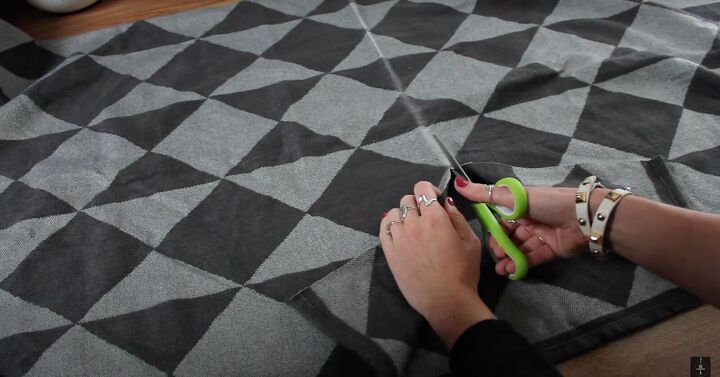
Unfold the blanket to the first folded position so the chalk line faces you. Cut along the line you made. Don’t cut both sides. Stop cutting when you reach the end of the chalk line.
2. Finish up the poncho
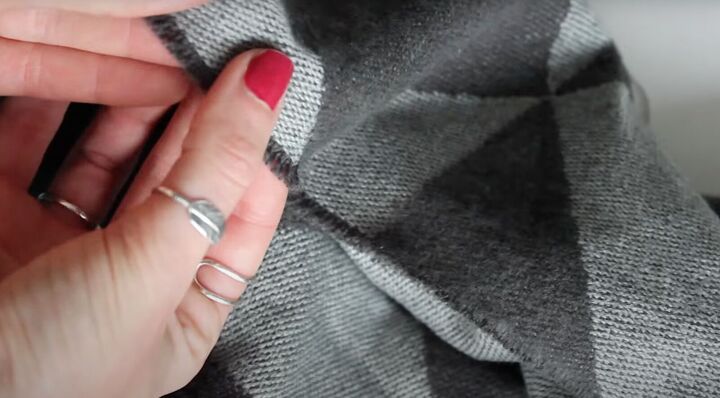
Pull out a couple of threads (if your blanket fabric tends to fray) to create a frayed edge.
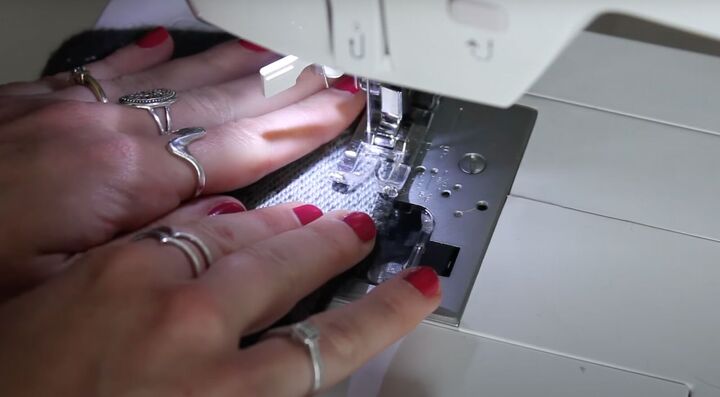
Once you’ve pulled out about 3 threads, stitch alongside the frayed edge with your sewing machine.
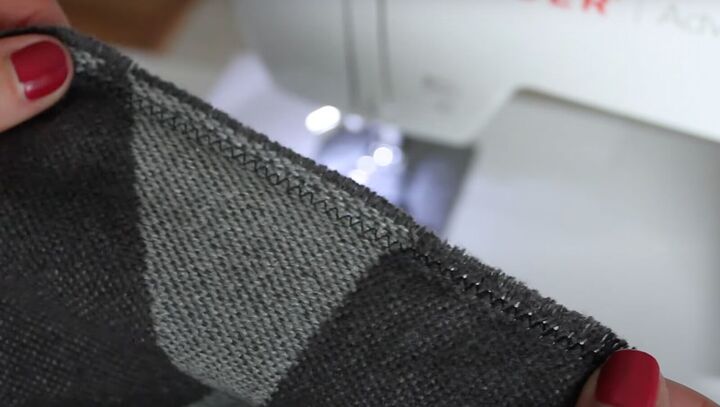
When you get to where the cut stops, do a couple of backstitches to secure the area. It’s a high stress point and you’re going to want some extra security.

DIY blanket poncho & sweater mittens
You’re done making a gorgeous and easy blanket poncho, and no-sew mittens too! Please let me know in the comments if you made either one of them or both!
Even better, share your photos so I can see your creativity! Keep warm!
The author may collect a small share of sales from the links on this page.


Comments
Join the conversation
what size is the blanket?
Help!
if I position my hand near the shoulder seam, the underside of the mitten is the armhole of the sweater. Positioning my hand lower, the sleeve becomes too narrow to allow a thumb on the mitten.
Wrong sweater???