Jewelry Making Basics

This post includes tips on jewelry making basics and how to get started making simple jewelry pendants and provides simple tips on the basics of jewelry, and or beaded jewelry basics. \
Before you begin, you will need the five most basic tools which I have listed here.
Five Basic Jewelry Tools:
1). Flat Nose Pliers (For grabbing jewelry components or holding in place)
2). Round Nose Pliers (For making wire loops and opening jump rings)
3). Flush Cutters (To make clean angled cuts on jewelry wire and string)
4). Crimping Pliers (To crimp closed a crimp tube and finish the piece. You can get a set of these four pliers here. They are my absolute favorite brand plier. While pricey, I promise completely worth it)
5). Designated Space (A proper place to lay out all your materials and workspace and my Project Planner you can get in my FREE RESOURCE LIBRARY)
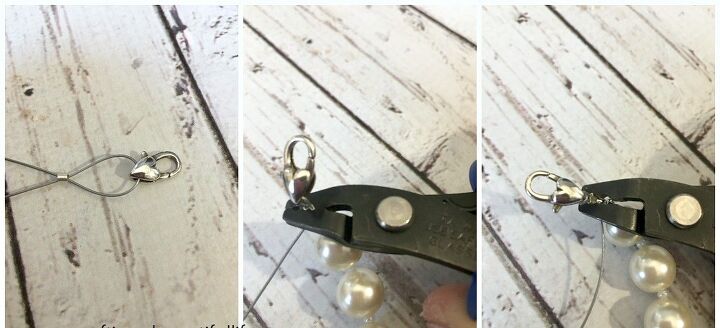
To get started some of the most basic techniques that you need to know is first and foremost crimping. This is where that specific crimping plier comes into play because it has two different grooves in it that allow you to do a two step process to finish the end of a necklace or tie it off onto a clasp.
By crimping you can connect and remove your necklace or bracelet with a clasp onto your neck without losing all of your beads.
In order to use the crimping plier you will have to have crimp tube, which you actually string onto the wire and then you crimp it down or you kind of fold it over twice using that crimping plier.
Crimping is used when stringing any kind of bead onto a beading string. The crimp just finishes the ends. It is the easiest technique of all jewelry making.
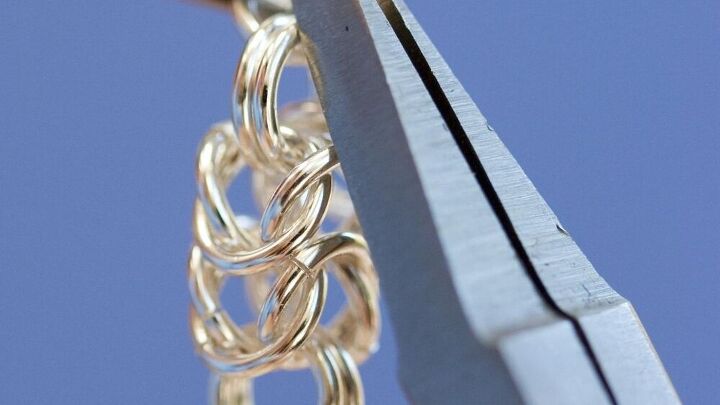
The next basic technique is wire working with metal wire. This is to finish off your pieces or to add on a clasp, like at the end of your crimping area. You’ll want to do that by adding a jump ring. A jump ring is a small circular piece of wire that has one opening. To open a jump ring you will want to connect two pieces together, so the jump ring is the thing jumping the two holes together.
You want to open a jump ring by using your flat nose and round nose pliers, or two types of pliers, one in each hand because they will act as if your little miniature hand. Open a jump ring by grasping each side of the opening with a pair of pliers but do not pull them apart, instead what you’ll want to do is twist them in the opposite direction so that you can open and close them without distorting the round shape of the jump ring.
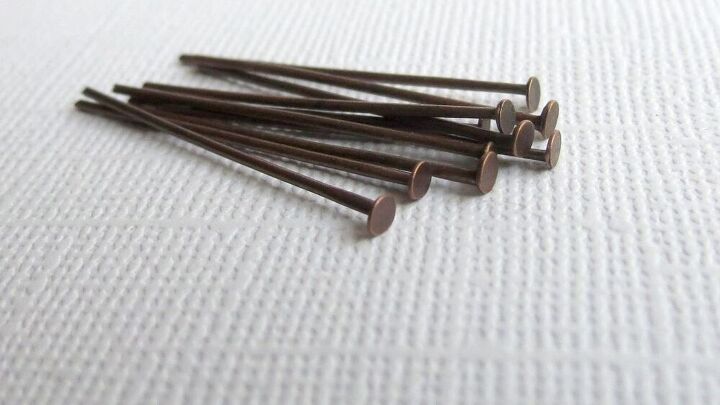
The last technique that I’m going to talk about today is working with a headpin. Headpins are straight little wires that have a flat end at the end of the wire, so that the beads you’re placing on them do not slip off.
It’s basically a wire that has a stop on the end. To form a loop to make another section or a beading piece, you’ll want to take your flat nose pliers and place them at a 90 degree bend, or at least one half of the end of the wire.
Use your round nose pliers to grasp the wire after the bend. I usually wear my or place my round nose plier in my left hand and use my flat nose pliers in my right hand and roll that plier backwards around my round nose plier to make that bend.
Do not go past the 90 degrees because what you’ll want to do is kind of replace your hand adjustment and then bend that using your thumb to wrap around the nose of the pliers, bringing it all the way around.
Once you get it all the way around you’ll want to simply twist that loop around as you would a jump ring, and I usually go around two to three times and end it on the front, making a wrapped loop.
Then you will go ahead and trim the excess wire and cut that back with your flush-cutter pliers. You now have a bead on a wire with a loop using your jump ring techniques, you can then jump that piece onto your chain or to any beading wire that you already crimped.
Don't let jewelry making intimidate you. I know several people have told me that it just seems too difficult and is very time consuming to make jewelry. Yet, these people seem more interested in the craft than they let on. And it is probably because they don’t realize just how easy it is to start making jewelry. All you need are a few simple tools and techniques that will take you a long way.
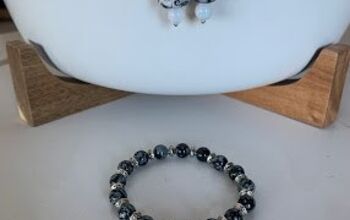
Just like the necklace picture this piece can be made using the wire wrapping technique on a headpin with a few simple beads. String it on an existing chain and now you have a brand new necklace.
The author may collect a small share of sales from the links on this page.


Comments
Join the conversation