How to Make Your Own Scrunchies and Bows

Every girl needs a good scrunchie! In fact, I bet there’s a good chance there’s some kind of ponytail holder on your wrist right now. A cool scrunchie can be a great way to bring a pop of color and personality to any hairstyle or outfit. Follow this tutorial for instructions on how to make your very own scrunchies and bows out of all sorts of materials and in all kinds of sizes.

Tools and Materials:
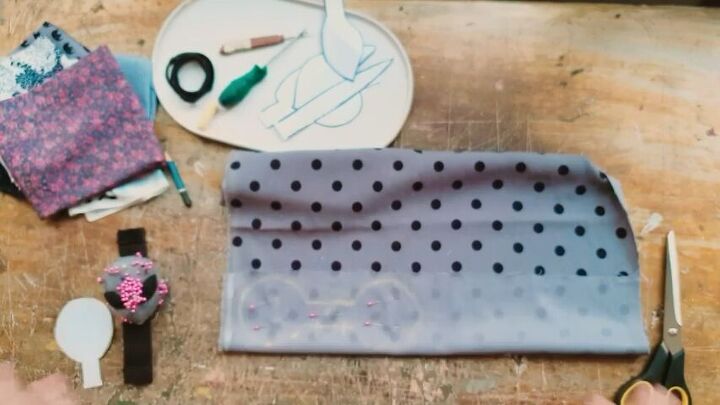
- 3D rose trim fabric, or any fabric you want to use, 20”x40” (50x10 cm)
- Elastic cord
- Sewing string to match your fabric
- Safety pin
- Regular hair tie
- Sewing pins
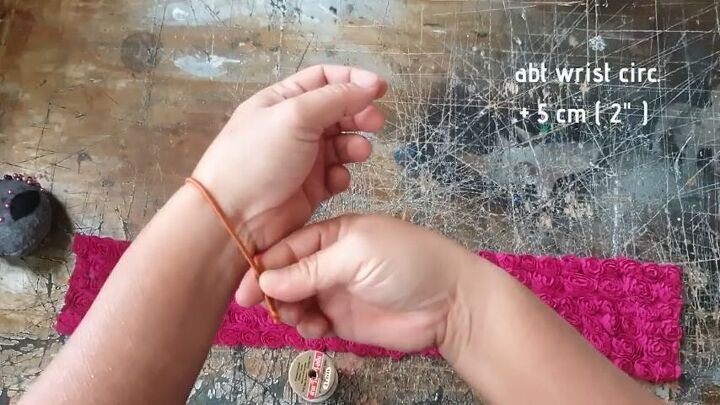
Your cord should be about the circumference of your wrist, plus 2 inches (5 cm).
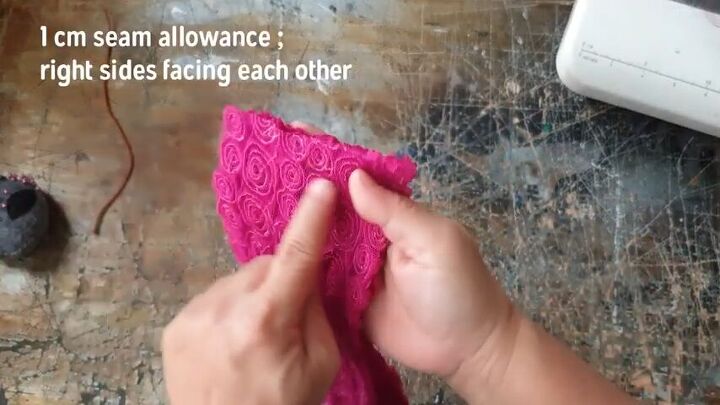
Fold your fabric in half so that both ends are touching each other with the outside of the fabric facing inwards. Then sew it together about 1 cm from the top.

You now have a circle of fabric. Lay the fabric so that the seam is vertically on the table. Then fold the top part of the circle in on itself in thirds. So you’re going to take the top and fold it into the half of the fabric, and then fold the bottom up onto the first fold. Then take the fabric that’s under from the bottom and fold it up in half.

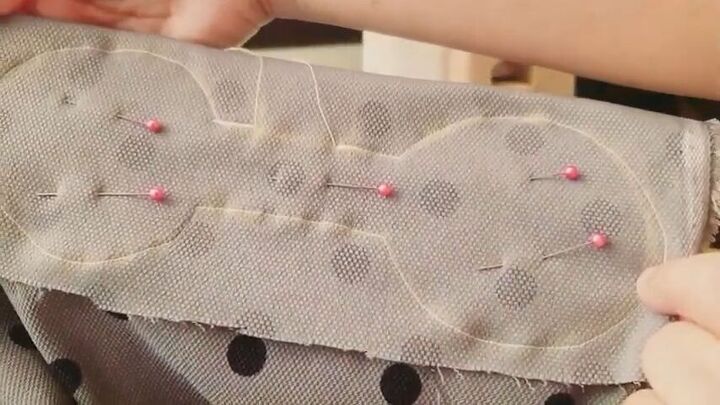
Place a pin to hold the folded material together and sew the top closed. You need to make sure that your stitches aren’t catching the inside folds, so as you sew, pull in the inside as needed. Stop about 1” (3 cm) from the end.

Through the hole at the end of your scrunchie, pull the insides out. You’ll be left with a circle of your material with the right side facing out.
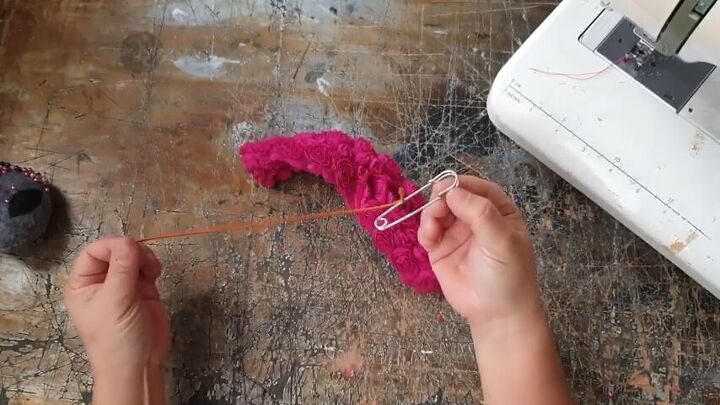
Tie the elastic cord you measured earlier to a safety pin (bigger is better) and insert it through one of the holes, pulling it all the way through and out the other side.
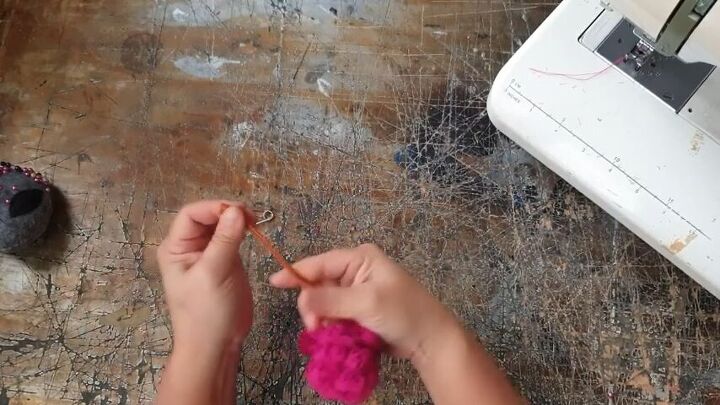
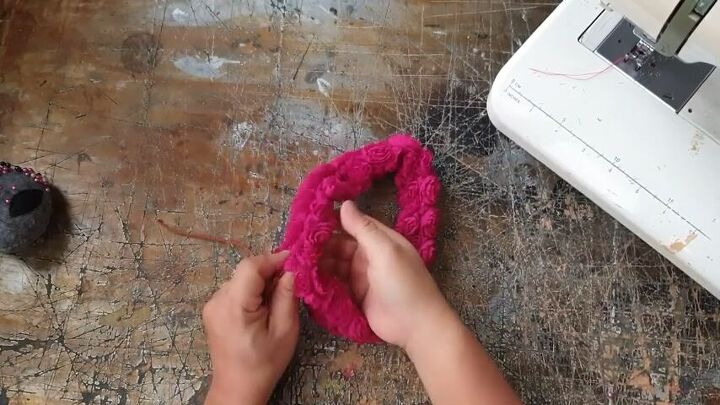
When you’ve pulled your cord all the way through, remove the safety pin, and tie both ends of your cord together, pulling on it as you do. Then cut off the excess cord.
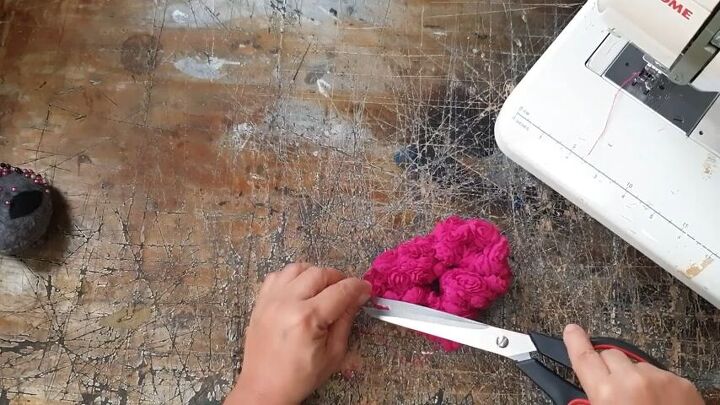
Stitch the edges closed then cut off the excess thread.

That’s it for this one! You can make this out of any material you like and you can also wear it as a bracelet. Keep reading for instructions on how to make your own scrunchies with bows!
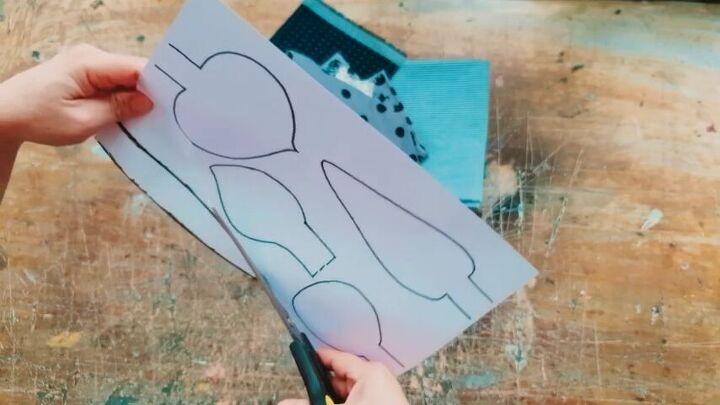
Draw and cut out some shapes that look like leaves. The “stem” part of the leaf should be at least 3 cm long and 1.5 cm wide.

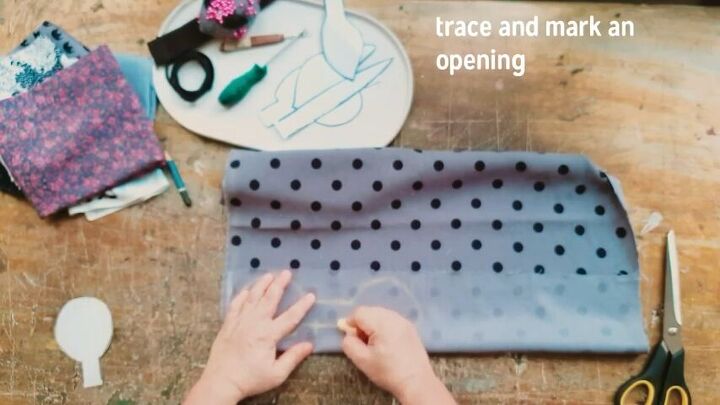
Place your shape on the back side of your material and outline it with chalk. Then flip it over and outline it again so that you have the same outline twice in mirror image. Next, trace and mark an opening with two lines in the middle of your outline.
Place sewing pins to hold both sides together then sew around the shape with a zig-zag pattern in a 2-2.5 mm stitch length, leaving the opening unsewn.
Cut out the sewn shape, leaving a 1.5 cm tab at the opening. Snip very close to the stitching on all corners and edges.
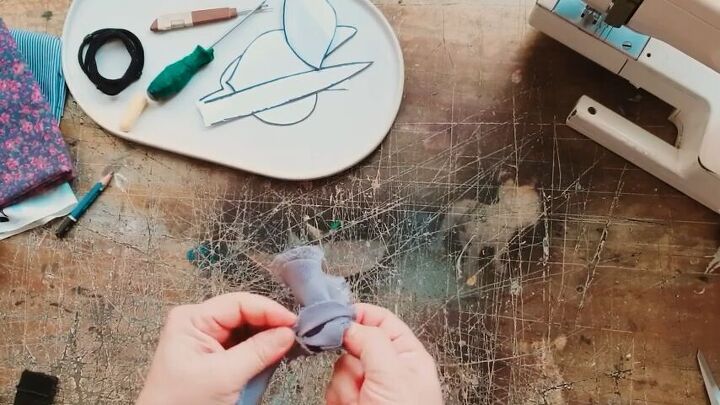
Flip your bow inside out through the opening. You can use a screwdriver to help you. Then stitch the opening closed.
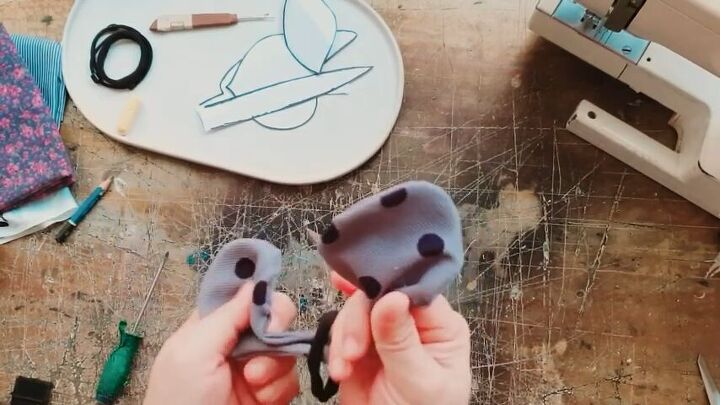
Take a hair tie and slip it over one side of your bow so that it’s in the middle. Then take both sides of the bow and tie them in a knot over the hair tie.
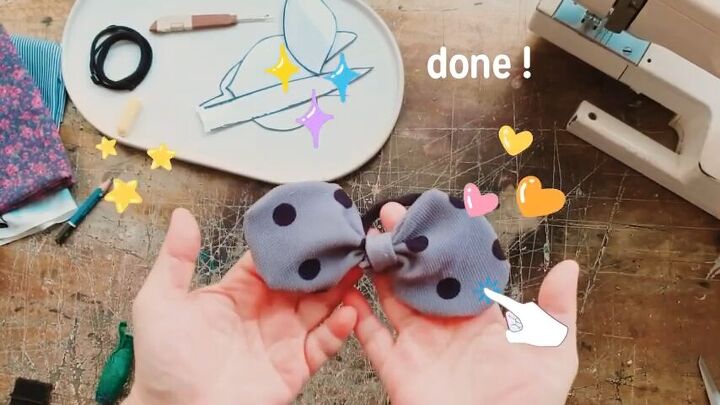
And you’re done!
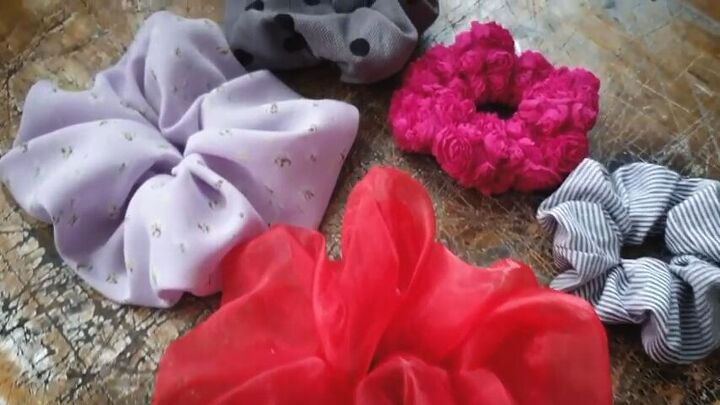
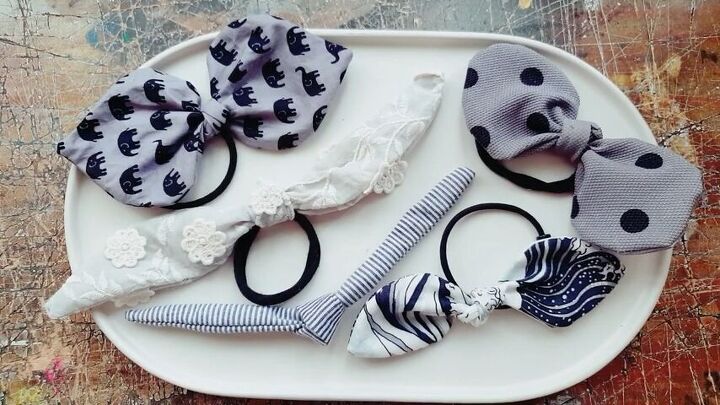
I hope you enjoyed this tutorial for DIY scrunchies and bows. Remember, you can mix this up however you want, using all sorts of fabrics and sizes. You can also use old clothes for the fabrics and really experiment with different ideas and textures, even adding glitter or confetti if it’s a more transparent fabric! Make sure to check the video for more ideas, and let me know which ones you like and are planning to try in the comments!
The author may collect a small share of sales from the links on this page.


Comments
Join the conversation
These turned out so cute!