Create Your Own Shirred Crop Top That Is Perfect for Summer

I recently made a really cute skirt and had some material left over, so I decided to use that material and make something else. Since crop tops don’t require too much material, that was the obvious choice. I had to add some flare to it, though, so I decided to make a shirred crop top. This piece is super versatile and looks great with all different kinds of outfits, including wearing it with that matching skirt! So grab some material and check out how to make this super cute shirt for yourselves!
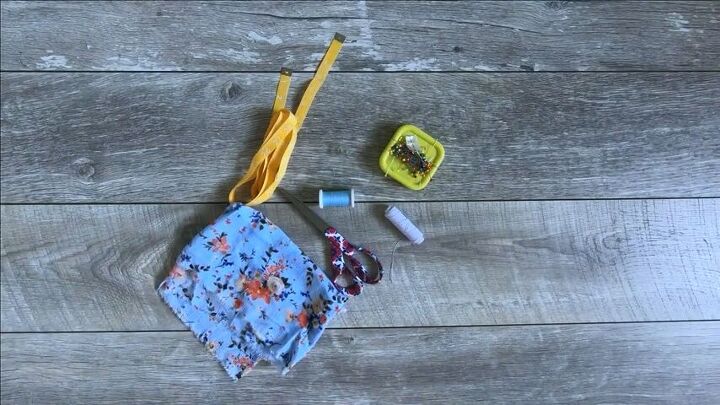
Tools and Materials:
- Fabric scissors
- Thread
- Elastic thread
- Sewing pins
- Measuring tape
- Empty bobbins
- Fabric
- Sewing machine
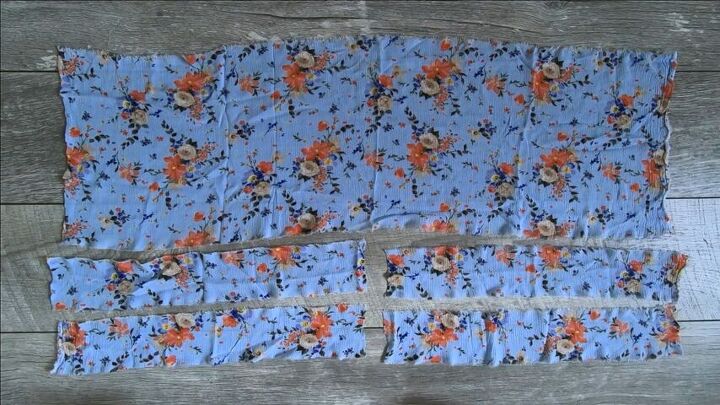
The first thing you’re going to do is cut down your fabric. For this project, you’re going to need four strips of 20”x3” and one strip of 40”x18”.
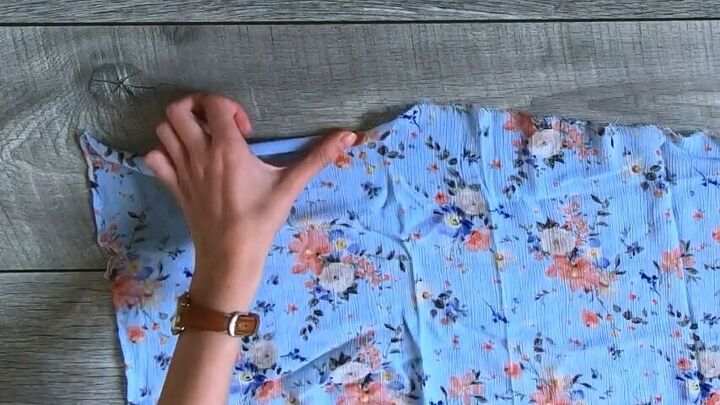
Take the top edge of the larger rectangle and lay it down so that the wrong side is facing you. Then grab the edge and fold it over itself twice and pin it in place. Then repeat the process for the bottom edge. Stitch them both all the way down.
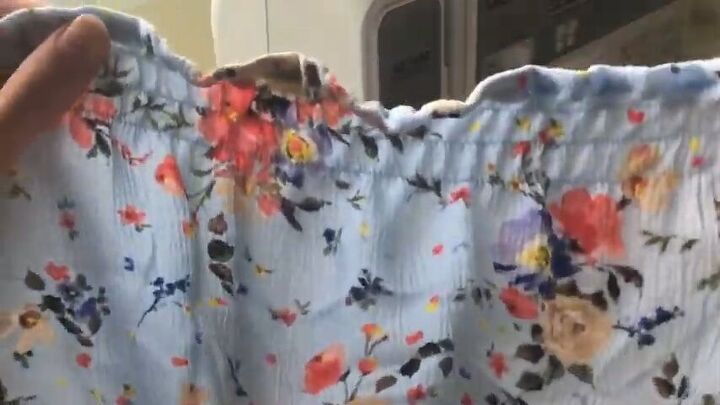
You’re now going to take that elastic thread and use it to thread horizontal rows on the shirt all the way down. I recommend threading the bobbin by hand in order to control the tension. It’s really important that the elastic gets into the grooves where the bobbin is supposed to go because otherwise, it won’t stitch right. To watch how I manually loaded the thread into my machine, be sure to watch the video. Then start stitching your rows. I measured the rows by the end of my presser foot and I put my needle off-center so that they’d be a little bit bigger. Once your rows are complete, fold the fabric in half and stitch the edges together. This process can take a while, but it makes for a really cute top so it’s totally worth it!
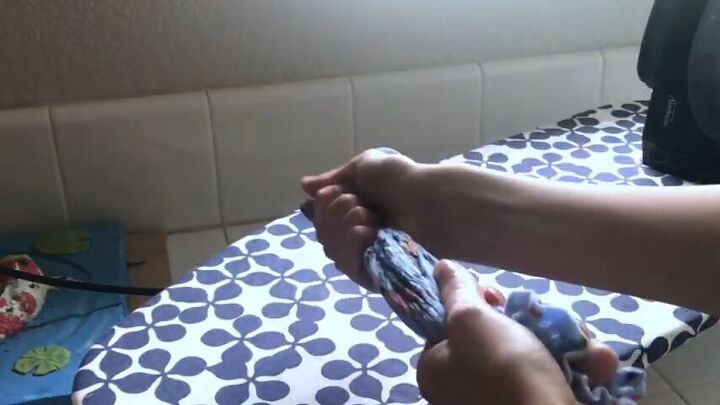
This is the part that’s going to give your shirt that classic stretchy feel. You’re going to take your top to your iron and use the mist setting to soak the shirt, front and back. When it’s wet, take the shirt and just really scrunch it up in your hands. Then lay it back down and smooth it out so that the rows are even and then take the hot iron and press it flat. This will cause it to shrink down and become even more stretchy.
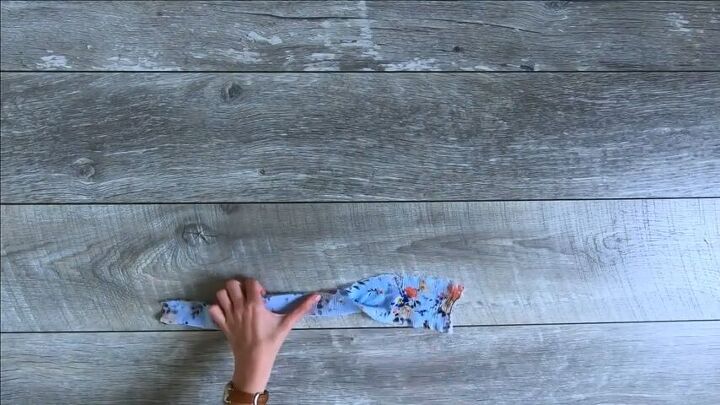
Take all four of the smaller rectangles you cut out at the beginning and fold them in half lengthwise, right sides together. Then stitch them closed all the way down and then turn your foot 90 degrees so that you’re sewing closed one of the edges in a square. After that, you’re going to take a stick or unsharpened pencil and stick it into the sewed edge and push the fabric down so that your sleeve is turned right side out.
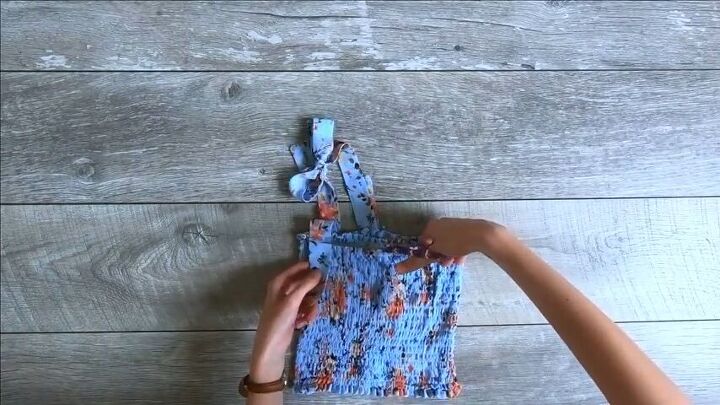
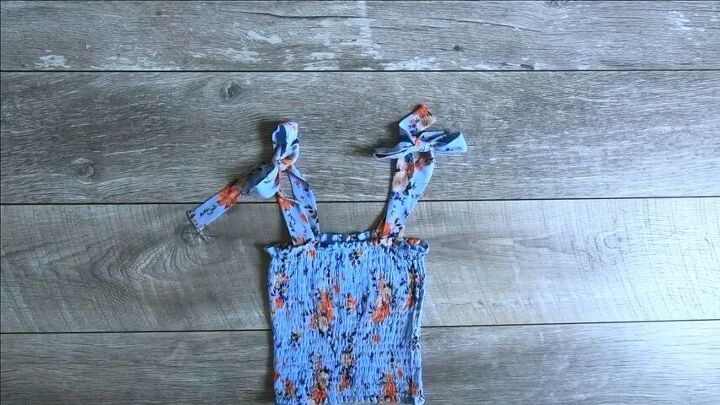
Now it’s time to add your straps. The way you can determine the right length is by tying two strips together in a bow, and then putting on your top and pinning the straps in place where you like them. You can watch me do this in the video. Then take off the top and cut the straps where they go past that pin. Now untie the bow and take your other two straps and line them up with the pinned ones so that you can cut them down to the same length. Once you’ve cut your straps, fold the top in half lengthwise and match up the other two straps with the two that are pinned down already so that the straps are all even on both sides.
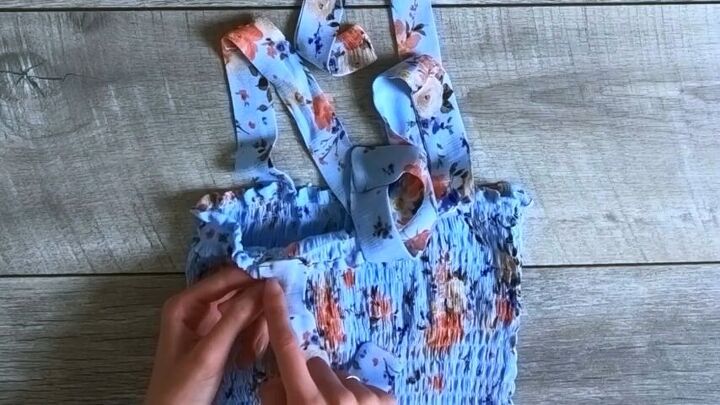
Once you’ve determined the length and placement of your straps, you’re going to unpin one of the straps and fold the edge of it about ½” on itself. Then stitch it in two places on the inside of the top so that there are no raw edges. Repeat this process for all four straps. Once they’re stitched in place, just tie the front straps into a bow with the back straps, and your shirt is done!
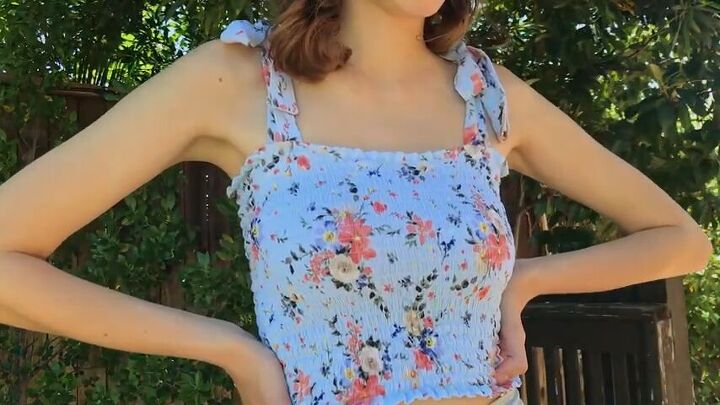
I loved this project! I think it was a pretty easy and fun DIY. The only thing that was kind of annoying was sewing all those elastic rows, but otherwise, it was really simple and straightforward. I’m super happy with the results, I think this is so cute and not to mention perfect for summer. I also love the added detail that the bows in the straps give; gives it more personality than just another tube top. What did you guys think? Do you like how it turned out? Are you going to try it for yourself? Let me know how it goes in the comments!
The author may collect a small share of sales from the links on this page.


Comments
Join the conversation