Learn How to Sew a Folded Upper Cup With This Tutorial

I’ve gotten a lot of questions about the finishing techniques I use on the upper cups of my sheer bras. I decided it would be easiest to show you. In this tutorial, I will break down the two methods I like to use, and walk you through how I make each one. They’re both super simple and the main difference is the rawness of the edges. So keep reading, and let me know which one you like better!
Tools and Materials:
- Fabric
- Bra pattern
- Sewing pins
- Sewing machine
- Iron
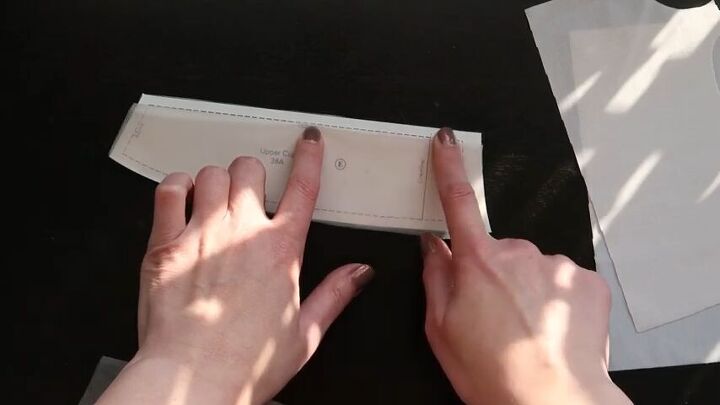
To make this piece, I used the Chloe Underwire Bra Pattern. You don’t have to use the same one, but you do need to make sure that the pattern you’re using has an upper cup piece with a straight line along the top. Most patterns that are designed to allow for that lace scalloped edge will have that. So what I do is take my fabric, in my case sheer cup lining, and iron a fold into it. Then I line it up with my pattern so that the fold is matched up to the straight line at the stop. Since I fold it instead of finishing it, I don’t need any seam allowances.
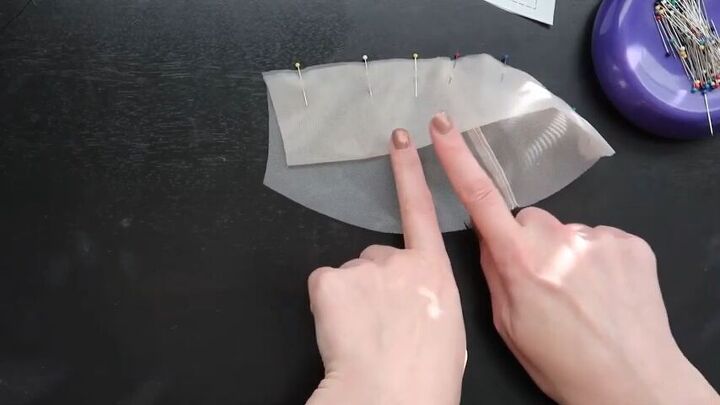
This first method is definitely the easiest way to attach the cup to the bra. What I do is to keep it folded and then pin the raw edges along the seamline of the lower cup. Then I just have to sew it in place, flip it out, and topstitch it down. The only problem is that this method leaves exposed seams.
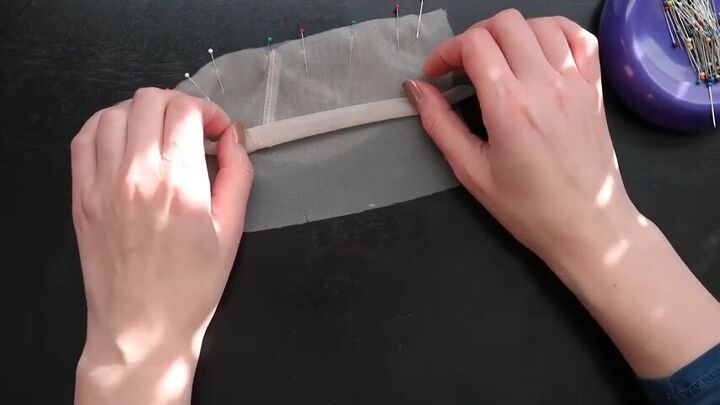
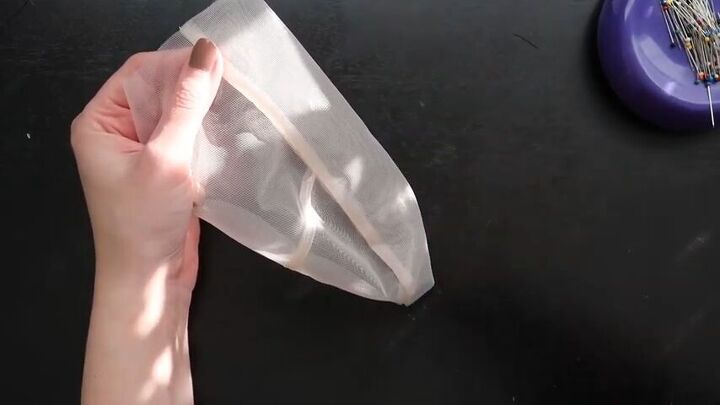
To use the burrito method, what I do is pin the upper cup flat under the lower cup. Then I start rolling the top part like a burrito. When I get most of the way up, I take the bottom piece and fold it over, matching up the edges. Then I pin it into place. After that, I sew it with a ¼” straight stitch, removing the pins as I go. Since the fabric I use is quite sheer, I make sure to hold on to my thread at the tail ends so that they don’t get sucked in. Once it’s sewn into place, I just reach inside the tube and pull out the material, and topstitch the open edge.
And there you have it! Those are the two different methods I use for finishing the upper cup of my bras. It’s quick and easy, and the main difference is just aesthetics. I hope this answered your questions, and if you have any more, please let me know in the comments! To watch me demonstrate both methods, be sure to watch the video!
The author may collect a small share of sales from the links on this page.


Comments
Join the conversation