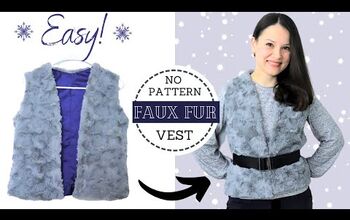
Make a Gorgeous Faux Fur Winter Vest With This Easy Tutorial

Winter is coming! Actually, it’s already here. Most people’s priorities in the winter, as they should be, is being warm and cozy. It’s my priority, too. Being comfortable, however, can also look super cute. So I set out to make a perfect-for-winter faux fur vest. I love how it came out, and I can’t wait to wear it. Check out this tutorial to see how you can make your own.
Tools and materials:
- ½ - ¾ of a meter of fur
- Loose-fitting cardigan
- Needle and thread
- Scissors
- Chalk
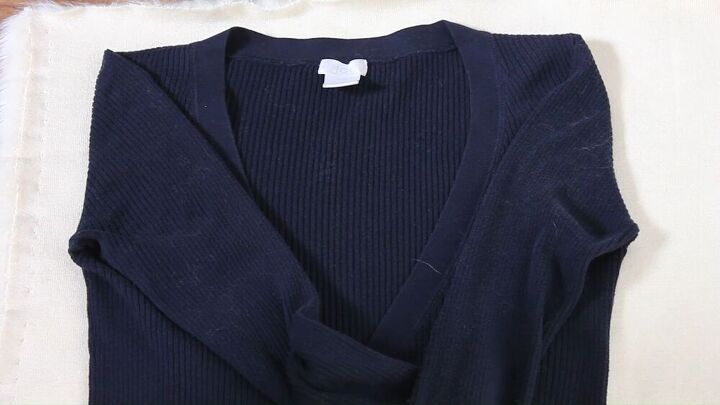
Use cardigan as a template
The first thing you’ll need to do is use your cardigan to determine the fabric that you need. So lay your faux fur down, wrong side up, and place the cardigan on it. Fold in the arms of the cardigan, and then use your chalk to trace around it, giving yourself about 1” of seam allowance. This is going to be the back panel of your vest. Then fold the cardigan in half, with the arm folded again, and trace it, again with a 1” seam allowance, and this is going to be one of the front panels.
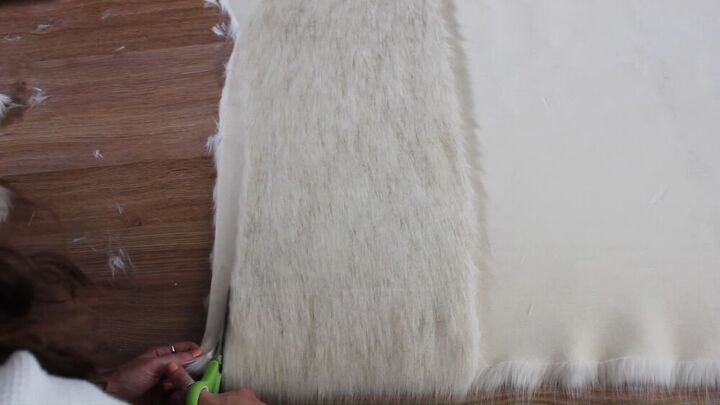
Cut out your pieces
Cut out the two pieces you traced, then flip the front piece over and use it to cut out a second front piece.
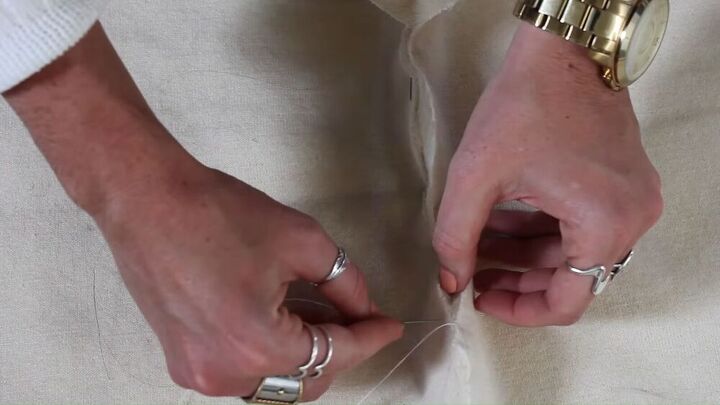
Sew the pieces together
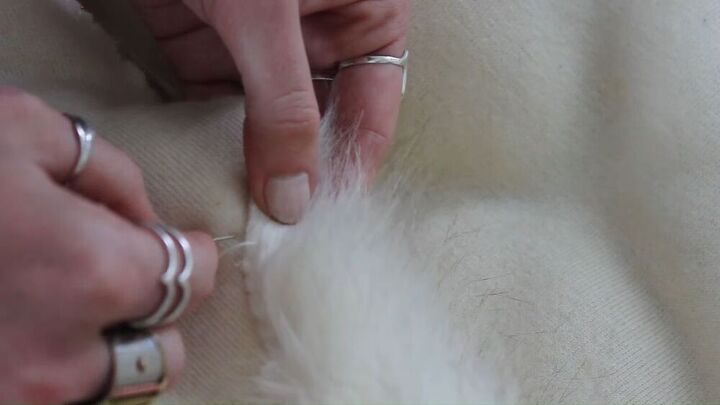
With the back piece in between the two front pieces, sew the edges together. Make sure to line up the armholes. I opted to sew them together by hand because of all the fur. I just didn’t think it would go through my sewing machine very well. Sew up about ¾ of the panel until you reach the armhole opening. Give a couple of extra stitches there, then tie it off. Repeat on the other side
Create the shoulder
To create the shoulder, you’re going to cut off a small angled piece in the corner. Do the same thing on the opposite side. Then flip it so that the right side of the front pieces are facing the right side of the back piece, and stitch along the cut that you just made. The shoulder piece for me was about 6” long, but just make it whatever length you feel fits you best.

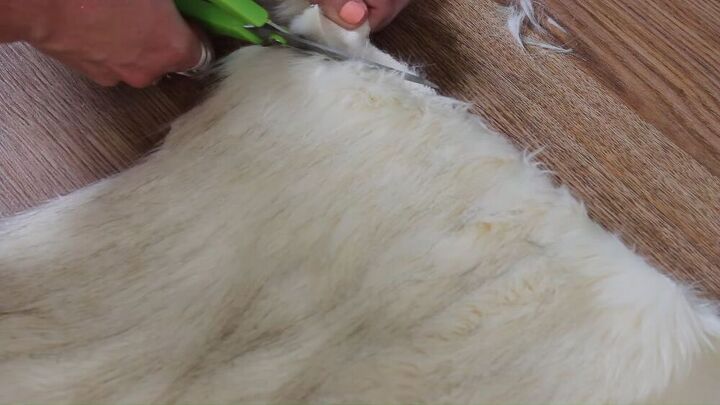
Cut a V-neck
With the right sides facing each other, grab your scissors and cut diagonally across the stitch line in the front. I free-handed the cut, then used the cut-out triangle as a template for the other side. Once your V-neck is cut, pull out all the extra fur.
Roll the sleeves
Lastly, roll in the sleeves with your vest inside out to get rid of the cut lines. Then stitch it in place, but just be careful that your stitches don’t show on the other side.

And you’re done! I’m so happy with the outcome of this project. It was so quick and easy to do, and I think the result is amazing. Other than the huge mess all the fur left behind, I really enjoyed making this vest. It’s so warm and comfortable and perfect for that fashionable winter look. I hope you give this a shot and be sure to show me your results in the comments!
How to clean faux fur
The author may collect a small share of sales from the links on this page.


Comments
Join the conversation
Great job and it looks fantastic!!!
I would like to have multiples in different "fur" colors.