See How I Made a Retro 1950s Dress With This Tutorial

Recently, I went through my supplies and decided it was time to start stash-busting. I had so many fabrics and materials I knew I wanted to use. I had this one particular fabric that some friends had gotten me, and I decided that it would be perfect for a 1950s-style shirtdress. I love how it came out and I am so excited to wear it. In this tutorial, I’ll show you my process in creating this dress.
Tools and materials:
- 2 different fabrics
- Interfacing
- Pattern paper
- Pattern
- Scissors
- Sewing pins
- Sewing machine
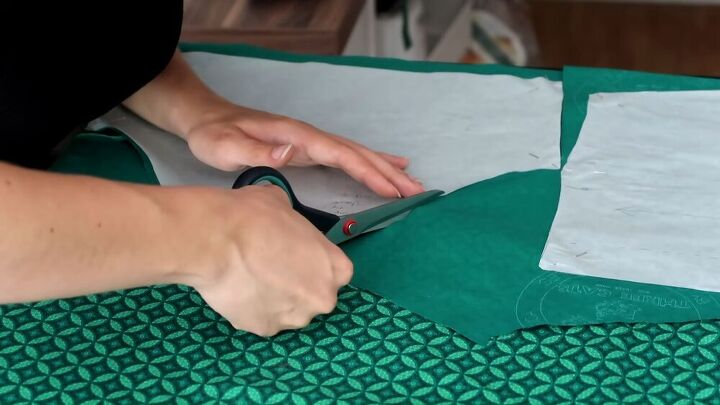
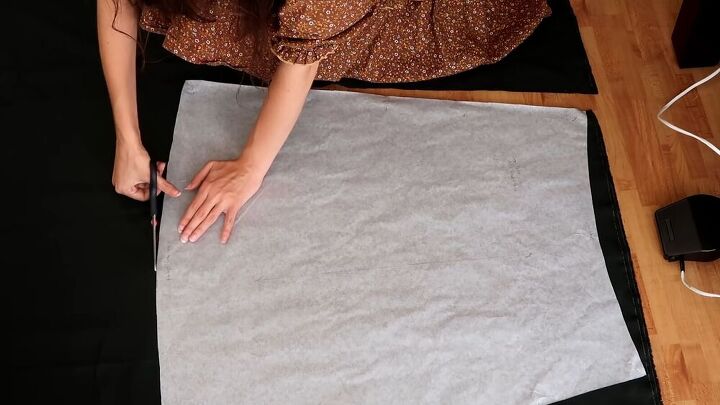
Using a bought fabric, the first thing I did was pin the pattern pieces to the fabric and cut out the fabric around them. I then added a stay stitch to the pieces, which is a single line of stitching through one layer of fabric that stabilizes the fabric and keeps it from stretching. I did this on both the front and back pieces of the bodice.
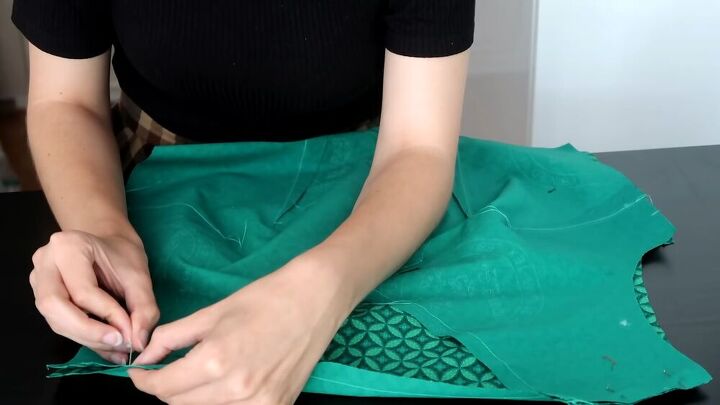
Once I had my pieces prepped, I added darts and ironed them down. Then I pinned and sewed the front pieces to the back pieces. I tried on the bodice to make sure I was satisfied with the fit, then I moved on to the collar.
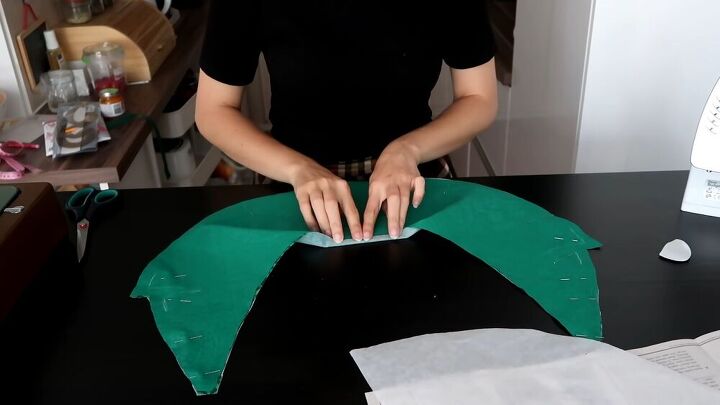
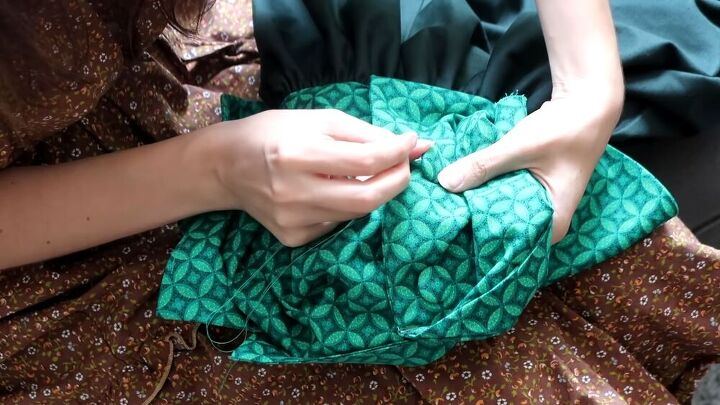
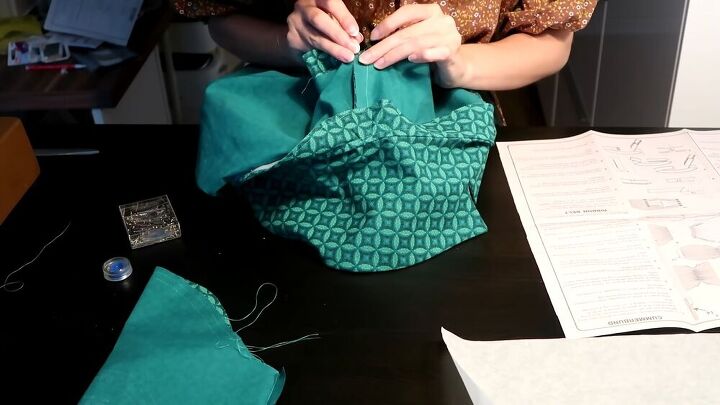
I struggled with this part, to be honest. I’ve never made a collar before and the instructions for the pattern were actually quite confusing. I did figure it out, though! I took the collar piece and pinned then stitched it together with interfacing. I followed the markings on the pattern, then understitched the top of the collar, which I found out means to stitch the seam allowance into the fold. The understitching isn’t visible from the outside, but it stabilizes the fabric. Once my collar was ready, I attached it to the bodice by following the instructions.
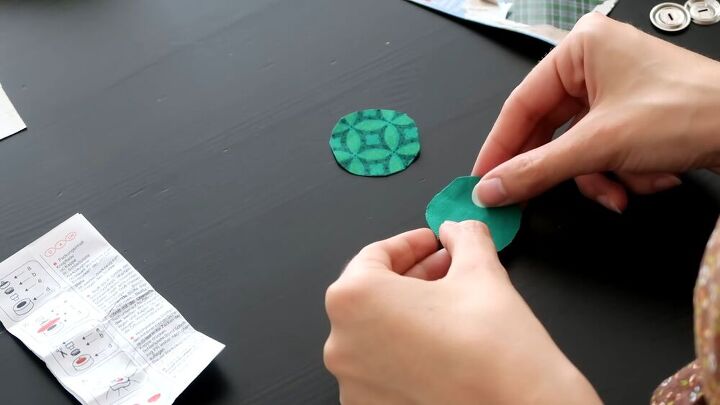
According to the instructions, my next step was to make buttonholes for the front. I hate making buttonholes, though, because I have to make them by hand. Since the dress also has a zipper, I decided to wait and see whether the buttons would be functionally necessary, or if I could get away with adding just the buttons for the aesthetic value. So I made the buttons by using the same fabric on coverable buttons. I realized after I was done that it might have looked better if I’d used the fabric for the skirt for the buttons instead of the same material as the bodice, though, so I made more buttons with the second fabric.
With the bodice done for the time being, I moved on to my skirt and used the pattern to carefully cut out the fabric. I then followed the instructions to sew the skirt to the bodice and gather the fabric, leaving room for my zipper. Next, I tried it on and saw that I could definitely get the dress over my head with the buttons closed and the zipper open, so I decided to just sew the buttons to the bodice without making buttonholes.
I added the buttons to the front of the dress by hand, then added the zipper to the side by hand-stitching it in place. I ended up using the original buttons I made, with the same material as the bodice. I tried out both buttons and decided that the darker ones made it look more costume-like, so I stuck with the original plan.
With my dress mostly done, it was now time to add the sleeves. I modified the sleeves of the pattern in length because I wanted the sleeves to reach just above my elbows. I attached them to the bodice, then hemmed them as well as the bottom of the skirt. Lastly, I added a belt from the same material, and my dress was complete!

I’m pretty happy with the way this turned out. There are definitely some things that I could have done better: I made it a size too big, and there are some raw seams on the inside I need to go back to. All in all, though, I think it’s super cute and I’m so happy I got to use this fabric! Do you have any stash-busting projects? Show me in the comments!
The author may collect a small share of sales from the links on this page.


Comments
Join the conversation