Make Your Own Facemask at Home With This Quick and Easy Tutorial

For the rest of my life, I will associate the year 2020 with facemasks. It’s really crazy how absolutely they’ve become an essential part of our everyday lives. Personally, though, I’m not a fan of the classic surgical masks. They’re so wasteful, and frankly, kind of ugly. So instead, I decided to make my own masks at home, using a soft and breathable fabric. In this tutorial, I’ll take you through the steps so that you, too, can make your own reusable facemasks!
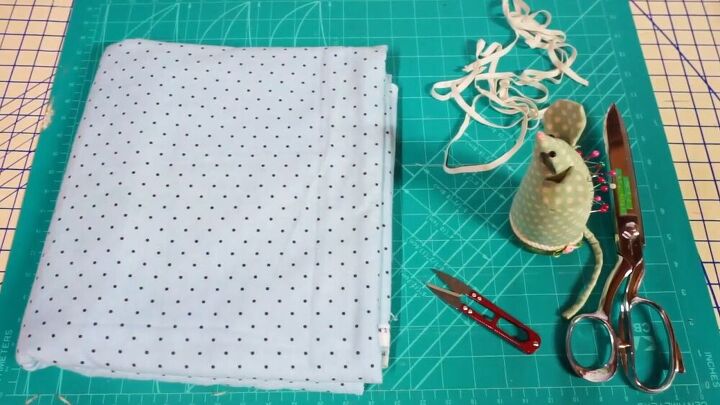
Tools and materials:
- Fabric (100% cotton flannelette recommended)
- Thin elastic
- Sewing pins
- Clippers
- Fabric scissors
- Ruler
- Fabric chalk
- Measuring tape
- Needle and thread
- Sewing machine
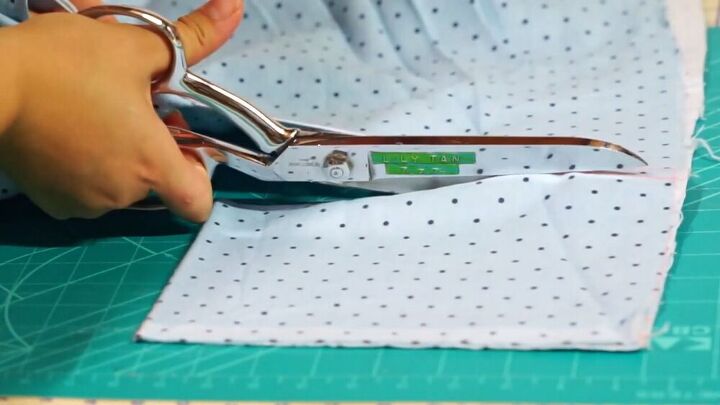
Cut out the fabric
Start by folding over your fabric. Then, using some fabric chalk and a ruler, draw out a rectangle of fabric that’s 20 cm (7.9”) in length and 16 cm (6.3”) in height. Then use your fabric scissors to cut it out. You’ll be left with two identical rectangles.
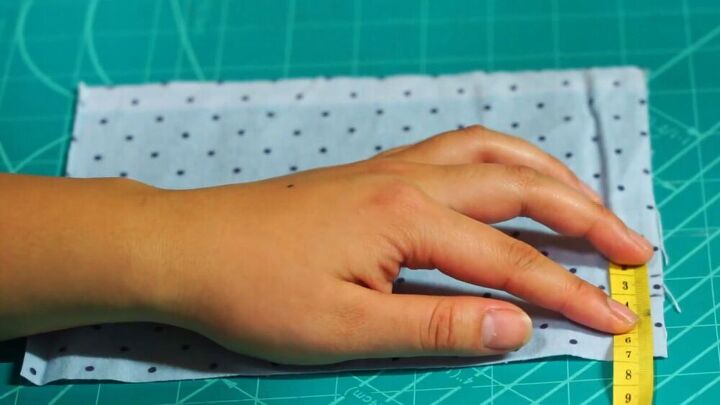
Mark the folds
Grab your measuring tape and mark 3 cm (1.2”) from the bottom on the right side. Then do the same thing on the left side. You’re then going to create eight more marks going up, each one 1 cm (0.4”) apart. Again, you’re going to repeat this on the other side. Once this is done on one rectangle, do it again on the second one.
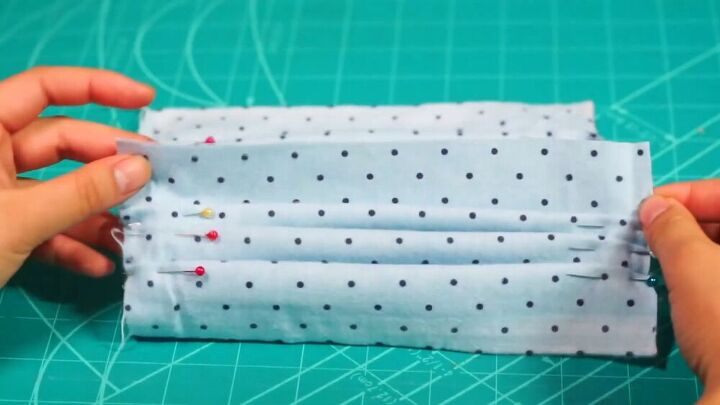
Fold the fabric
You’re now going to start folding the fabric. Start at your first mark and fold up to the mark above it. Then put in a pin to keep the fold in place. Follow the fold to the other side, and place a pin there as well. Repeat this process until you have three folds, then do the same thing on your second rectangle.
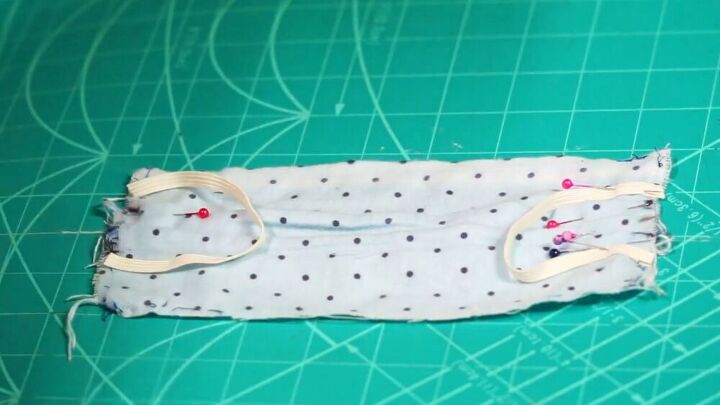
Pin the elastic
Measure the amount of elastic you’ll need for your ear, then cut it out. For me, that was 13 cm (5.1”). Then pin both sides of your elastic to the top and bottom of one side of your mask, making a curve that faces inward. The bottom should be pinned right below the first fold. Repeat this on the other side of the mask, so that the curves are facing each other. This step, however, should be done on only one of the rectangles.
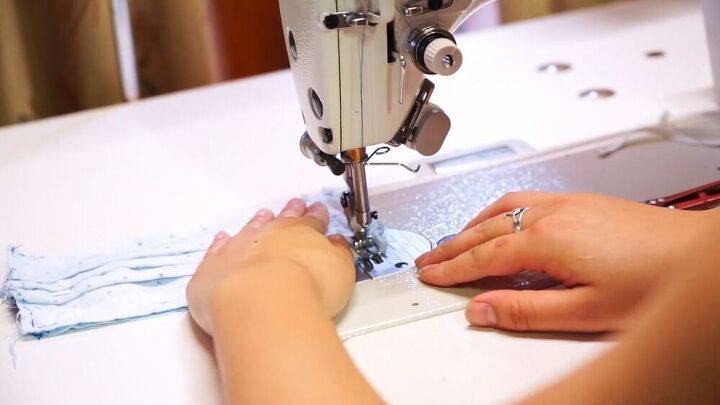
Sew the edges
Take the second rectangle and lie it on top of the one with the elastic so that the right sides of both pieces are facing each other. Then sew around the edges at 1 cm (0.4”) seam allowance. Start with the sides, and then move on to the bottom. Then sew the top edge, leaving a gap in the middle. Once it’s sewed, grab your clippers and snip off all the corners.
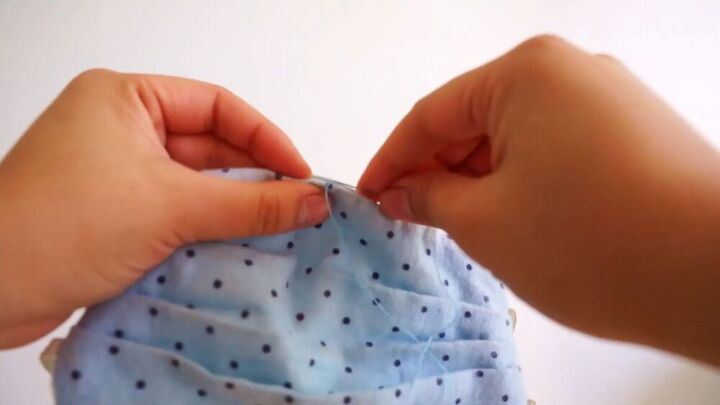
Close the gap
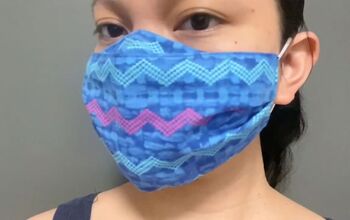
Flip the fabric through the gap you left so that your mask is now right sides out. Then go ahead and remove any pins that are still there. Now grab a needle and thread and sew closed the remaining gap. Once you’re done with that, your mask is complete!

That’s all there is to it! This mask is so easy to make at home, and you can customize it however you want by choosing your favorite fabrics. I love that it’s reusable because I hate the waste of having to throw out a disposable mask every day! It also looks so much cuter than those classic surgical masks, so I’m really happy with it! If you make this mask, I’d love to see how it turns out, so be sure to leave me a picture!
The author may collect a small share of sales from the links on this page.


Comments
Join the conversation
I have been making masks since the virus began. I tried different methods and the one that I now use is a lot easier and quicker then your method. Before making the folds I iron the reversed mask by folding it in half and bringing each end to the center, and fold again. I iron them again, pin them in place, and then I sew around the entire mask.
look easy to make. thank you great jog