Easy Sewing Tutorial: Learn How to Make a Continuous Bias Binding

Want to ramp up your next sewing project?
Let me show you how to make continuous bias binding in this quick and easy tutorial.
This skill will take your sewing projects to the next level!
Tools and materials:
- Fabric
- Ruler
- Chalk
- Scissors
- Pins
- Sewing machine
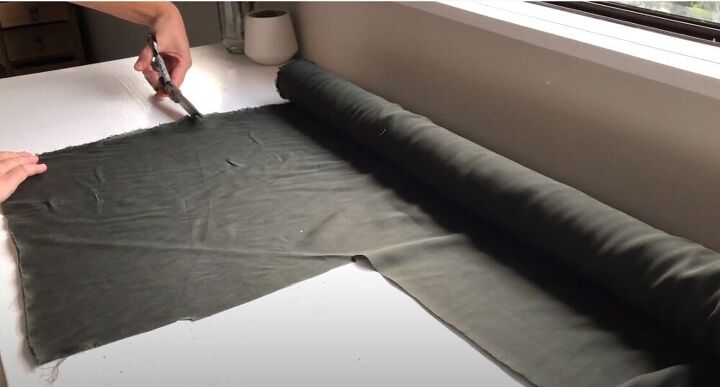
1. Create a rectangle
To create bias binding you will need to start off with a rectangular piece of fabric.
The best way to get a rectangle is to snip the fabric and then rip it along that snipped line. This will help you get the perfect grain.
Use the same technique to remove the selvedge of the fabric.
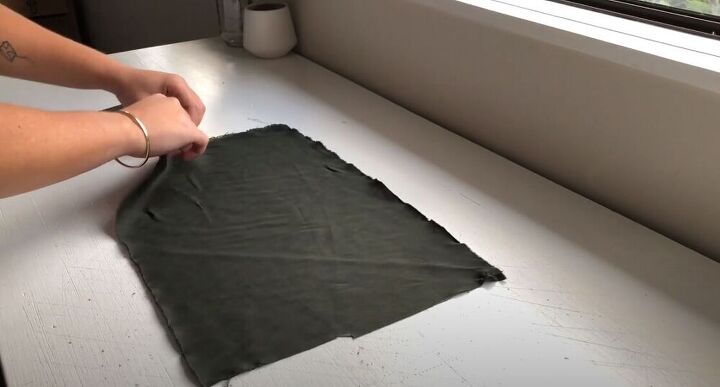
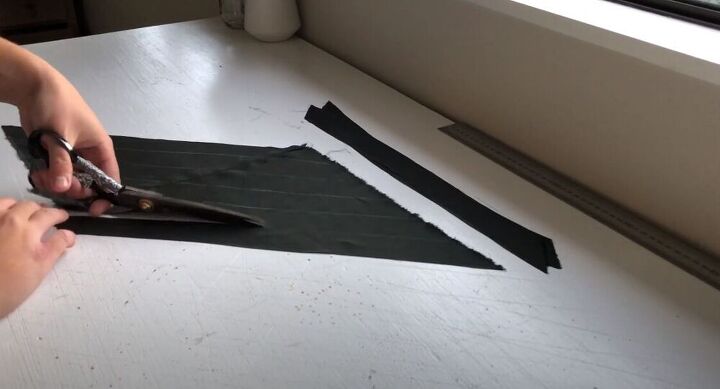
2. Cut a triangle
Once you have a nice rectangle, fold the one corner of the fabric up to the straight line.
Cut at the fold, cutting a triangle from the rectangular piece of fabric.
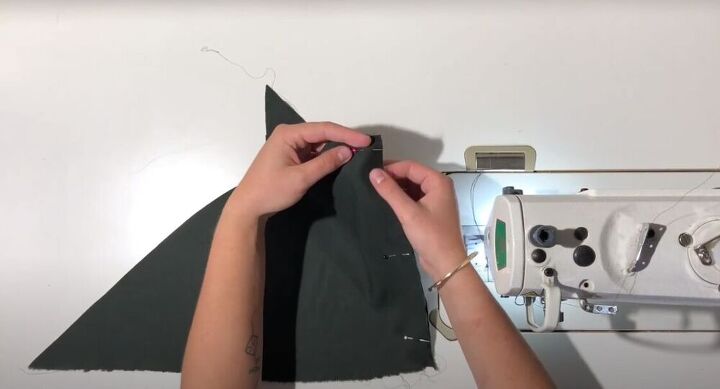
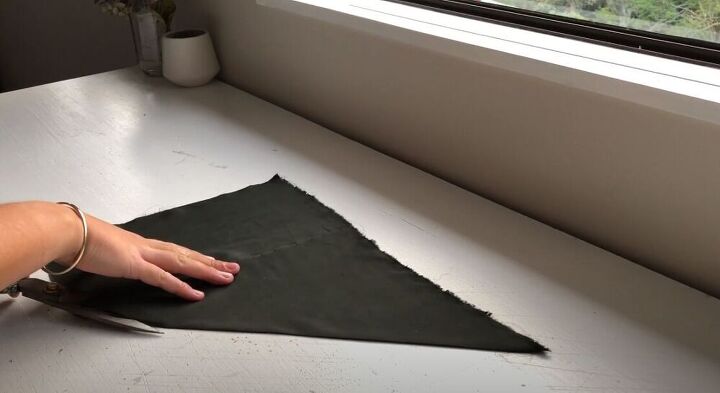
3. Sew along the straight edge
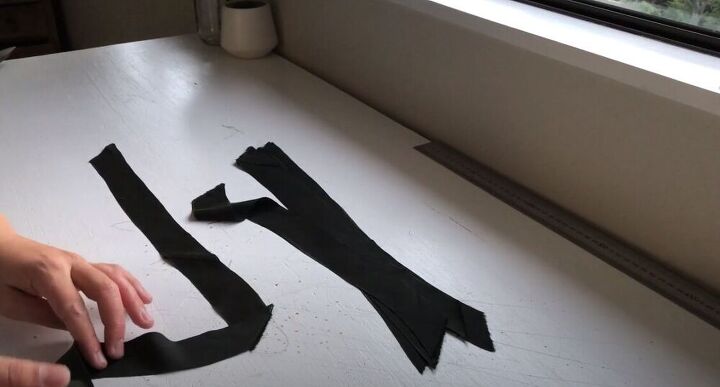
Move your triangle to the other side of the fabric so that the straight ends are together.
Pin the two pieces and sew along the straight edges with a foot width of seam allowance.
Unpin the seam and press open the seam allowance.
4. Create strips
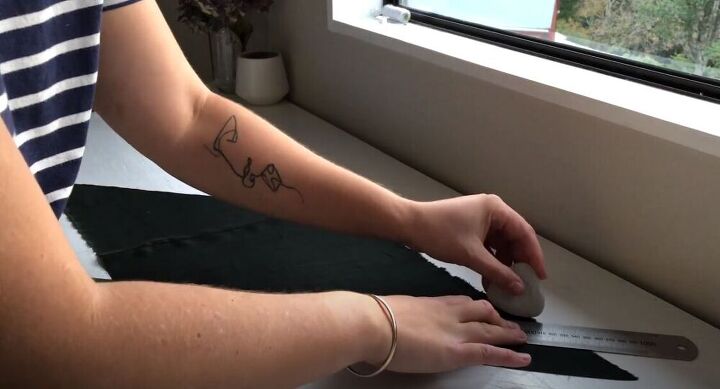
Next, grab a ruler that is roughly 2.5cm (1 inch) in width and draw on your bias binding lines.
I like to mark the lines in chalk before I cut them out.
You can always use a rotary cutter instead of marking with chalk.
If you did mark with chalk, make sure to cut the strips in the middle of the chalk line so that your strips come out nice and even.
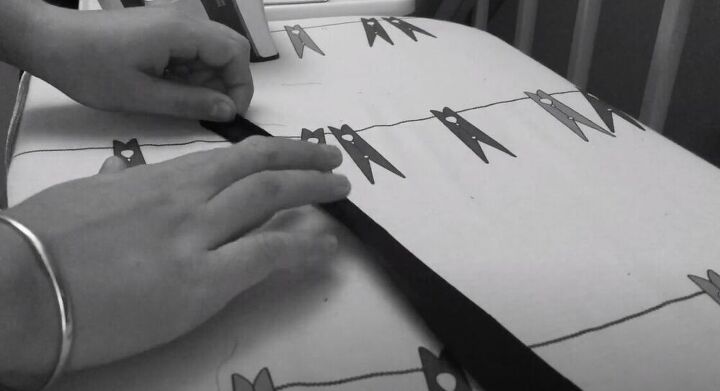
6. Sew the continuous bias binding
Take two strips and sew them together by their opposite angles with a 5mm (0.2 inches) seam.
I like to pin as many strips as possible before I move over to the sewing machine.
But, if you are just learning, it’s probably better to take it piece by piece and get a feel for it.
7. Fold and press the bias binding
Once you have sewed together, your long piece of bias binding, go over to the iron and fold and press the bias binding how you would like it to be for your project.
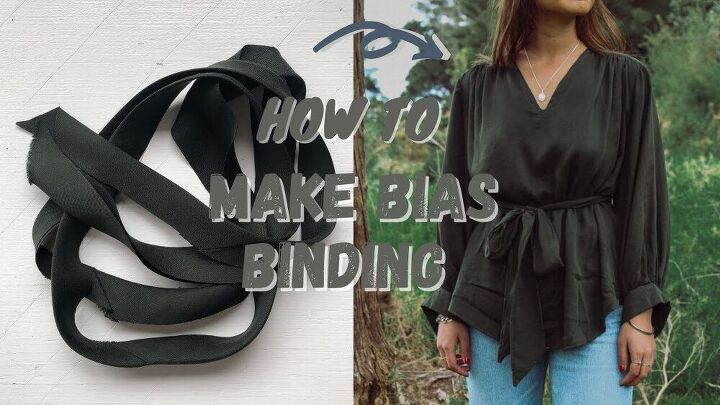
How to make bias binding
Up your sewing project game with this new skill!
What is your next sewing DIY now that you know how to make continuous bias binding? Let me know in the comments!
5 Easy Sweatshirt Remakes
The author may collect a small share of sales from the links on this page.


Comments
Join the conversation