Learn to Sew a 6 Panel Bucket Hat and Skull Cap

Hats are the best accessory, especially when it’s a bad hair day! Download this free pattern here and learn how to sew a 6 panel bucket hat or skull cap to add to your hat collection.
Tools and materials:
- Fabric
- Interfacing
- Bias binding
- Velcro
- Scissors
- Pins
- Marker
- Sewing machine
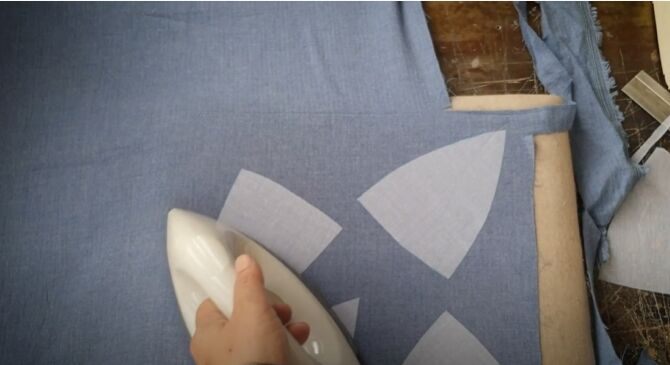
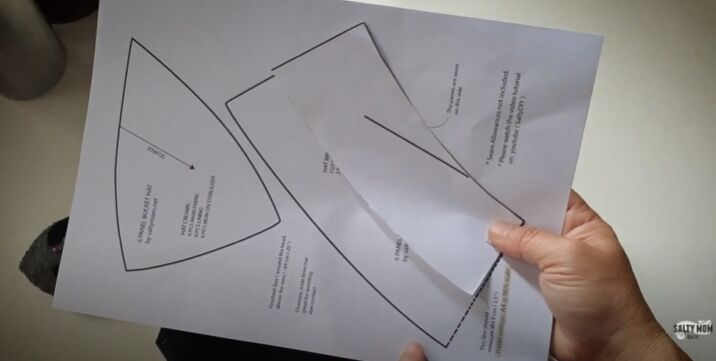
Cut the fabric
To start off, I used the pattern that doesn’t have an added seam allowance, to cut out the fusible fleece. I then ironed it onto the fabric.
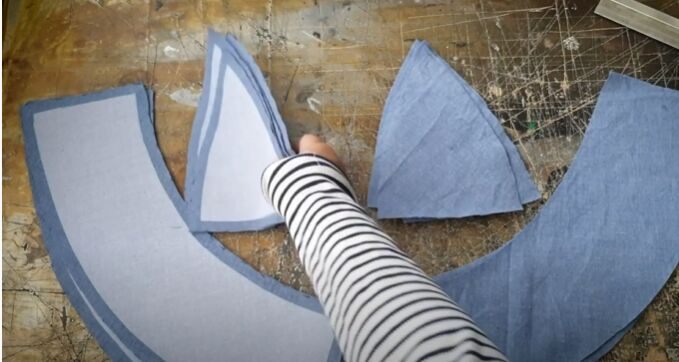
I then cut around the interfacing, leaving a 1cm (0.4 inches) seam allowance. I then used those pieces as a template to cut out the inner pieces of the hat.
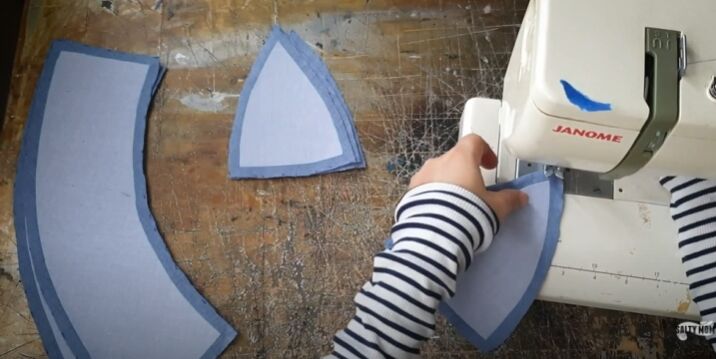
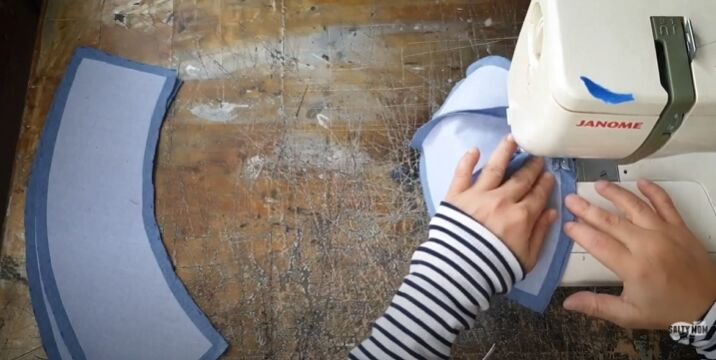
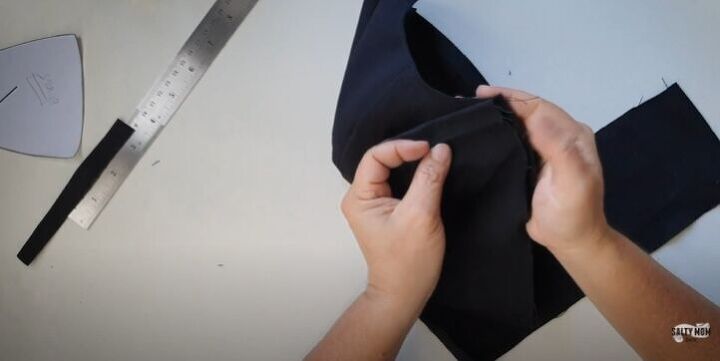
Sew the pieces together
Next, I took two pieces and sewed them together to create a set. I sewed along the interfacing line all the way from the top to the bottom.
I finger pressed down the seam allowance and then sewed the third piece onto the set.

I had two 3 piece sets and then trimmed off the bulky fabric.
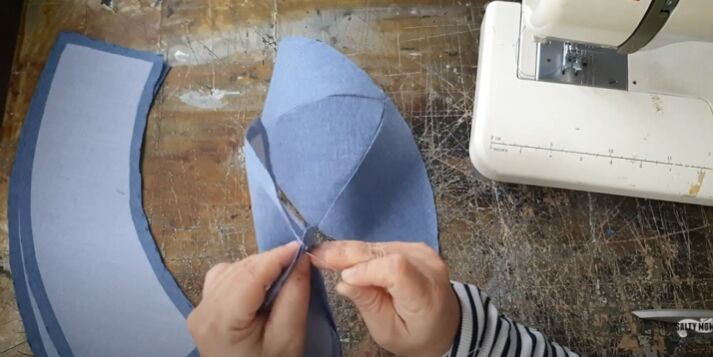
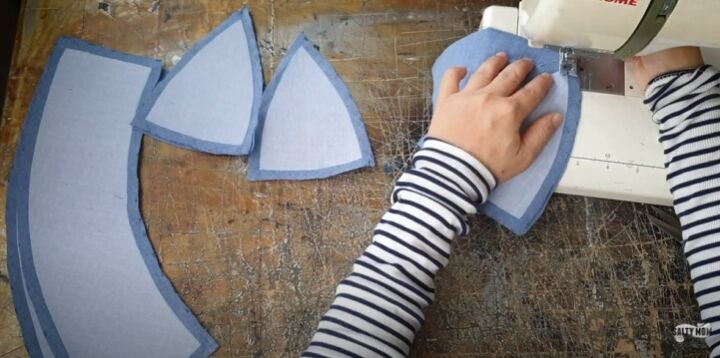
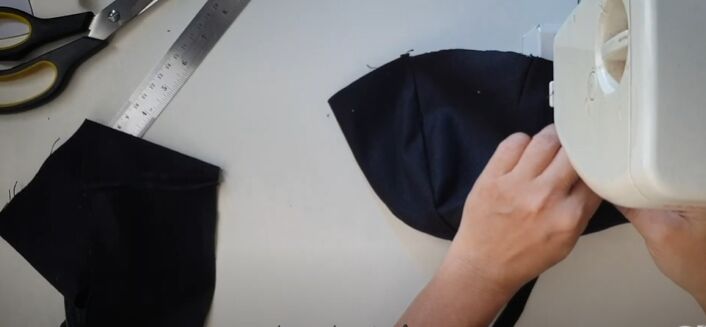
Sew the outer crown together
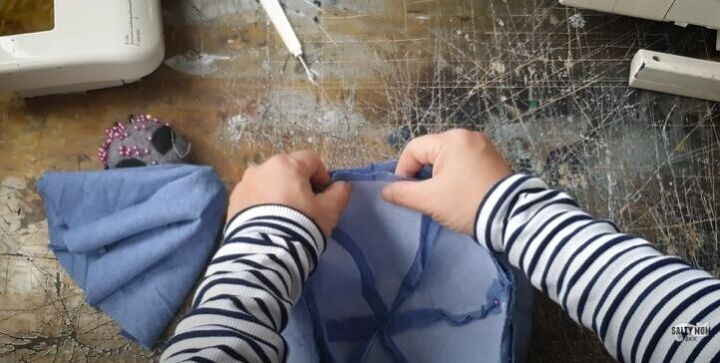
I then used a pin to mark where the point of the hat is in the middle of the triangle.
I matched the two pieces together and then sewed from the middle so that I could just stop and check that everything was lined up properly.
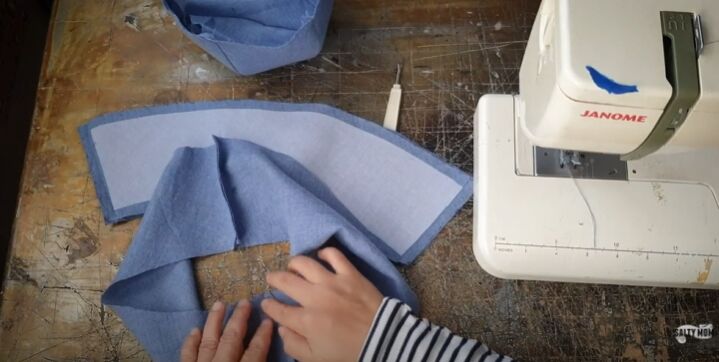
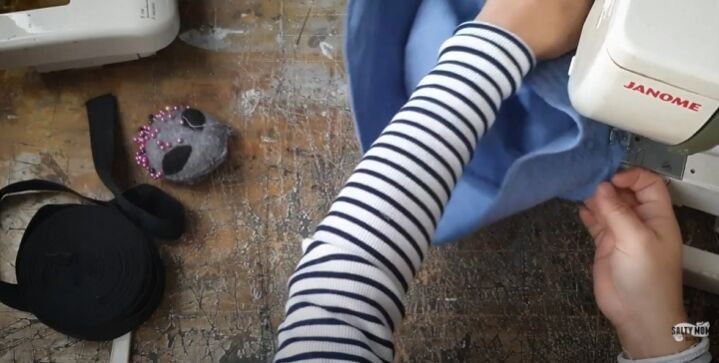
Sew the brim
For the brim, I sewed the pieces together and then finger pressed open the seam allowance.
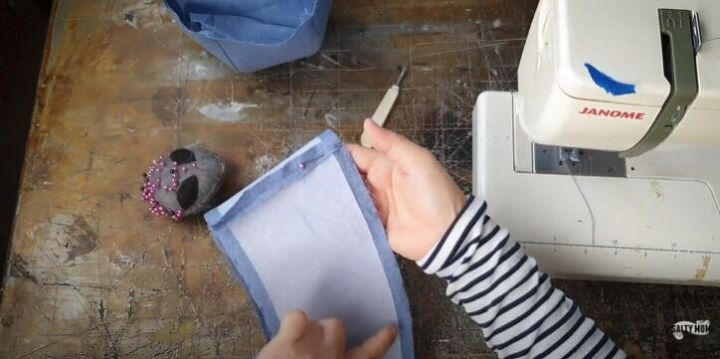
Next, I pinned and sewed the brim pieces right sides together.
I grabbed a pair of scissors and snipped around the brim and then ironed it.
Next, I sewed along the seam of the brim to ensure that the seam allowances point towards the inner fabric.
Sew brim lines
I then sewed along the brim to create the hat brim lines.
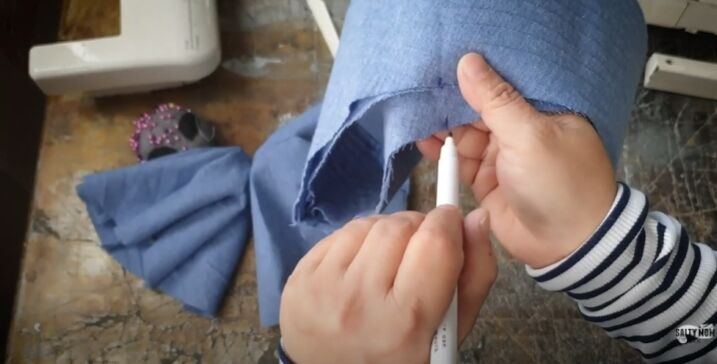
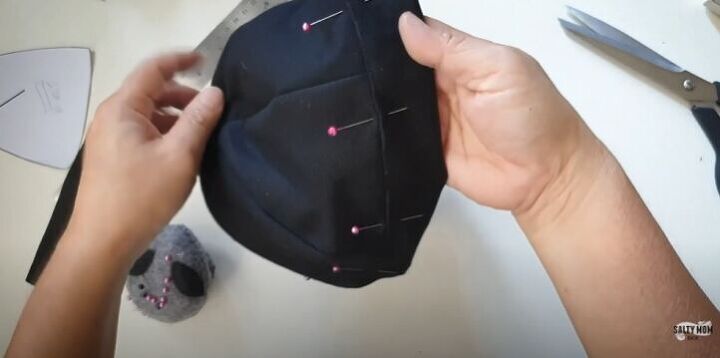
Mark the center
Once I had sewed all the brim lines, I marked its center.
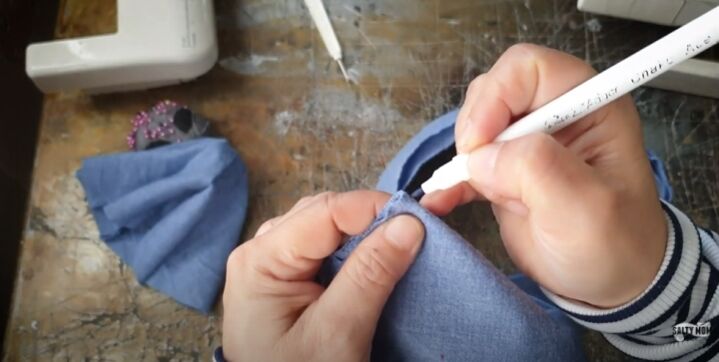
I also marked the center of the crown.
I then went ahead and matched up the markings on the crown and the brim of the hat.
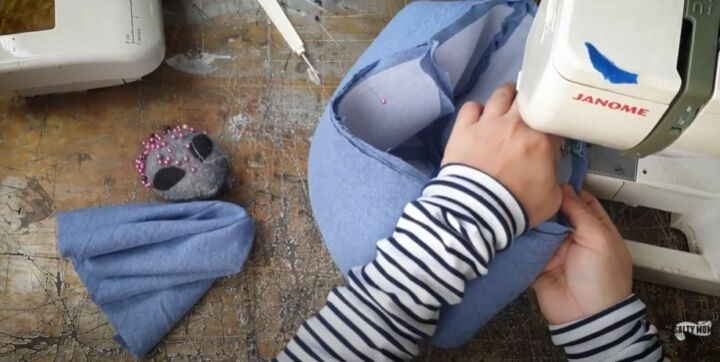
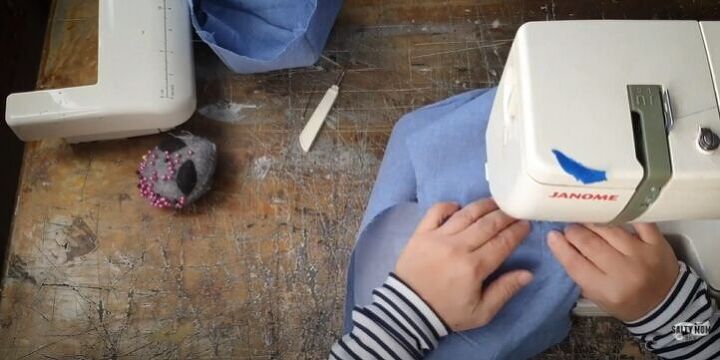
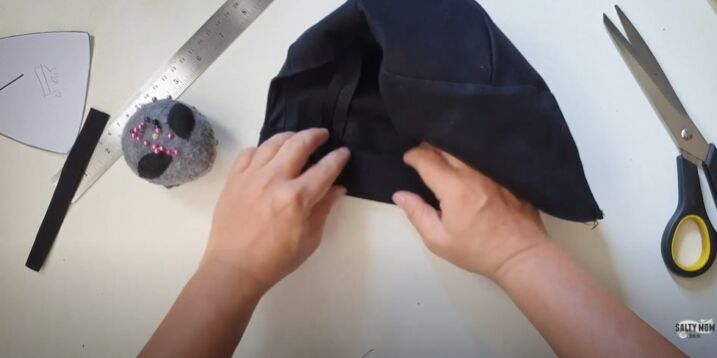
Sew the pieces together
Once I had pinned the pieces, I sewed them together.
Add the inner crown
I then added the inner crown piece and sewed it in place.
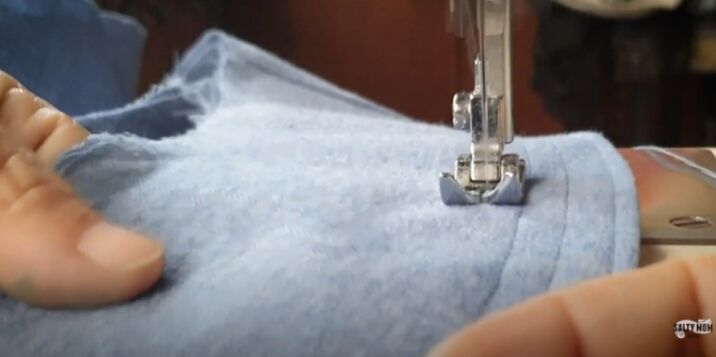
Add binding
Next, I sewed some binding along the edge of the inner crown. This adds an extra layer and helps keep the hat on your head and also covers up the raw edges.
Hand stitch the inner and outer crowns
I then hand stitched the inner and outer crown together at the top of the hat.
Make a shorter brim
If you want to create a hat with a smaller brim, you can do it easily by simply taking off about an inch or two from the pattern.
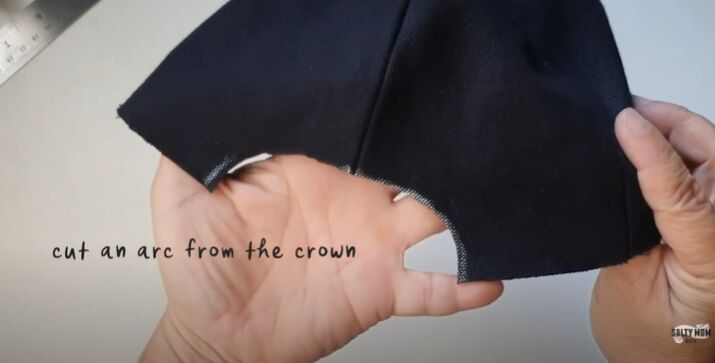
Make a skull cap
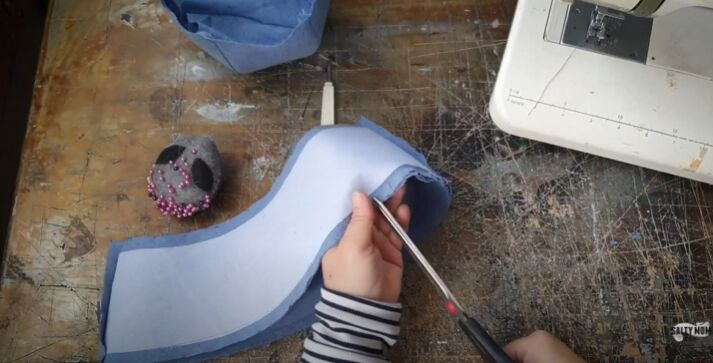
To make a skull cap, I simply cut an arc shape into the crown of the hat.
Add bias binding
I then added bias binding to the arc.
To get started on the brim, I folded over one end of the rectangle. I then sewed on the brim right side facing down. I then understitched so that the seam allowance stayed on the right side.
I folded the brim about an inch towards the inside of the hat and also folded the raw edge of the brim inward.
I pinned the folds in place and sewed around the outside of the brim.
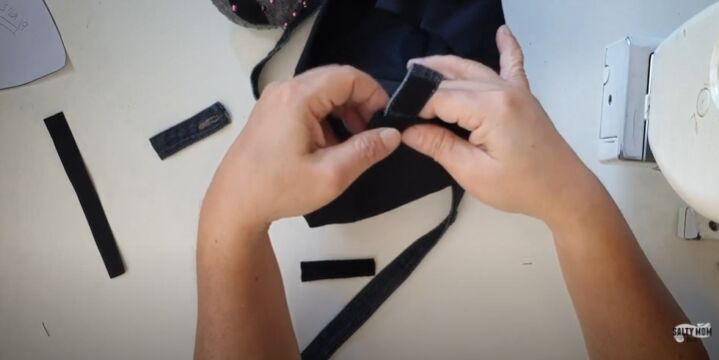
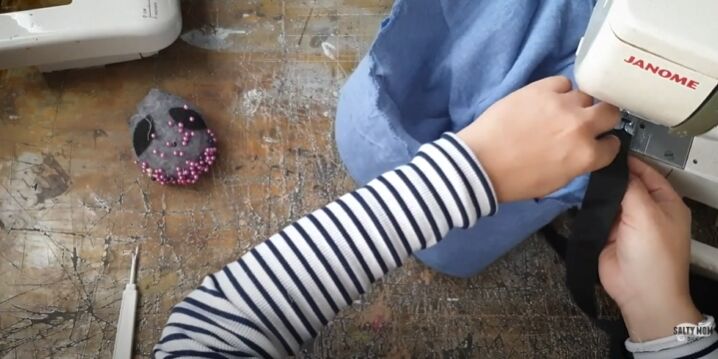
I used some extra denim I had and sewed a small piece of rough velcro onto it. I placed the end of the denim piece inside the layers of the brim and sewed it in place. I then did the same with the other side of the velcro and sewed it so that the two velcro pieces would be facing each other.
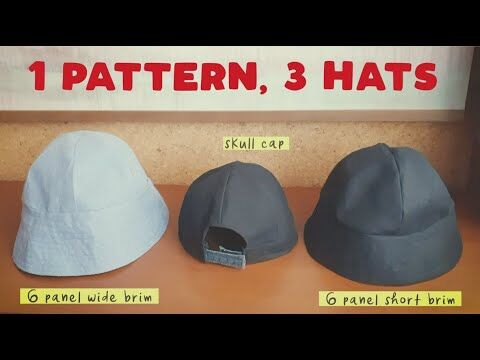
I love that it’s so easy to make three different hats from one pattern. Which of these hats would you make? Let me know in the comments below!
The author may collect a small share of sales from the links on this page.


Comments
Join the conversation
Bucket hats are definitely making a comeback!