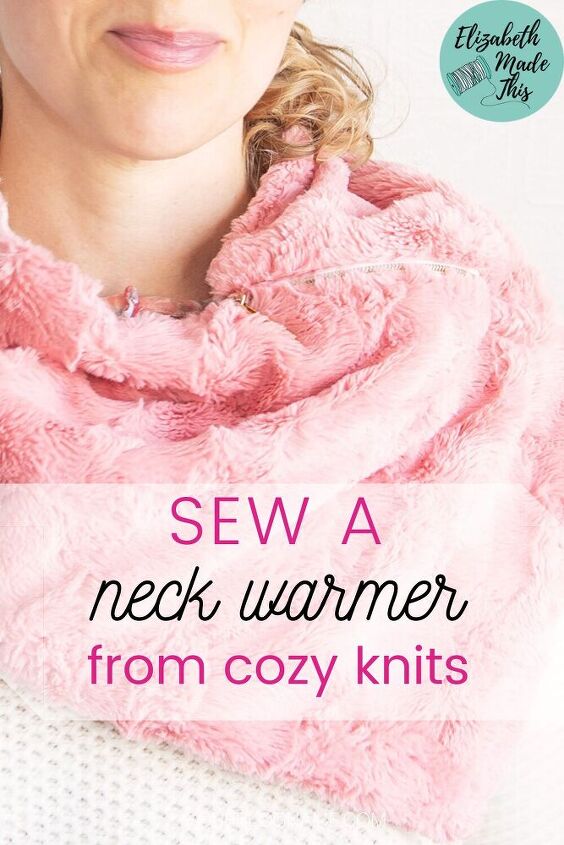
Make a Snugly DIY Neck Warmer Scarf
Winter is coming, so why not make yourself a snugly DIY neck warmer?
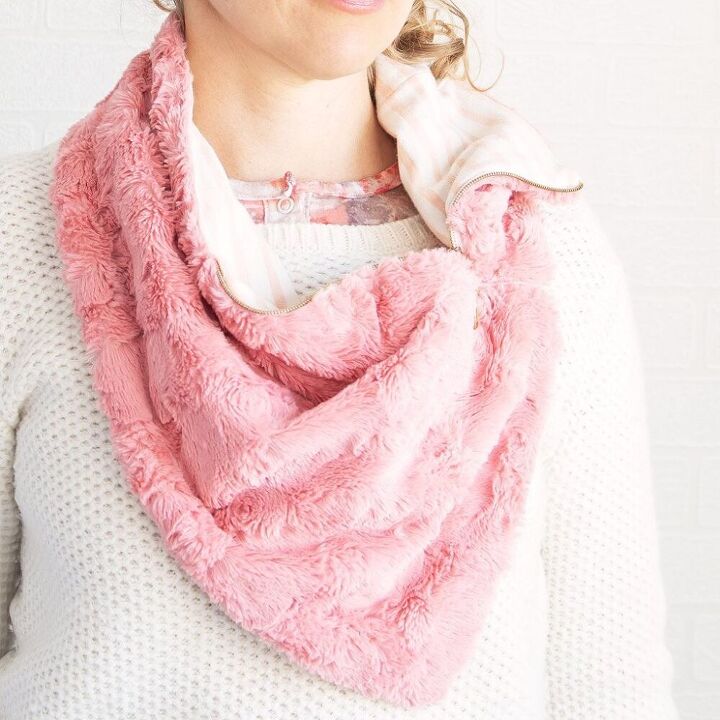
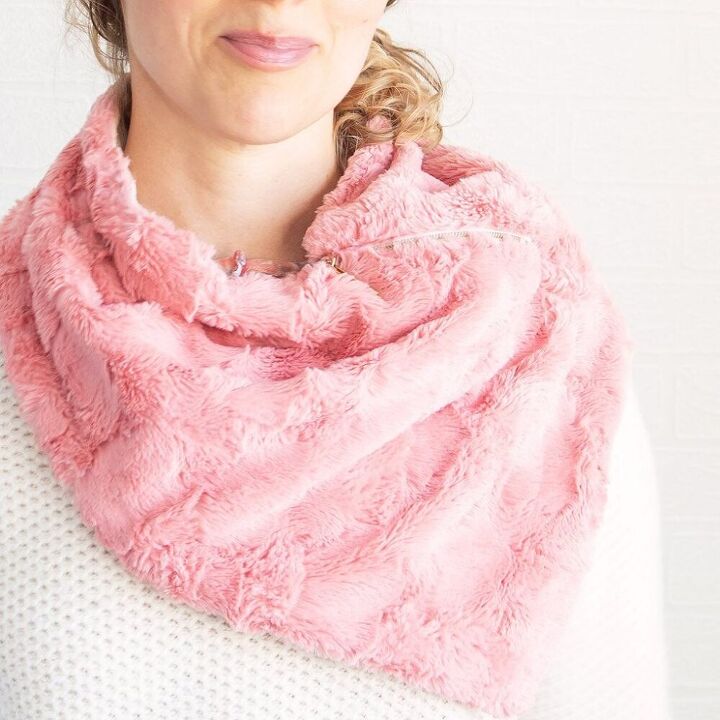
The cold continues here in Colorado, and I’ve been wearing my own neck warmer scarf for the last week. Boy howdy has it been helping me stay toasty! This neck warmer sports a cool separating zipper which gives it some different wearing options.
This is another quick and easy gift you can make for people too for this Holiday season.
We’ll talk about what kinds of fabrics will work best for your DIY neck warmer scarf. Then I’ll show you how to take a separating zipper and add it to your scarf to create it’s angular shape. We’ll finish up talking about those styling options. Here we go!
Fabrics for your DIY neck warmer scarf
We need 2 fabrics for your neck warmer scarf here. Any stable to moderately stretchy knit will do, but you want some warmth factor!
I’m using a chenille novelty knit on the pink here. Truth be told the aqua version is some sort of novelty minky/chenille/blanket fleece/I’m-not-sure-what-this-is-type-fabric-is-but-it’s-awesome-so-I’m-going-with-it. It came from a blanket, and I totally used more of it to make this motorcycle vest.
Use any kind of textured, warm knit for the outer layer of your scarf. Sherpa, minky, low pile faux fur, wool knits, French terry, or fleece will work here.
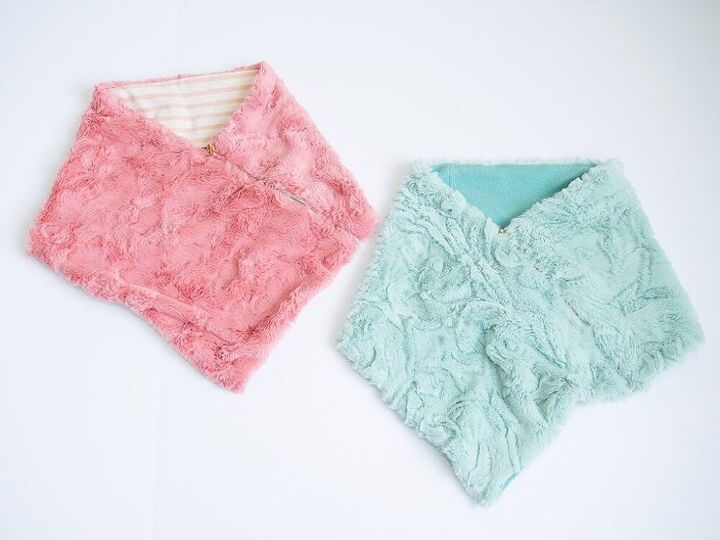
For the lining, you can use another light layer of fleece, ponte, French terry, or another moderate stretch knit. This is a great opportunity to use up weird bits of leftover knits or refashion an old tee. I lined the pink scarf with a striped French terry from a RTW tunic that was far too long for me.
Whatever you pick, skip the ultra stretchy ITY and rayon knits. They will work against you on this project!
Supplies you need for your scarf
This page contains affiliate links. If you purchase a product through one of them, I will receive a commission (at no additional cost to you). I only ever promote products that I use and love and I think you will love too. Thanks for supporting this blog!
- ruler: quilting rulers are awesome here. This one is my favorite.
- 1/3 yard of warm textured knit (Sherpa, fleece, wool knits, French terry, fleece etc)
- 1/3 yard knit lining (ponte, fleece, French terry other moderate stretch knit)
- One 10″ separating zipper, molded plastic or metal, and if it’s too long, we’ll fix that! Wawak has the best selection, and their prices + shipping are better than everyone’s so stock up!
- Fusible interfacing tape (I’m using a different kind, but Sew Keys E is fantastic) or 20″ x 1″ of fusible interfacing
- zipper end nippers
- sewing machine fitted with a zipper foot
Cut your DIY neck warmer scarf
Step 1: we need to cut our fabric.
Cut one 10″x 30″ rectangle of your outer fabric.
Cut another 10″ X 30″ rectangle the same size of lining.
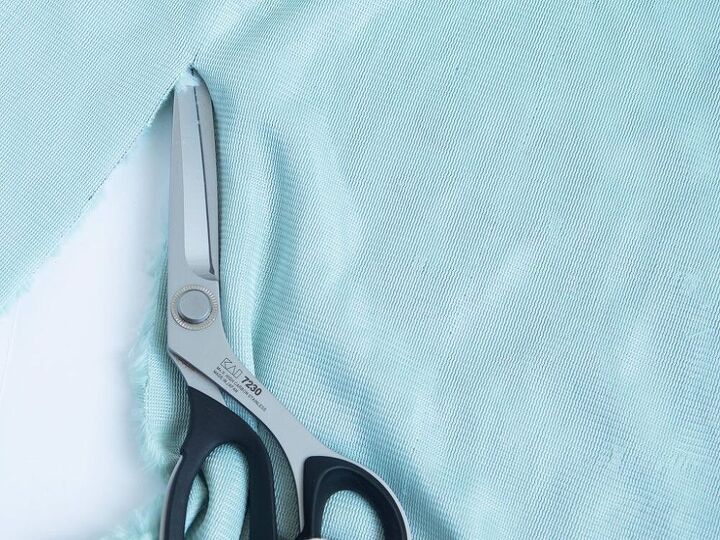
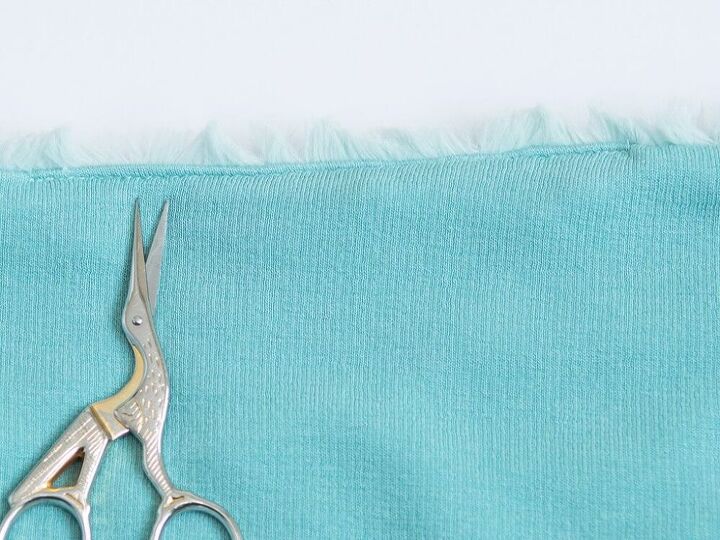
If you’re using a chenille, cut from the backside. Try your best to get in between the backing and the fabric’s pile with your scissors. It will minimize the hairy mess if you cut it this way just like it does with the faux fur in these DIY boot covers.
And if despite your best efforts you still look like you pet a truckload of cats, that’s where lint rollers shine.
Interfacing the zipper area
You always, always want to interface the area where a zipper goes. If you skip this step on a knit, you totally deserve the wonky, warped, wavy zipper you will end up sewing.
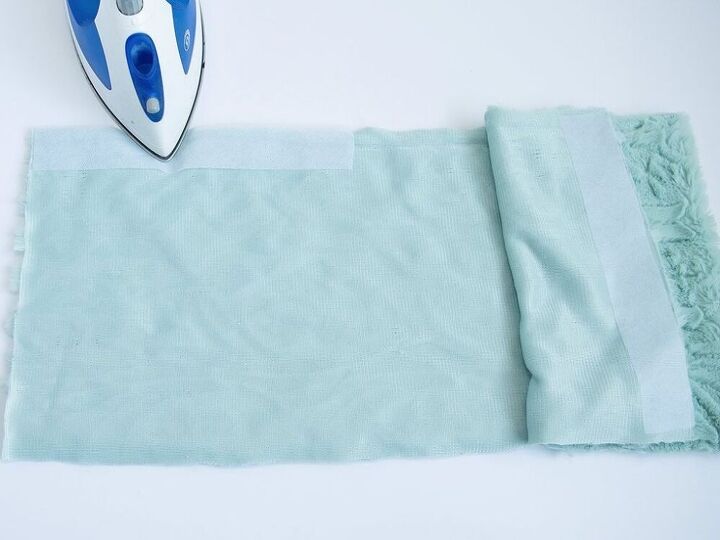
Tough love aside, cut a piece of your interfacing tape the length of your zipper.
Flip your outer fabric to the wrong side. Fuse the interfacing tape to the end of one top edge.
After that, fuse a second piece of tape on the opposite short edge of your scarf.
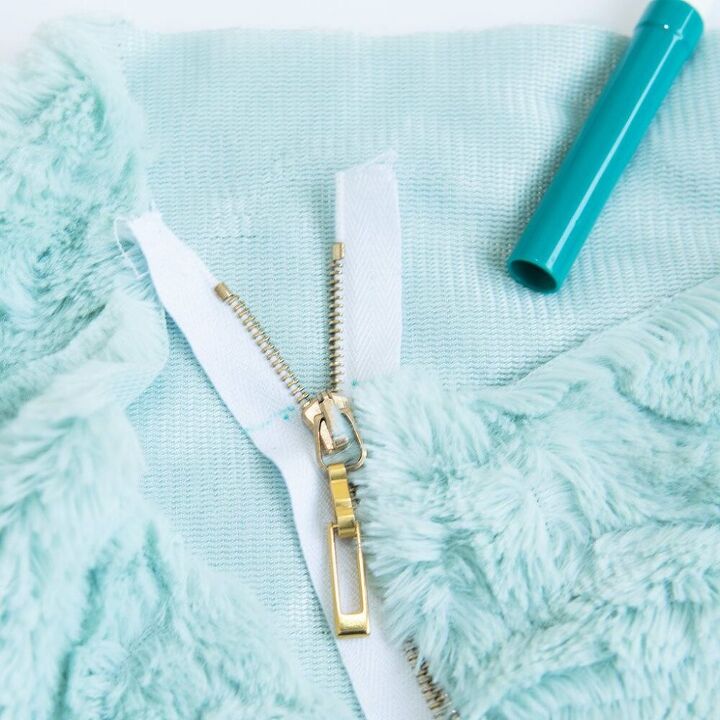
Pin the zipper
Just for placement sake, we need to pin the zipper.
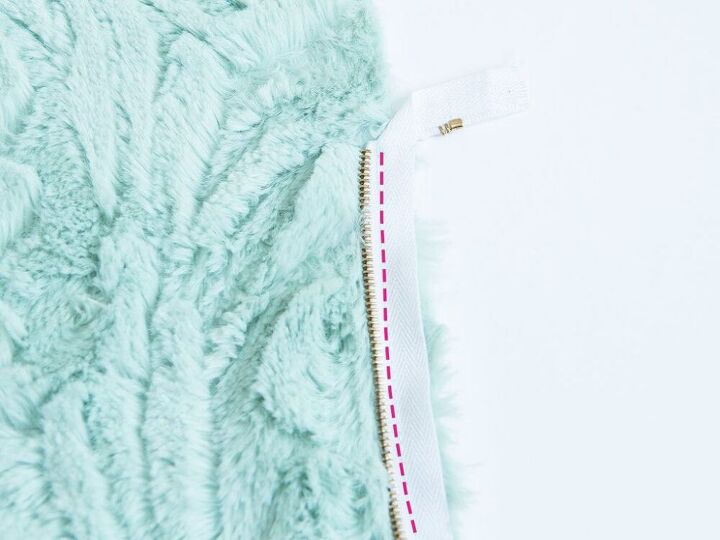
Bring the edges that you just added the interfacing to together. See how they form a nice angle?

Next, separate both pieces of your zipper. Pin them to the scarf with the right side of the zipper towards the right side of the fabric. Leave 1/2″ gap on the bottom edge of the zipper.
If your zipper is longer than 10″, let the excess hang off the top. We’ll deal with that later. You can see the top of my zip is a little longer than the scarf edge.
The teeth will face away from the edge of the scarf and into the body of the scarf. If you’re not sure how this is going to work, zip the zipper with the zipper pinned. It’s never a bad idea to check!
Sew the first side of your zip
Usually I’d say to sew the side of the zipper with the pull first, but in this case, we need to sew the short side to the zipper.
In my case the pull was on the opposite side, so I’m going against my own advice here. It’ll still work out in the end!
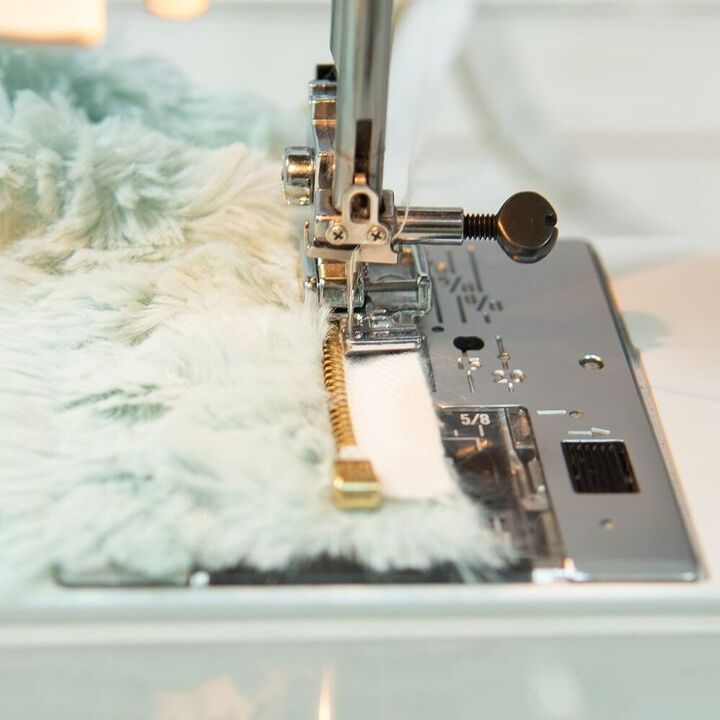
Using your zipper foot, sew the zipper pull side to the scarf.
Use a narrow zigzag here since we’re sewing knits. Narrow zigzag= 0.5mm width and 2.5-3.0mm length.
Sewing knits without a serger
More about the best stitches for knit fabrics
Let the foot ride right along the edge of the teeth. Backstitch at the bottom of the zipper.
Mark the second side of the zipper
Fit the bottom into the slider and zip up the second side of the zipper. Mark where the top of the zipper ends on both sides of the tape.
If you unpinned the second side of the zipper, position it back into place with the bottom 1/2″ from the taped edge right side to right side.
Remove extra zipper teeth
If you’ve never used zipper end nippers before, it’s a tool that’s worth getting. I’ve personally stabbed myself with regular needle-nose pliers trying to remove extra zipper teeth. The end nippers are so much better!
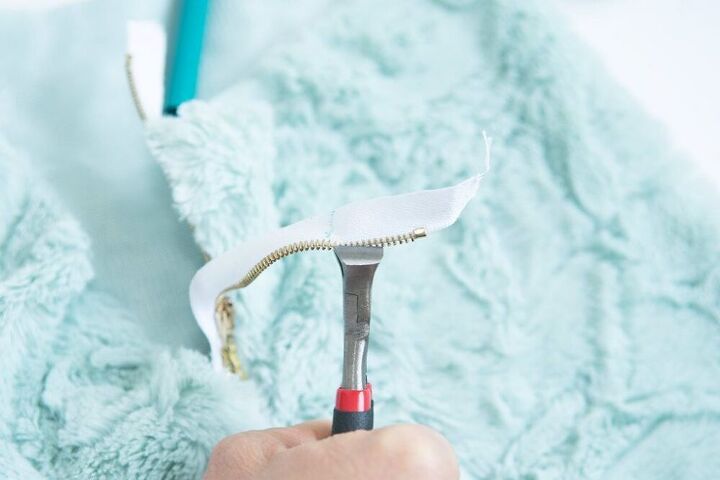
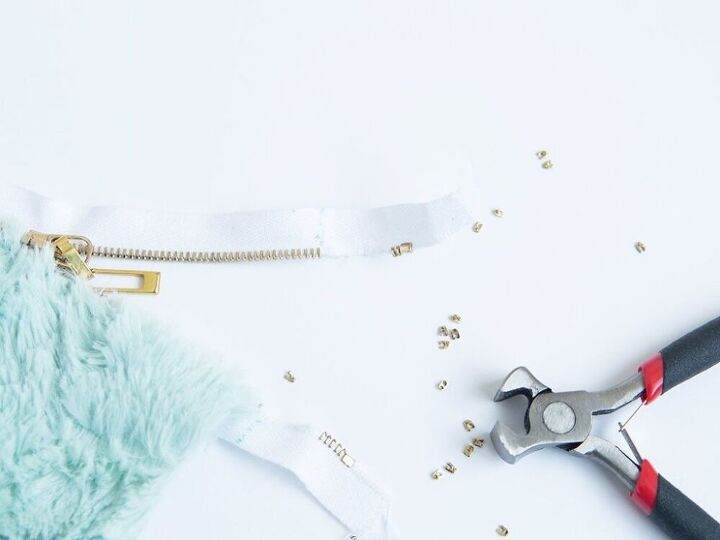
Remove a little bit less than 1/2″ worth of teeth above your mark you just made. The end nippers should let you grab several teeth at a time. Squeeze the nippers over the teeth and give them a good yank to remove them.
Sew the second side of the zipper
Fold back the zipper tape on itself on the top of the second side of the zipper.
Next, sew the second side of the tape to the scarf. Don’t forget to backstitch at the bottom of the zipper.
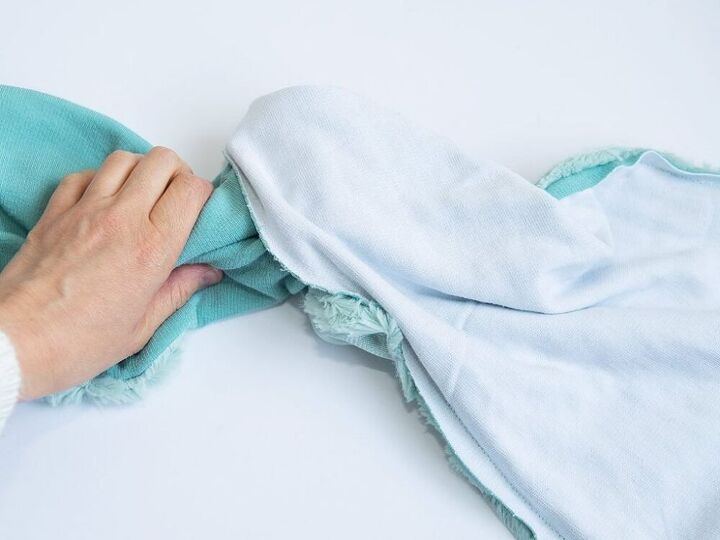
Sew the lining to your DIY neck warmer
Now that the zipper is attached, it’s time to add the lining to your cozy neck warmer.
Pin the lining to the neck warmer right sides together.
Sew around the entire perimeter of the scarf with a 1/2″ seam allowance, leaving about a 4″ gap on one of the long edges.

I like to use the zipper foot to sew the layers together where the zipper pieces are. Then I switch to a regular foot for the rest.
Clip the corners. You can also cut off any excess zipper tape at this point.
Turn the neck warmer and finish it up
Turn the neck warmer through the gap that you left.
Give the neck warmer a nice press with some steam from the lining side. Make sure that the edges of the hole are even with the sewn edges by turning the hole’s seam allowances to the inside.
Sew close to the edge of the gap to close it up.
Zip it up to finish it up!
Options for wearing your DIY neck warmer

Drape it to the front. This is a classic look for just about any outfit.
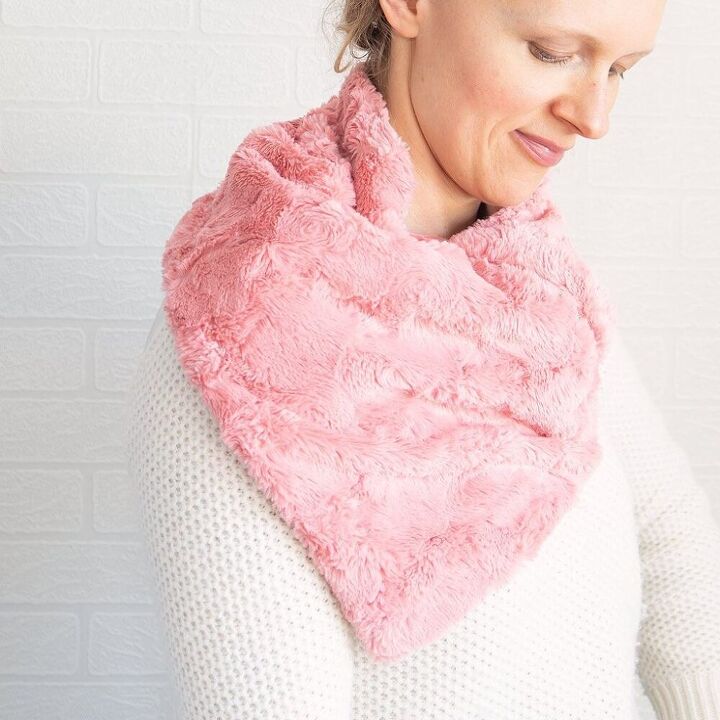
So you can see your DIY neck warmer is a pretty versatile little cold weather accessory. Be on the look out for those snugly textured knits so you can make one for yourself!
The author may collect a small share of sales from the links on this page.


Comments
Join the conversation
Love this! Your directions are always ON POINT and so easy to follow unlike some others I’ve seen
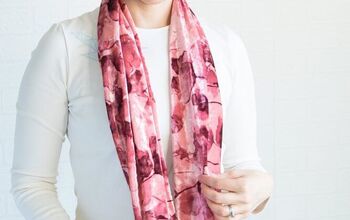
A couple of questions: 1). Could you also add/show a finished picture of the aqua one you started??! 2). Do you think this would work as well if I used 3 or 4 large fancy buttons with elastic loop closures instead of your zipper method?
I REALLY love this project. And the fact that I could use remnants or castoffs is an extra bonus!! Thanks so much! Pennypoo