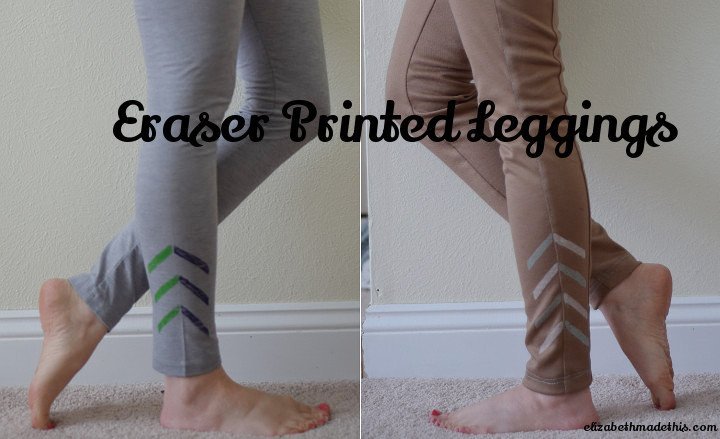
Eraser Printed Leggings
Good old pink erasers–the big blocky kind that you used it school are great for printing. You can easily carve them, and pretty sturdy, so you don’t have to mount any stamps you make from them. But this tutorial requires no carving. Using the parallelogram shaped sides of the erasers, this fast and easy tutorial for eraser printed leggings can be used for store bought leggings or to add a special touch to your own handmade leggings.
Eraser Printed Leggings
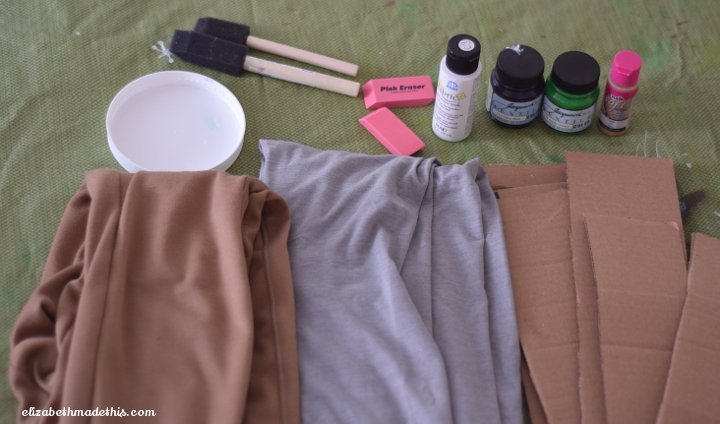
Supplies:
- Pair of leggings
- iron
- 1 or 2 pink erasers
- fabric paint, multiple colors if you wish
- paintbrushes
- cardboard strips (I cut mine from a box)
- vinyl tablecloth
Directions:Cover your work surface with the vinyl tablecloth.
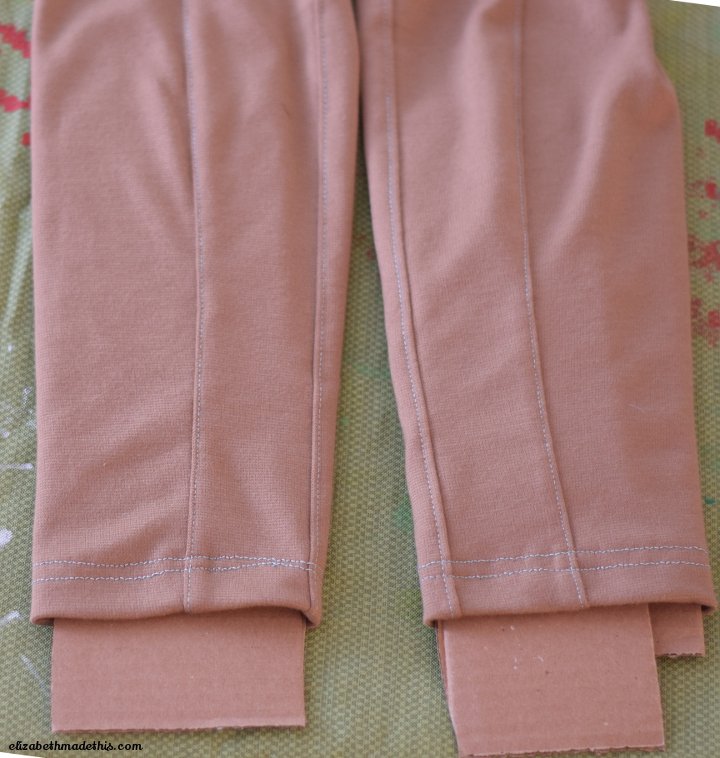
Arrange the leggings so that the side seam is facing up. Flatten the leg so that the side seam is centered down the leg.
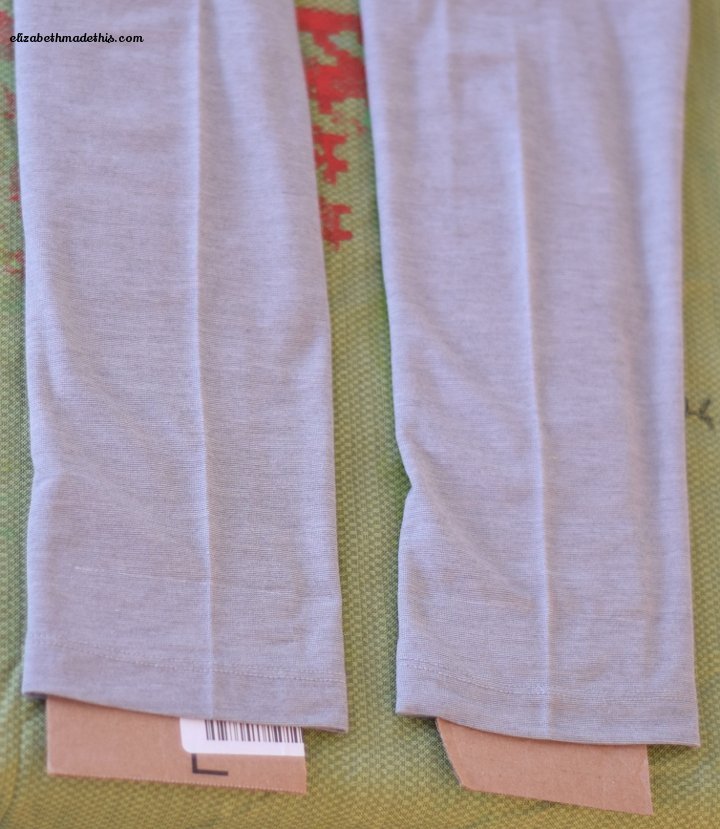
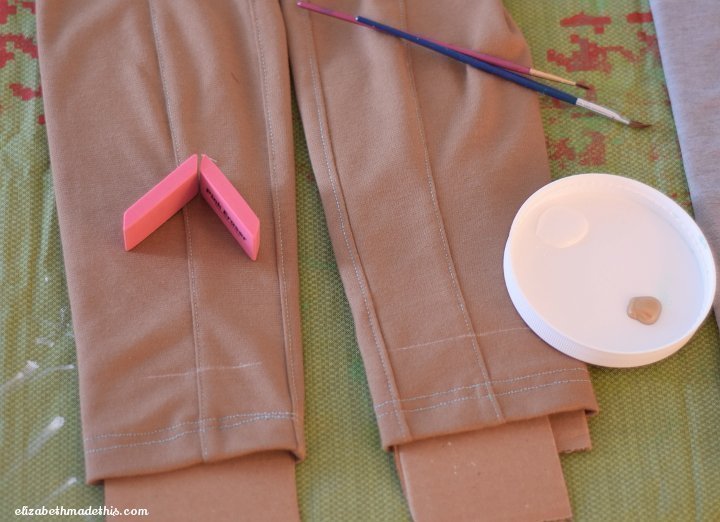
If you are printing leggings that do not have a center seam, fold the leg flat on an ironing board so that the inseam is flat. Press the leg opposite the inseam lightly with an iron. This pressing line will be your imaginary inseam.Stuff the leg with strips of cardboard. This will help get a nice impression when you print and protect the fabric from extra paint. Decide how far up the side seam you want to start printing and how much space between each print you want. I chose to start printing 2″ up from the hem and for there to be 1″ between each row of printing. Mark the starting points with chalk if desired.
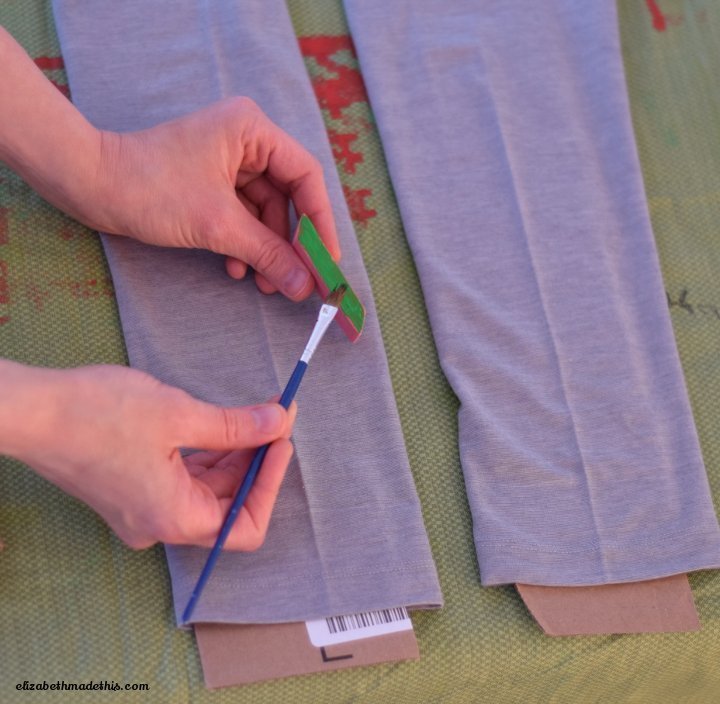
Turn an eraser on its side. Using a paint brush, brush a light coat of paint across the side of the eraser.
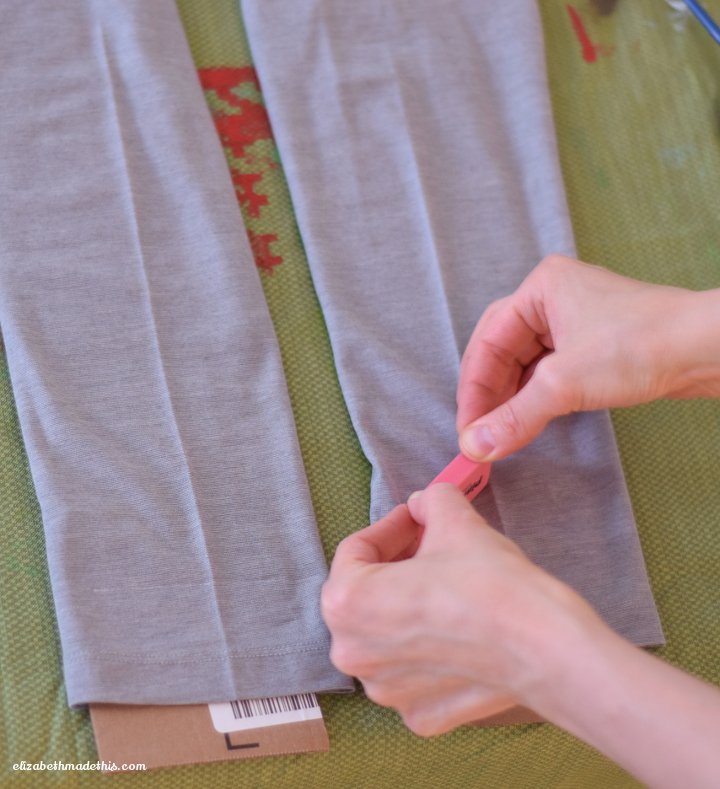
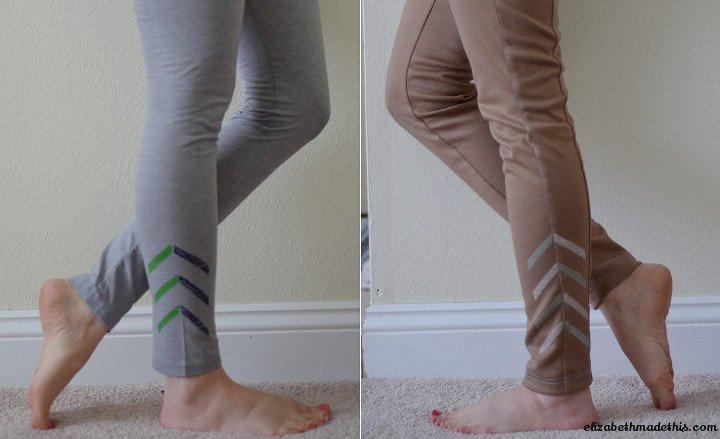
Line up one short side of the eraser with the side seam (the eraser will be at a 45 degree angle to the side seam) and press down. Lift the stamp. If you didn’t get a good impression, it’s pretty easy to add a little more paint to the eraser and line it up to stamp again.

If you notice, the opposite sides of the eraser are reversed. To print on the other side of the seam line, flip the eraser over and add paint to print on the other side of the side seam line. Print 3 or 4 rows of the design, or as many as you would like.
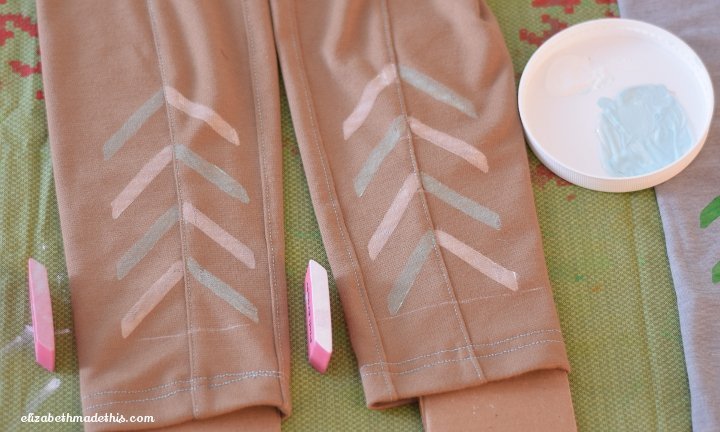
If you want to alternate your colors, you’ll need two stamps so that you can flip them over back and forth over the line as you print.Wash up the erasers with warm water and a little soap when you’ve finished your design.Let the leggings dry for 24 hours, then run an iron over the printed area on the highest setting appropriate for the fabric without steam(use a press cloth or a scrap of fabric to protect the fabric and your iron) for 3 minutes or so, moving the iron around constantly. Just to make sure that my paint isn’t going to wash out, I throw my project in the dryer for 30 minutes or so to complete the heat setting process.Wait to launder the leggings for about a week too.You can experiment with other ways to print with the eraser sides too. Stripes, squares, overlapping designs…the possibilities are pretty endless.

Elizabeth Farr is the writer behind the Elizabeth Made This blog where she shares helpful sewing tips, step by step sewing tutorials and videos to help you explore your creativity through sewing. She has written sewing Eguides and patterns, been a featured teacher at Rebecca Page’s Sewing Summit and Jennifer Maker’s Holiday Maker Fest and her work has appeared in Seamwork and Altered Couture magazines. She also created a line of refashioned garments for SEWN Denver. When her sewing macchine isn’t humming, she’s playing and teaching violin, and hanging around a good strategic board game with her husband and 4 kids. elizabethmadethis.com
The author may collect a small share of sales from the links on this page.


Comments
Join the conversation
Soooooo innovative and cute! Like to try it!!
What kind of paint did you use?! Love it.