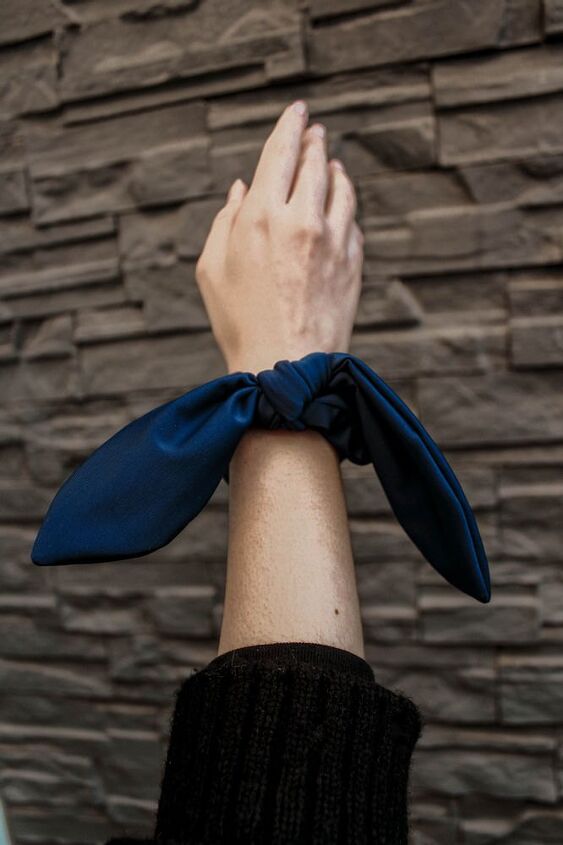
How to Sew a Scrunchie
This tutorial will guide you on how to make your own Scrunchie. It is perfect if you just want to try something new, or if you're starting to create your own self-made wardrobe and want to start with an easy project.
You don't need to be very experienced to sew a Scrunchie, you only need the desire to create something new. Scrunchies are everywhere and in so many different styles. They are simple to make if you haven't sewn anything from scratch before, and you can personalize them to your own style.
This project is also part of our "I Made My Wardrobe" 2021 Challenge, for the month of January. What we want this first month, is for you to practice this new skill so it gets easier next month. Take this challenge as the beginning of your journey and remember to not be so hard on yourself. ❤
Practice progress over perfection.Just one thing before we get started...If you don't know how to sew and this is your first time trying this, please watch the videos we sent you to your email. We have an option for people who have a sewing machine and one for the ones who don't. Note: This is only for our challenge subscribers. Let's start!
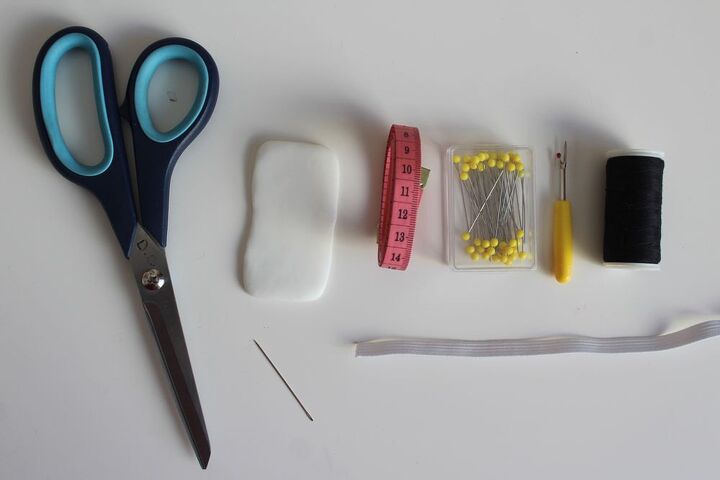
What do I need?
-Fabric & thread from the same color.
-A piece of soap, chalk, a pencil, or a pen.
-Pins.-Scissors (tailor's scissors)
-A seam ripper.
-Measure tape or a ruler.
-A needle or a sewing machine.
-An elastic or hair tie.
We'll be using all of these materials the whole year (except the elastic), so if you want to invest in great quality utensils, I promise it will be worth it.
*If you don't know where to get all the supplies you need, we have an option for you. Click here to check MadamSew's online shop, you'll find everything you need there (except for fabric).
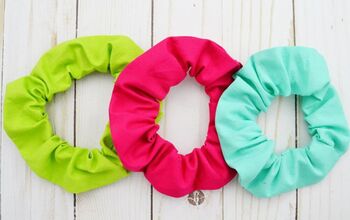
How much fabric do I need? You will need 3 1/2 x 15 1/2 inches of fabric. Fabric suggestions: Use wovens like poplin, linen, crepe, satin, or any woven cotton fabric. Since it's a small thing you can use fabric scraps from other projects, or upcycle an old garment.
SCRUNCHIE
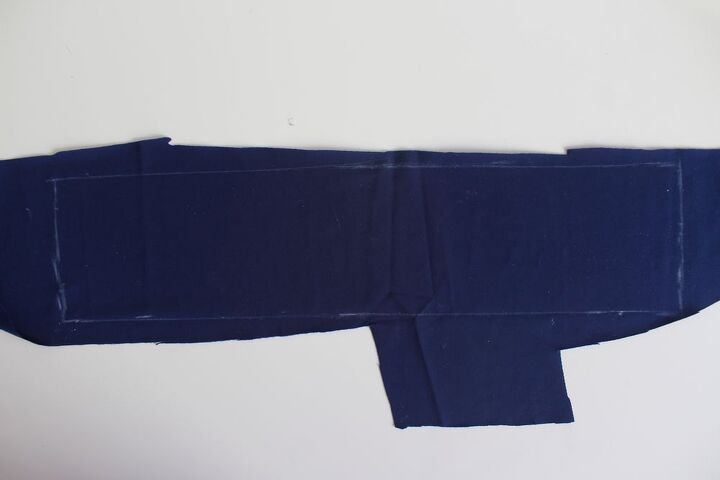
STEP 1. Cut a 3 1/2" by 15 1/2" rectangle.
STEP 2.
Cut an elastic strip the same size as the contour of your wrist. Like this...

STEP 3.
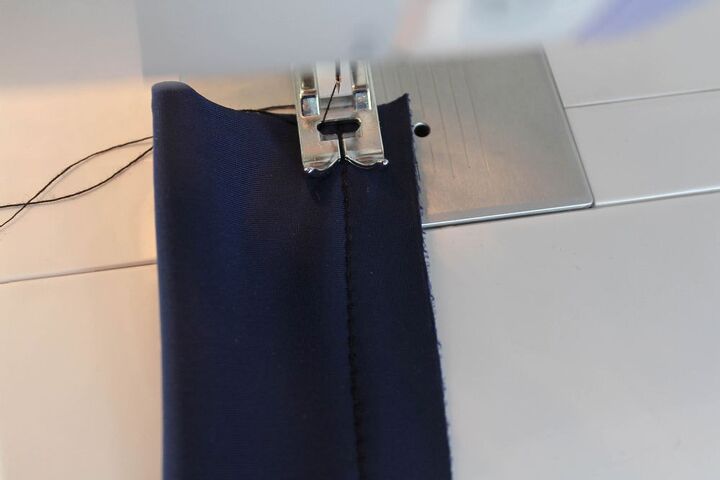
Now, sew the long parts together, facing right sides together as well.
STEP 4.
Turn it around and get the elastic through. The visible stitches must be on the inside.
STEP 5.
Sew the elastic ends together.
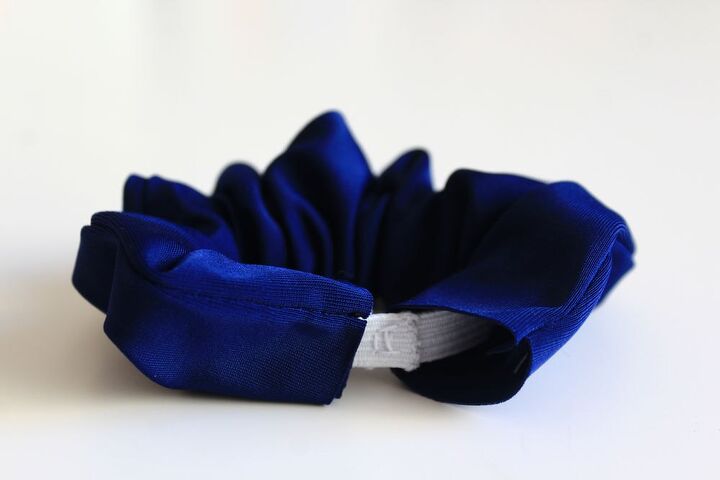
STEP 6.
Close the scrunchie by sewing both ends together. Fold one of the edges (left) inside by 1cm and the other edge (right) put it under the left one. Hand sew them to close it.And that's it for the scrunchie.
BOW
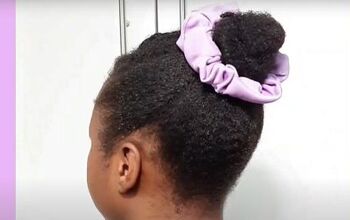
*This part is optional, it will make it look more romantic and cute.
STEP 1.
Trace the same rectangle as the scrunchie. On both sides, we're going to trace the tips. How? By putting a mark in the center of both the right and left sides of 3" on the upper and lower side. Join the marks like this, to form the point.
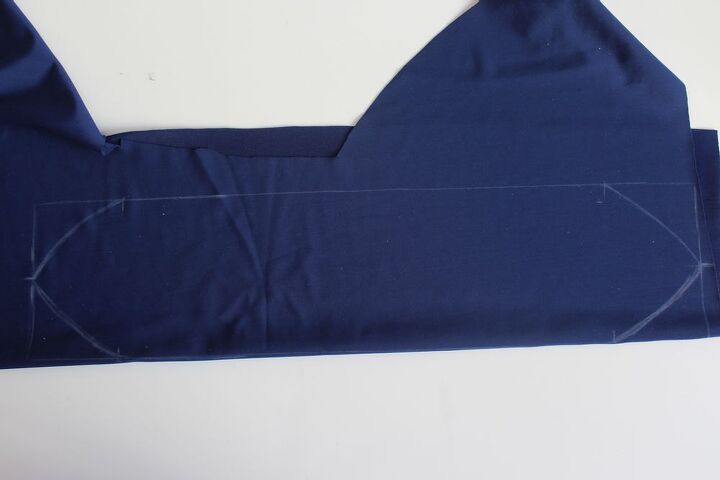
STEP 2.
Now cut the fabric following the traced line, just don't forget to cut two pieces of that shape.
STEP 3.
Then face the right sides of the fabric together, sew both pieces together but leave a space in the middle unsewn to flip it upside down the bow.
STEP 4.
Once it's sewn, flip it around and close that space you left unsewn. It can be hand sewn if you want it to look cleaner, or with the sewing machine to make it faster.

STEP 5.
You can iron it to flatten the edges or leave it like that. It may depend on the fabric, mine looked good without ironing.
STEP 6.
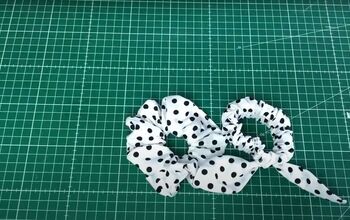
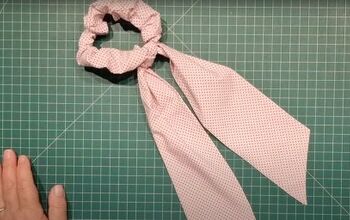
Finally, just make a knot on the scrunchie and that's it.
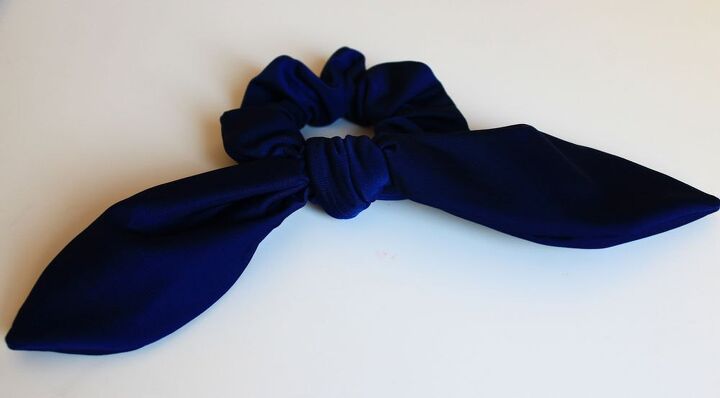
And there you have it a Scrunchie and Bow for the scrunchie. Easy and fun, isn't it?
If you still have doubts or didn't understand something, please let us know in the comments, or email us so we can explain it to you!
If you found this too hard or too easy, we would also like to know, so don't forget to share it in the comments! We would also love to see your creations.
Remember you are not alone on this journey and we're here to help you succeed.
❤All the love,Lucy & Dani.
The author may collect a small share of sales from the links on this page.


Comments
Join the conversation