How to Tie an Ascot Scarf in 3 Different & Stylish Ways

I am a huge fan of silk and vintage scarves, and I love exploring different ways to tie and style them. In this style guide, I’m going to delve a little into the history of the ascot scarf style and show you how to tie an ascot scarf in three different ways.

What is an ascot scarf?
The ascot style scarf has been a form of men’s neckwear for at least the last two centuries. It was originally worn by British gentlemen attending the races at the Royal Ascot Racecourse.
The ascot scarf & female emancipation
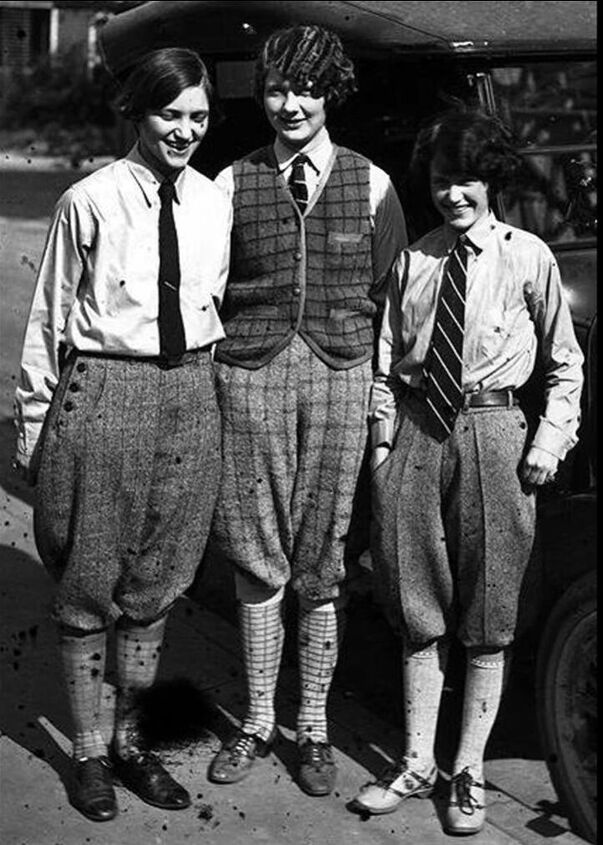
In the early 20th century, as female emancipation gathered pace, more women entered the workforce and gained the right to work. In the 1920s, women’s clothes became more masculine, taking a looser appearance.

In the 1930s, Hollywood actresses such as Katharine Hepburn, Greta Garbo, Marlene Dietrich, and Fay Wray capitalized on this new freedom, wearing men's clothing on and off the screen.
Whilst at the same time, the ascot scarf established itself in the wardrobe of the emancipated woman.

One of the earliest pictures of a woman wearing an ascot scarf is of Amelia Earhart, the American pilot and first female aviator to fly solo across the Atlantic ocean.
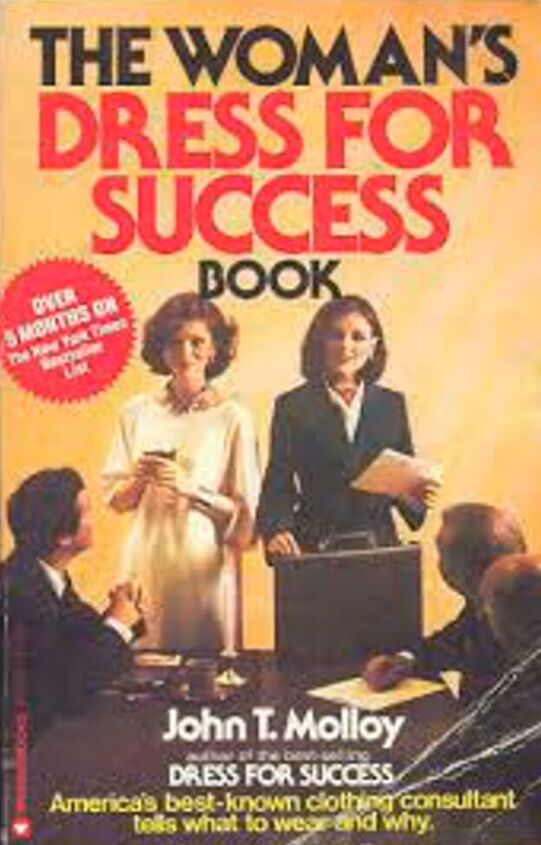
In the late 70s, we saw this style featured on the cover of the woman’s dress for success book.
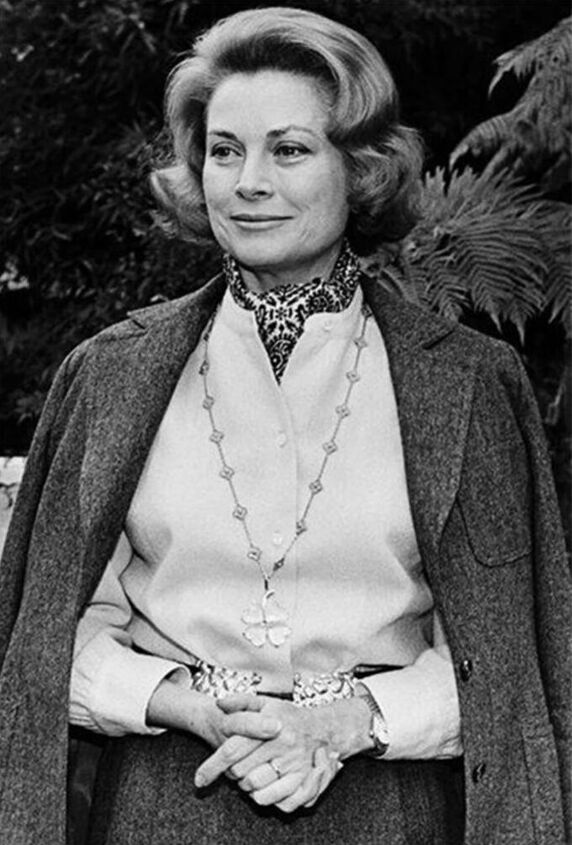
The legendary Grace Kelly was also an enthusiastic adopter of this look.
Now let’s get to how to style an ascot scarf!
Ascot scarf style 1
First, let’s go for the easiest style. Medium scarf sizes are the best for this, I find.
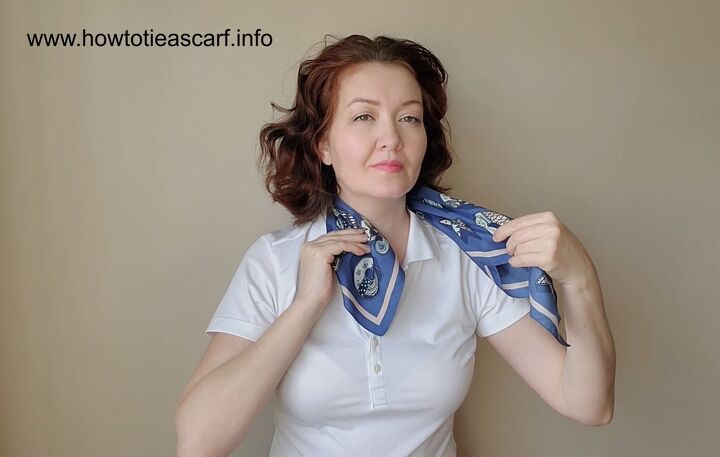
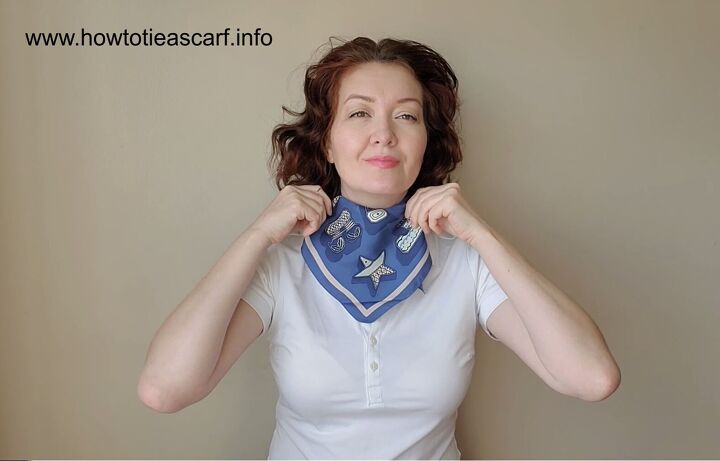
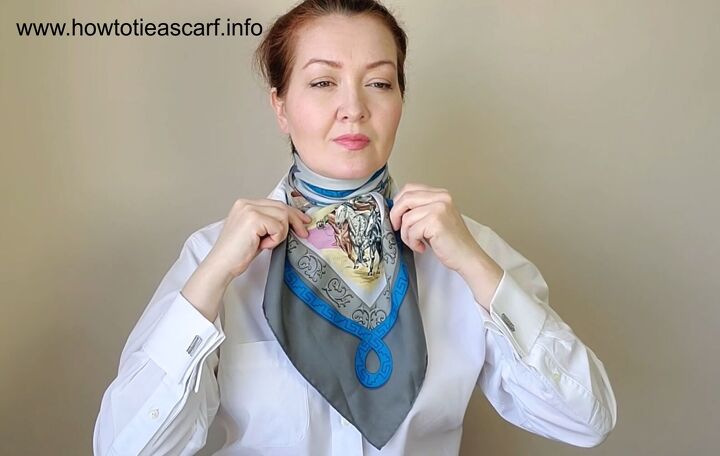
Step 1 - Place around your neck
Make your scarf into a large band, and then place the scarf around your neck, one side being slightly longer than the other.
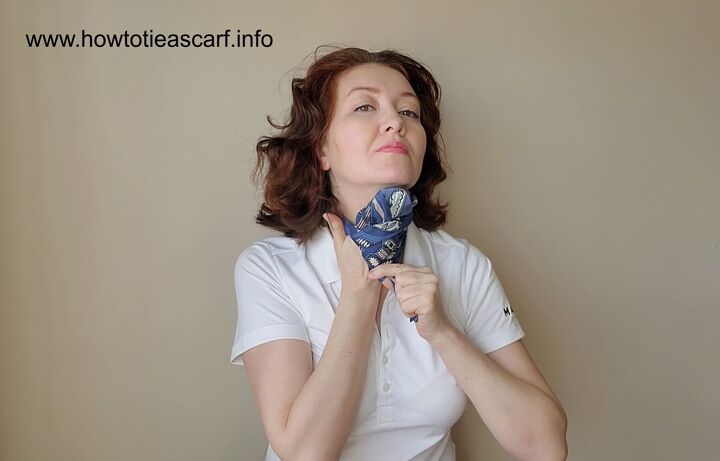
Step 2 - Tie a knot
Bring the long side over the shorter side, then bring it up from under and tie a knot.
Step 3 - Spread out
Widen the scarf out and tuck in the ends under your shirt.

Here is the finished look. This is the most classic way to wear an ascot scarf.
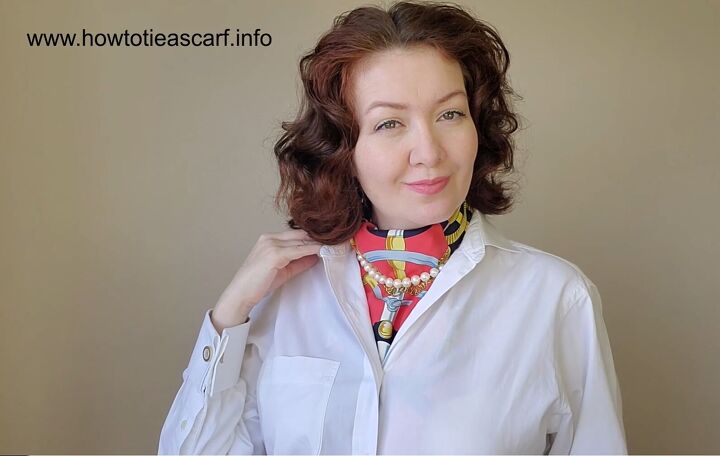
For a more dressy look and something a little bit different, you can also style this scarf by adding a pearl necklace.
Ascot scarf style 2
You will need a larger scarf for this next style, or an oblong scarf would also work.
Step 1 - Place around your neck
Make a large band from your scarf. Arrange it asymmetrically on your neck so that you have a longer side and a shorter side.
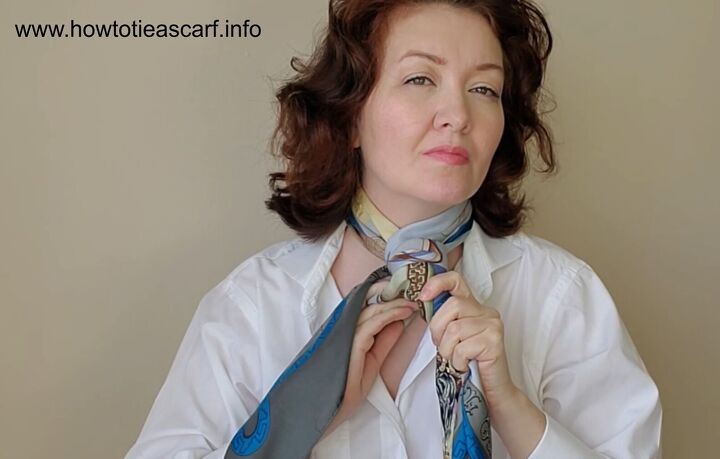
Step 2 - Tie a knot
Cross the longer side over the shorter one, pass it under the scarf, and then wrap it around the other side again. Then pull it up and out from underneath and bring it down through the loop, just as you would tie a tie.
Now you have a tie-style scarf.

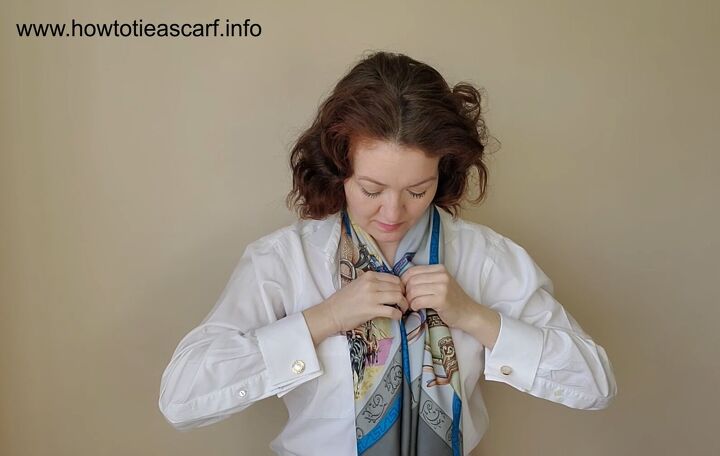
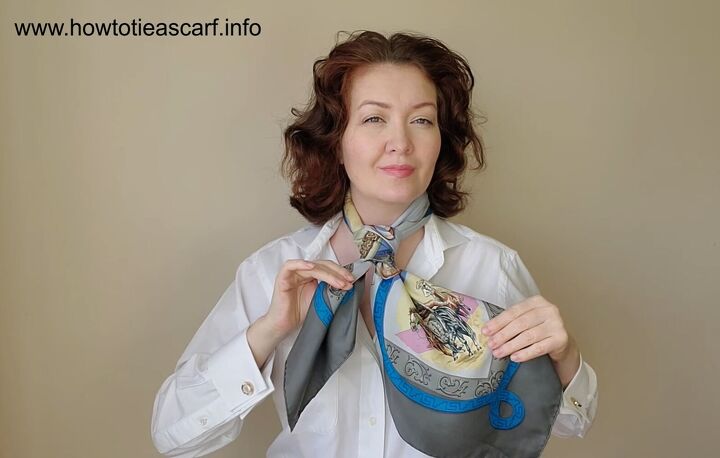
Step 3 - Bring one end over through the center
Take the end of the scarf that lies behind and bring it up through the knot.

Finish by tucking the ends under your top. This style of scarf has much more volume than the first one.
Ascot scarf style 3
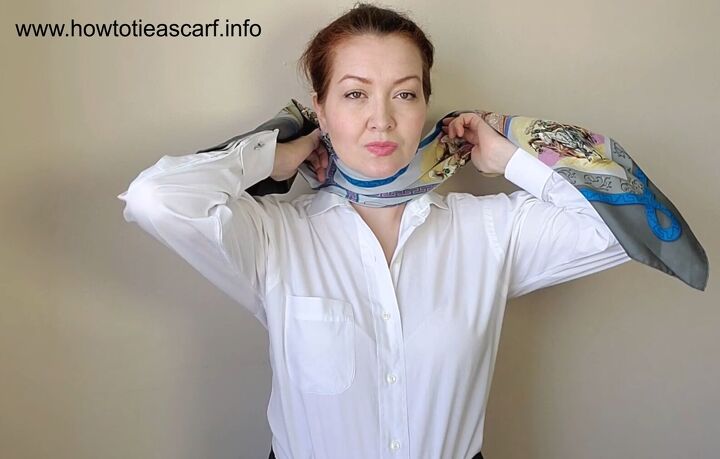
Step 1 - Place around your neck
Make a band from your scarf. Then place the band around your neck backward so that the ends of the scarf fall down your back. Make sure the scarf is asymmetric so that one side is longer than the other.
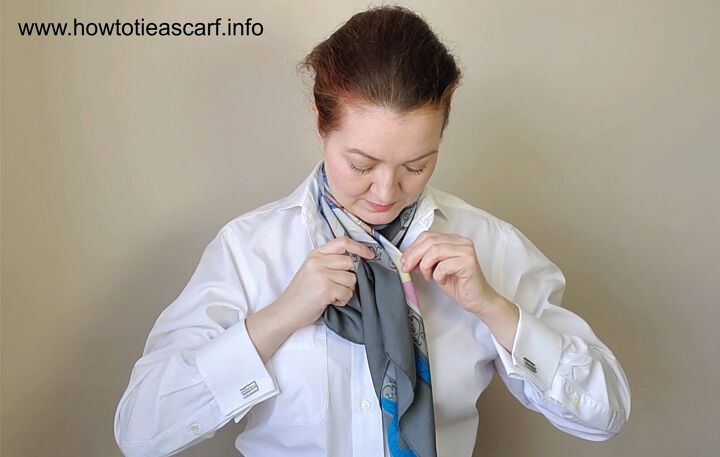
Step 2 - Tie a knot
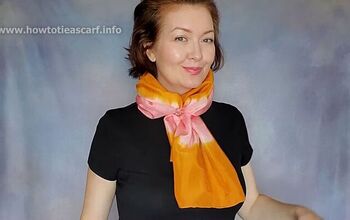
Cross the ends over at the back, bring them round to the front and tie a knot. You can tie a single knot, or if you have a longer scarf, then a double knot.
Step 3 - Spread out
Finish by spreading out the scarf and tucking it into your top.

Here is the finished look!
How to tie an ascot scarf
There we have three different ways to style an ascot knot scarf. Adding a silk scarf to your outfit instantly elevates it and makes you look very stylish.
Let me know which style of ascot scarf is your favorite in the comments below!
The author may collect a small share of sales from the links on this page.


Comments
Join the conversation
Thank you! I have sentimental scarves that can come out of storage. Family that gave them to me would be happy to know I am using them in a stylist way and are going to be useful to hide a surgery scar; a Iovely alternative to wearing turtlenecks. Show us more!
Thank you so much for your lovely comment! I m so glad that was helpful!