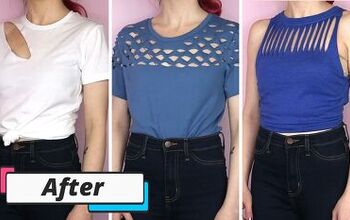
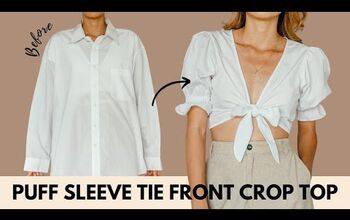
4 Awesome DIY T-Shirt Cutting Ideas

T-shirts are a wardrobe staple for most people, but the style can get boring. I am going to show you a few DIY t-shirt-cutting ideas that will take your old shirts from plain to chic. Let’s begin!
Note: While I have not used exact measurements in this tutorial, I suggest you try the t-shirts on before marking off where to cut. You could also use a measuring tape and fabric chalk for more precise measurements.
Tools and materials:
- T-shirt
- Scissors
- Measuring tape (optional)
- Fabric chalk (optional)
- Ruler (optional)
Triangle-tee
The first design will be a simple triangle that will be cut from the front top of the t-shirt.
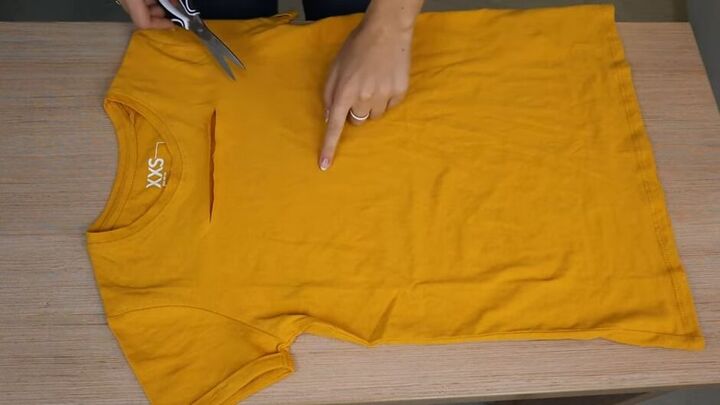
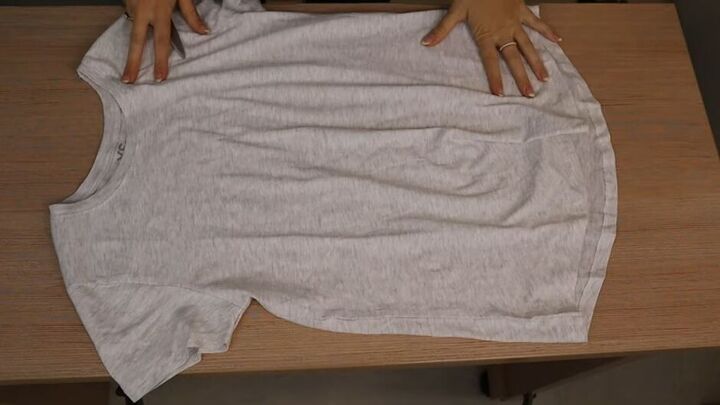
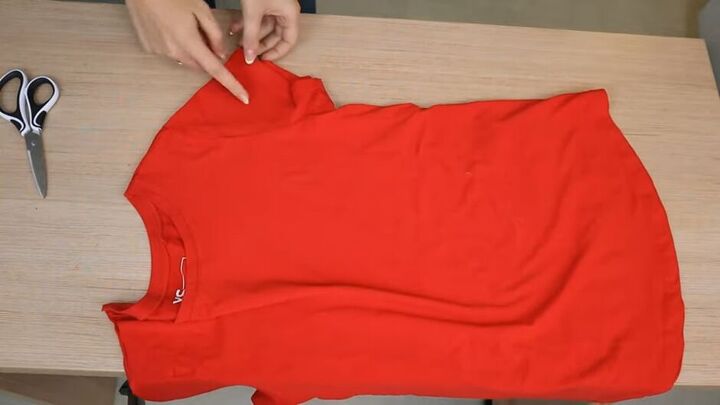
1. Prepare your shirt
Lay your shirt on a flat surface and place cardboard between the front and back fabric to prevent the cut from going through to the back of the shirt.
2. Mark the triangle and snip a starting point
Your triangle should lie with the base on top and the point at the bottom. When you have marked your triangle, pinch the top edge, and snip the center.

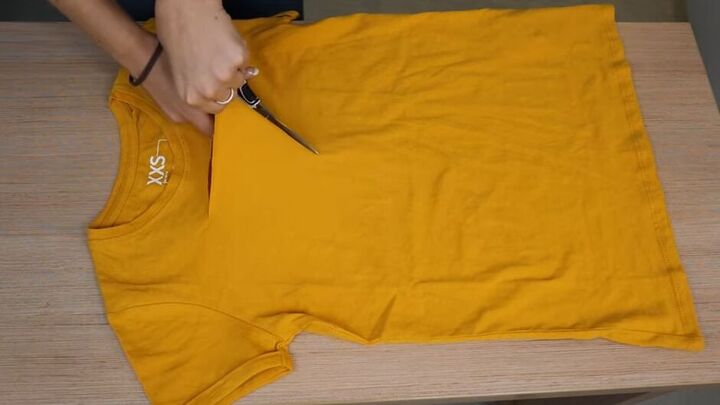
3. Cut the triangle shape
Now all you want to do is cut that triangle shape out. I cut along one side of the base till I reached the end point.
Then I went back to the center and cut along the base in the other direction.
Make sure this line is equal on both sides.
Now you will cut the last two sides of your triangle each ending at the lower point.
Cut the first side.
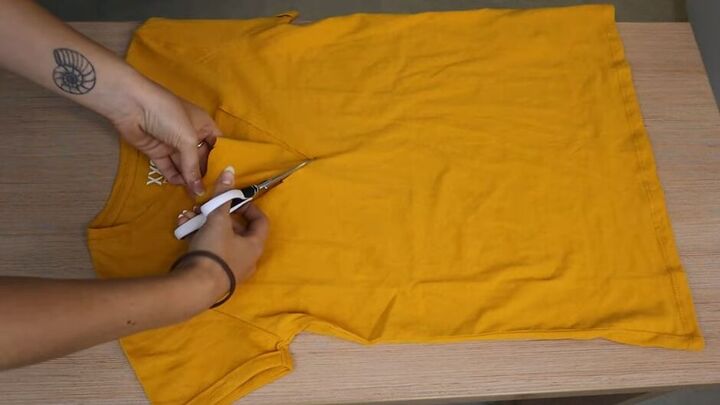
Then cut the second side.
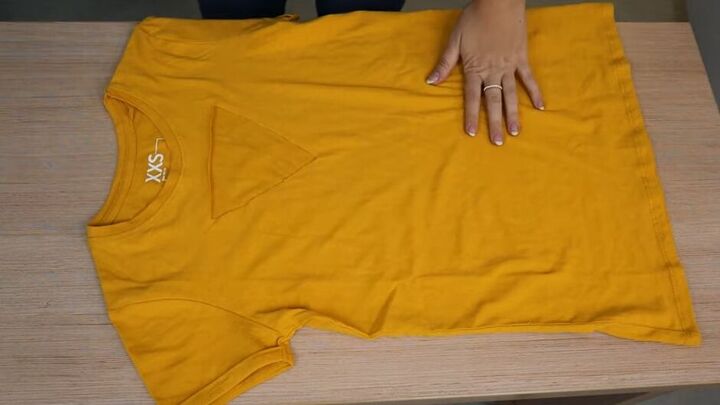
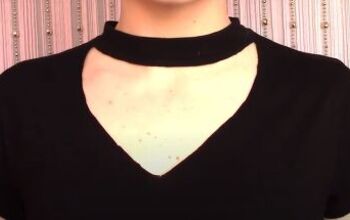
Your t-shirt should look like this.

This is how it looks on. I really like how it shows a little bit of skin without being too revealing.

If you prefer, you can make your own DIY crop top by tying a knot at the center of the shirt.
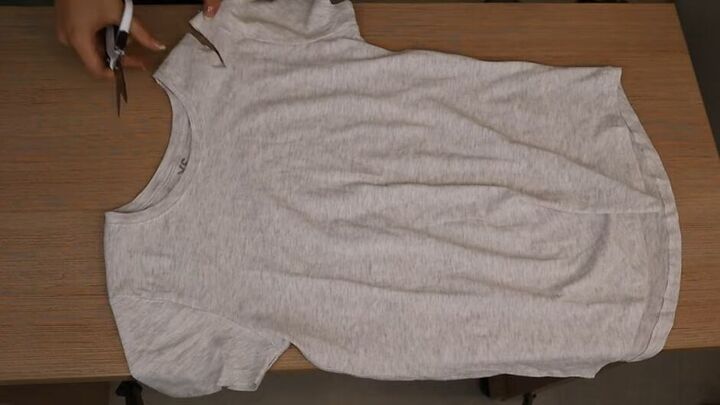
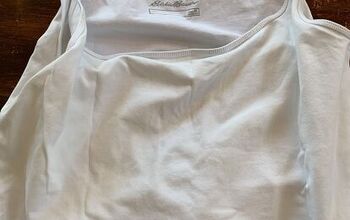
Cold shoulder
The next DIY t-shirt cutting idea is a very simple way of making a normal T-shirt a little cuter. We'll cut an oval shape on each shoulder to create a cold shoulder design.
1. Measure
Lay your shirt on a flat surface. Measure both sides of the shirt at the shoulder, marking 1 inch down from the collar and 1 inch up from the sleeve.
2. Mark the end of the cut
Identify the point at which you want to end your cut and mark it.
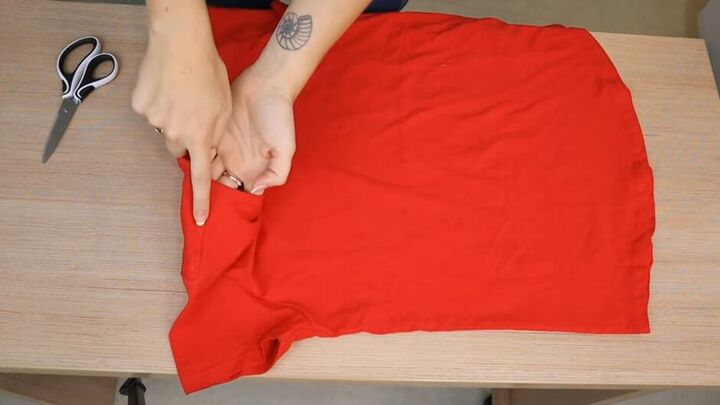
3. Line the front and back of your t-shirt together
The fabric will be cut on both sides at the same time, so ensure that they are lying together properly.
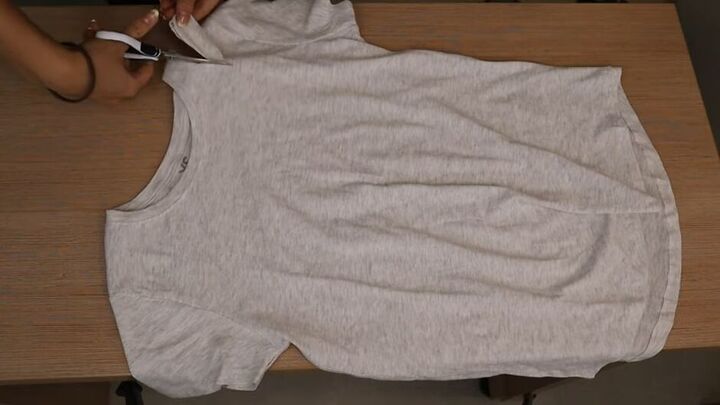
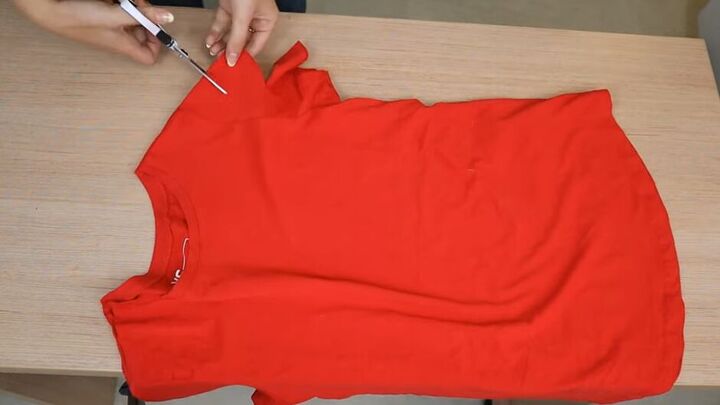
4. Snip
Using your measurements as a guide, make a snip on the mark by the collar and another snip on the mark by the sleeve.
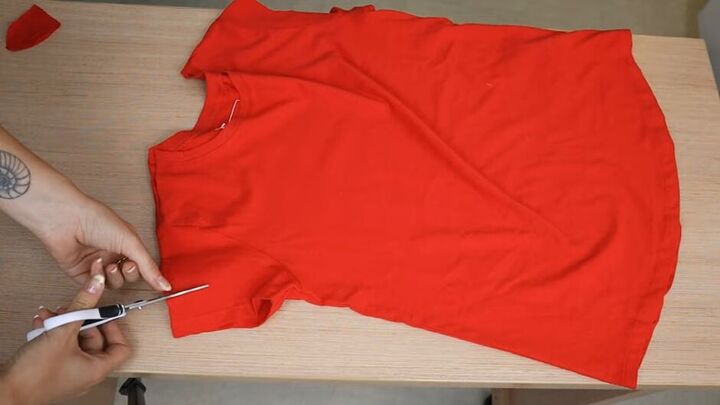
5. Cut an oval shape on each shoulder
Now you want to cut an oval shape out.

It is easiest to cut the oval by starting on one snip and cutting in a rounded manner to the endpoint you marked.
Then go back to the second snip and repeat.

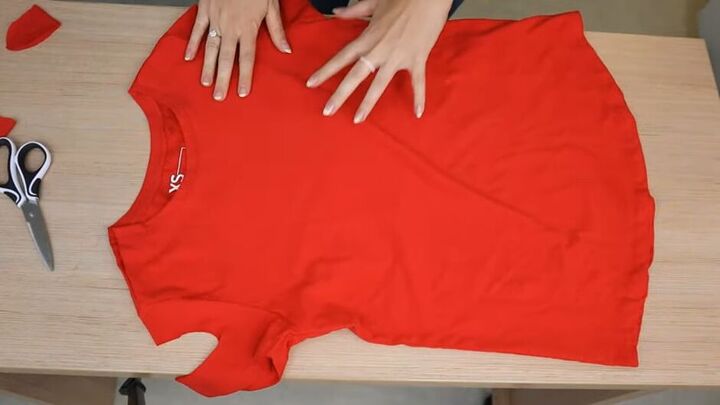
Repeat on the second shoulder.

This is how the shirt looks tucked into jeans, it really makes the t-shirt more stylish and exciting.
Oval Tee
Note: Several cuts will be used to create the next design.
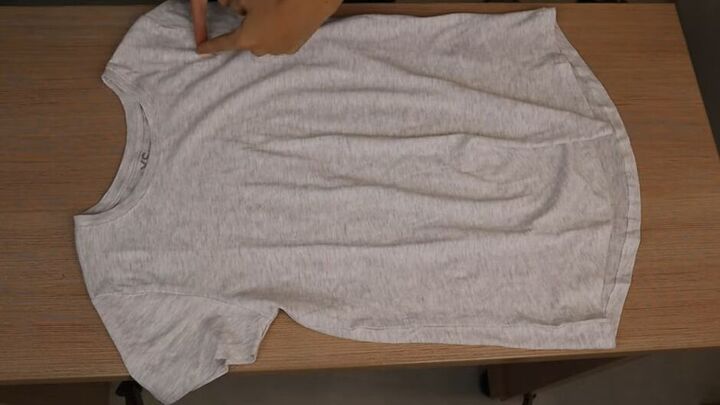
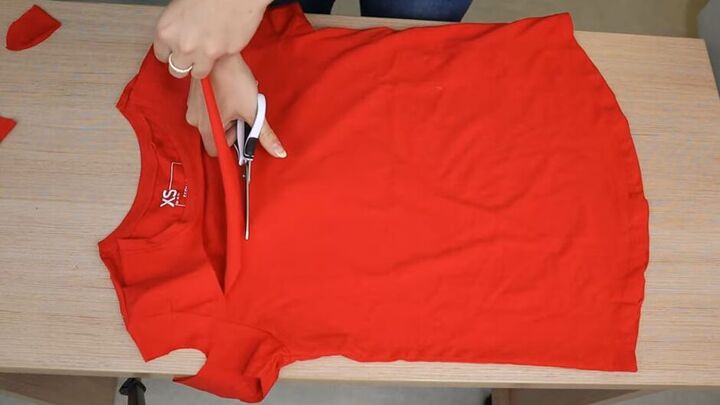
1. Widen the neckline
Starting from the collar, widen the neckline by cutting halfway along the shoulder seam.
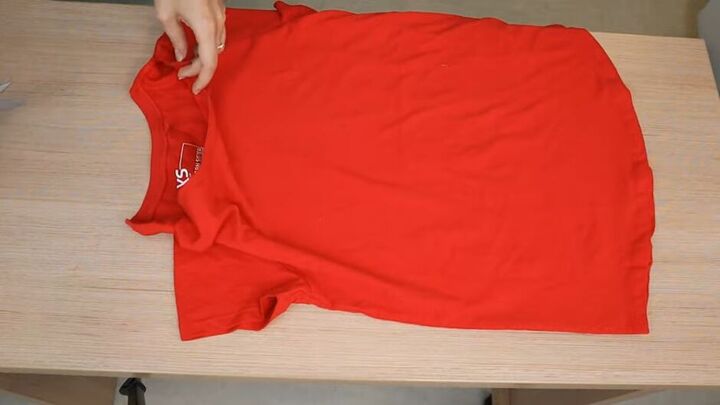
Repeat on the other side.
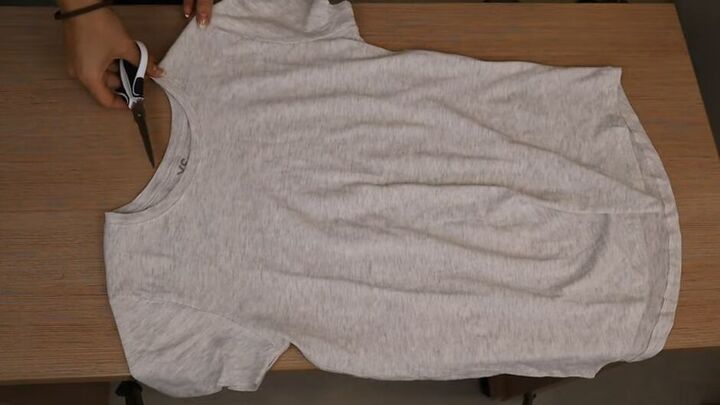
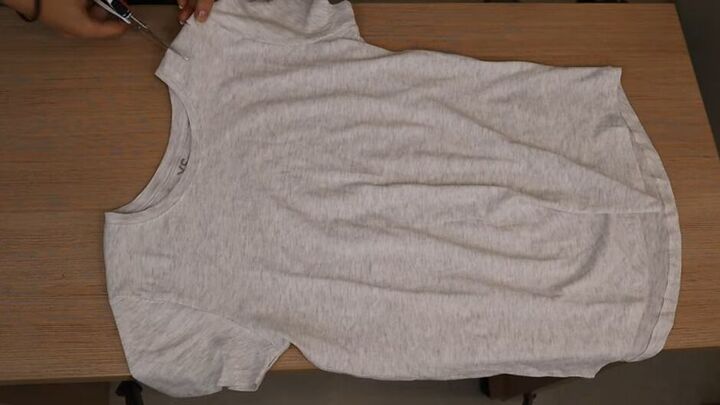
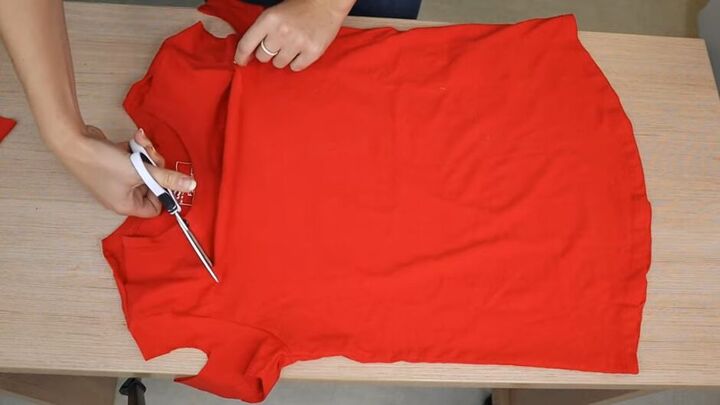
2. Cut oval shapes on sleeves
Our sleeves will be cut into an oval shape by using the same technique used in our cold shoulder design above.

Two marks should be made on the sleeve, one an inch from the top and the other an inch from the bottom. Also, mark the point where you would like the oval shape to end.
From the first mark, cut until you reach the endpoint. The second mark should be made the same way. Remember to round your cuts to get the oval shape.
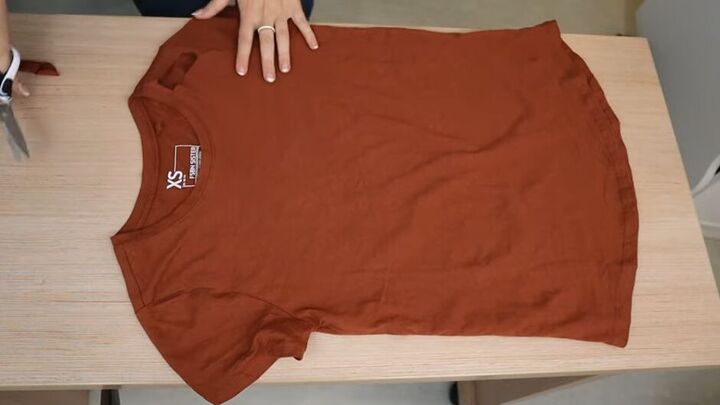
Repeat the process on the second sleeve.
Your sleeves should now look like this.
3. Cut an oval on the chest
Lay your shirt flat and mark off where you want the oval shape to start and end. Now cut a slightly rounded line from one side to the other.
Then go back to the starting point and cut another rounded line to the other side. It should create an oval shape lying horizontally across the chest area.

This is what the shirt looks like when I put it on. These cuts have completely changed the look of the t-shirt.

I also love how it looks as a crop top. This one is really fun!
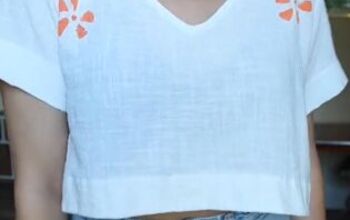
Statement neckline tee
With the final design, rectangles are cut out around the collar, enhancing the neckline.
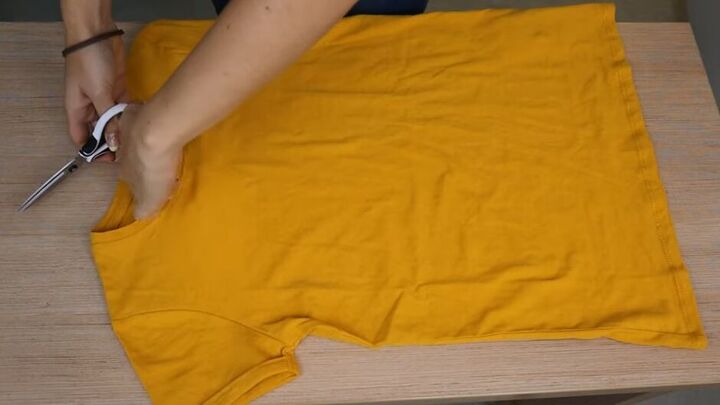
1. Start at the shoulder
Starting on one shoulder, cut out a small rectangle between the collar and sleeve. You are only cutting the front fabric of the t-shirt, so put cardboard between the two sides.
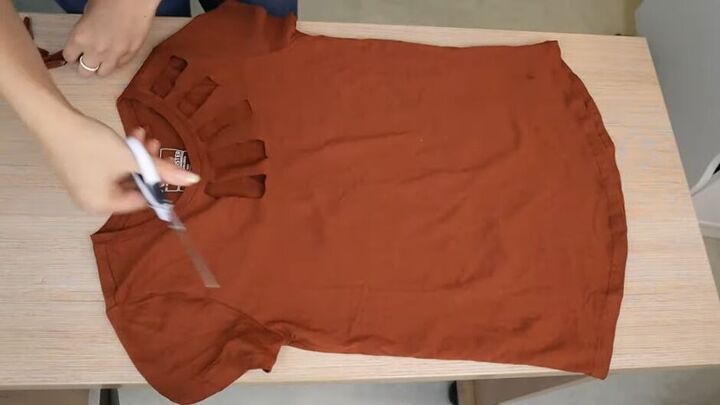
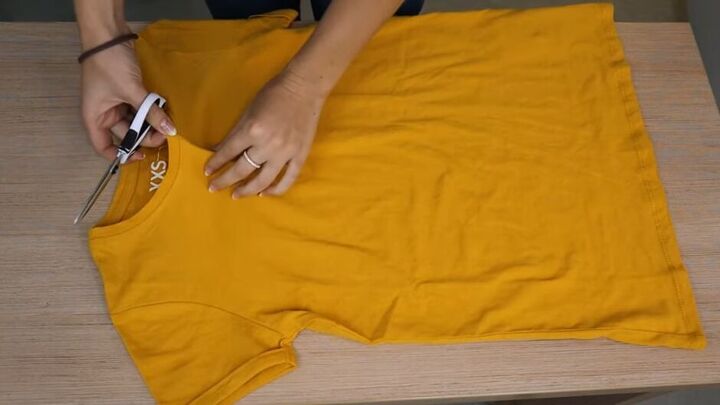
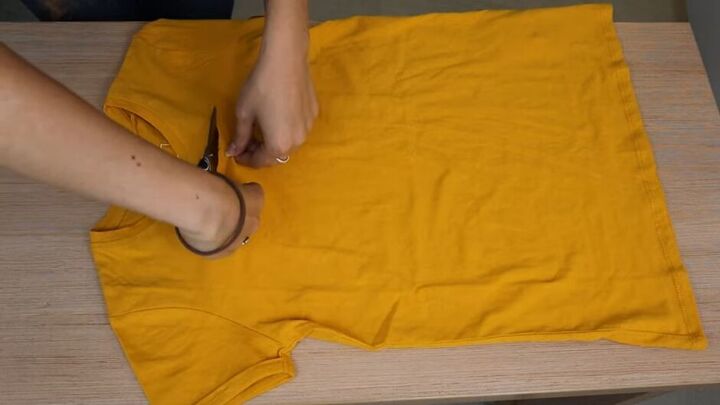
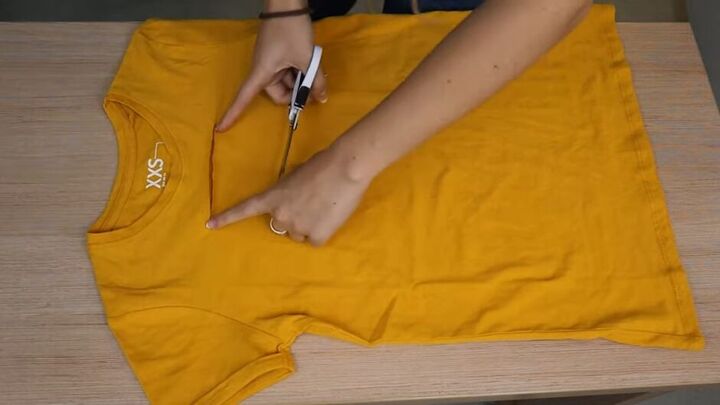
2. Continue the cuts
Continue cutting rectangles, gradually increasing in size as it reaches the center. Then, start decreasing the size towards the second shoulder.
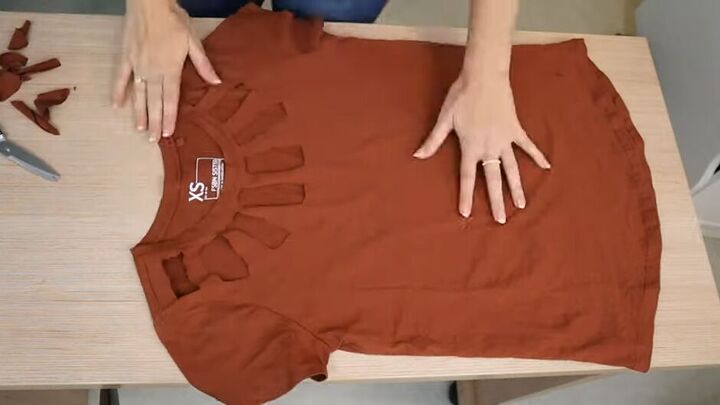
The main thing to keep in mind when cutting is to make both sides symmetrical.

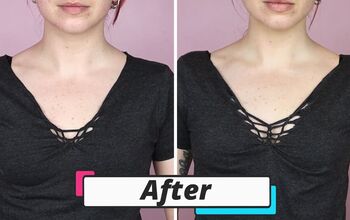
Isn’t this the cutest? It looks like a flower framing my face.
DIY t-shirt-cutting ideas
Those are my DIY t-shirt-cutting ideas for today. I really hope you enjoyed these cut t-shirt designs, and you try them out.
Let me know in the comments what other projects you would like to see in the future!
The author may collect a small share of sales from the links on this page.


Comments
Join the conversation