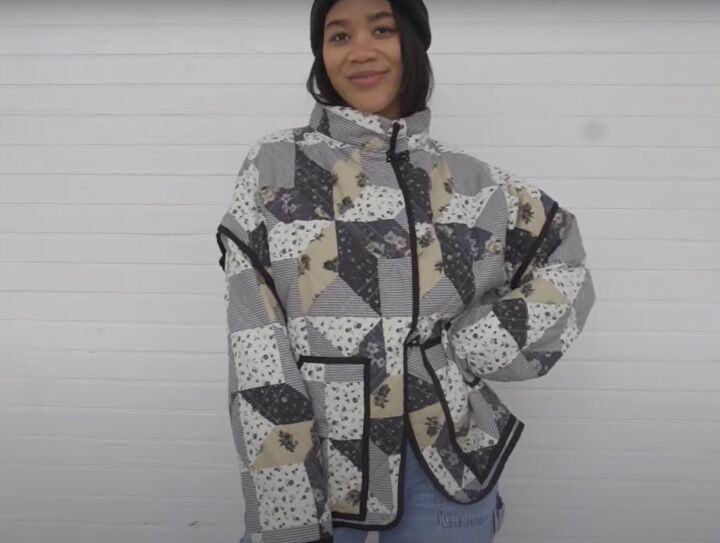
How to DIY a Trendy Quilt Jacket

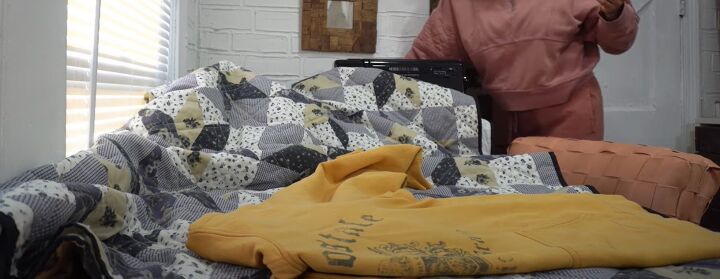
Just in time for spring, I found a quilted blanket in the thrift store. I knew immediately I wanted to turn it into a DIY quilt jacket, but I went a step further.
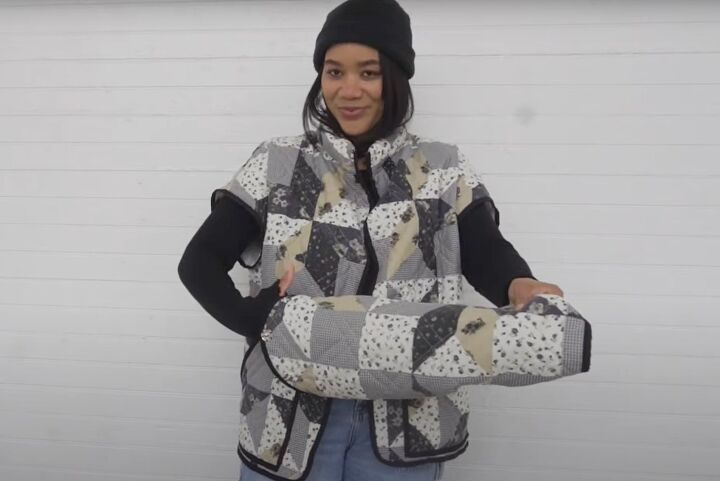
I’ve been loving the quilted vests I’ve seen everywhere, so this jacket turns into one! It's perfect for this season.
The pattern drafting in this tutorial takes some experience so it's suitable for more advanced sewists. Have fun with it!
Tools and materials:
- Quilted blanket
- Hoodie, sweater or jacket as a template
- Sew on snap buttons
- Hand sewing needle and thread
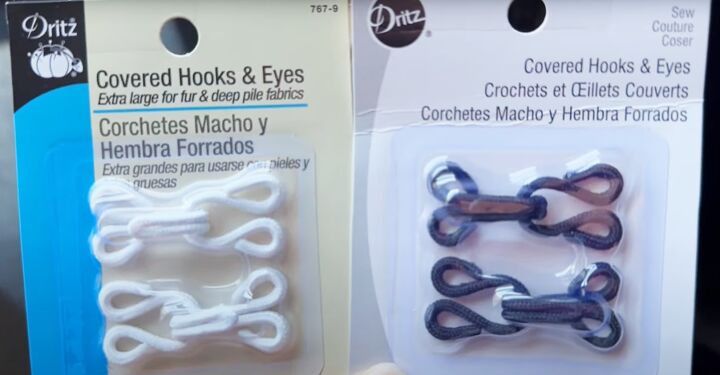
- Hook and eye closures
- Tailor's chalk
- Pins
- Scissors
- Ruler
- Sewing machine
- Serger (optional)
1. Pattern drafting
I decided to trace my template hoodie directly onto the fabric. If you feel a bit nervous about doing this, you can trace it on to paper first.
Fold your template garment in half lengthways, so the pattern is symmetrical.
Outline the front section, leaving room for the button placket.
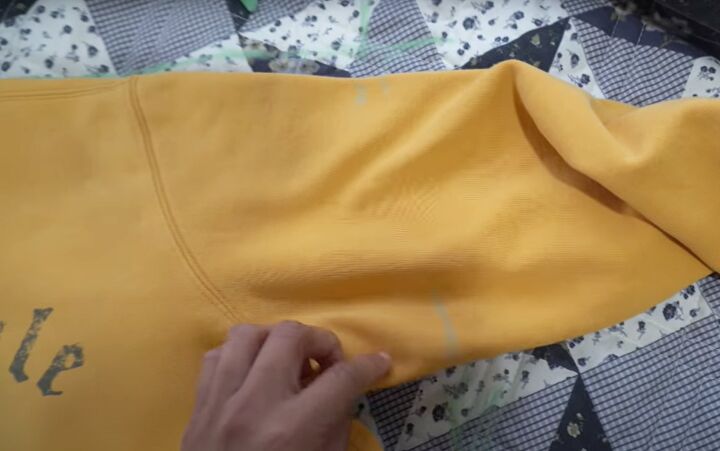
I decided on a dolman sleeve.
To draft this, extend the shoulder seam into the top of the sleeve. Mark on your hoodie sleeve where the shoulder ends, so you know from what point to start drafting the sleeve.
Then, draw a curve from the side seam to meet that point.
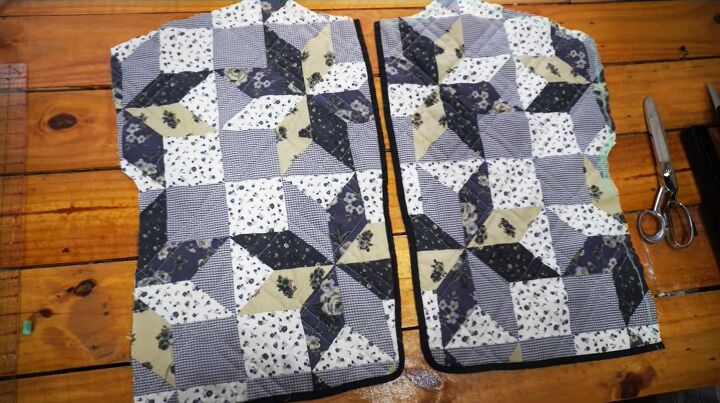
Cut out the two front pieces.
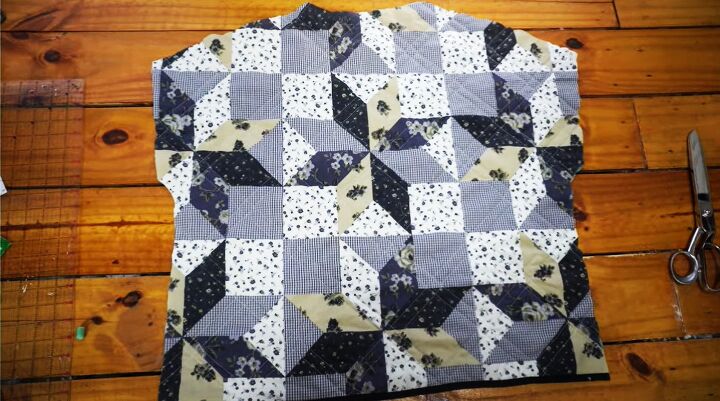
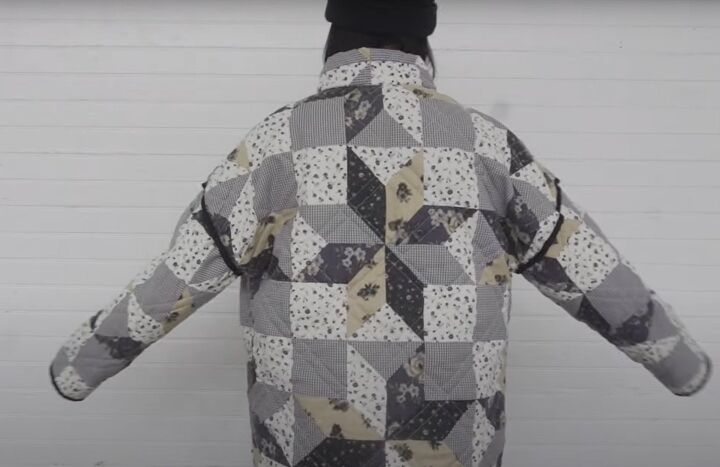
If your blanket has a large motif like mine, you want this to be in the center of the back section.
Fold your fabric in half with the motif on the fold and use the front piece as a guide to cut the back, excluding the extra material for the button placket.

2. Patch pockets
Sew the fronts to the back at the shoulder seams.
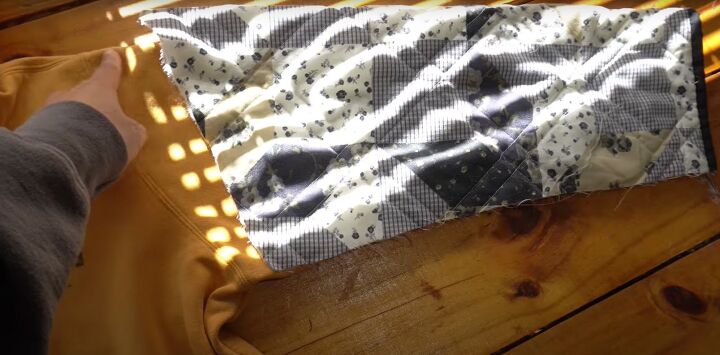
Cut two rectangles, 10 inches deep by 8.5 inches wide. Cut a diagonal line from 5.5 inches across the top down to the side edge, for the pocket opening.
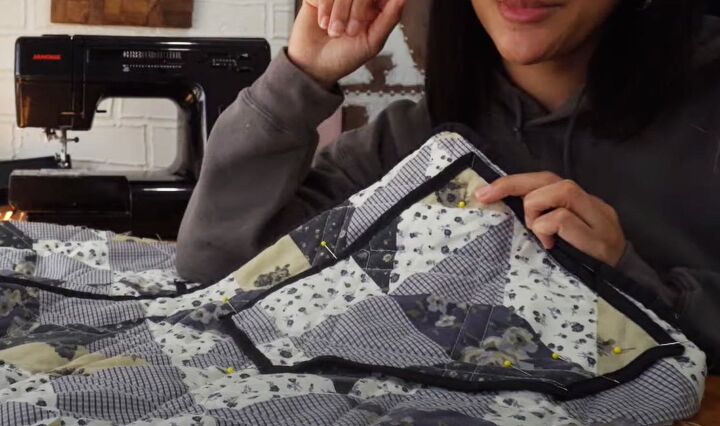
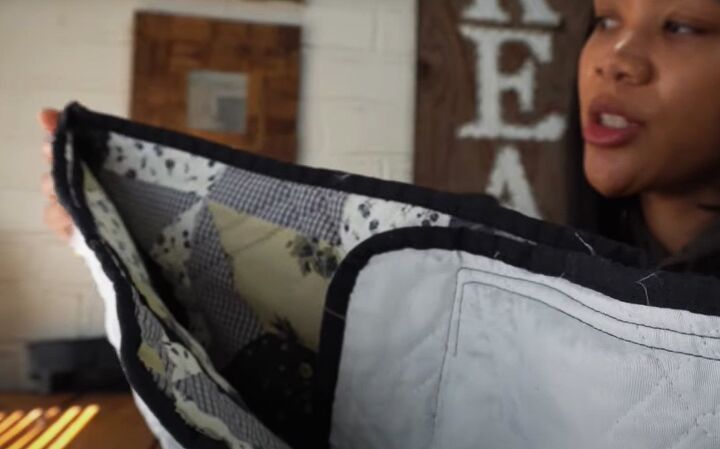
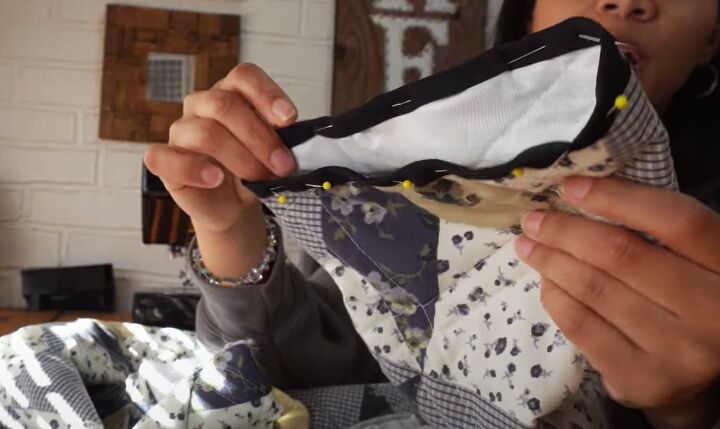
Seam rip strips of bias binding from the edge of the blanket and sew it to the raw pocket edges.
Attach the pockets to the fronts with two rows of stitching.
3. Side seams
Sew the side seams from the bottom edge upwards, so the bias trim is aligned.
Finish the raw edges with a serger or zigzag stitch.

4. Sleeves
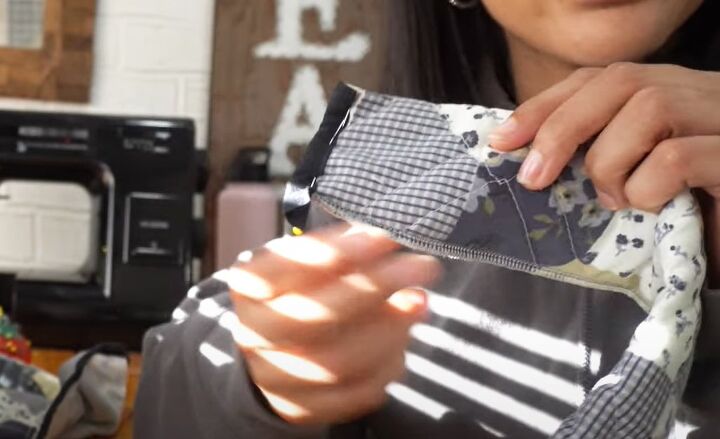
Use the bias binding from the blanket to trim the edge of the armholes.
Trace the sleeve from just above the marks on the hoodie on to the blanket, to allow for the snap fastenings, and cut out.
Cut off and curve the sharp point at the top of the sleeve head.
Sew the sleeve seam and bias bind the head of the sleeve.
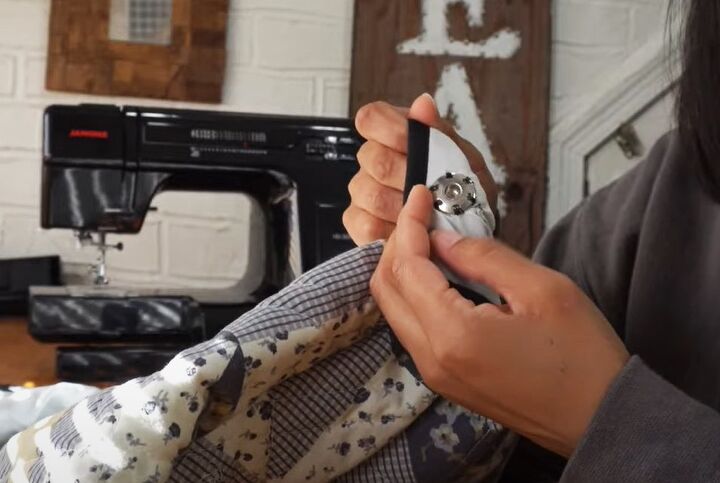
5. Snap fastenings
Hand sew snap fastenings to the outside of the sleeve head and the inside of the armhole.
I used six fasteners per sleeve, one each at the shoulder and underarm seams and two each at the back and front of the sleeve head.
6. Collar
Measure around the jacket neckline. Cut a rectangle on the fold, half an inch shorter than that measurement and 1.5 inches deep (3 inches in total).
Slightly slant the lower edge at each end by about a quarter of an inch.
Serge or zigzag stitch the bottom edges of the collar together. Add bias tape to each short side.
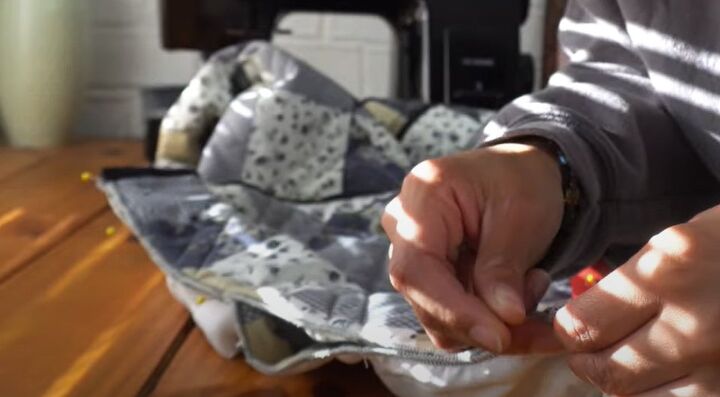
Finish the neckline edge of your jacket and pin and sew the collar in place. Top stitch the seam down on the inside.
7. Closures
Hand sew two or three hook and eye closures to the jacket front.
DIY quilt jacket
My DIY quilted jacket is one of my favorite makes. It's soft, warm and cozy and the vest conversion is perfect for warm spring days. And it only took me 5 hours in total!
What do you think of it? I'd love to know if you make this - please do leave me a comment if you do.
Check out my post on How to DIY a Super Cozy Hoodie.
The author may collect a small share of sales from the links on this page.


Comments
Join the conversation