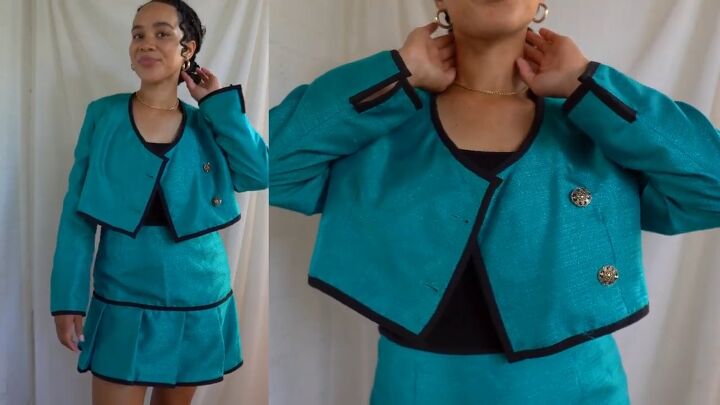
Thrift Flipping Tutorial: Cute DIY Jacket and Skirt Set

I’ll be thrift-flipping this very frumpy and unflattering suit set into a jacket and skirt set.
But what is thrift flipping? Thrift flipping is the act of refashioning clothes. You take something you’ve bought from a thrift shop that maybe doesn’t fit right or you think has potential and turn it into a piece that you love!
This set was only $4 and I love the color, so I’m thrift flipping it into a jacket and skirt set.
Tools and materials:
- Suit set
- Seam ripper
- Scissors
- Pins
- Sewing machine
- Bias tape
- Tape measure
- Iron

Here’s the before shot, and let’s get started!
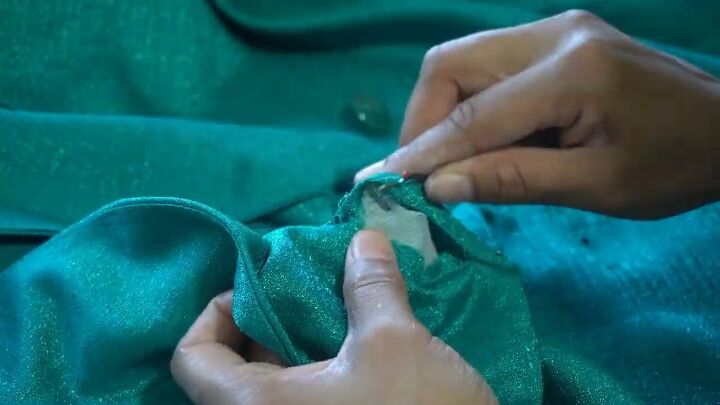
1. Remove the collar
Use a seam ripper to remove the collar from the jacket.
2. Crop
Crop the jacket to a length you like.
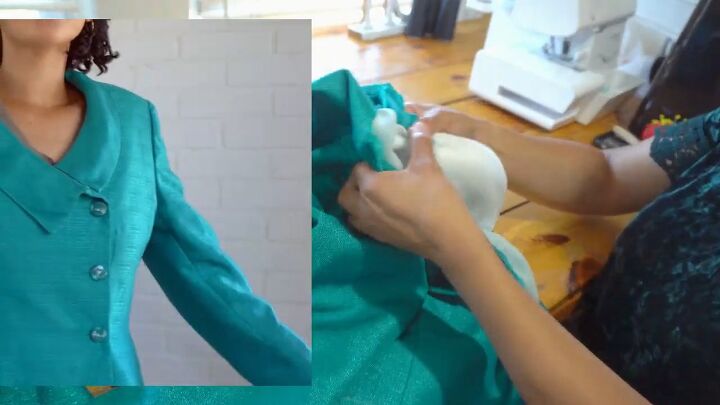
3. Remove the shoulder pads
The shoulder pads are the main reason why this jacket is so unflattering, so they have to go.
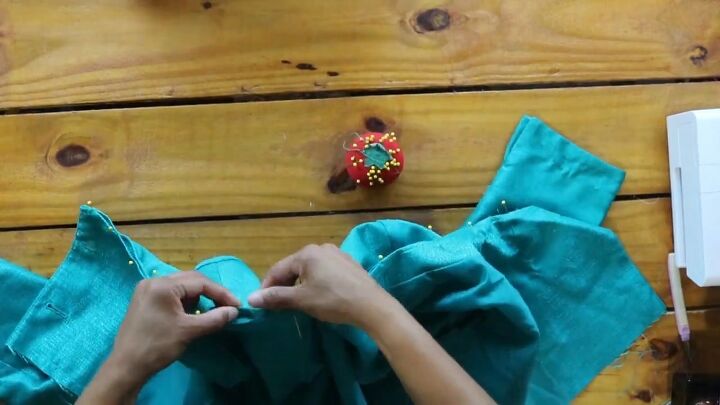
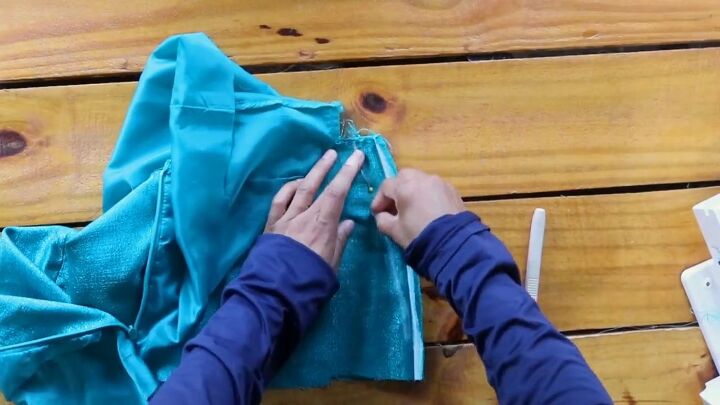
4. Pin and sew the back seam to take in the jacket
I’m taking in the jacket at the back seam to avoid removing the sleeves.
To do this, remove the tag and pin the back of the jacket about an inch and a half from the center back seam.
Try it on before sewing it in place to make sure it’s not too snug, then sew the back until you’re happy with the fit.
Cut the excess fabric.
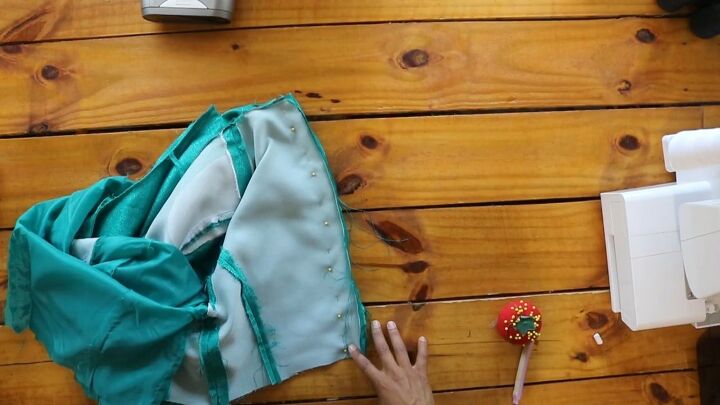
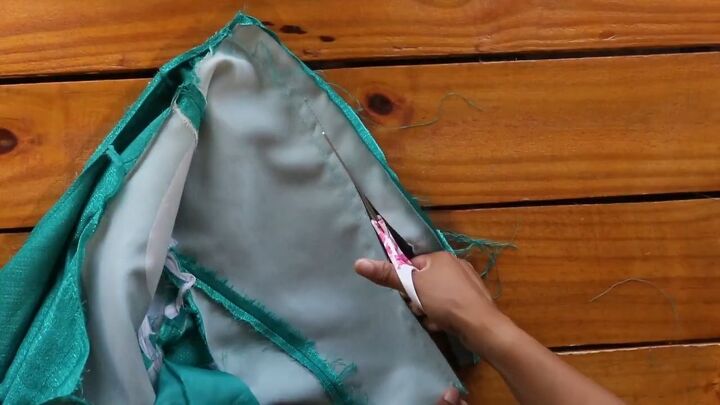
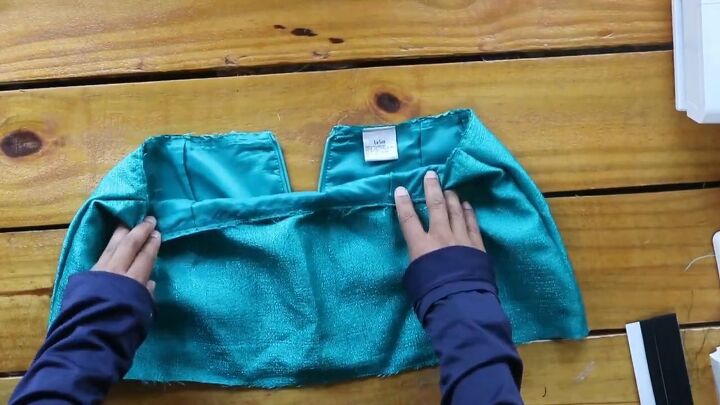
5. Take in the lining and stitch it back to the jacket
The seam will need to be pressed open, and the lining should be taken in just as much.
Afterward, pin the lining to the jacket along the neckline and stitch it back together.
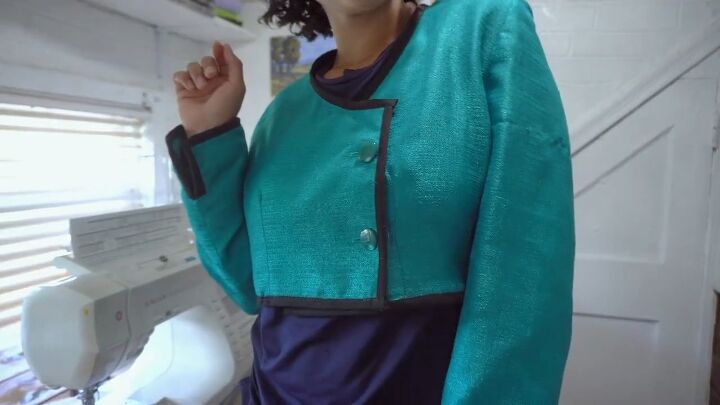
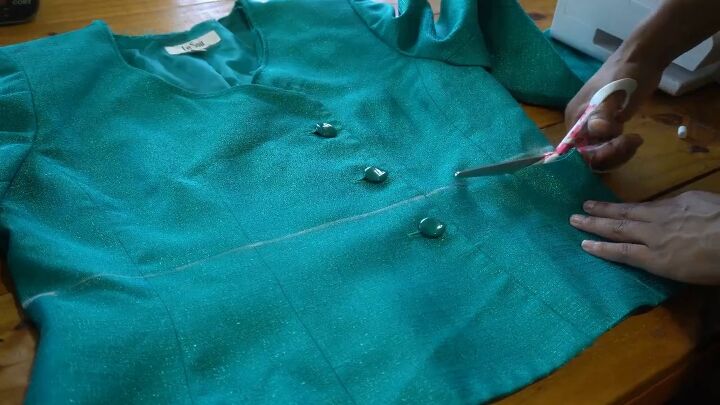
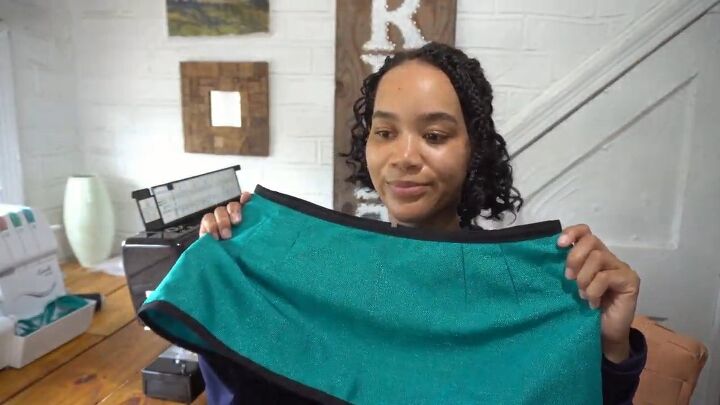
6. Add black bias tape trimming
Add black trimming with bias tape to the entire jacket, including the bottom, the neckline, the sides, and the sleeve.
The contrast of the black against the green is going to be super cute.
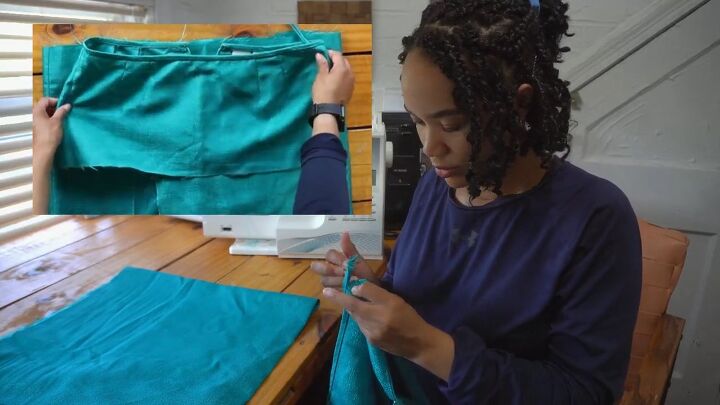
7. Crop the skirt and seam rip the edge binding
Originally, I was going to create a wrap skirt with the rest of the suit set, so I’ve already cut off about 8 inches from the top edge of the skirt.
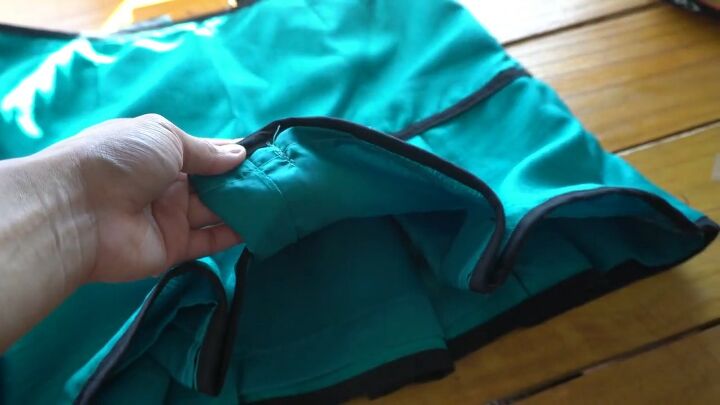
Now, I’m going to seam rip the edge binding as well as the hook and loop and set them aside to be put back on later.
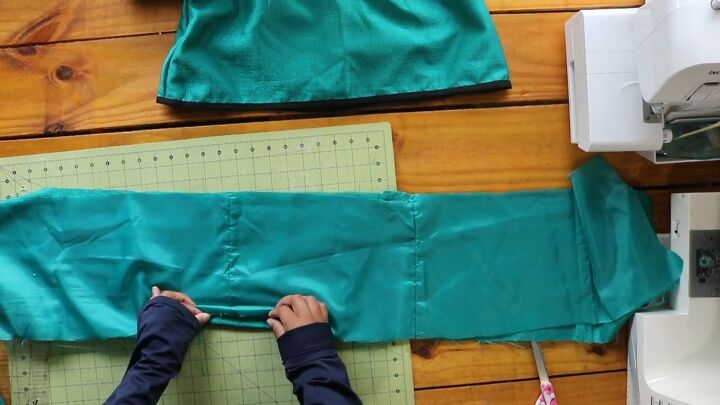
8. Take in the sides of the skirt
Separate the lining from the outer fabric and take in the sides of both the outer fabric and the lining fabric.
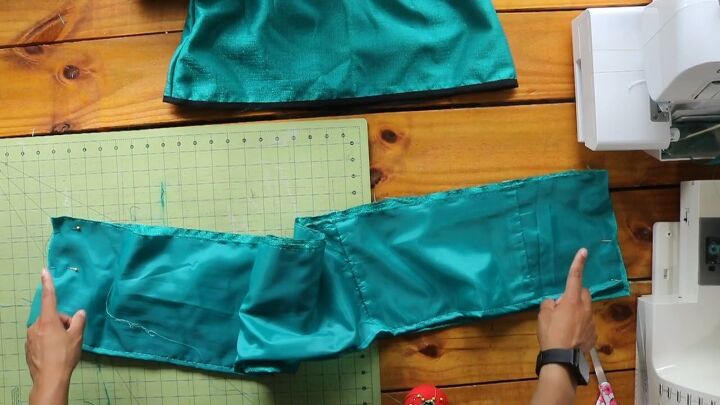
9. Reattach the lining
Stitch the lining to the outer fabric with the basting stitch around the top and bottom edges.
10. Add bias tape to the skirt
Add bias tape to the top and bottom edges.

11. Sew up the back slit
I decided the best way to finish this skirt would be to add a pleated bottom.
I took the back portion of the skirt and top-stitched the existing back slit closed.
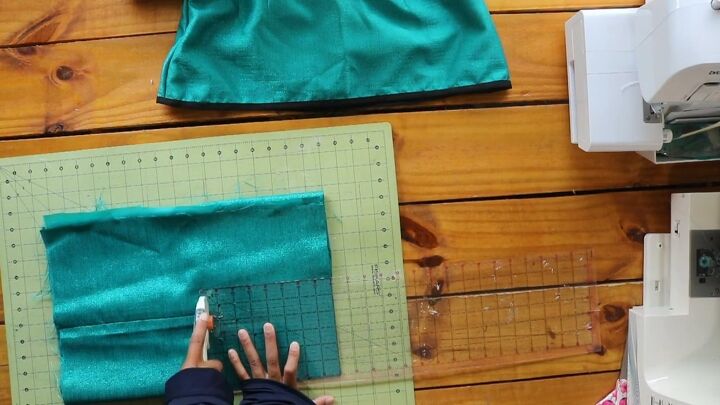
12. Cut the raw edge of the skirt
I folded the skirt in half long ways, since the bottom edge is already hemmed, and measured two inches from the center so the side with the raw edge can be hemmed as well.
Then I cut it out to create two pieces.
13. Hem the outer fabric and lining and attach them together
Attach the lining to the raw edge with a basting stitch, and then hem the lining and the outer fabric edges.
Finally, attach the lining to the outer fabric along the top edge with a basting stitch.
14. Attach them into a loop
Attach the two pieces into a loop by sewing the short sides together.
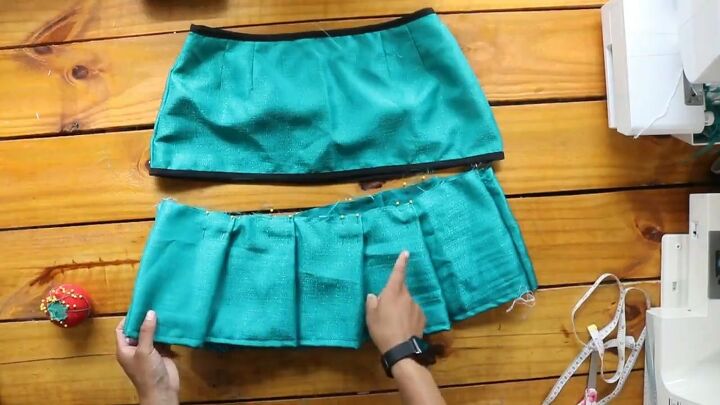
15. Fold the pleats to the size of the skirt and sew
Use a tape measurer to add even pleats, so the top edge of the piece is the same length as the bottom edge of the skirt.
Stitch the pleats in place and serge the raw edge.
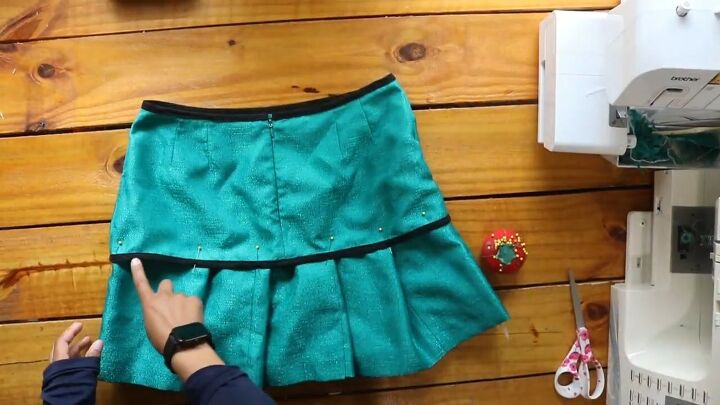
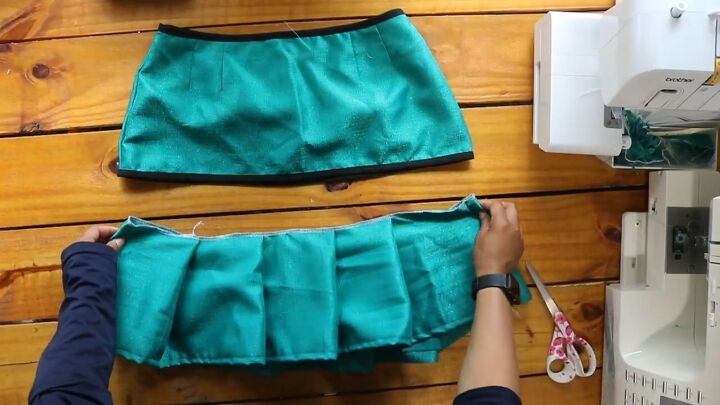
16. Pin and sew the pleats to the skirt
Pin the pleats to the skirt, lining the serged edge behind the bias tape.
Stitch it in place with two rows of stitching along the top and bottom edge of the bias tape.
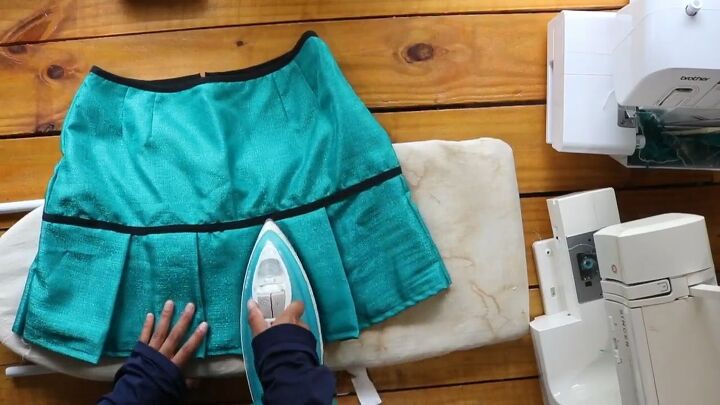
17. Press the pleats

18. Add bias tape
Finish the bottom edge with bias tape.
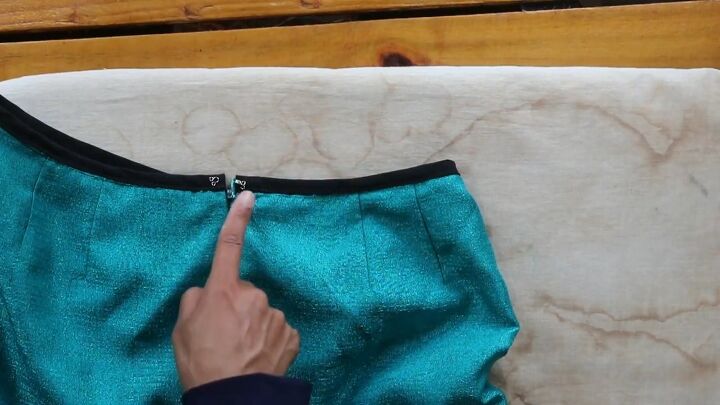
19. Sew the hook and loop
Sew the hook and loop back onto the skirt.
20. Understitch the pleats
Understitch the pleats to hold them in place.
Thrift flipped jacket and skirt set
I switched out the buttons for beautiful gold buttons and here’s the finished set!
Let me know what you think about this jacket and skirt set below.
If you enjoyed this tutorial, check out my post on How to DIY a Cute and Cozy Cropped Puffer Vest.
The author may collect a small share of sales from the links on this page.


Comments
Join the conversation
Very cute.