How to DIY a Sexy Racerback Maxi Dress

Today, I'm showing you how to sew a dress from my racerback maxi dress sewing pattern.
The Beatrix is a flared dress with princess seams and is designed for woven fabrics that drape well. It's a straightforward dress to sew, but to look its best you may need to adjust the fit to your body.
Tools and materials:
- Beatrix Dress pattern
- Woven fabric
- Fusible interfacing
- 24 inch (60 cm) invisible zipper
- Paper for printing
- Scissors
- Pins
- Tailor's chalk
- Sewing machine
- Serger (optional)
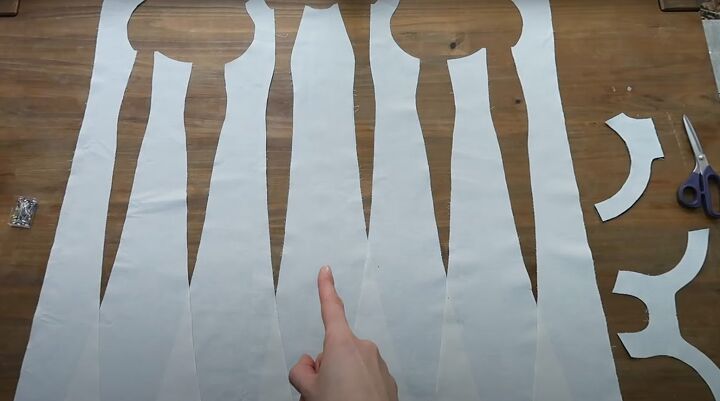
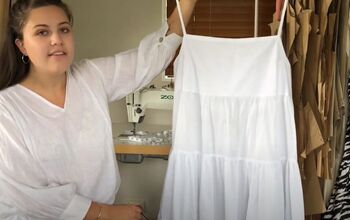
1. Cut out fabric
Assemble the pattern pieces, tape them together as shown in the instructions and cut them out.
Seam allowances of 0.5 inches (1 cm) are included.
Pin the pattern pieces to your fabric and cut them out.
Iron the fusible interfacing to the wrong side of the facings.
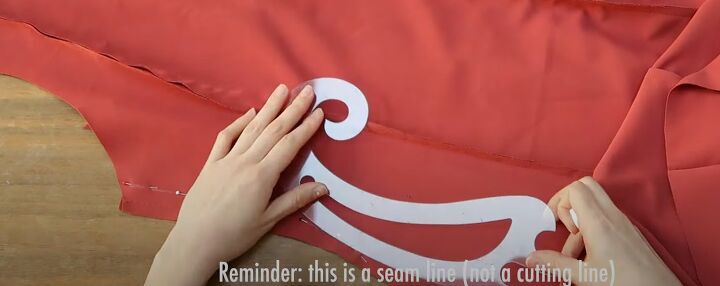
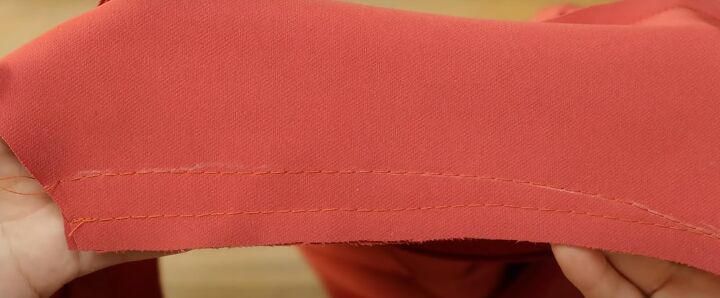
2. Sew front panels
Pin the center front to the side panels with right sides together and sew.
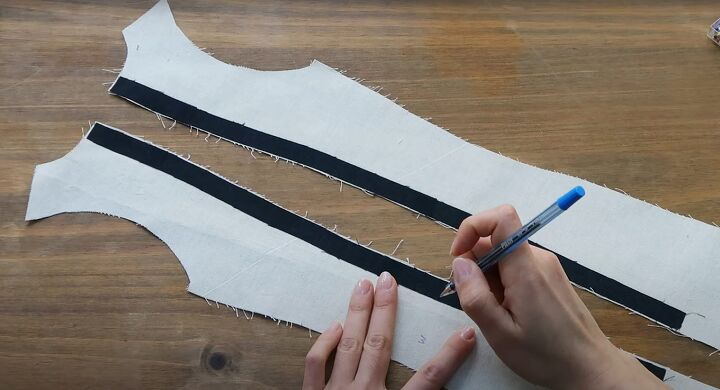
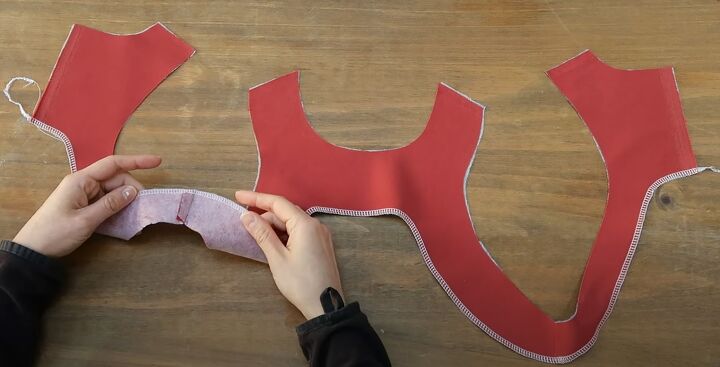
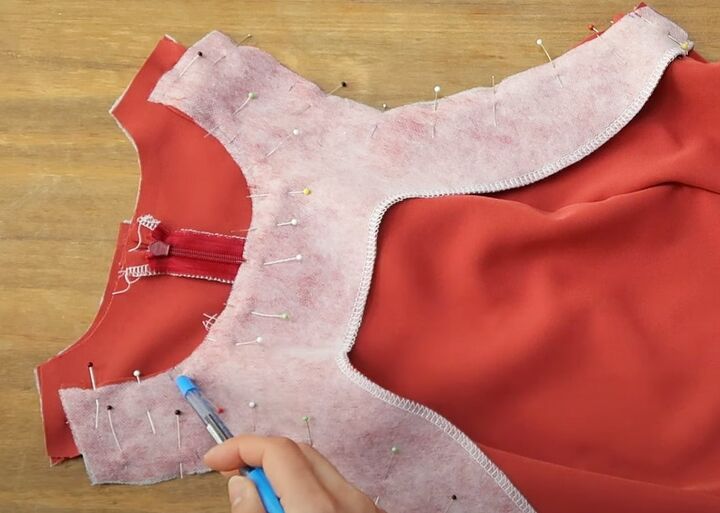
3. Prepare back pieces
Cut narrow strips of interfacing and attach them to the wrong side of the center back sections, from the neck to past the zipper notches.
Finish the raw edges with a zigzag stitch or a serger.
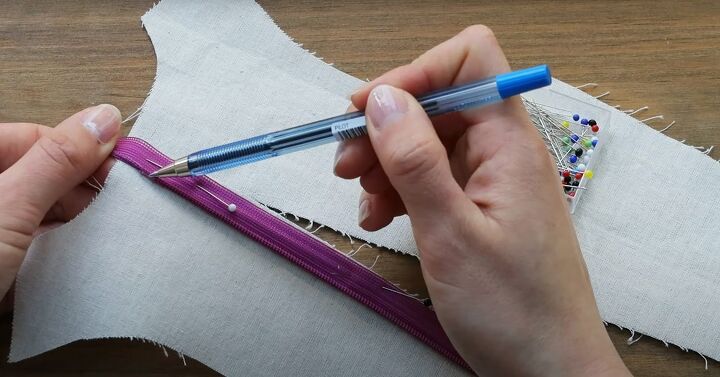
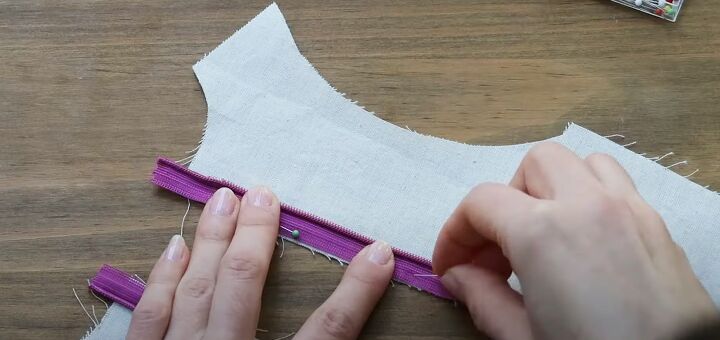
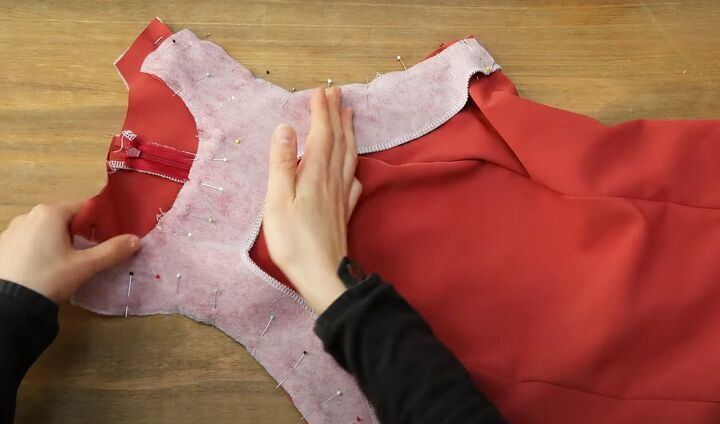
4. Insert zipper
Pin the zipper along one of the center back edges with right sides together, placing the top of the zipper teeth half an inch (1 cm) from the neck edge.
Sew close to the teeth.
Pin and sew the second side of the zipper to the other center back edge.
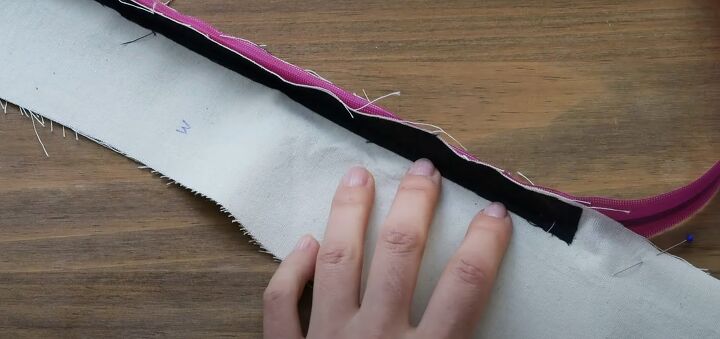
Close the zipper and place the center back pieces with the right sides together.
Sew the remainder of the center back seam from the end of the zipper stitching to the lower edge.
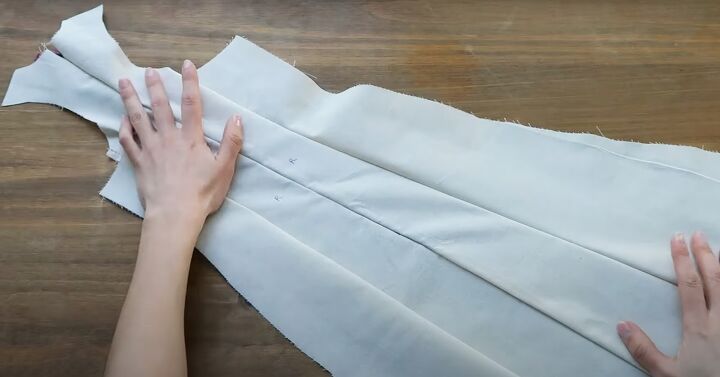
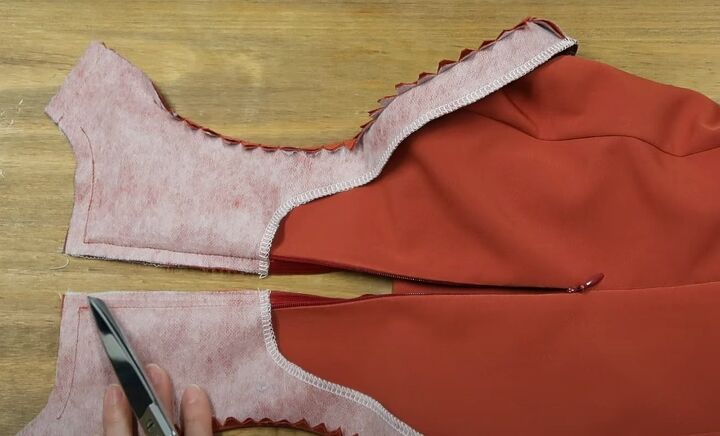
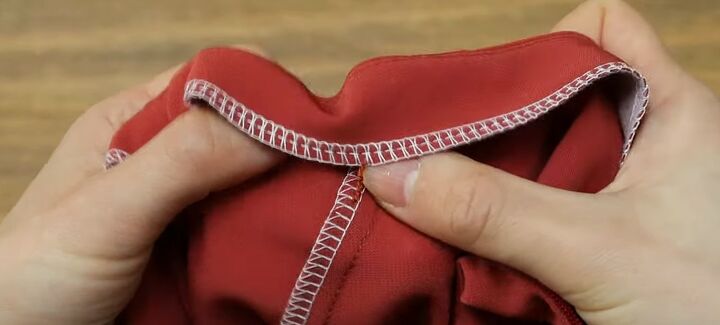
5. Sew back panels
Attach the side panels to the center back panels with right sides together.
Press the seams towards the center.

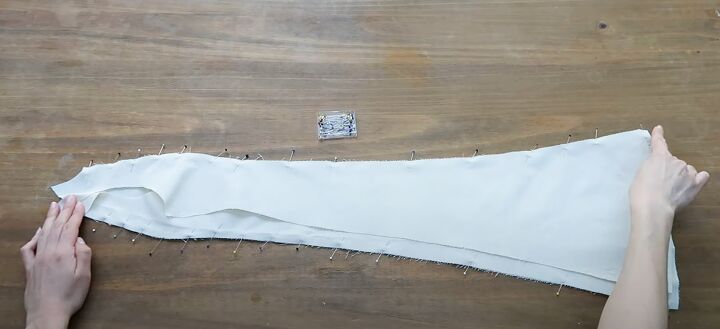
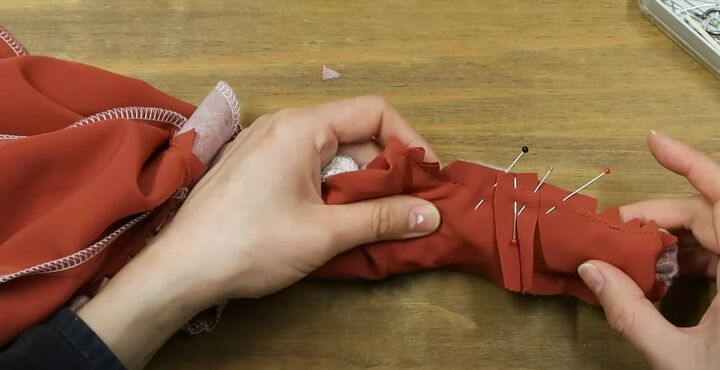
6. Shoulder and side seams
Place the front and back sections together with right sides facing. Baste the shoulder and side seams.
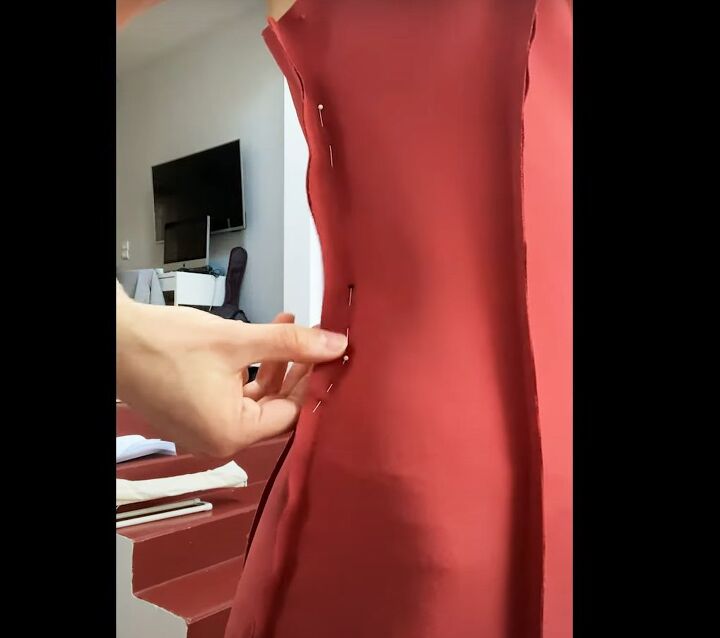
7. Fitting
(Demonstrated on the final dress.)
Wear the dress inside out and repin the side seams. Check that the adjustments are even on each side and taper them into the seam allowance.
Remove the dress and redraw the seams.
Baste along the new seam line, try the dress on again and make any further adjustments.
Once you're happy with the fit, trace the final seam line with a fabric pen and remove the basting stitches.
Transfer your changes to the front and back facings.
Sew the side seams along the new line and cut away the excess seam allowance.
Remove the basting stitches from the shoulders and leave the seams open.
Finish all the front and back edges including the hem, except for the shoulders.
8. Attach facings
Sew the short edges of the back and front facings together. Trim the excess seam allowances and finish the lower edges.
Turn the dress right side out. Pin the facings to the dress around the neck and armhole area with right sides together.
Mark 2 inches (5 cm) from the shoulders on the neck and armhole edges.
Sew around the front neckline between the two marks. Snip into the curve and finger press the seam allowance towards the facing. Understitch on the right side of the facing.
Sew the facing to the armhole edges in the same way, stitching from the marks to the underarm seam.
Undo the zipper and fold the back facing towards the center back with right sides together.
Sew up the center back and around the back neck curve, stopping about 2 inches (5 cm) from the shoulder. Trim the seam allowance at the corners.
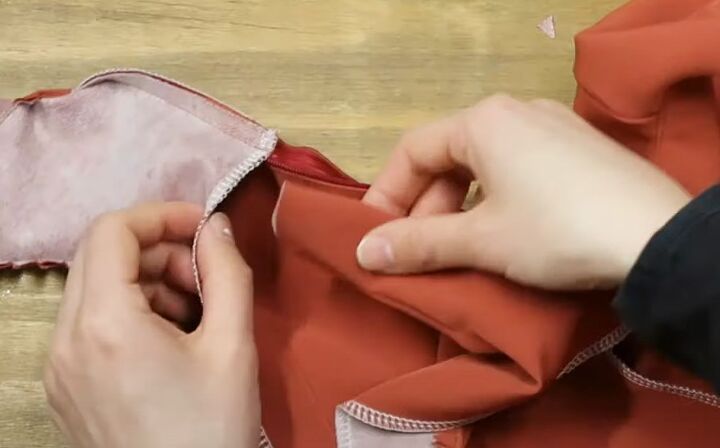
9. Front and back straps
Turn the dress inside out, keeping the front straps right side out. Tuck the front straps inside the back straps.
Pull the front straps through until the shoulder edges match.
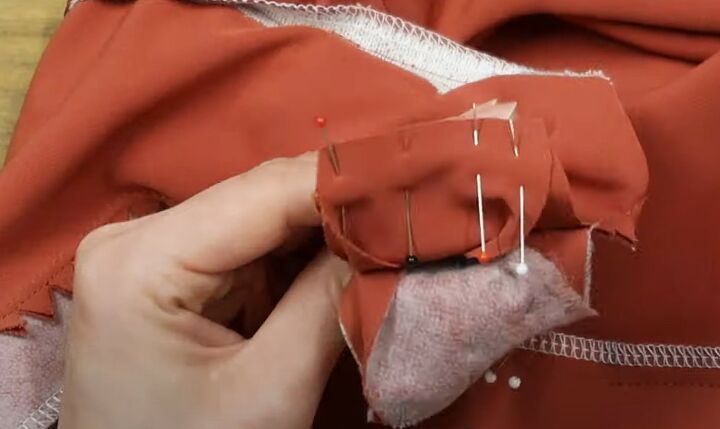
Pin the front facing to the back facing and the front strap to the back strap at the shoulders, with right sides together, and sew.
Pull the front strap through until the 2 inch (5 cm) gaps are visible on both sides of the shoulder seam. Sew the sides of the straps.
10. Finishing
Loosely attach the facings to the seam allowances.
Turn up a narrow double hem and sew with a straight stitch.

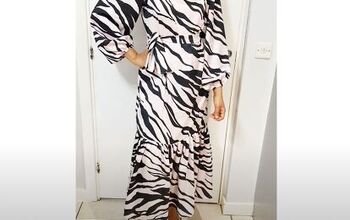
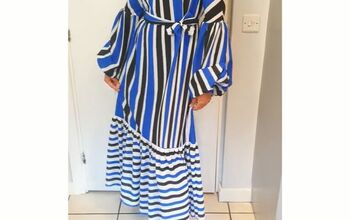
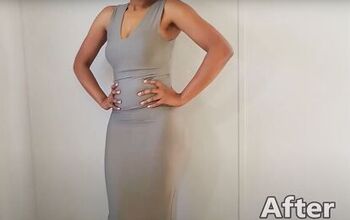
DIY racerback maxi dress
The fabric I used for the final dress is a thick polyester crepe which drapes very well.
However, it did resist being pressed completely flat, especially along the curved front seams. My racerback maxi dress moves beautifully though and was definitely worth the extra time I took in the fitting.
I would love to know if you make this dress and which fabric you choose. Please drop me a line in the comments below.
For more sewing content, check out my post on How to DIY a Cute Red Mini Skirt in 8 Easy Steps.

The author may collect a small share of sales from the links on this page.


Comments
Join the conversation