How to DIY Viral Fairycore Nails at Home

What’s up nail crew? Today, I’m showing you the easiest way to achieve a Fairycore manicure — no drawing skills required!
Follow along with my step-by-step tutorial if you love the fairycore aesthetic.
Tools and materials:
- Protective manicure gloves
- Dip cup
- Clear dip base
- Shimmery white dip powder
- Orange wood stick
- Cuticle tool
- Nail brush
- Clear dip powder
- Nail file
- Activator
- Stamping plate with fairy wings
- White nail polish
- Nail stamping tool
- Nail polish remover
- Top coat polish
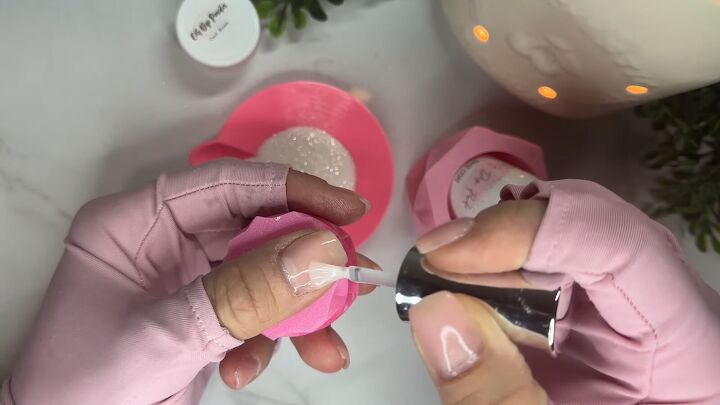
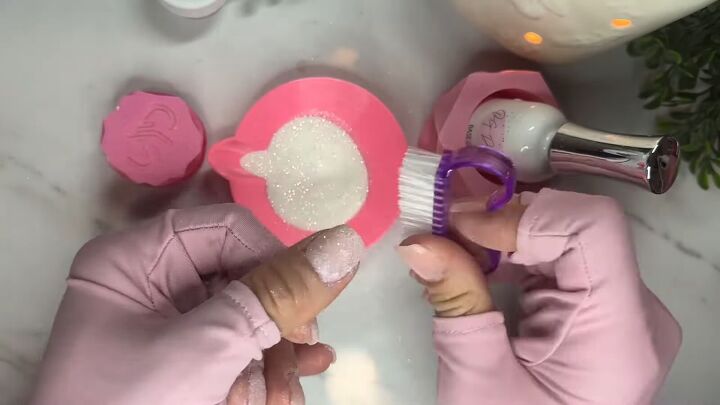
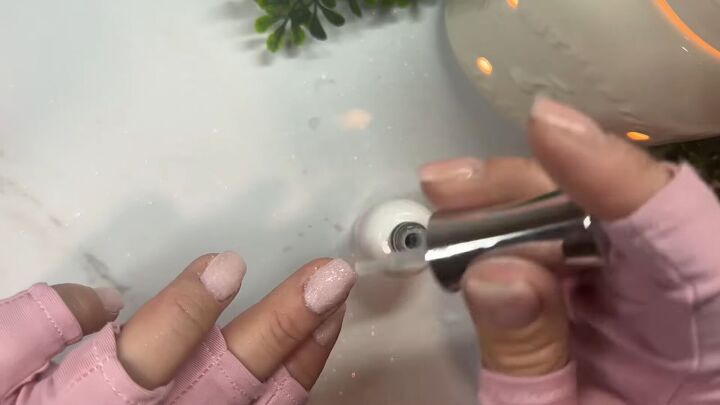
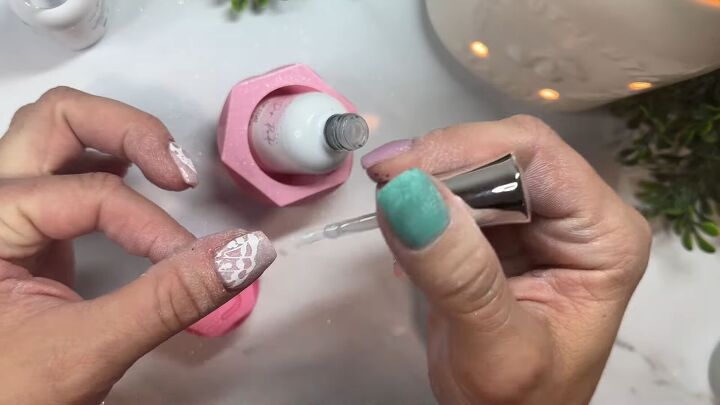
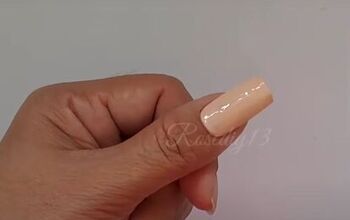
1. Apply a shimmer base for your fairycore nails
I have a layer of builder gel on my bare nails, but if you don’t you can use a layer of clear dip base.
More on this in the video at 3:30-4:00. Apply a thin coat of clear, dip base to your thumb nail.
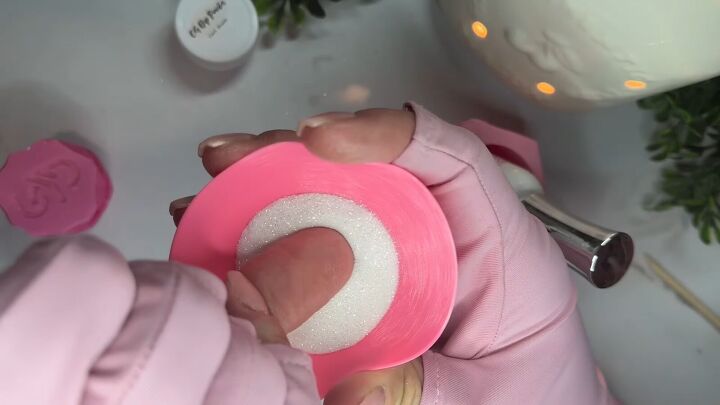
Dip your thumb nail into white shimmer dip powder.
Clean out the nail bed with an orange wood stick.
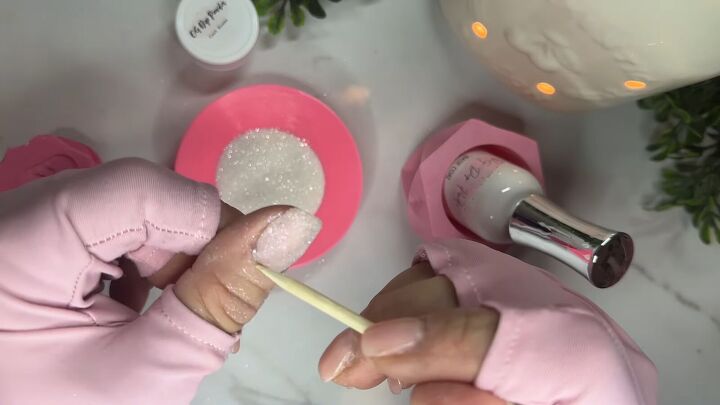
Use a cuticle tool to push back your cuticles where needed.

Repeat this clear base followed by shimmer dip powder as the base for the rest of your nails.
Brush off excess powder with a nail brush.
2. Apply a 2nd layer of gel and dip powder
Apply a 2nd layer of both gel and dip powder to make sure there are no gaps and allow the right opacity.
The key is thin layers, since if you paint it on thick, it can look chunky and crack.
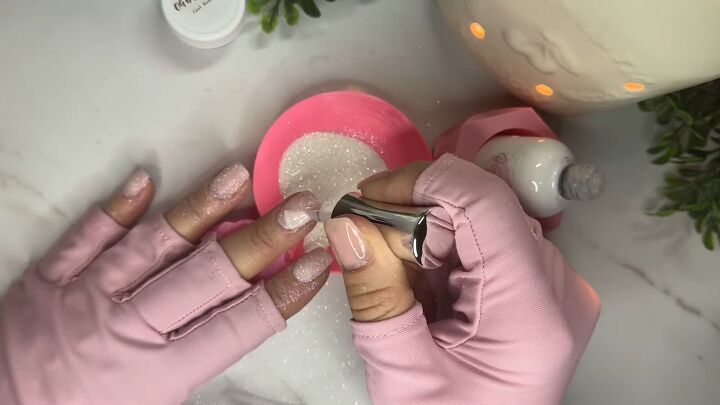
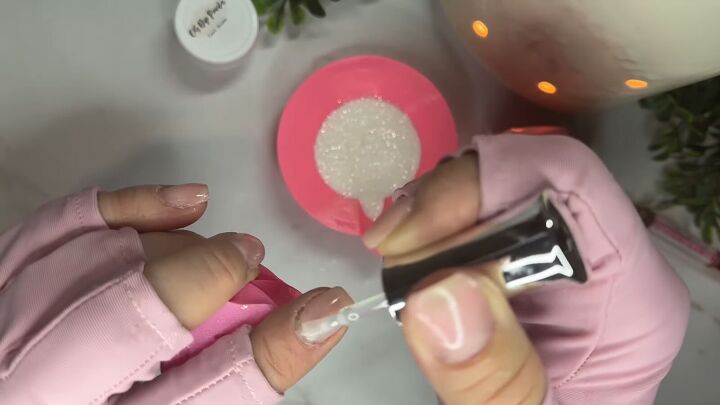
3. Encapsulate the shimmer
This step is key because it will allow you to buff and file the nails later without ruining the previous layers: Seal in the base shimmer with a layer of clear polish followed by clear dip powder.
I often prefer pouring it over the polish instead of dipping.
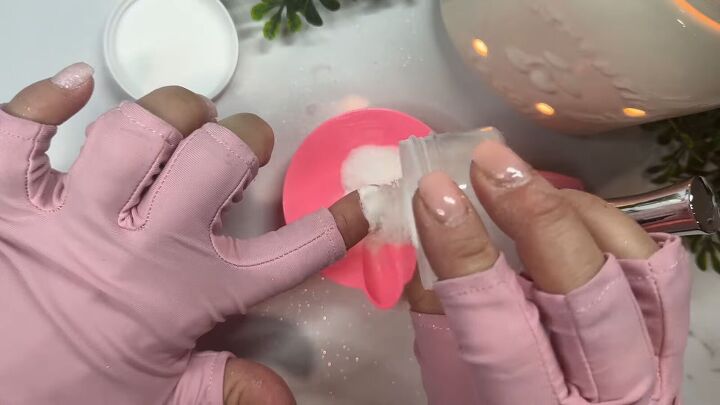
Then brush off the excess with a stiff, nail brush.
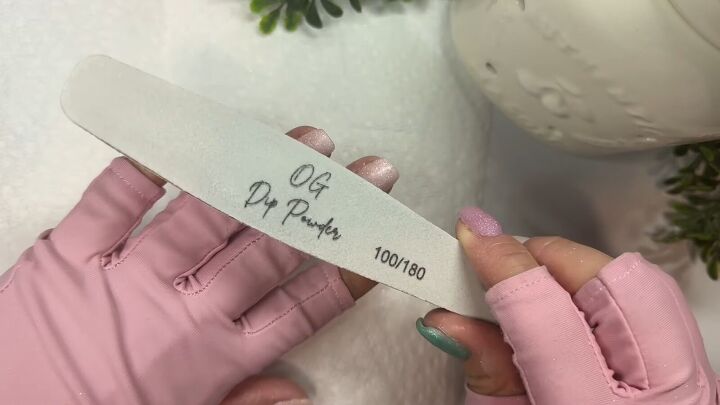
4. Activate and then buff the nails
Apply a coat of activator.
Buff and shape the nails for a smooth surface on which to apply the fairycore detail.
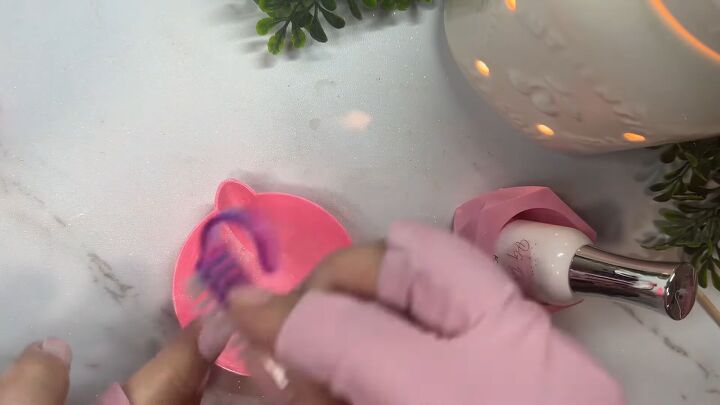
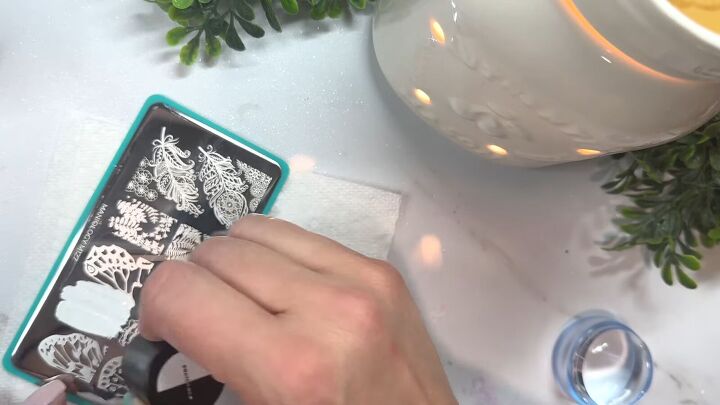
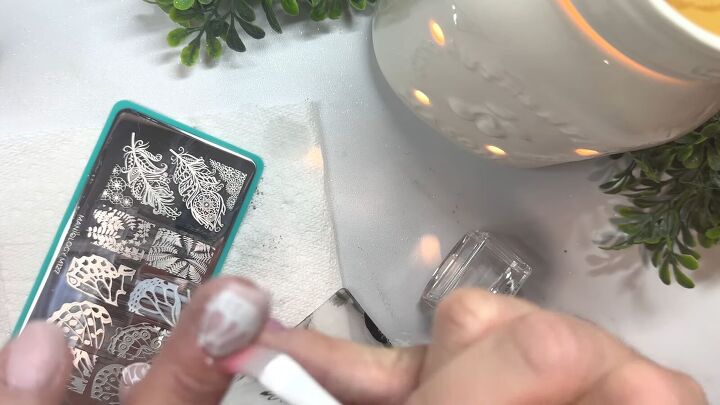
5. Prepare your stamp
Paint your polish over the wing stamp that you like and then swipe over it with the plastic card.
Roll over the image with the stamping tool (not too hard!) and press it on your nail.
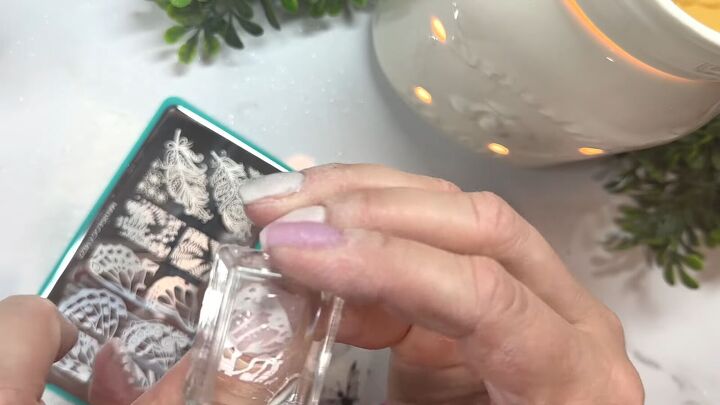
Repeat on your other nails. You can use the same wing type for each nail or mix and match.
Use nail polish remover to take off any white polish that strays from the nail.
6. Apply top coat
Once your design is complete, apply a smudge-free top coat, making sure to cap the tips.

Once this top coat has completely dried (about 5-10 minutes), apply a dip top coat. For specifics, see the video at 10:40-11:00.
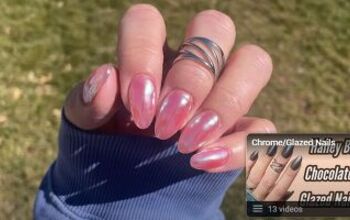
Here’s the final result for this delicate nail art design:
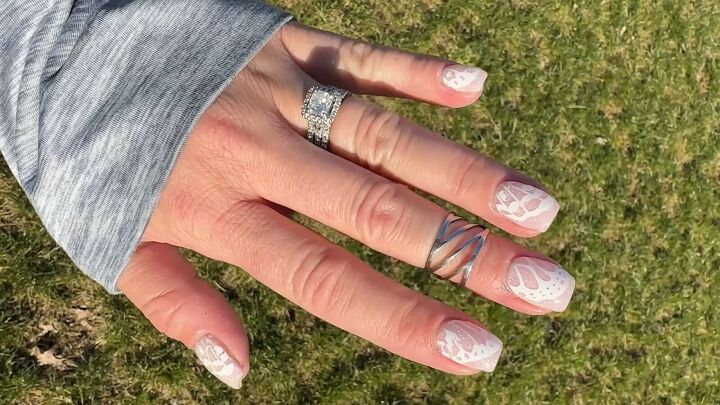
Fairycore nails
Stamping is a great way to add a really fun pop of Fairycore to your dip nails. What do you think? Comment down below.
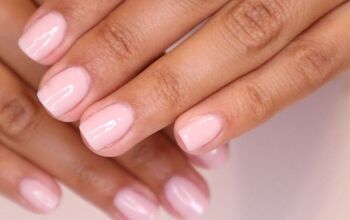
Next up, create a gorgeous dip powder color block nail design.
The author may collect a small share of sales from the links on this page.


Comments
Join the conversation