Create a Gorgeous Block Nail Design With Dip Powders

If you can’t use, or don’t want to use gels, then don’t worry.
In this tutorial I will show you some gorgeous color block nail art designs that you can do without using any gels.
These simple color block nails use dip powder instead.
Best dip powder!
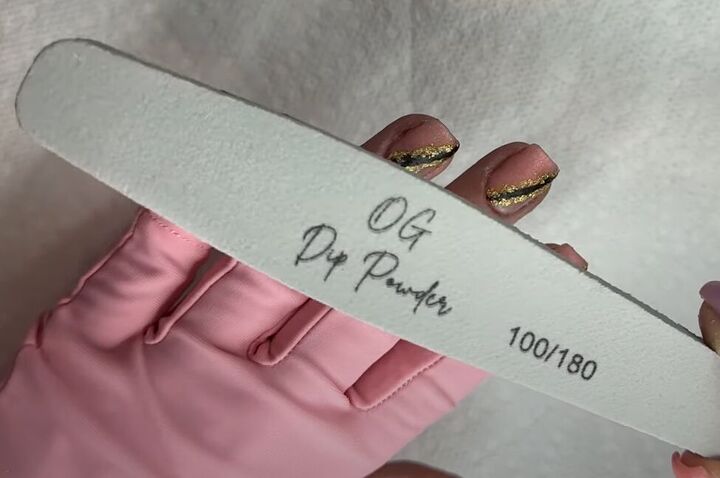
Tools and materials:
- Neutral-colored rubber base or clear dip powder
- Pink dip powder
- Black dip powder
- Gold foils
- Dip base
- Activator
- Topcoat
- Disposable eyeliner applicators or small toothpicks
- Isopropyl alcohol
- Lint-free wipes or paper towels
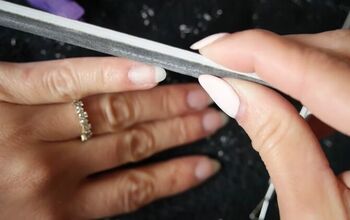
1. Prep your nails
Ensure your nails are clean and dry before starting this nail art tutorial.
Apply a neutral-colored rubber base or clear dip powder as a base coat.
If you're using clear dip powder, apply one to two dips before proceeding.
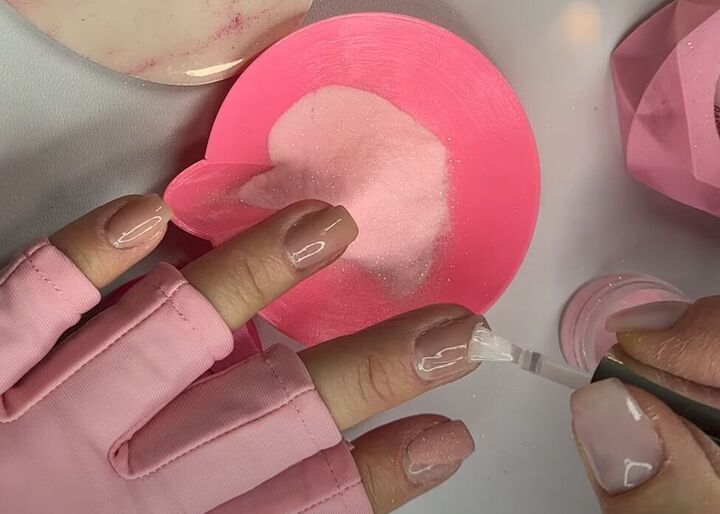
2. Apply pink dip powder
If using pink dip powder, apply it to your nails as desired.
If you're only applying the pink to part of your nail, ensure your base coat is thin.
Pour the pink dip powder over your nails or dip your nails into the powder.
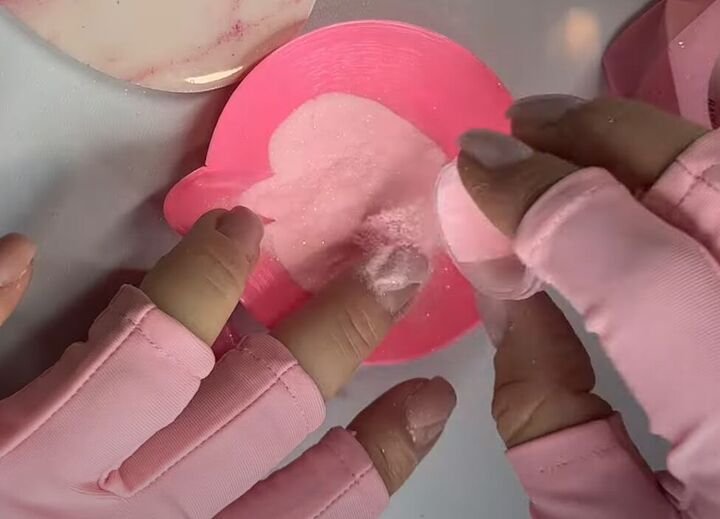
Ensure to tap off any excess powder.
3. Activate the pink dip powder
Apply activator to the pink dip powder to set it. This prevents the black dip powder from staining the pink.
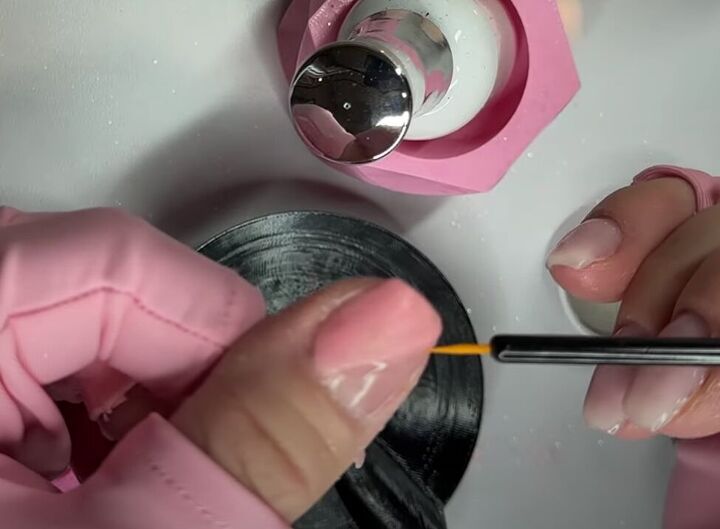
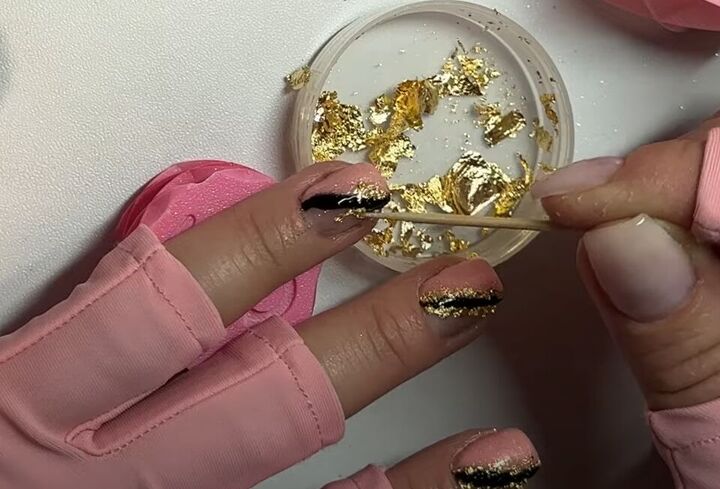
4. Apply black dip powder
Using disposable eyeliner applicators or small toothpicks, apply thin lines of your base to the edges of the pink dip powder design.
Then apply black dip powder to cover the thin lines of base on your nails. Ensure the lines are thin.
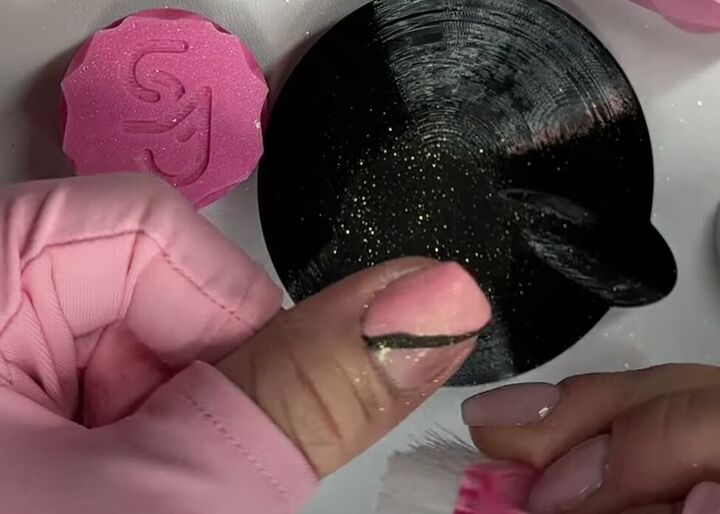
Tap off any excess black dip powder and activate it with activator.
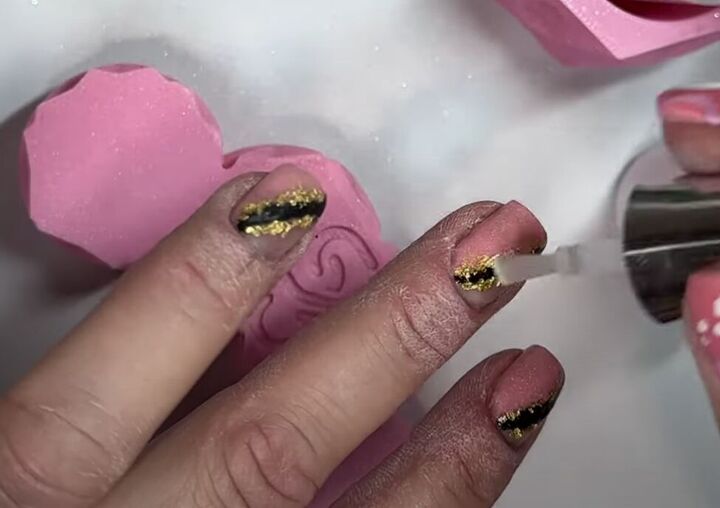
5. Apply gold foils
Apply dip base over the area where you want to place the gold foils. Ensure to cover both the pink and black dip powder.
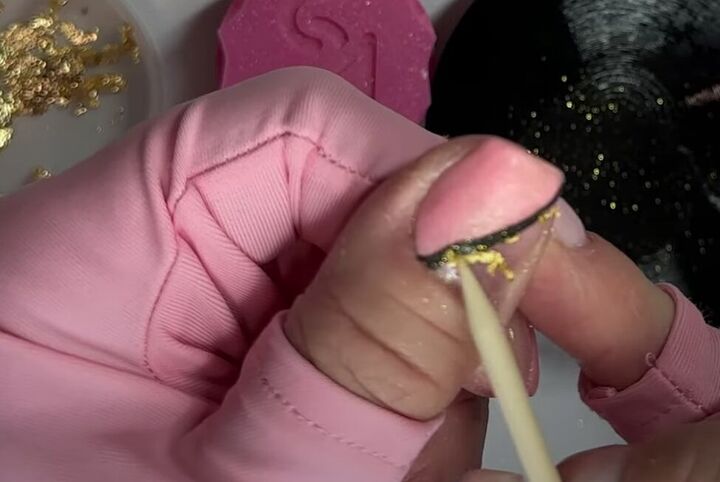
Quickly place gold foils onto the sides of the black lines.
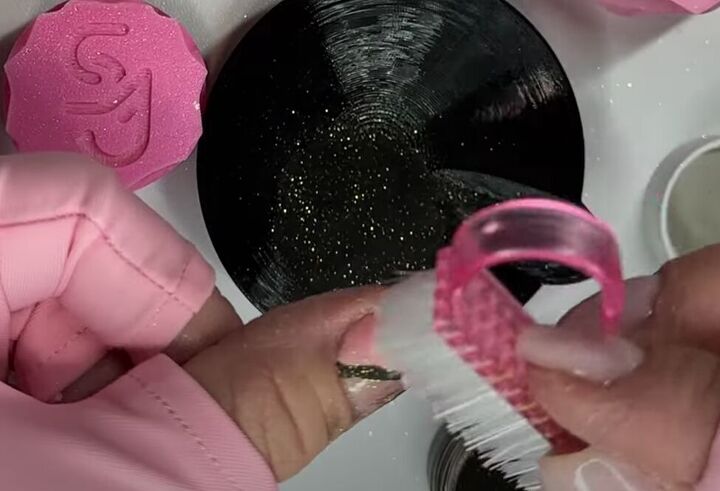
Use a toothpick or similar tool to position the foils as desired.
Press the foils down gently to ensure they adhere to the dip base.
I chose to put foils on both sides of my thin black lines’
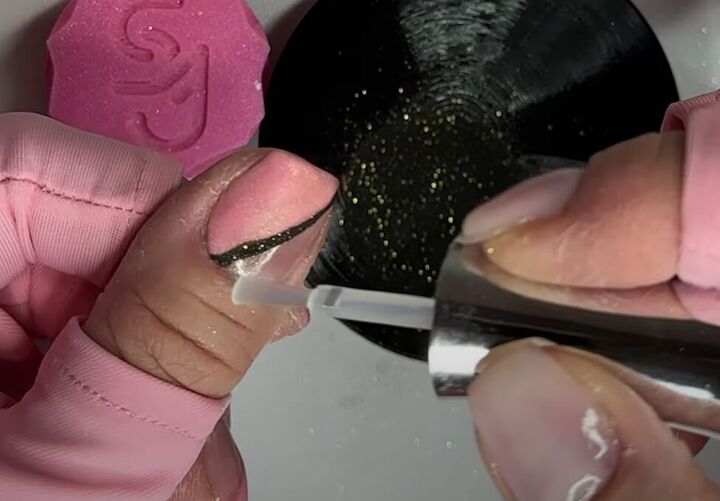
6. Seal with clear dip powder
Apply clear dip powder over your entire nail to encapsulate the design, including the gold foils.
Pour or dip your nails into the clear dip powder, ensuring even coverage.
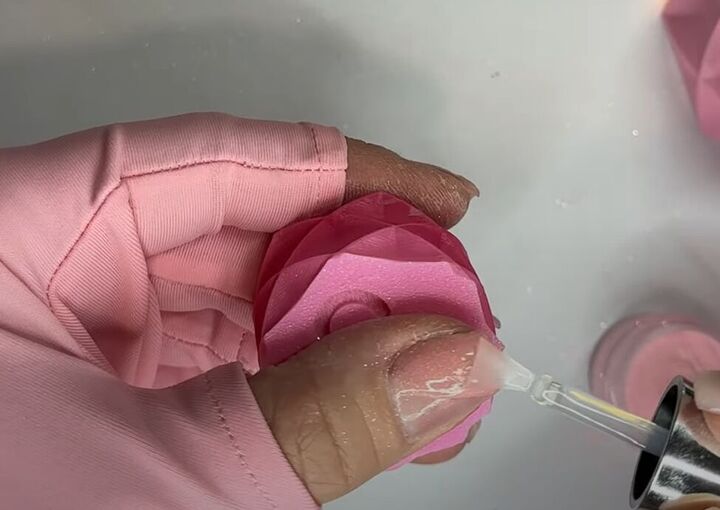
7. Activate and topcoat
Apply activator to harden the clear dip powder and the entire design.
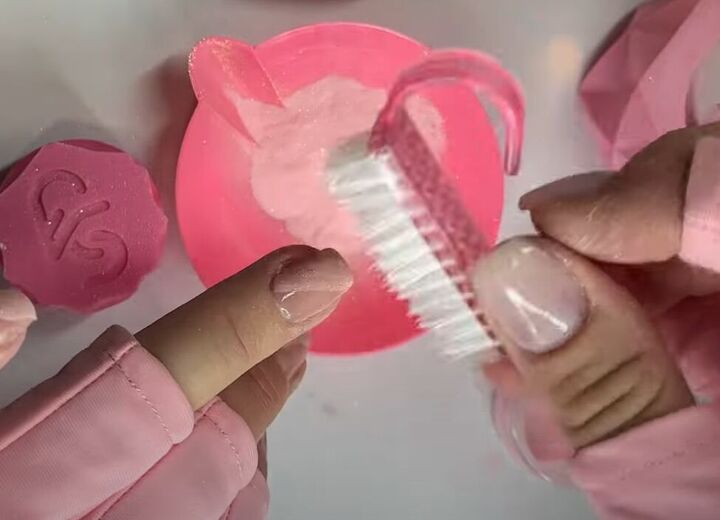
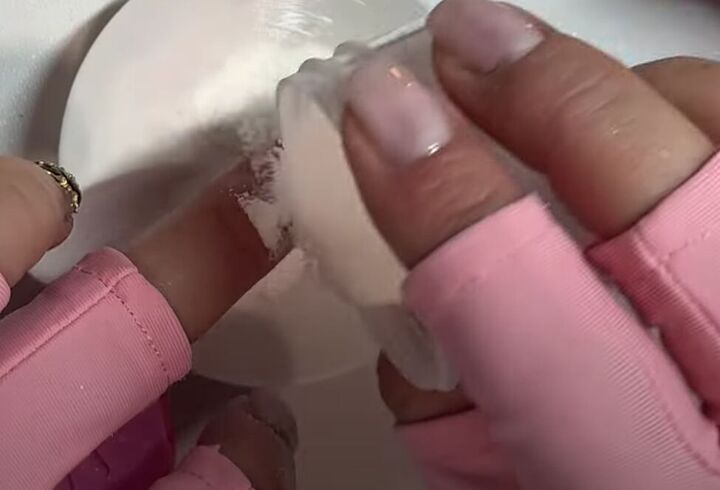
Once hardened, file, buff, and shape your nails as desired.
Wipe off any dust with isopropyl alcohol on a lint-free wipe or paper towel.
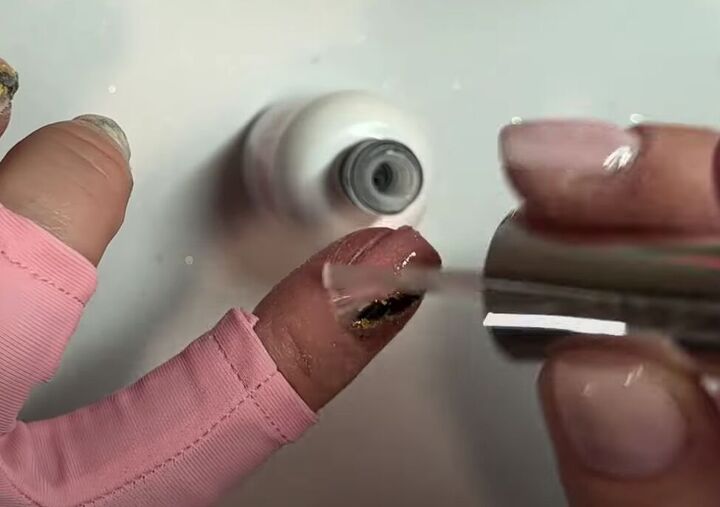
Apply topcoat to seal and protect the design.
Apply one hand at a time, ensuring to cap the edges for longevity.
Float both layers of topcoat.
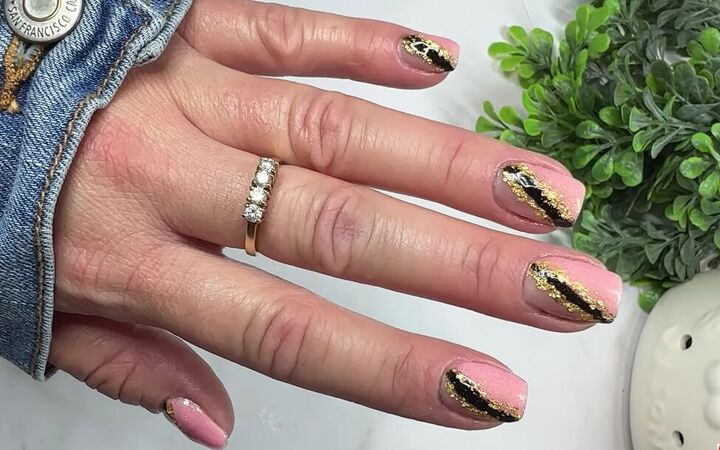
Color block nail design
Once your topcoat is dry, admire your beautiful nail art design!
By following these steps, you can recreate the nail art design described in the video without using any gels.
Enjoy your gorgeous nails and leave a comment to let me know what other nail designs you come up with!
Next, check out my Super Glam Ombre Chunky Glitter Nails Tutorial.
The author may collect a small share of sales from the links on this page.


Comments
Join the conversation
The gold powder is messing looking. I'd leave it off & just have black line separating two colors.